We are happy to have Lisa from Mabey She Made It sharing her beautiful Christmas Tree Cones with us today!
Hi, I’m Lisa Mabey from Mabey She Made It, a DIY, craft, and sewing blog.

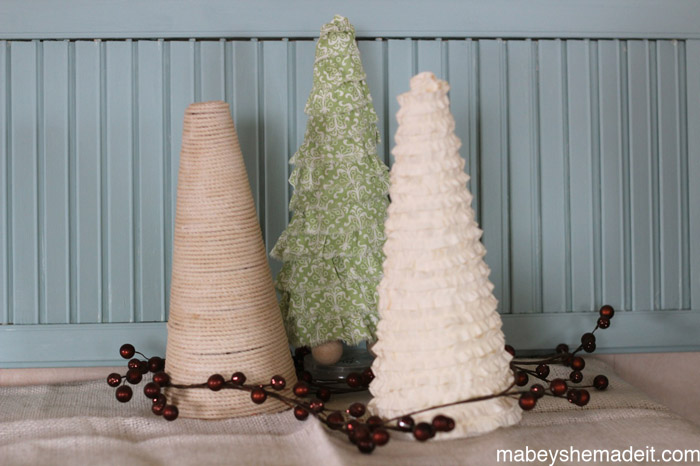
Last year I remember seeing lots of cone trees around Christmas time, and I loved them. They looked so simple and elegant. I never got around to making them though (I was going through some morning sickness and nothing got done last year). But when I was given some FloraCraft cones a few months ago, I knew what I wanted to do with them.
I started by referencing this pin which is a round-up of ideas. The variety and lovely details are what drew me to this pin. And so I started by creating a ruffled one.
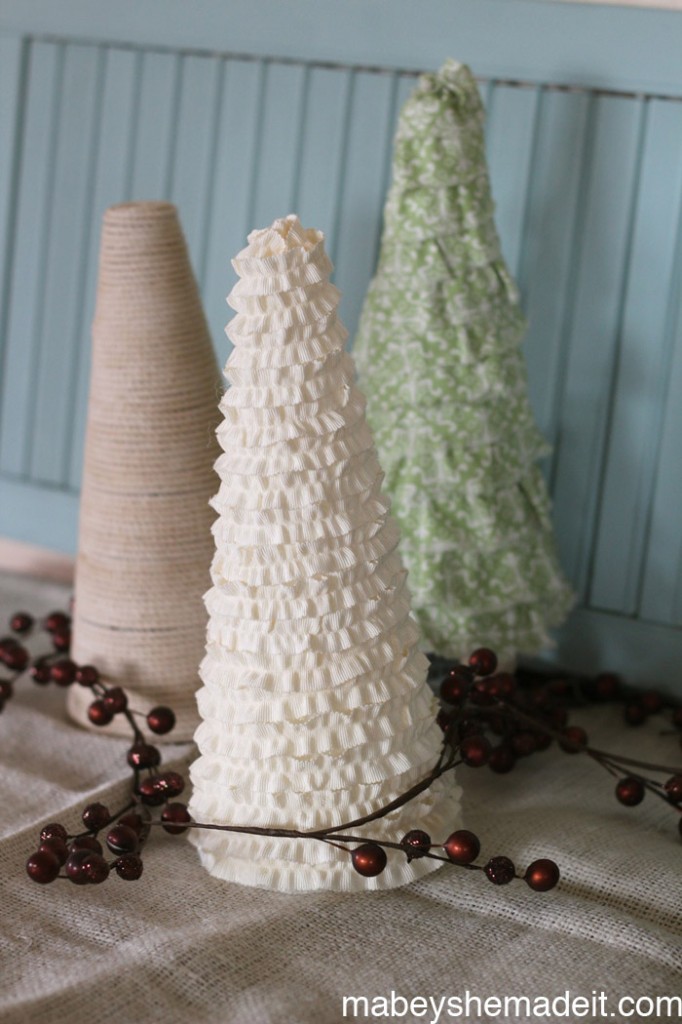
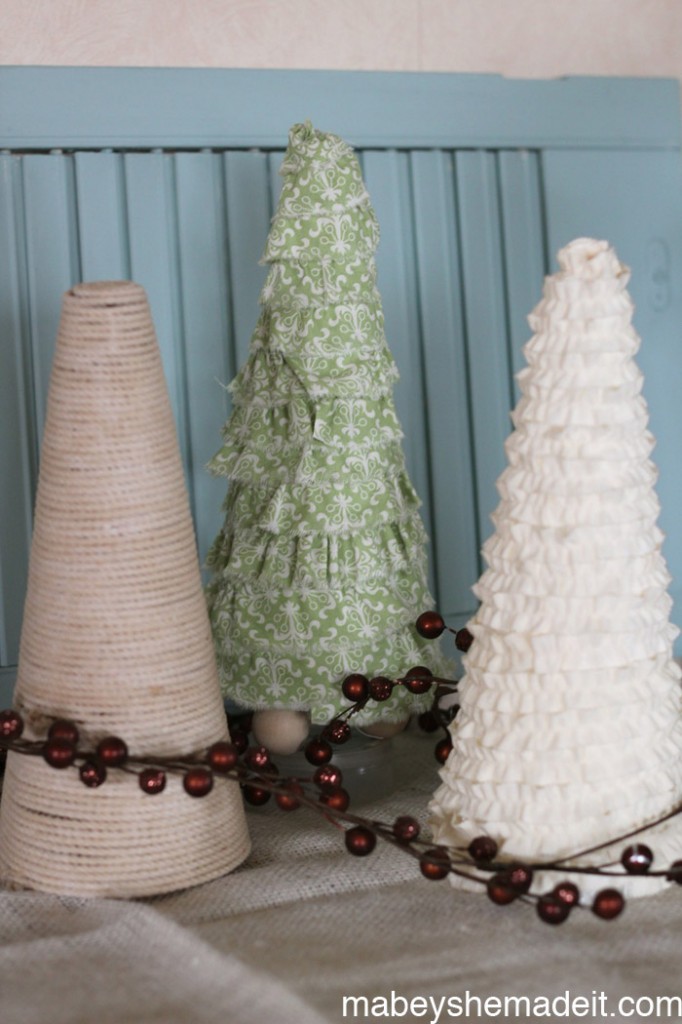
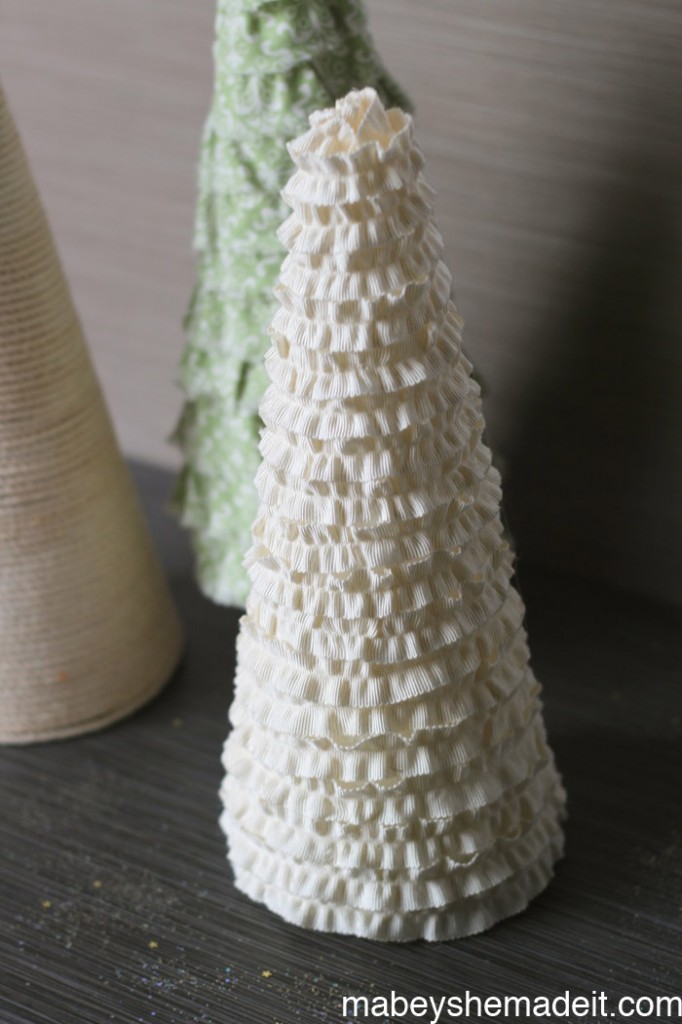
Instead of using ribbon like they did in the tutorial, I tore some cotton and ruffled it. I like the torn look for this project because it gives the branches a little more detail without adding any work. And isn’t tearing fabric strips cathartic? I love that feeling. 🙂
Then just hot glue the ruffles around and around! I used three wooden beads on the bottom as a base to give this one a little more height.
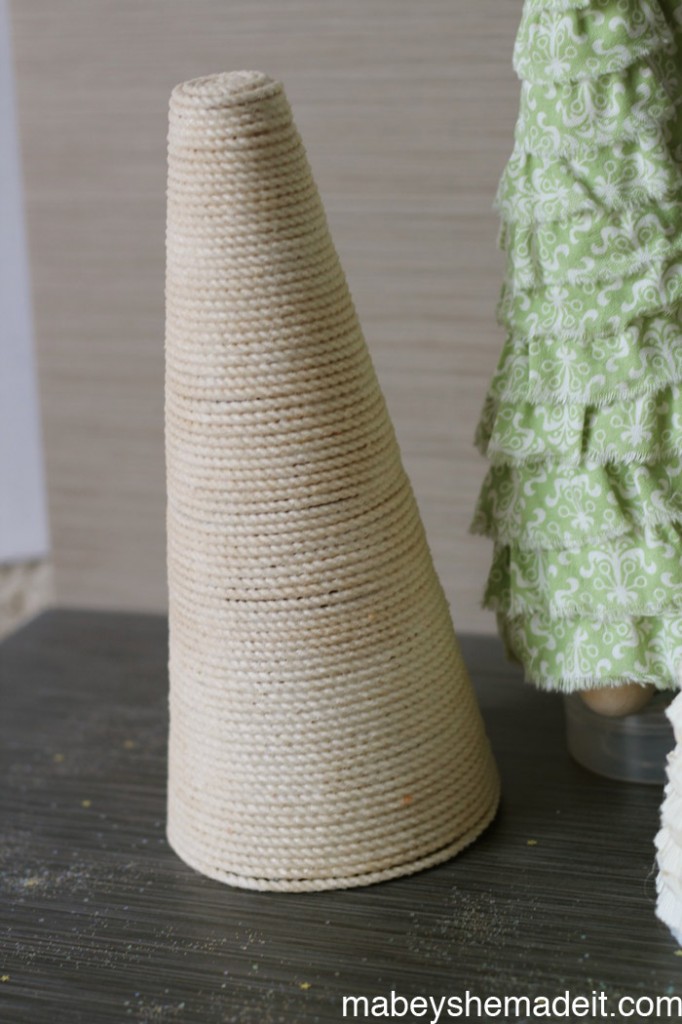
The second tree was pretty easy to make, but took a little more time. I took a wrapped foam cone, and started winding the rope twine around the base, using pins to keep it in place. Then I covered it in Mod Podge and let it dry over night. Once it was dry, I was able to slip the cone out of the rope tree because of the plastic, and use the cone for the third tree.
The third one I did was the easiest. I started with pre-ruffled ribbon and glued it the same way.
Fun and easy! And I’m really looking forward to having them out for the Christmas season. I hope you’ll come follow me over at Mabey She Made It for more DIY, craft, and sewing tutorials like these:
Ruffled Wreath || Pinstripe Dress Refashion (this used to be pants!) || Pumpkin Watercolor Printable
And I’d love it if you followed me on Facebook, Twitter, Pinterest, Google + and Instagram!
This amazing idea has been shared with Whipperberry



Leave a Reply