How do people work full-time and prepare for a wedding? My last daughter is getting married on Dec. 22, 2012. Yes you read that right. If you look at the calendar you will realize that this is the Saturday BEFORE CHRISTMAS. Nothing like putting my Christmas season into a tail spin. And needless to say that some of our regular holiday activities will need to be slimmed down a little bit to get ready for her big day.
I was looking for a cute, quick little Thanksgiving something for a pre-snack on Thanksgiving Day and found this pin from Dollhouse Bake Shoppe. I have seen variations of this pinned many, many times and this was going to be the perfect thing that I was looking for.
But on to the instructions. They called for two different ways to soften the sugar cone and I opted for the microwave version as I thought that would be the quickest. Gathering up my supplies, I started off.
You will need:
Sugar Cones
Fall colored M&M’s or Reese’s pieces. I chose Reese’s
Clear Cellophane
Your choice of ribbon.
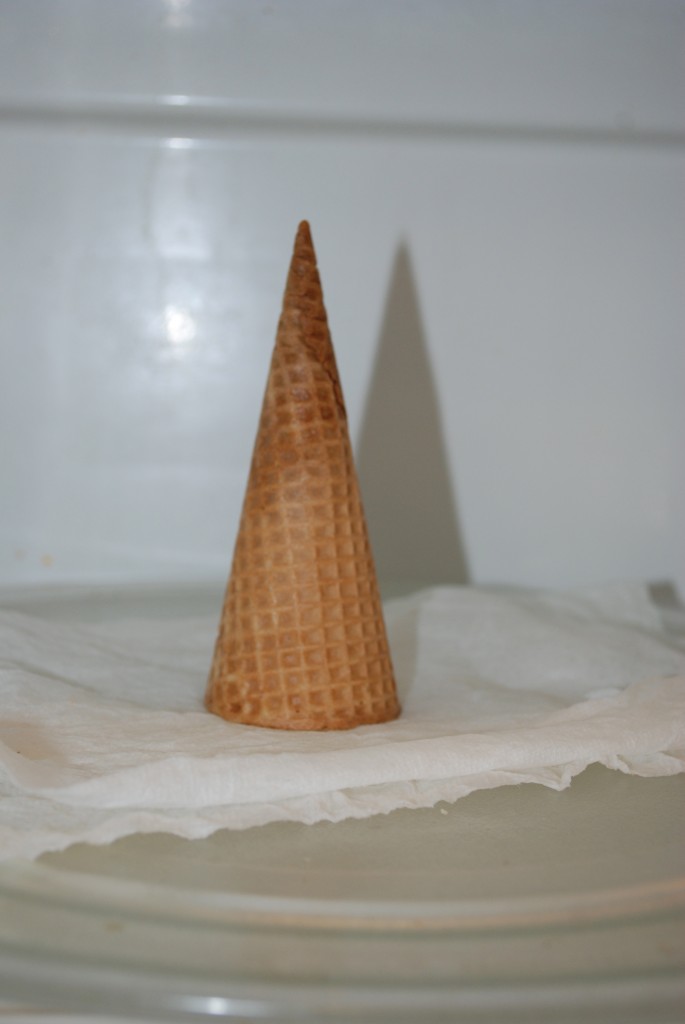
First instruction? “Place one sugar cone in the microwave, open side facing down on top of a damp paper towel.”
Check.
Next is to “Microwave on HIGH in 5 second intervals for 10-20 seconds, depending on the wattage of your microwave, until the tip start to get soft and bendable (you may have to do this on 50% power if your microwave has a higher wattage ,so the cones don’t burn).”
I am going to give you a sneak preview and let you know that I neglected to read the sentence in the parentheses. Can you tell what’s coming?
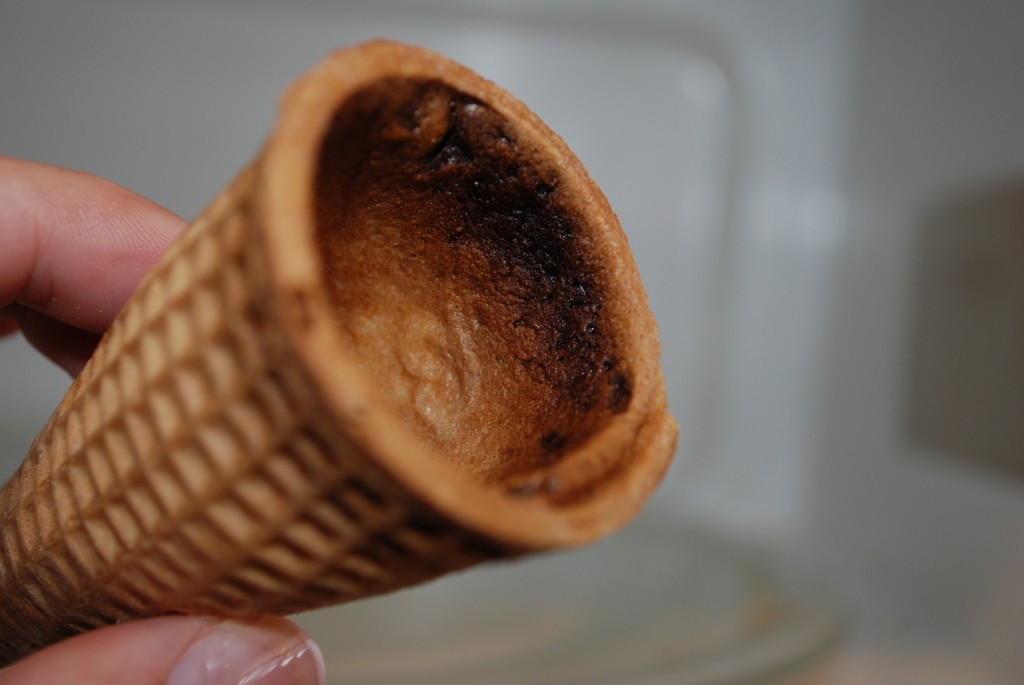
I microwaved for 5 seconds. Again. And Again. And Again. Until? Until my cone started to burn. Just like the directions said. {Sigh}
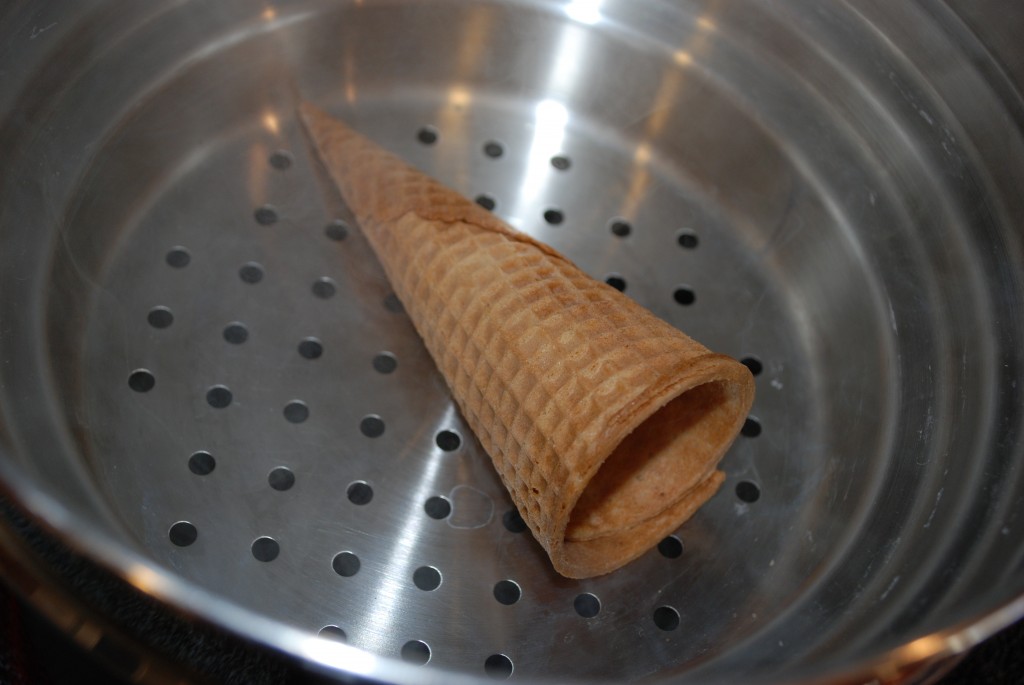
The directions said to place the cone, open side down into a steamer and with the lid OFF steam the cone until softened. This time I made sure to read ALL DIRECTIONS before beginning. So placing my cone, exactly in this position, I attempted to steam my cone. After a few seconds, still a hard cone. Few more seconds, still a hard cone. I was beginning to wonder if I had bought INDUSTRIAL STRENGTH sugar cones! Geezo Peezo! I even checked the box to make sure I had gotten just regular sugar cones. Seriously, I mean how hard could this be? But nope, I had regular sugar cones from Kroger’s.
Relieved that I didn’t have sugar cones that could be used to build an armored car, I turned the cone sideways and….don’t tell anyone…..I put the LID ON.
Checking after a few seconds…. VICTORY! The cone was soft enough to bend. I held it in place until it cooled down and re-set.
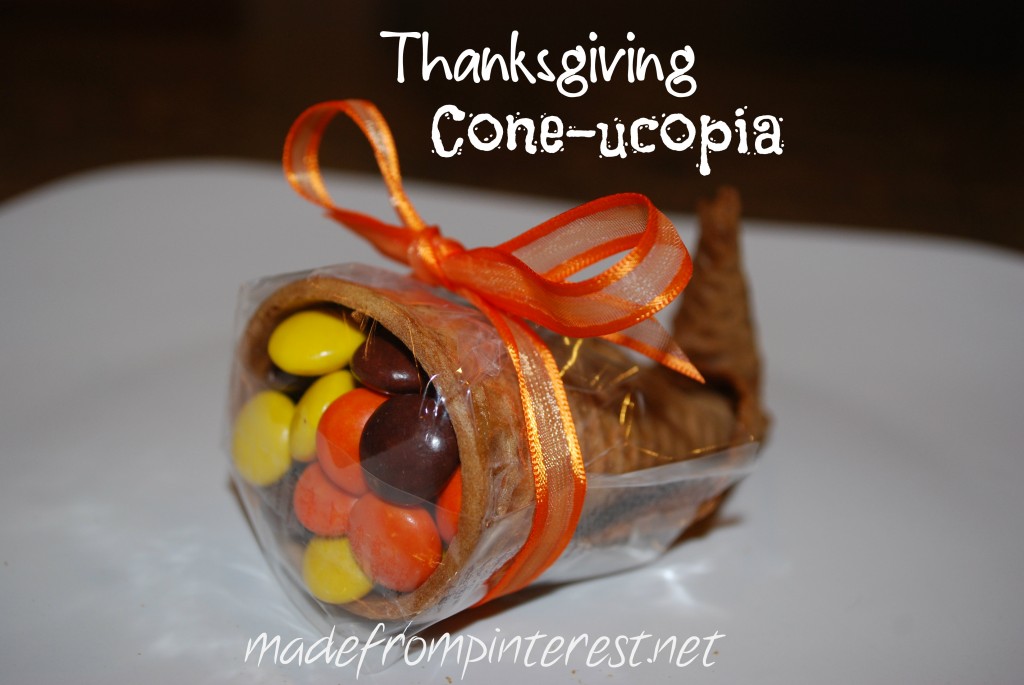
Filling with Reese’s pieces and tying a ribbon on was a breeze and I was very happy with the result:
Now that I have my Thanksgiving treat all planned out, I’m off to run wedding errands!
Here Comes the Bride and Happy Holidays!
This Pin Rocks!
We are excited to be linking up to these sites today!


I love these! I have seen these featured on quite a few blogs. And it is well deserved, they look fantastic!
Katie…thanks so much for stopping by and especially for your sweet comment. They were so fun to make and I think will add a great little splash of color to our Thanksgiving table. Happy Thanksgiving! Deb
I too have pinned this and was going to try it this weekend. I am glad to see you liked it!
Love this! and it’s so simple. Thank you for linking up at Glued To My Crafts 🙂
Stacy….thanks so much for stopping by! We will definitely link up again. Have a great weekend! Deb
This looks so sweet, and yours turned out great! Do you mind if I share it on my blog? My first issue will be coming out this week and I was looking for a thanksgiving inspired craft! I will of course give you the creative credit 🙂
Hi Samantha! Congratulations on your new blog! Make sure you give us your URL so that we can follow!! And we would be honored to be featured on your “maiden week”!!! We can’t wait to see what you are up to. Thanks so much, Debbie
Thank you so much for your help with making these adorable cornucopia from sugar cones. I first saw this treat in a magazine. I thought it looked easy so I volunteered to make 80 for a church dinner. When I tried dipping the cone in water in order to soften it, all I had was a soggy mess! So I Googled the idea and found your blog. If I hadn’t read your method for steaming the ice cream cones, I would have abandoned the project. However, I kept trying and finally perfected my method with a steamer pot and steamer insert. After several tries my cornucopia look great. Now I have to fill and wrap them. I don’t think that will be quite as difficult. Again, thank you SO much for your wonderful directions and photos. I can’t tell you how happy I am.
Oh I a SO glad! I just made some more of these and did them in a steamer pot with the insert too. It makes it so easy and they are SO cute!!