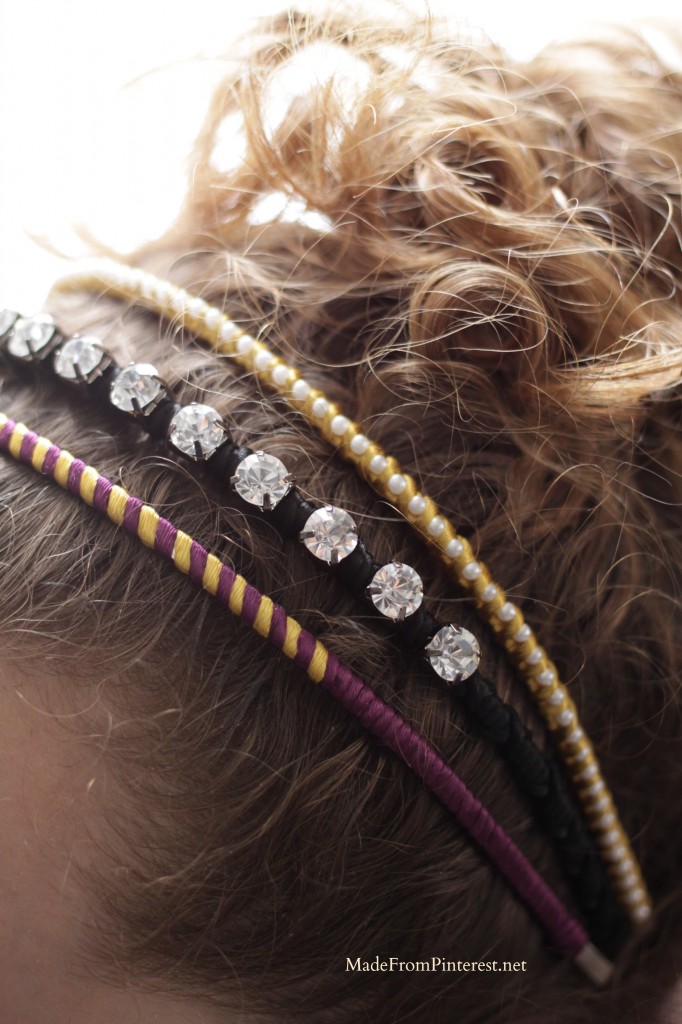
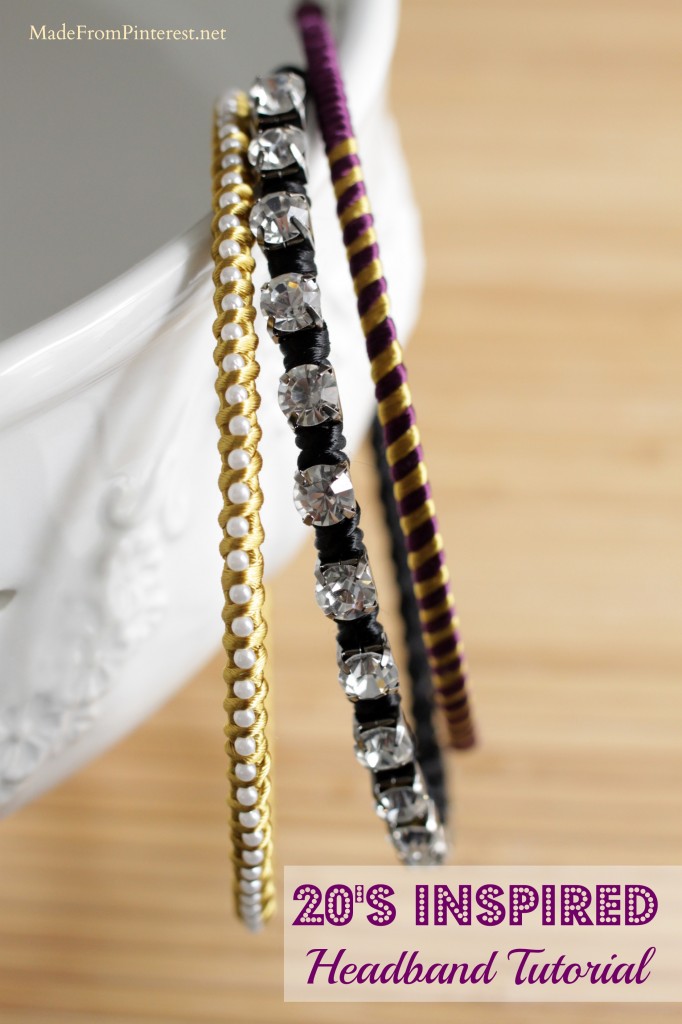
Headbands like these 20’s Inspired Headbands have often been a part of my repertoire for adding style and curbing a bad hair day. When we were approached by Darby Smart to try out some of their product line, we knew this was the project for me. The kit contains everything you need to make these darling headbands: three headbands, three different color threads for wrapping, two different embellishments, and glue. It all comes in a cute box that is designed for perfect gift giving. This would be a fun gift or activity for a birthday party. At $16 it is a great price point.
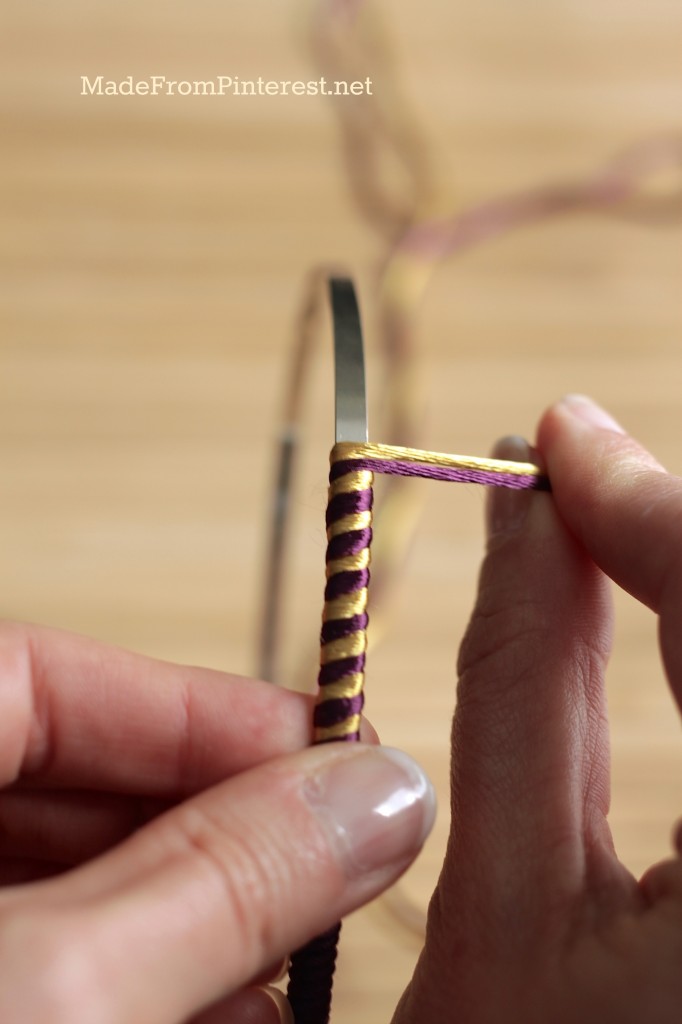
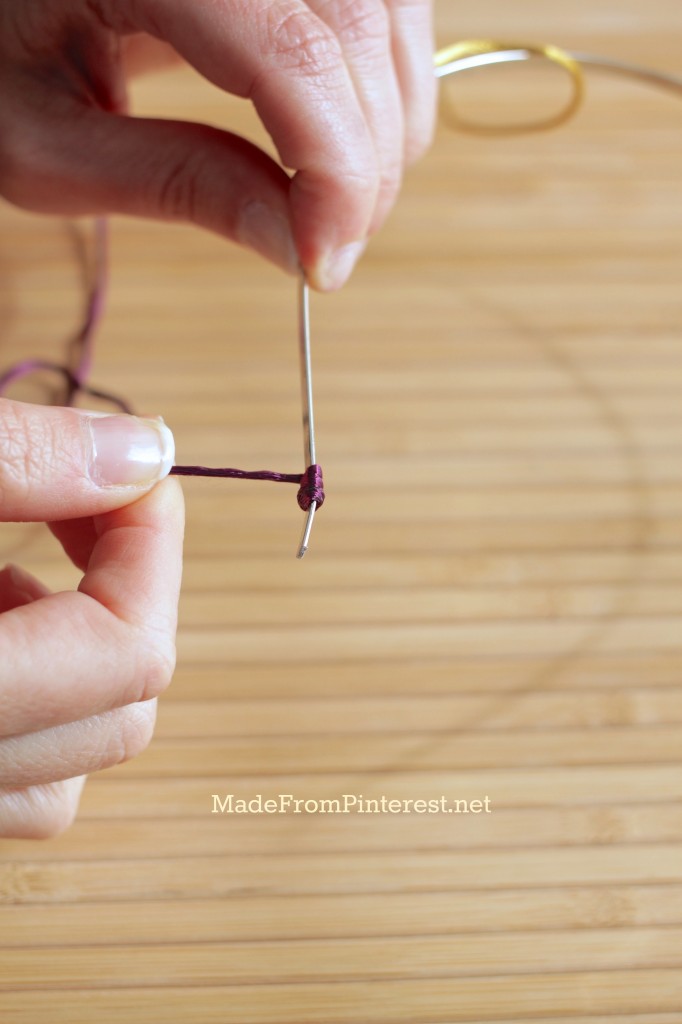
To begin, put a little dab of glue on the end of the headband and glue the end of the thread to secure. Then, begin wrapping the embroidery thread over the end to cover the glue. Continue wrapping, making sure not to overlap the strands.
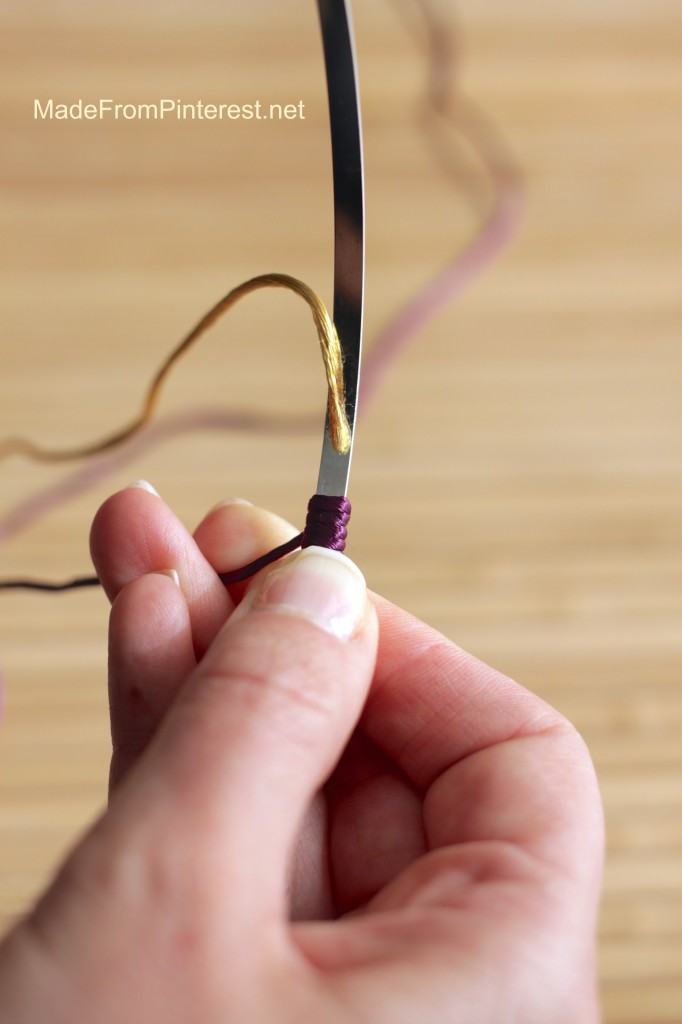
To add a second color, glue down one end of thread where you want a new color to begin. Cover the glued second color (I added gold) of thread by wrapping over it with the first color (my first color was purple).
For double color or striped effect, begin wrapping the two colors at the same time. When you reach the end of the area where you want two colors, return to one color by gluing down the end of the second color (gold in this instance) and covering it by wrapping over it with the first color (Purple here).
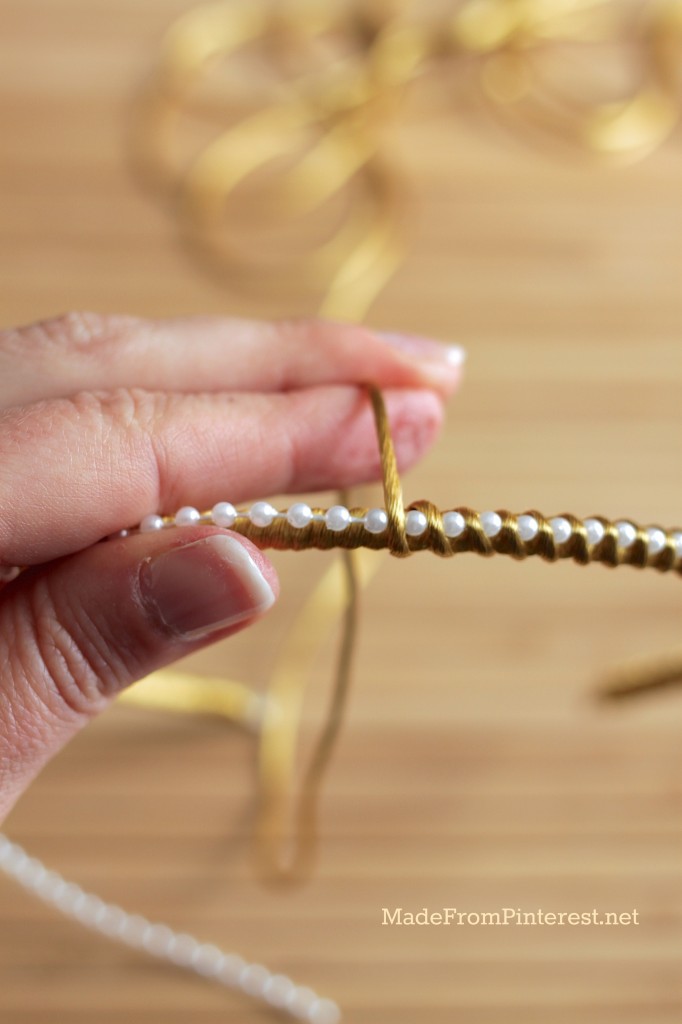
Once I got started, I had so many ideas of different combinations. Black and gold with pearls would be beautiful. Pearls and diamonds on the same headband? You bet! You are only limited by your own creativity.
These headbands rock!
Head on over to Darby Smart. They are offering $10 off anything on Darby Smart for the next two days. Use the coupon code MADEBYME to save $10 Enjoy!
This post is sponsored by Darby Smart. Materials and compensation were provided. However, all opinions are my own and I only recommend products I genuinely think my readers will enjoy.
We are sharing this with: Living Well Spending Less, Lamberts Lately, What’s Cooking Love,Tatertots And Jello, Whipperberry, Sunny Simple , The Country Cook,Mandy’s Recipe Book, Inside BruCrew Life, Hun What’s For Dinner



Leave a Reply