We are so happy to have Linda from It All Started With Paint with us today to share this craft. I want some in every color! This project will bring out the kid in you, but it looks so very grown up! Make sure to check out Linda’s Blog Mason Jar Crafts Love too. Linda has so many good ideas, one blog just can’t hold them all! Take it away Linda!
As a teenage girl in New Jersey – complete with my Farah Fawcett wanna-be hairstyle – I worked at the mall. As did many of my high school classmates and 16-year-old peers.
My first job in the food court serving up Greek food was short-lived. The free food was doing nothing to help my waistline, and the aroma of onions and beef and lamb in my hair … my clothes … my pores … was doing nothing to help my love life.
Luckily, my second job at the mall was in jewelry store. A high-end jewelry store, in fact. Filled with sparkling jewels. Sparkling jewels this New Jersey teenage girl coveted. Drooled over. And tried on over and over again when the store was slow.
Needless to say, a good portion of my paychecks were reinvested in the store.
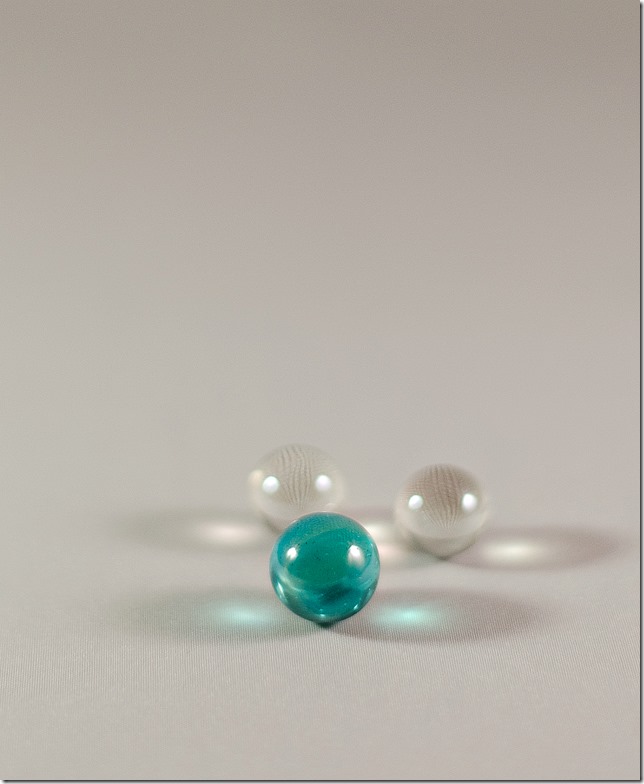
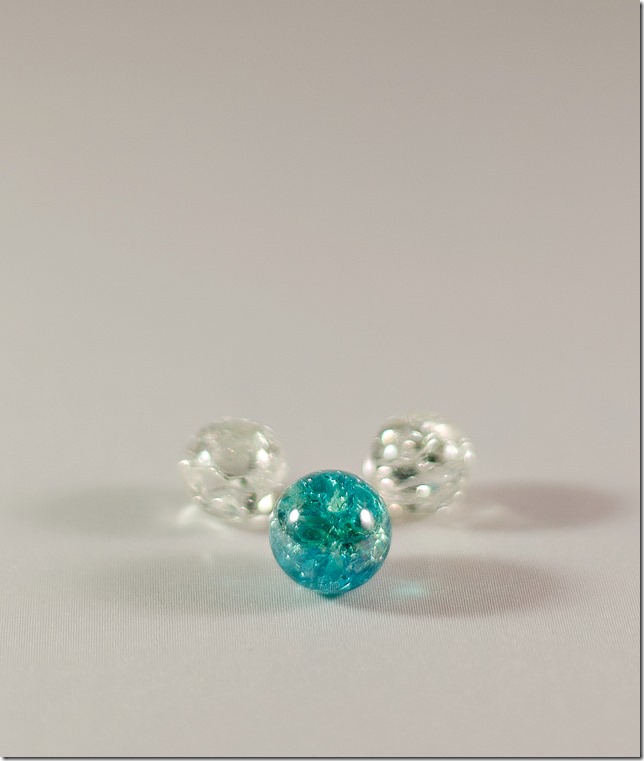
If only I knew then what I know now. That you can make your own sparkling jewels for a fraction of the cost. Using plain old marbles. I first spotted the idea on this Pinterest pin …
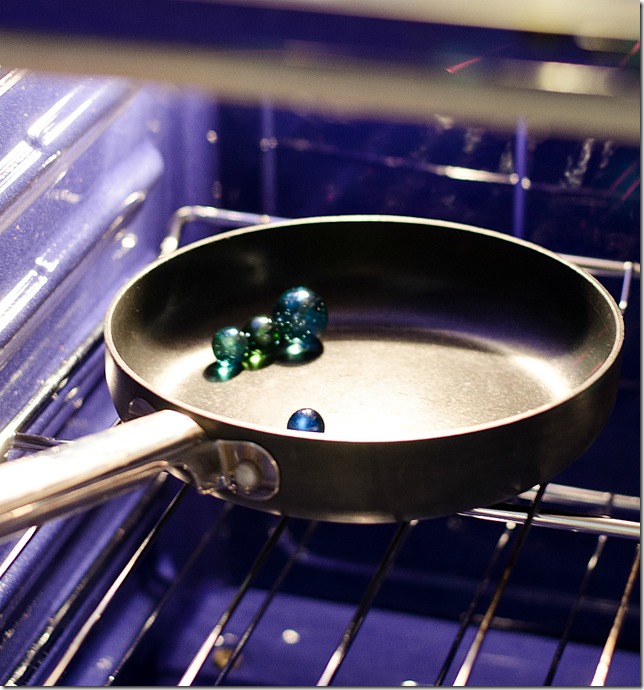
You start by baking them in the oven at 350 degrees for 15-20 minutes …
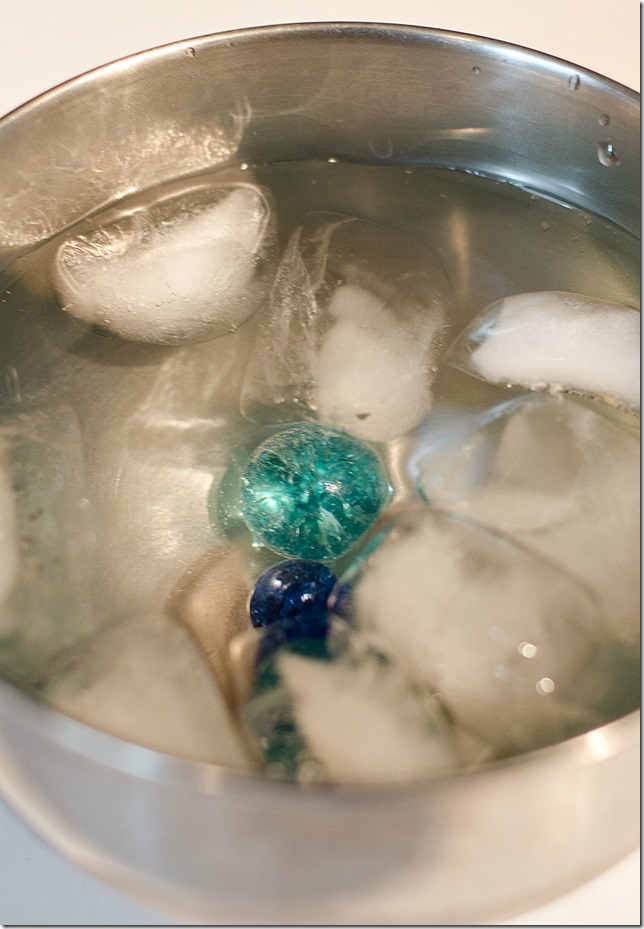
Then you immediately dump them in ice cold water. Ice cold water in a metal container …
The temperature difference makes them crack on the inside …
but not the outside.
Pretty cool, right?
Now for the tricky part. Turning this into a necklace.
Oh how I wish I had worked in the service center of that jewelry store!
Instead, I turned to Pinterest once again. And found this pin that led to an excellent tutorial.
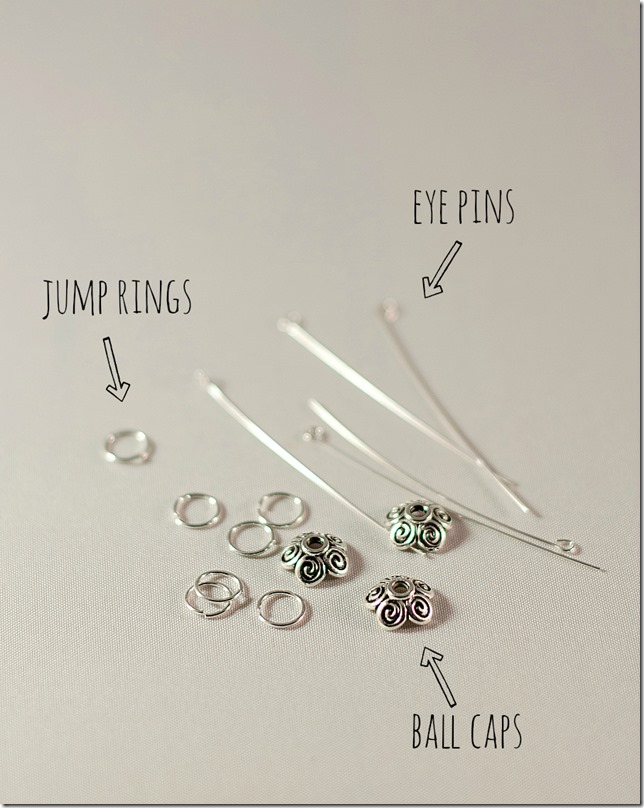
So, I started with some supplies I found in the jewelry department of my local craft store.
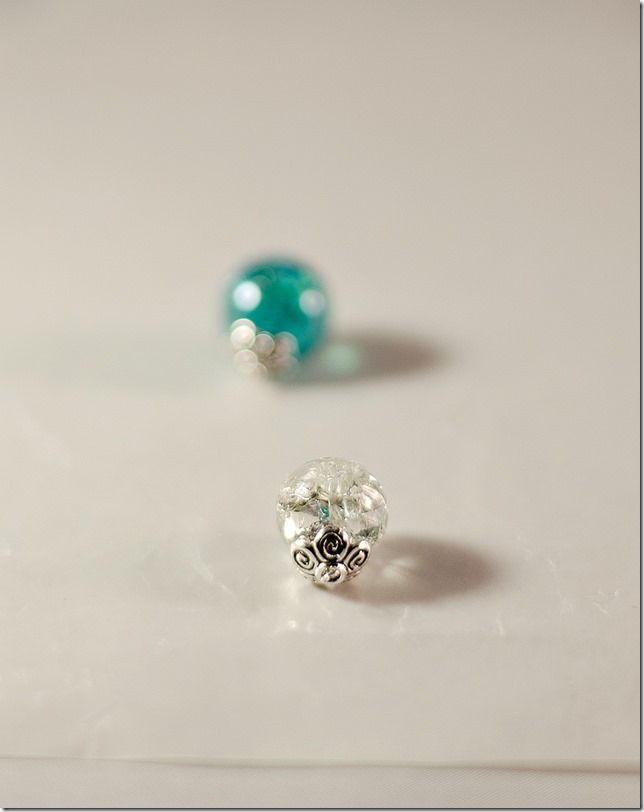
Per those excellent instructions I found on Pinterest (complete with pictures too), I thread the eye pin through the ball cap. Then I cut the excess eye pin wire and created a loop inside the ball cap to hold it in place. At this point, there may have been some cursing. And frustration. And digging through the tool box hoping we had a second pair of needle nose pliers.
After lots of glue and a giant mess, I ended up with this …
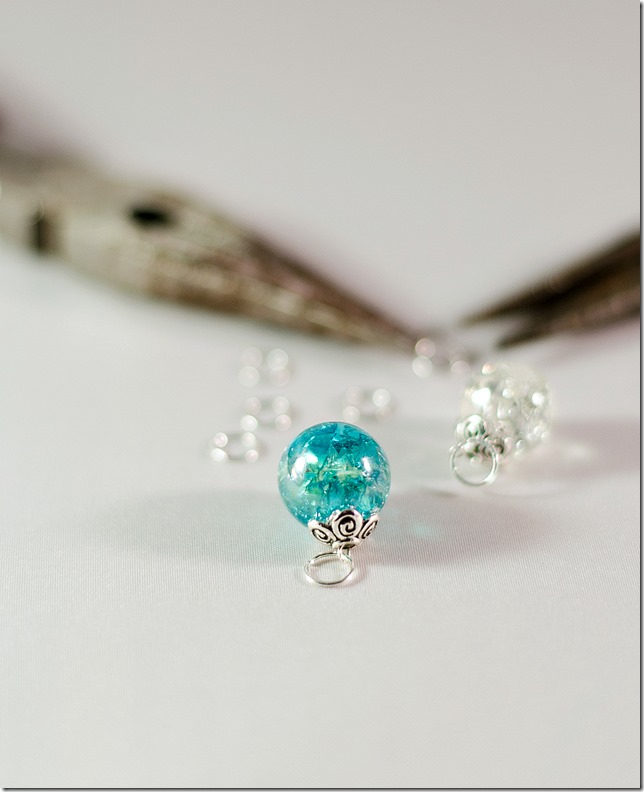
I added jump rings (the two needle nose pliers strategy worked here too).
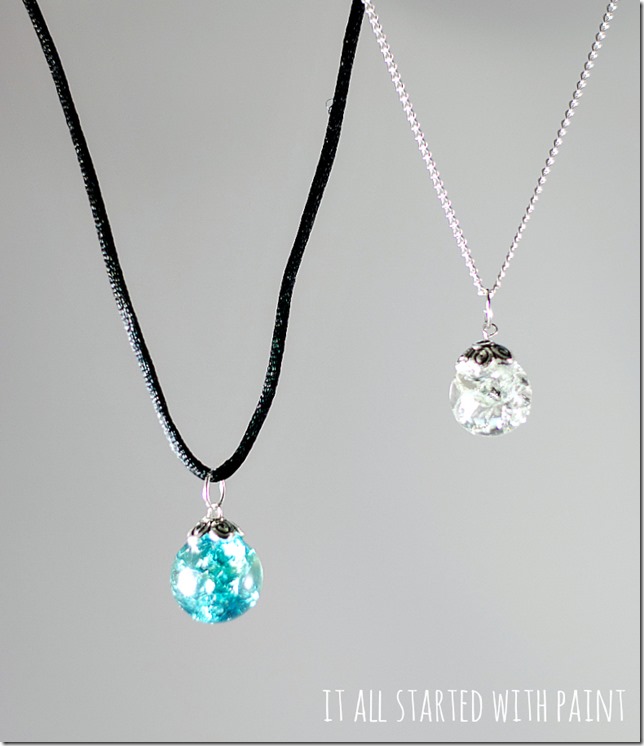
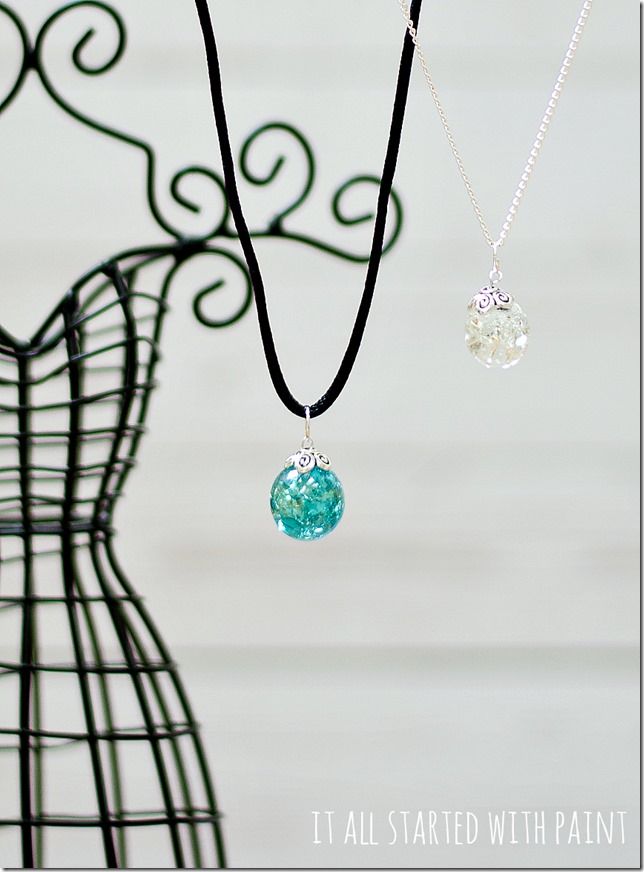
And strung them up on cording and chains.
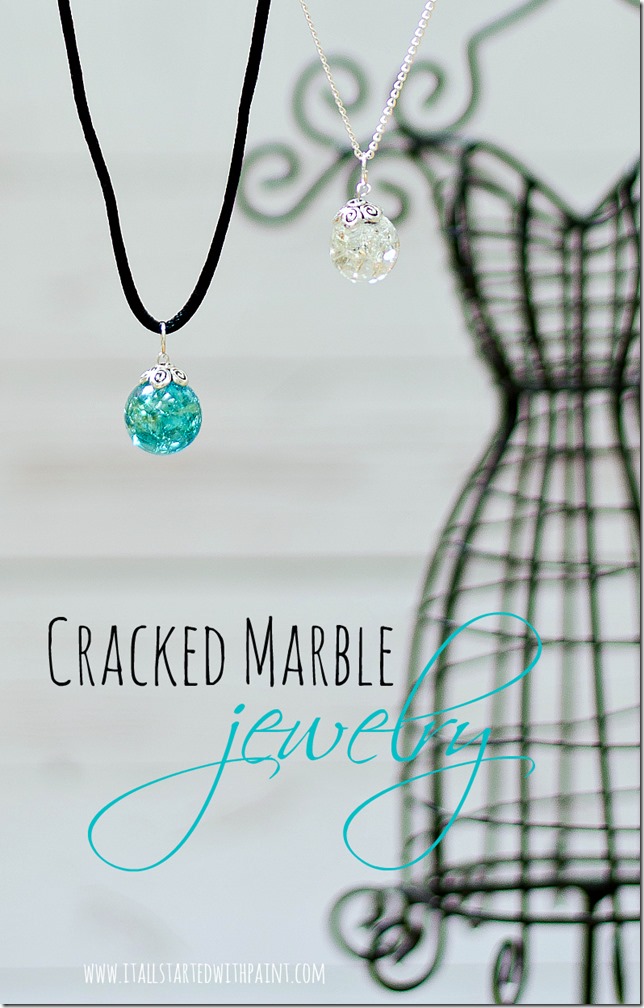
Voila. Now you have a unique sparkling jewel necklace that you definitely won’t find at the mall …
You can find me @ …
It All Started With Paint | Facebook | Pinterest | Twitter | Google+
Thank you Linda, for sharing this terrific craft with us today. I am totally distracted by how perfectly clean you oven is! I am sure our jewelry will turn out fine, even if our oven isn’t clean, right? Can’t wait to try this!
We’re sharing this post with:
Pint Sized Baker, Lil’ Luna,
Living Well Spending Less, Six Sisters’ Stuff, Home Stories A to Z,
The Blackberry Vine, Cornerstone Confessions, Ladybug Blessings,
Fluster Buster, Nap Time Creations, Sugar Bee Crafts

Wow, does that bring back memories. I’m 58 and I can remember as a youngster putting marbles on our kitchen coal stove then dropping them into ice water. Didn’t know anyone still did that. Thanks for the memories!
oh wow! I have never seen this done! Thank you so much for sharing and linking up to Handmade Tuesdays @ Ladybug Blessings!
Your welcome!
When I was a young girl in the 60’s these were very popular; they were then called fried marbles.
I think I might be around your age because I remember these too. Aren’t they cute?