For the longest time I wondered what all the fuss is about with using burlap. That of course is because I had never used it before. My first project to have burlap was my Welcome Guest Basket. That’s when I had my big “Ahhhh”! moment. I now buy my burlap on sale at Hobby Lobby to save money. I’ve bought more than I need knowing I will find more projects where I will want to use burlap.
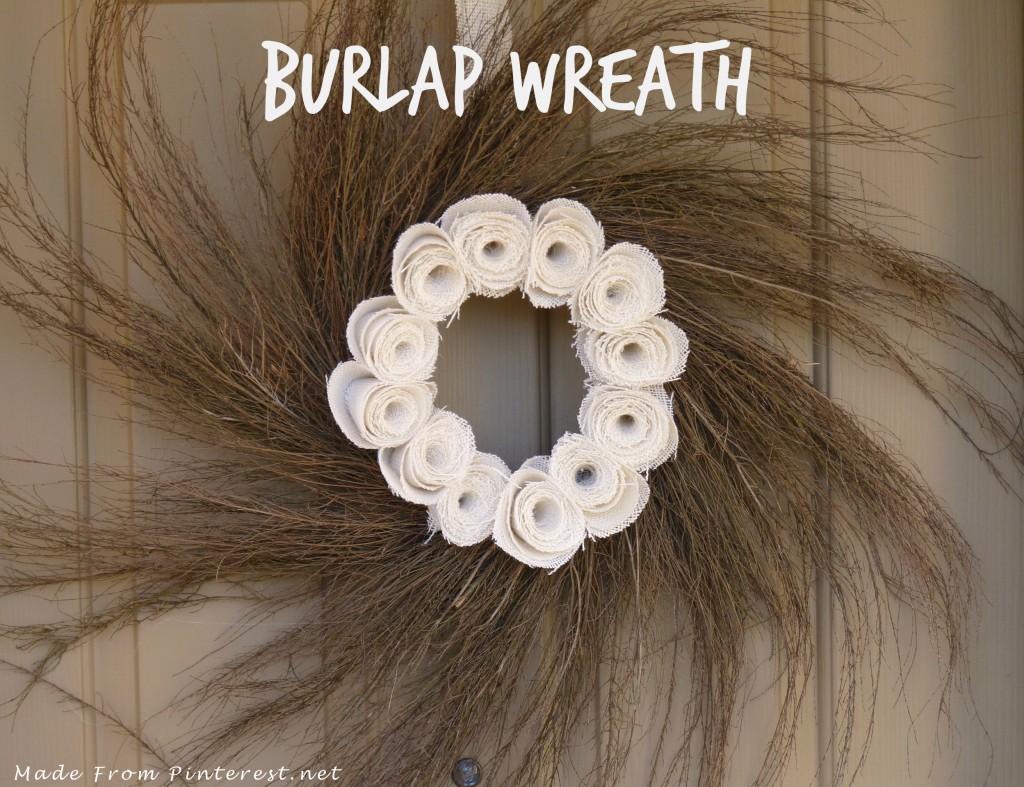
Yes, it makes a big mess when being cut, but I’ve found the results to be worth it. So it’s no big surprise that I fell in love with this burlap wreath from Jenni at The Roseland Family Blog.
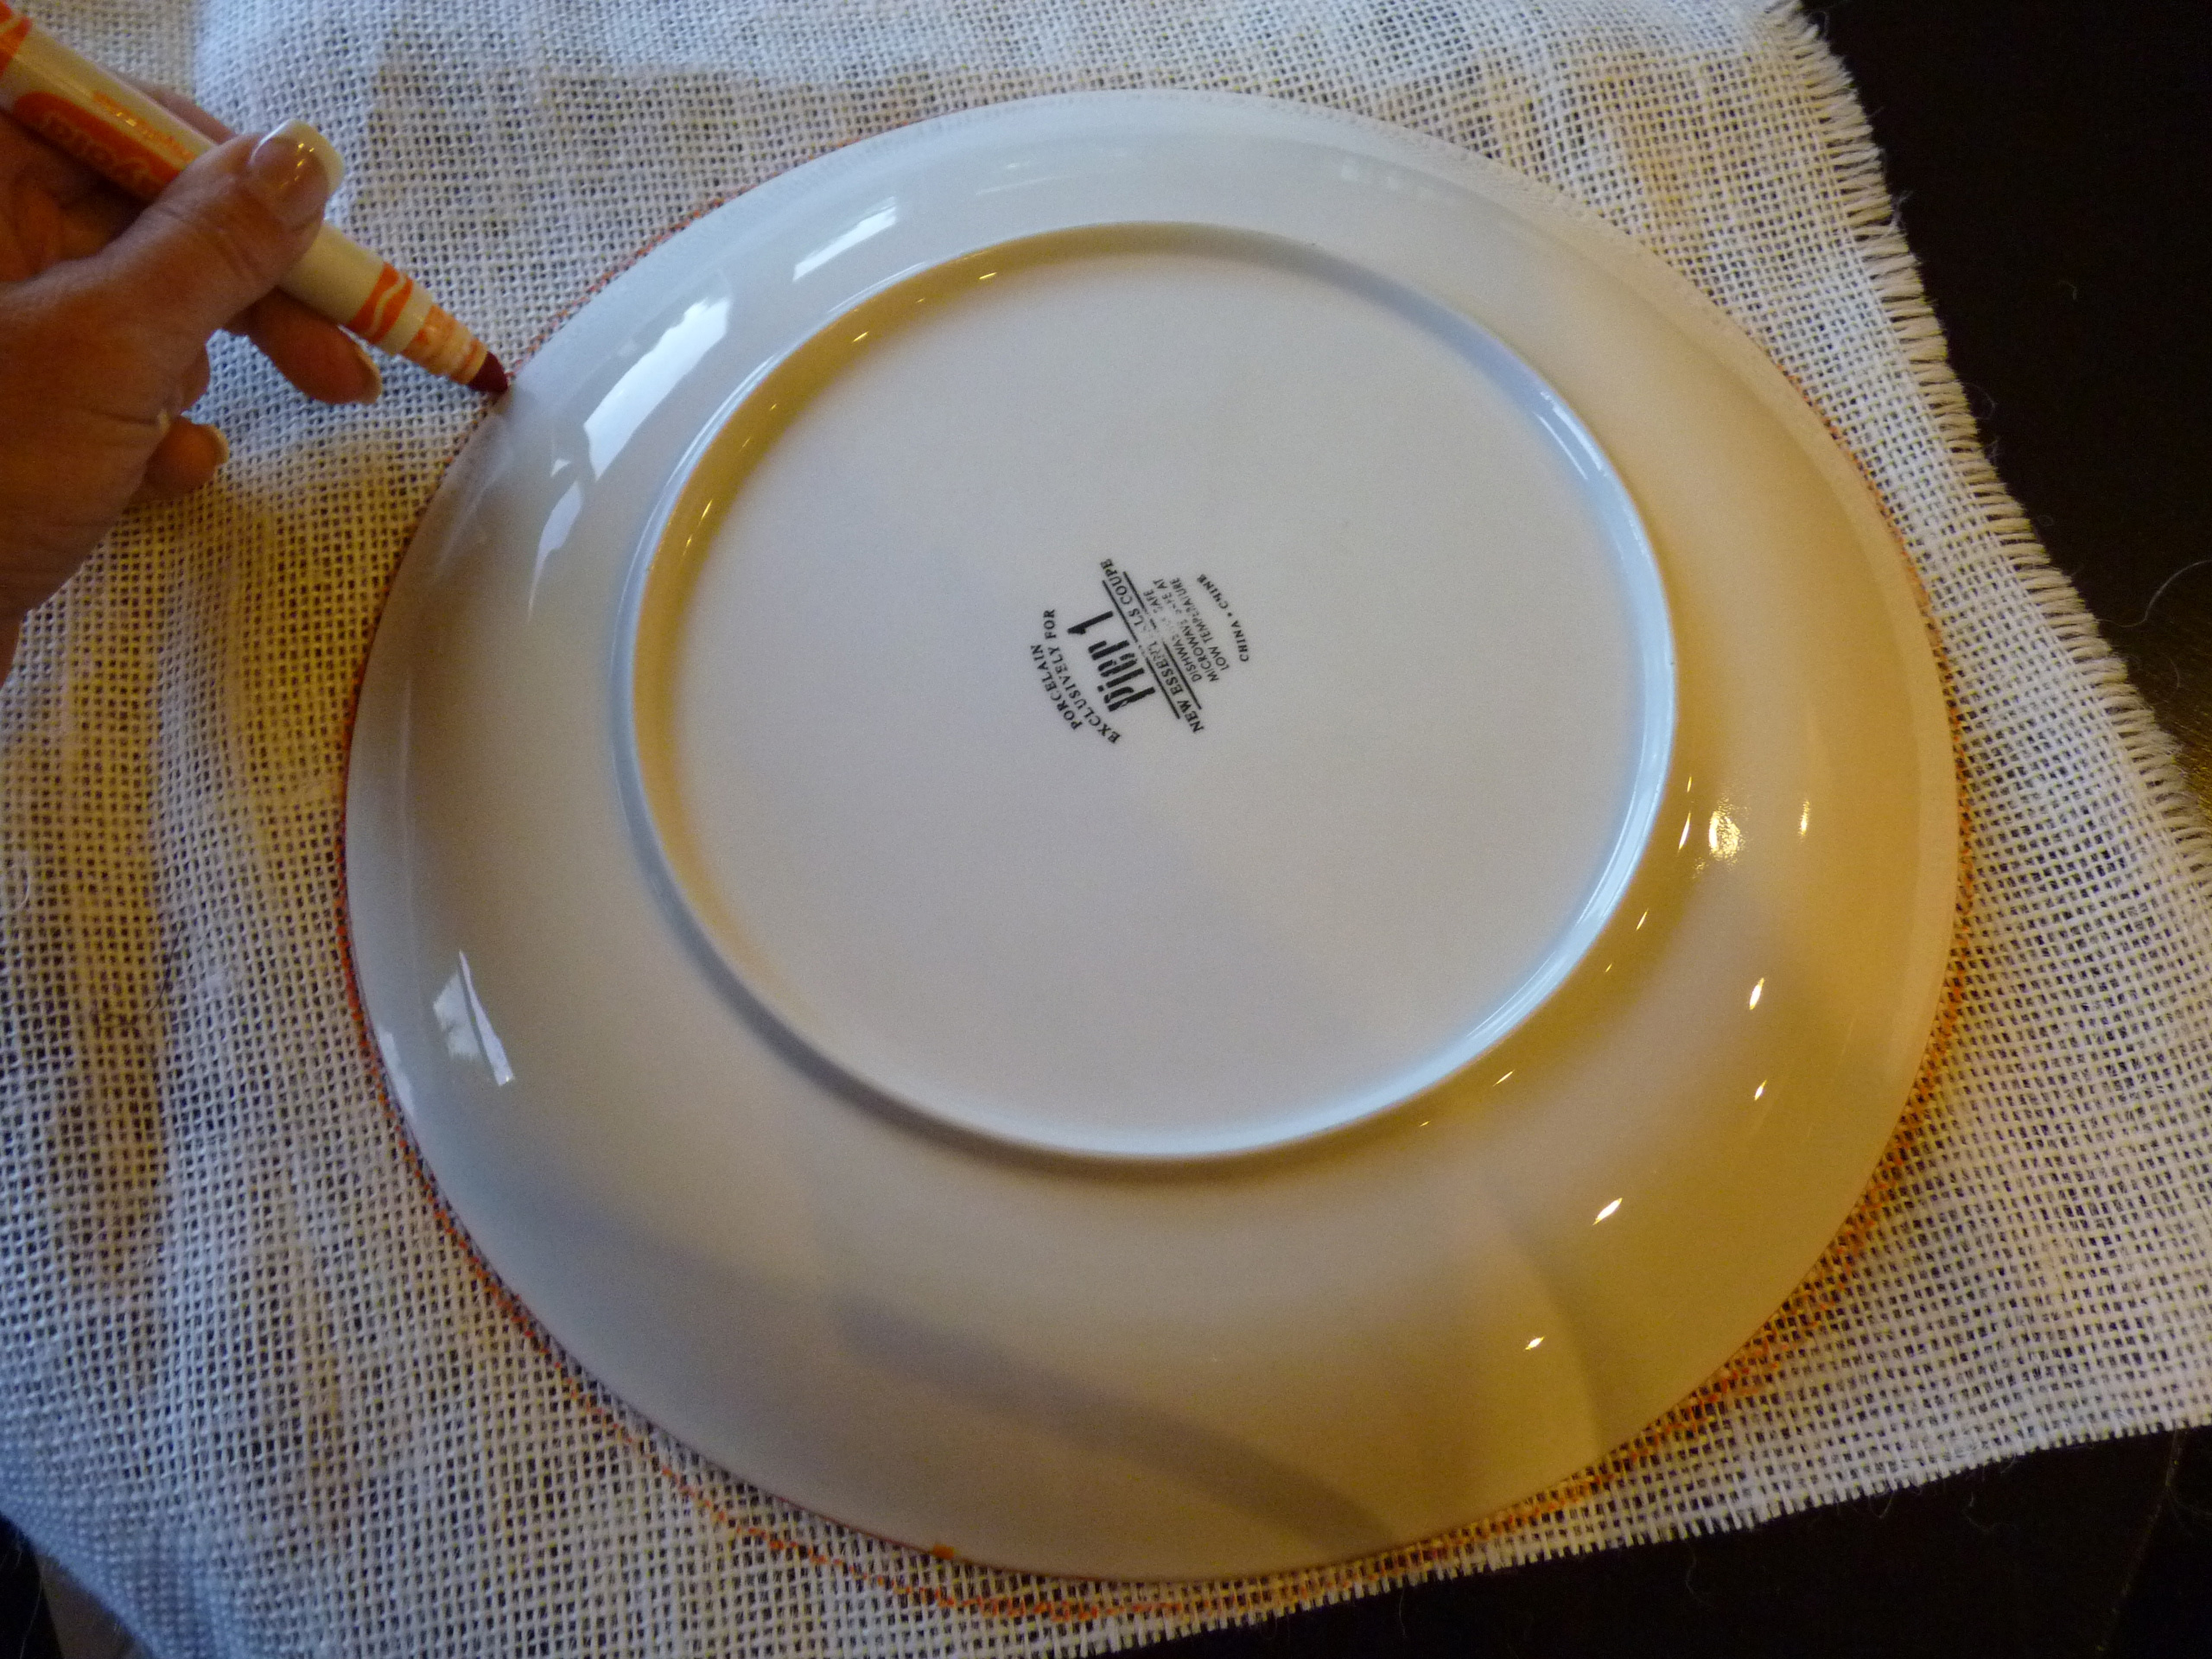
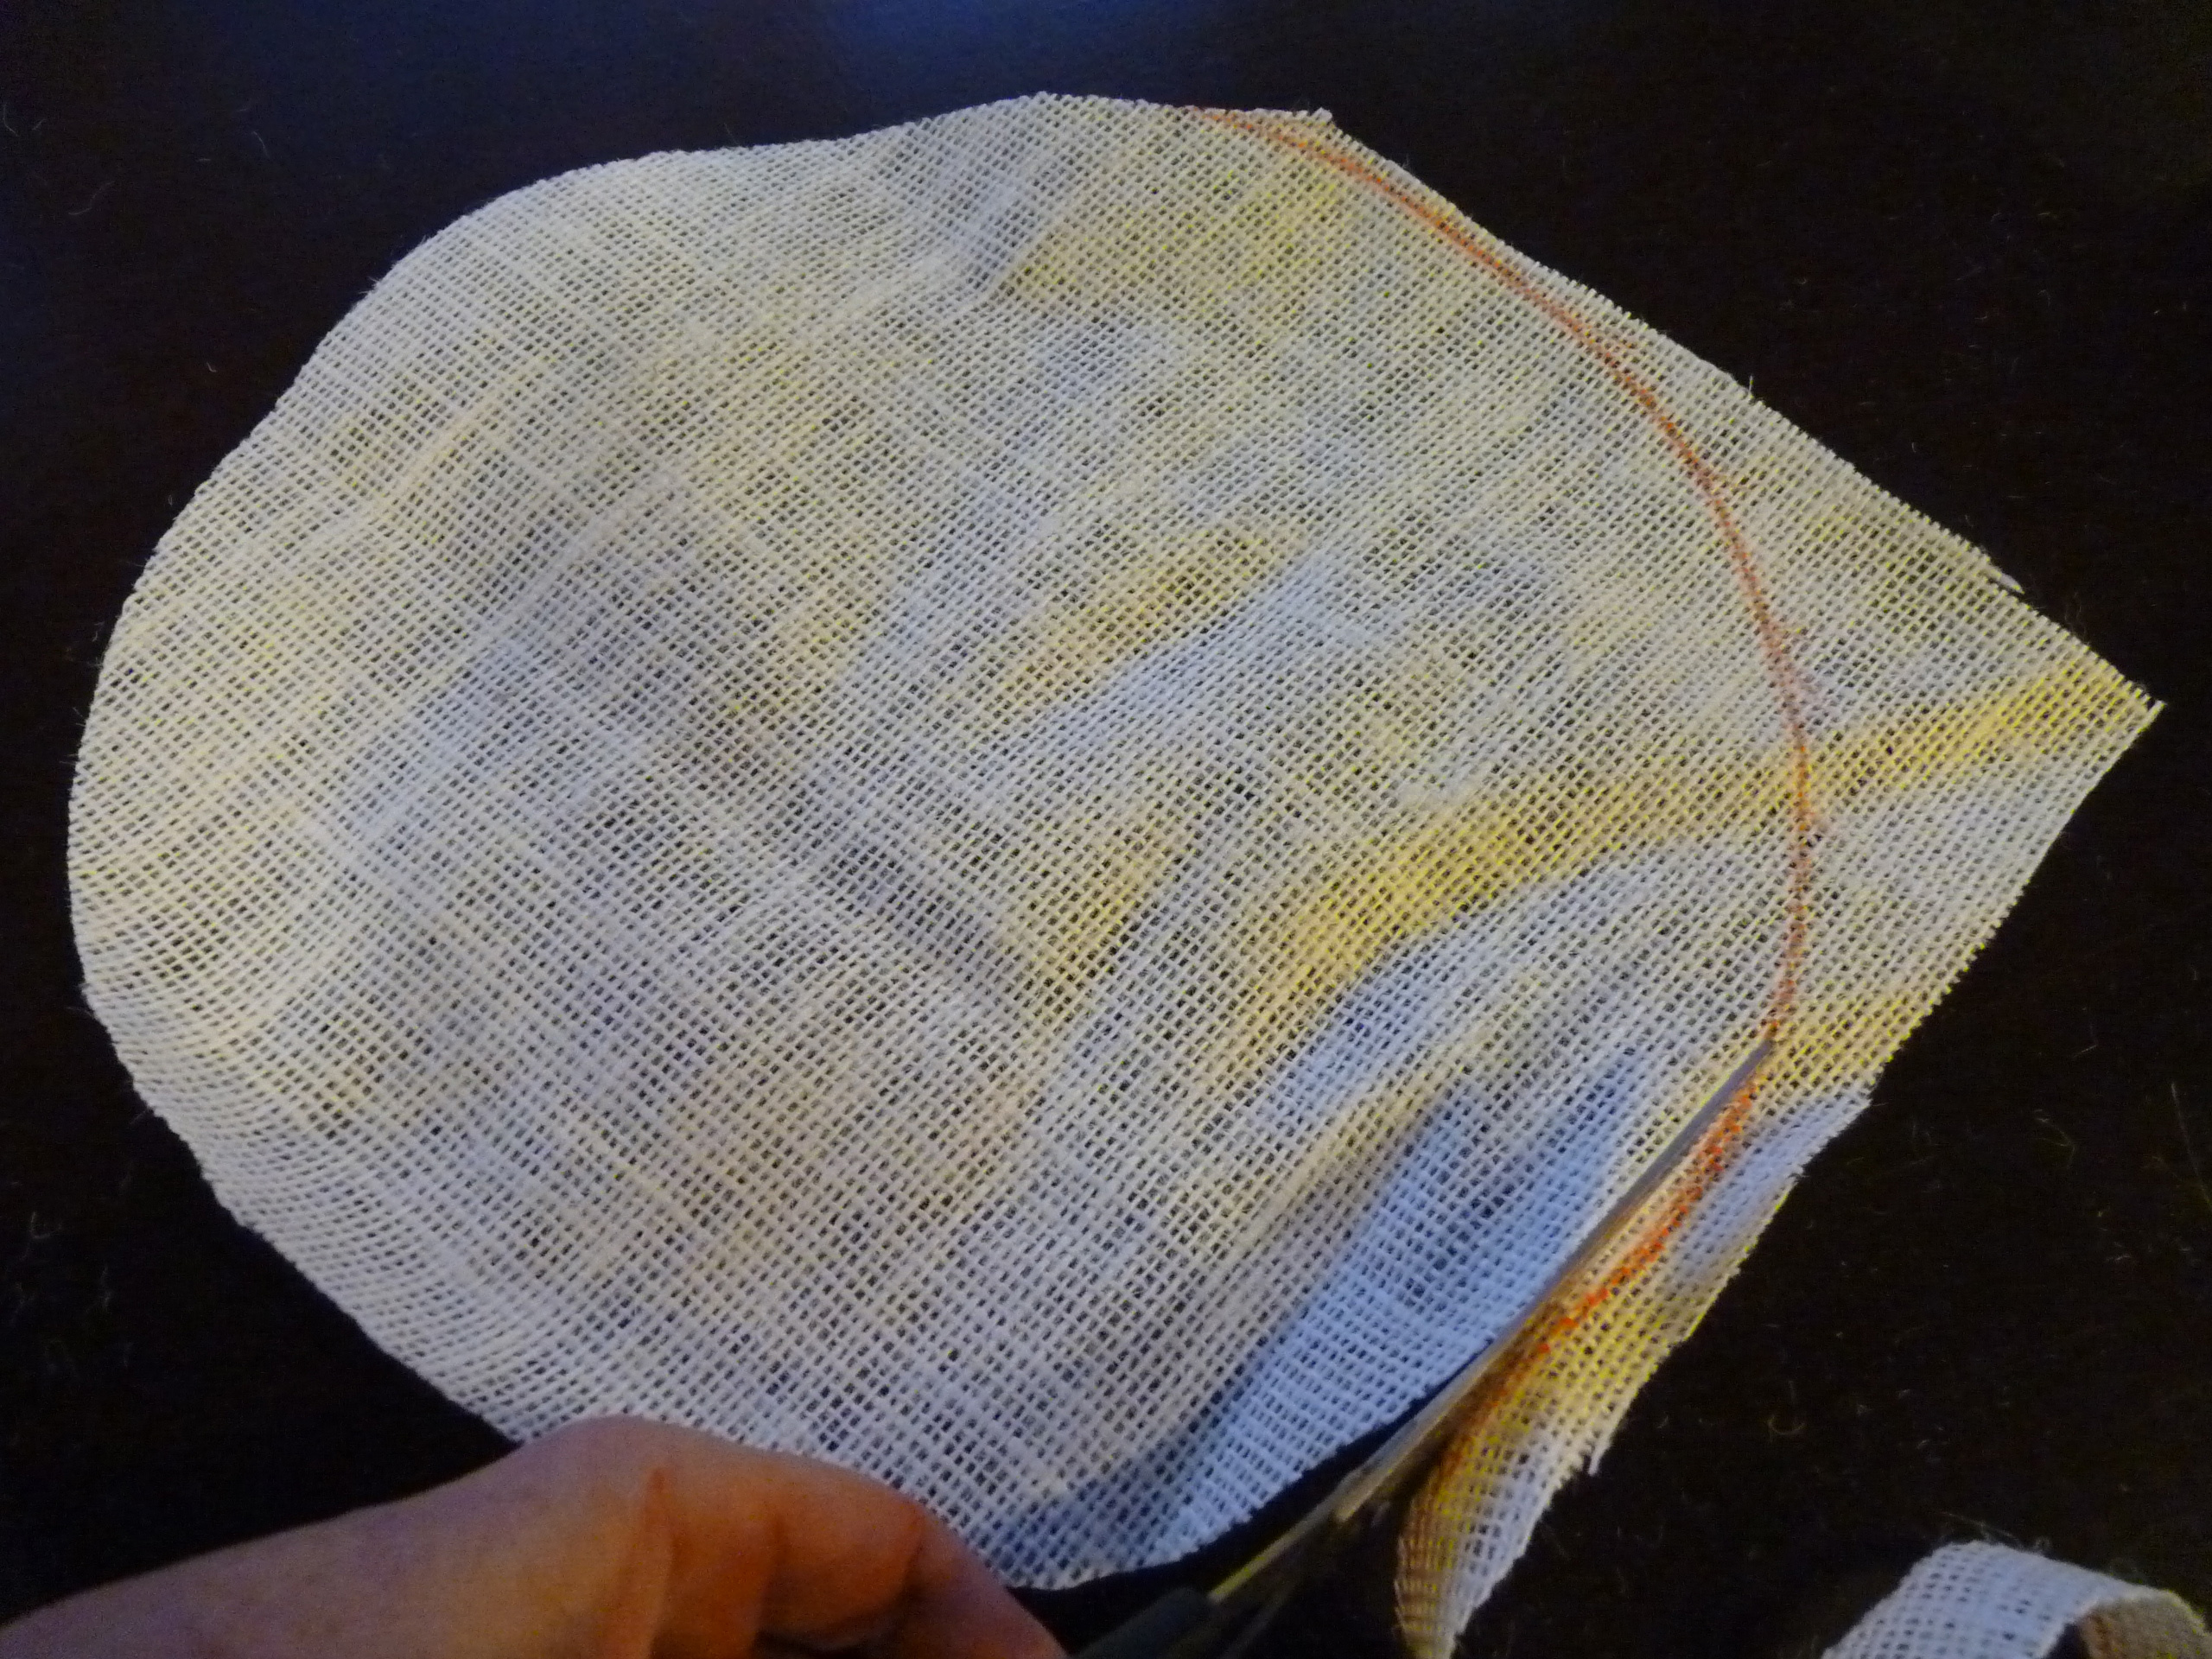
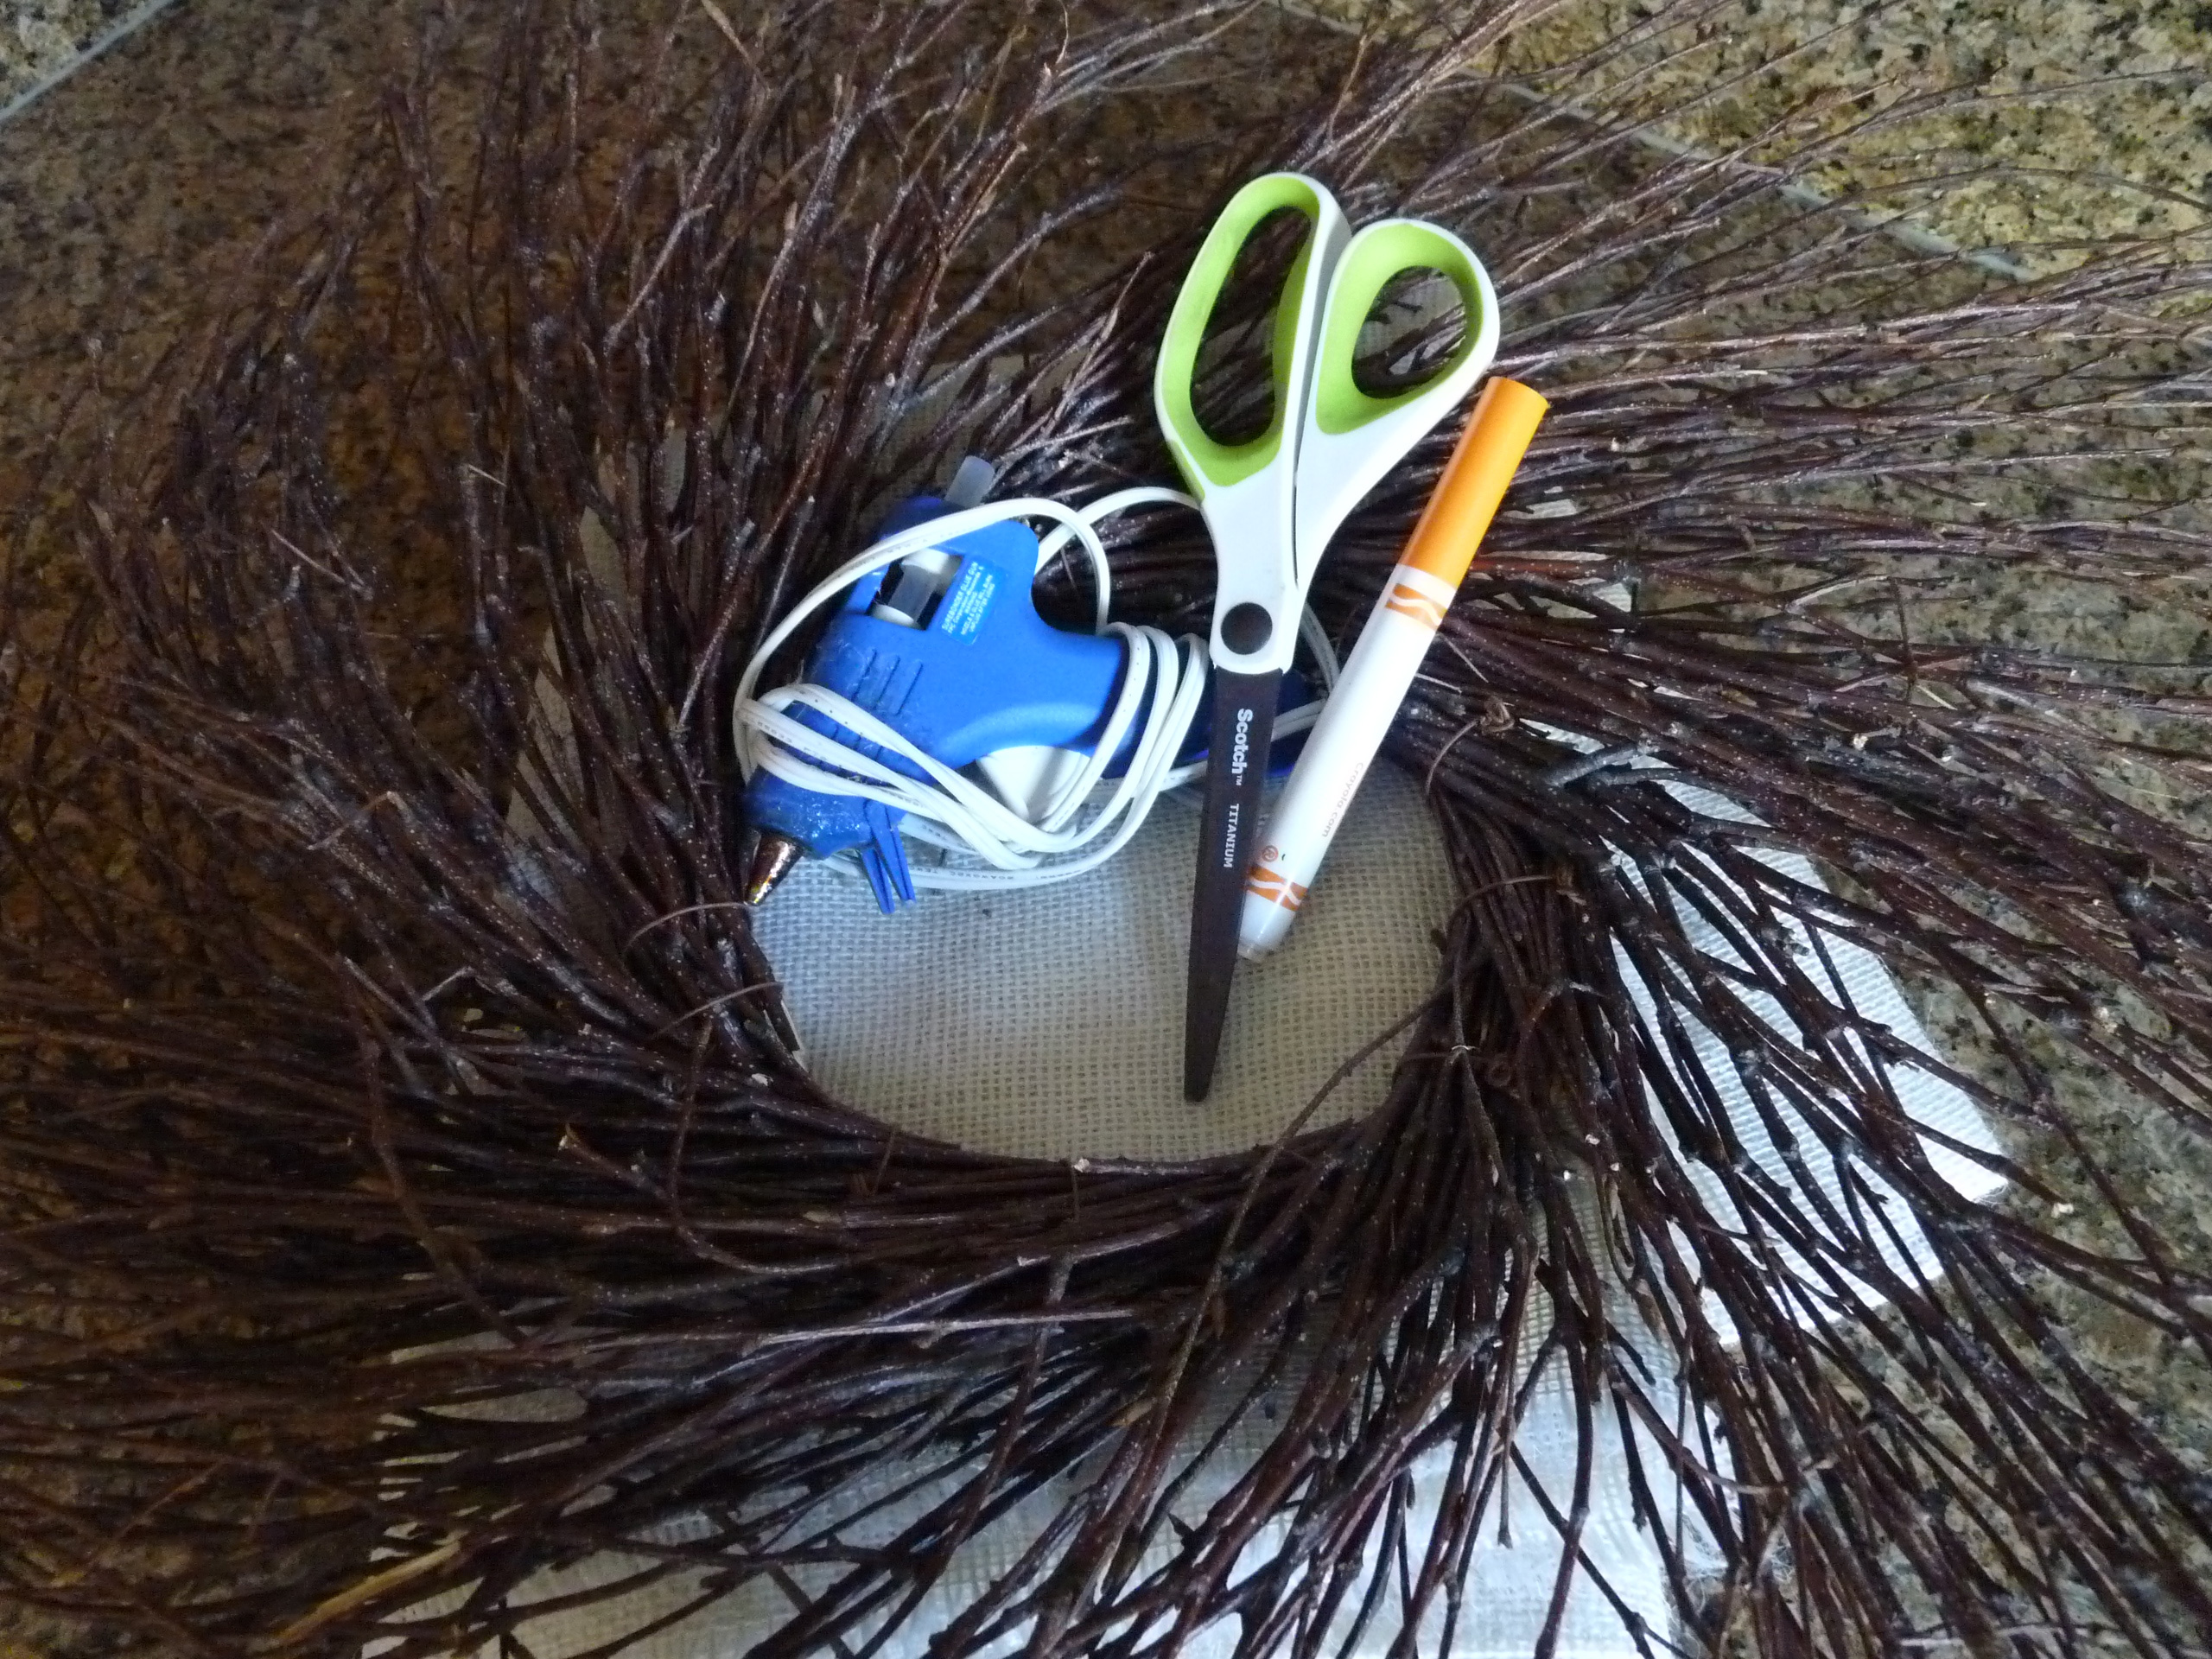
Supplies Scissors – Pen – Burlap – Wreath – Glue Gun and Glue SticksI traced my pattern using a Crayola Marker and a 11″ plate. Cut your circle by going inside the lines of your marker. WARNING – cutting burlap makes a huge mess everywhere! Your clothes, cutting surface and on the floor. Trying to sweep it up caused it to become “air borne” and makes a bigger mess. I found a thorough vacuming to be much more effective. You may even find small pieces of burlap days later. Doesn’t bother me because like I said I just love the look of burlap. Even in my carpet.
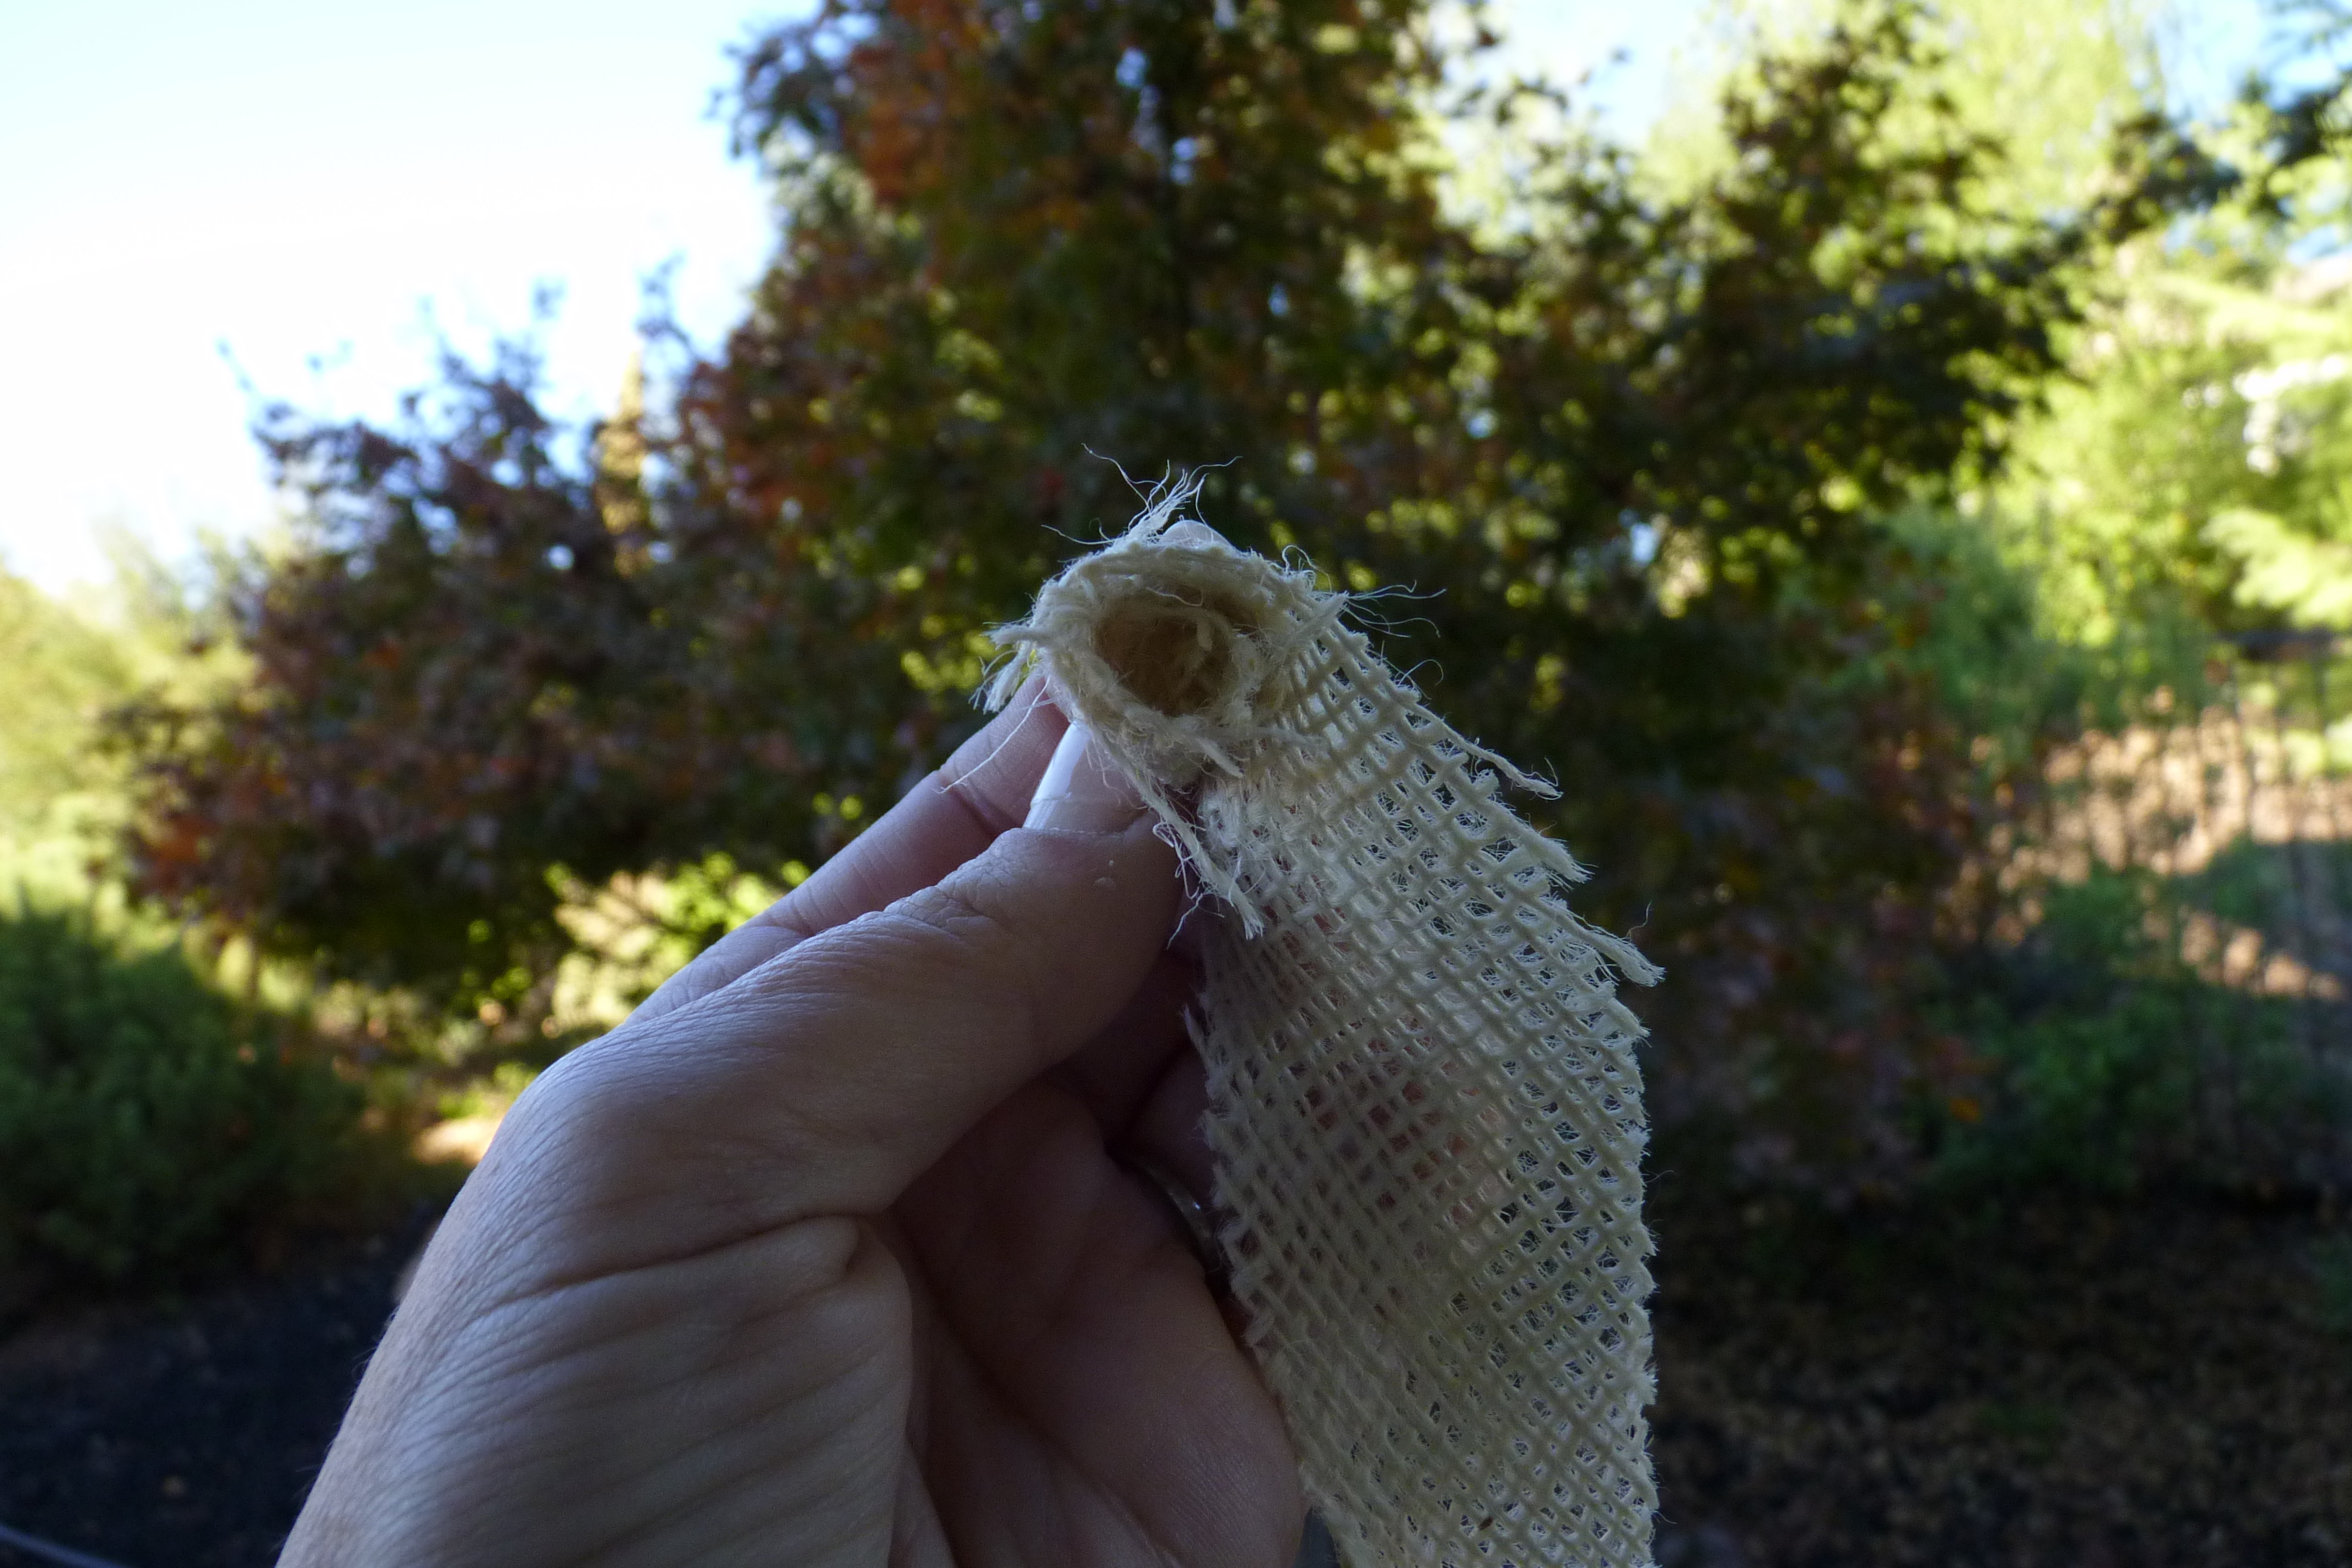
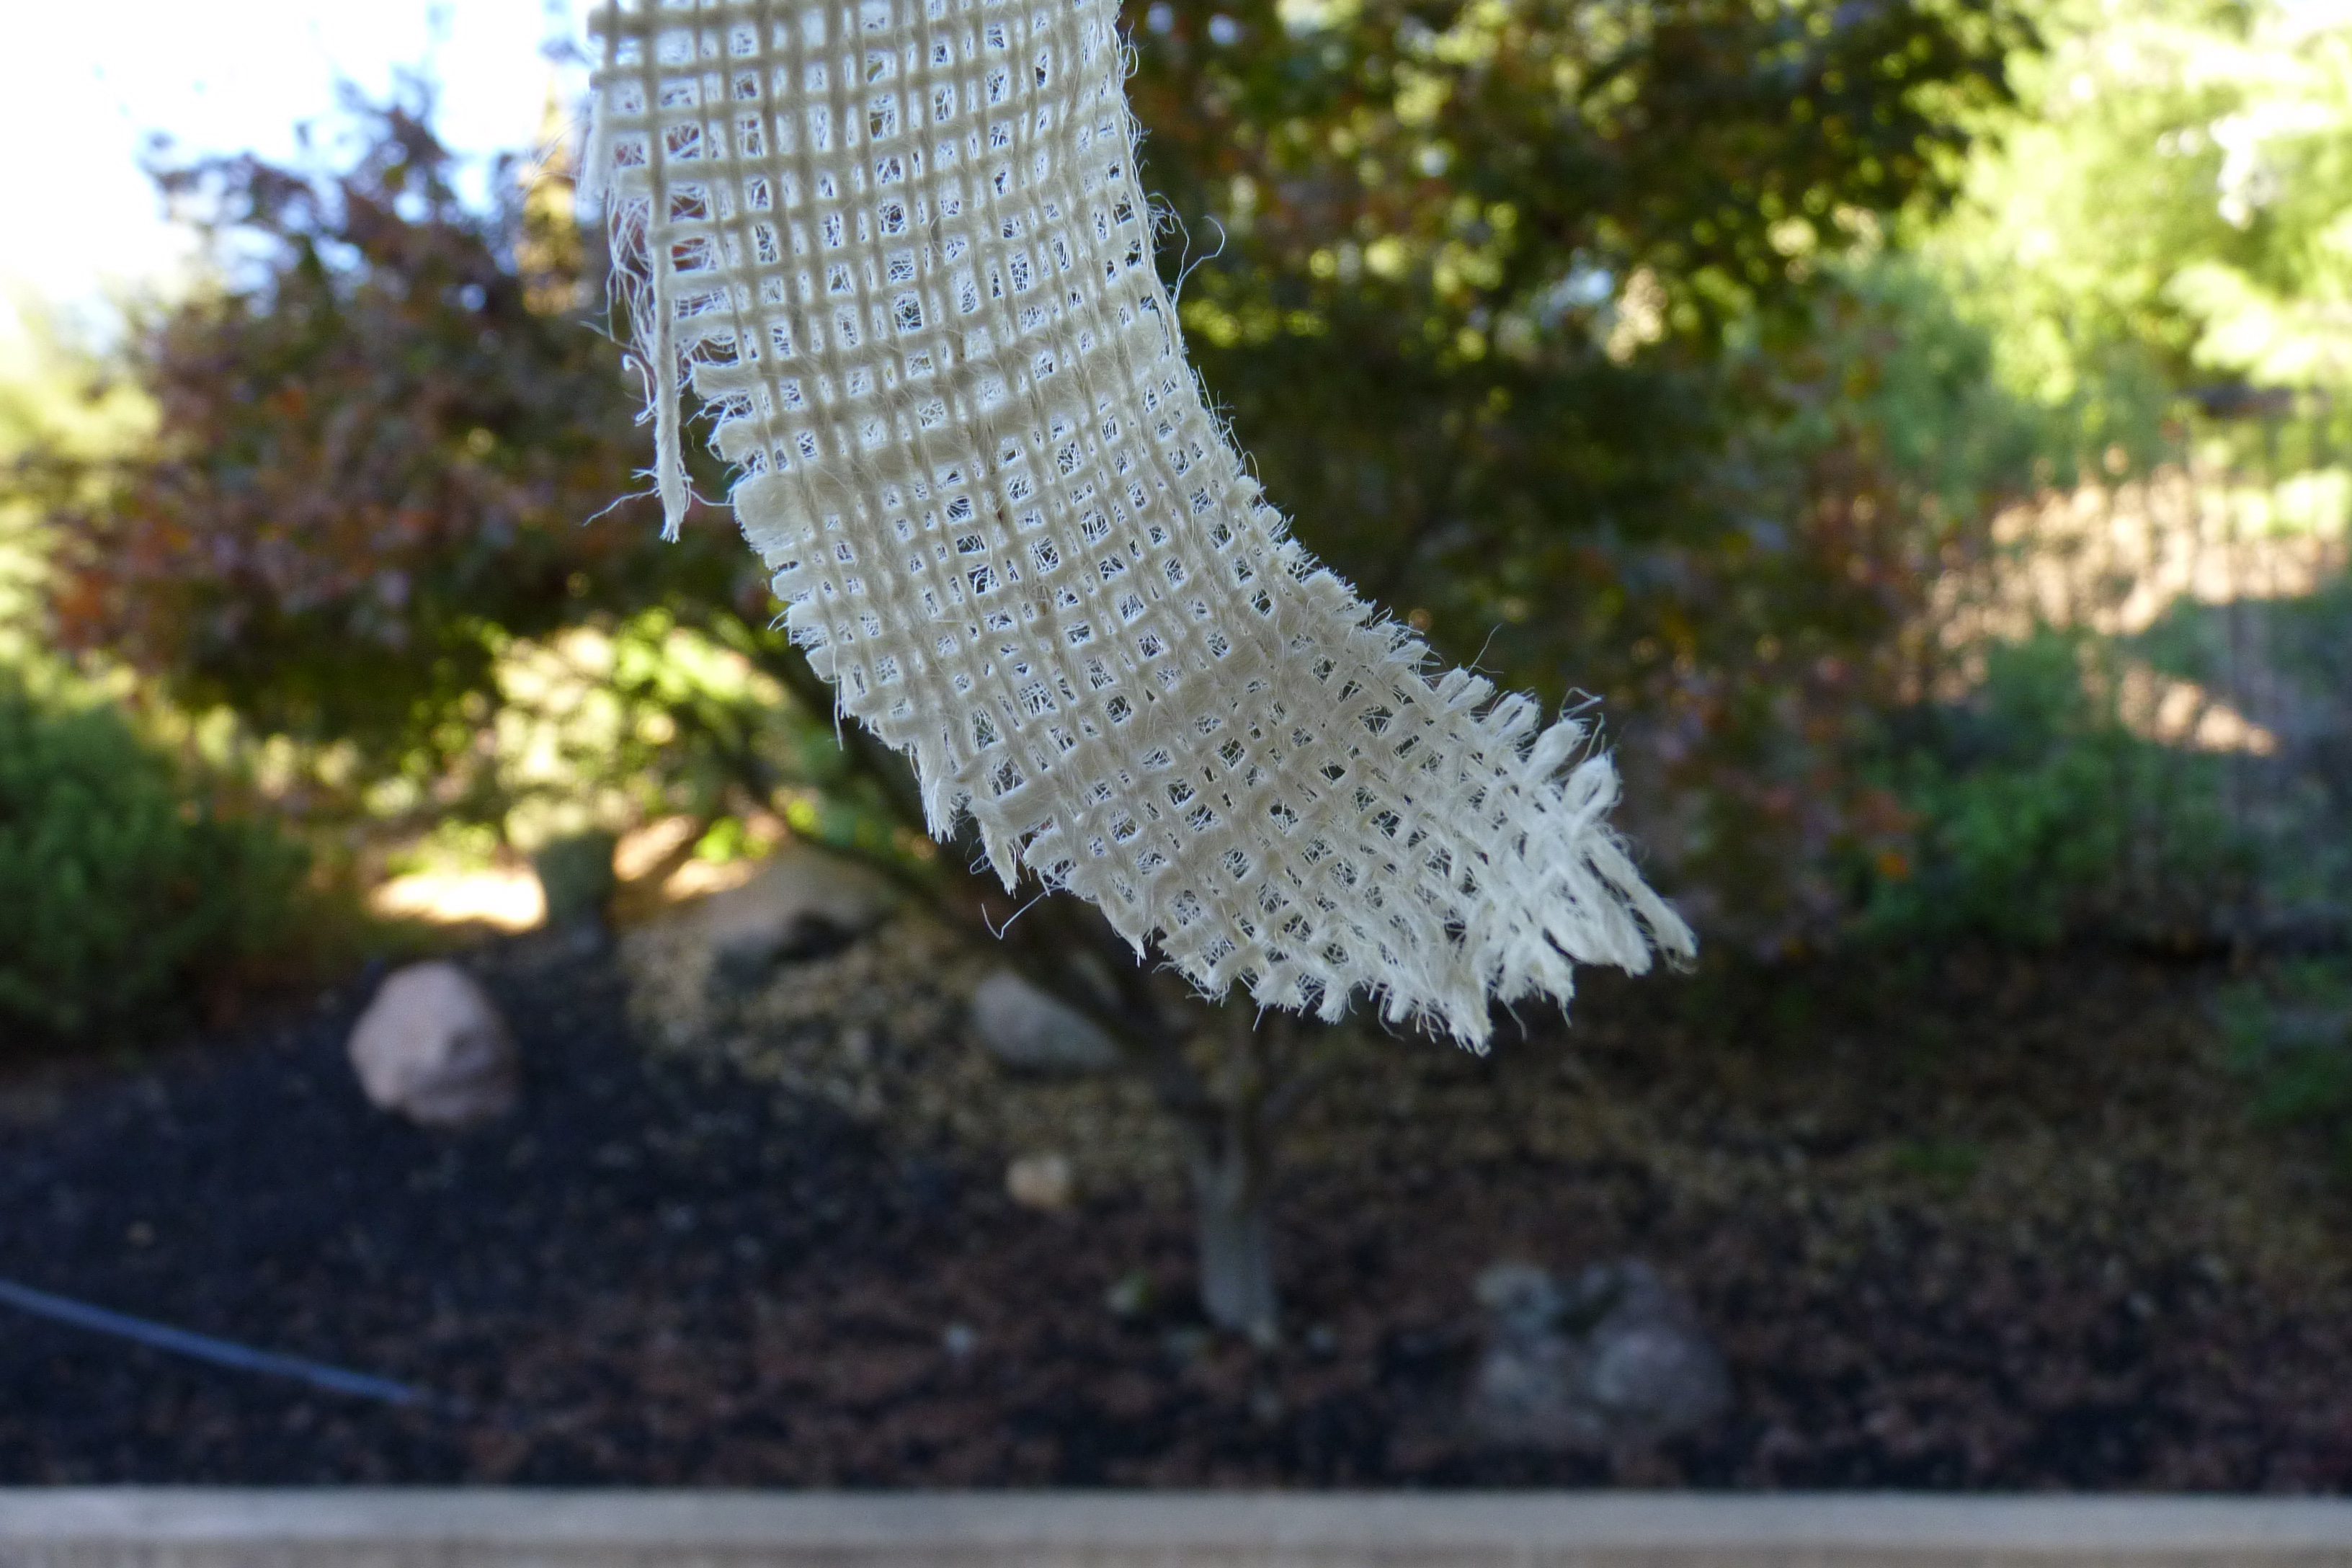
Once your circles are cut out, you cut them in a spiral with a width of about 1.5 inches. I “eyeballed” it, the fact that it may not be perfect only makes the rosette better in my opinion.
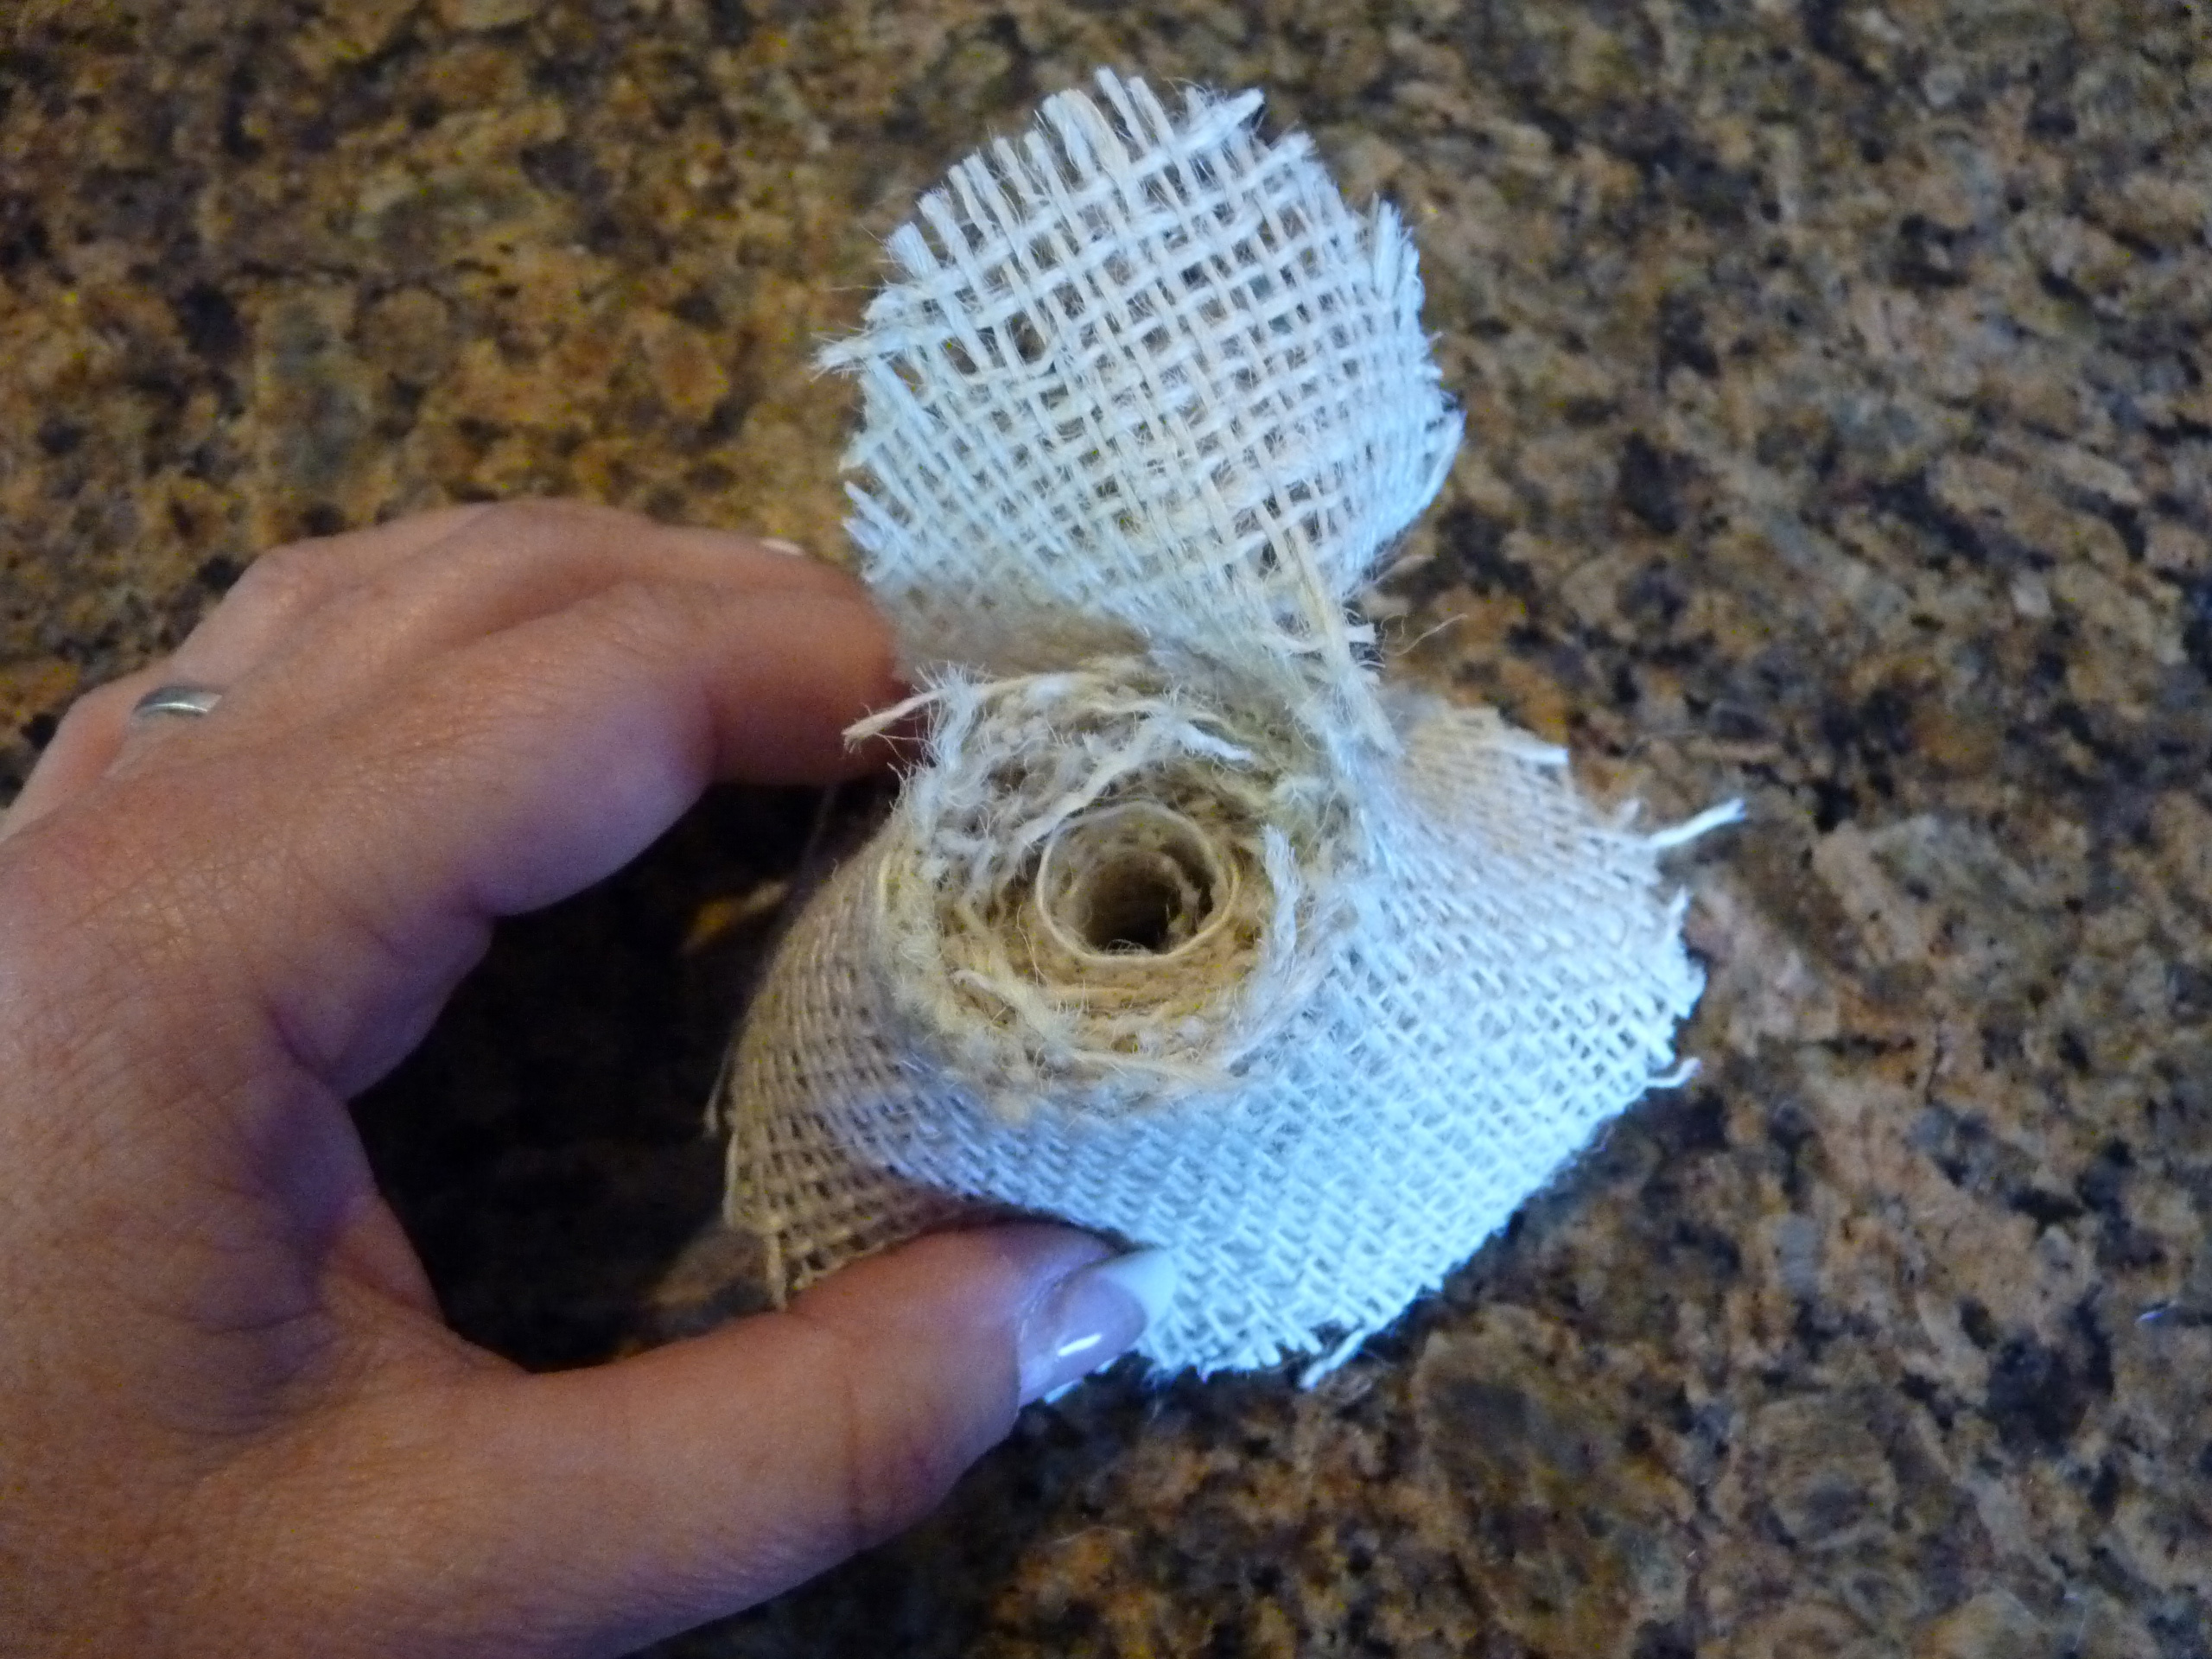
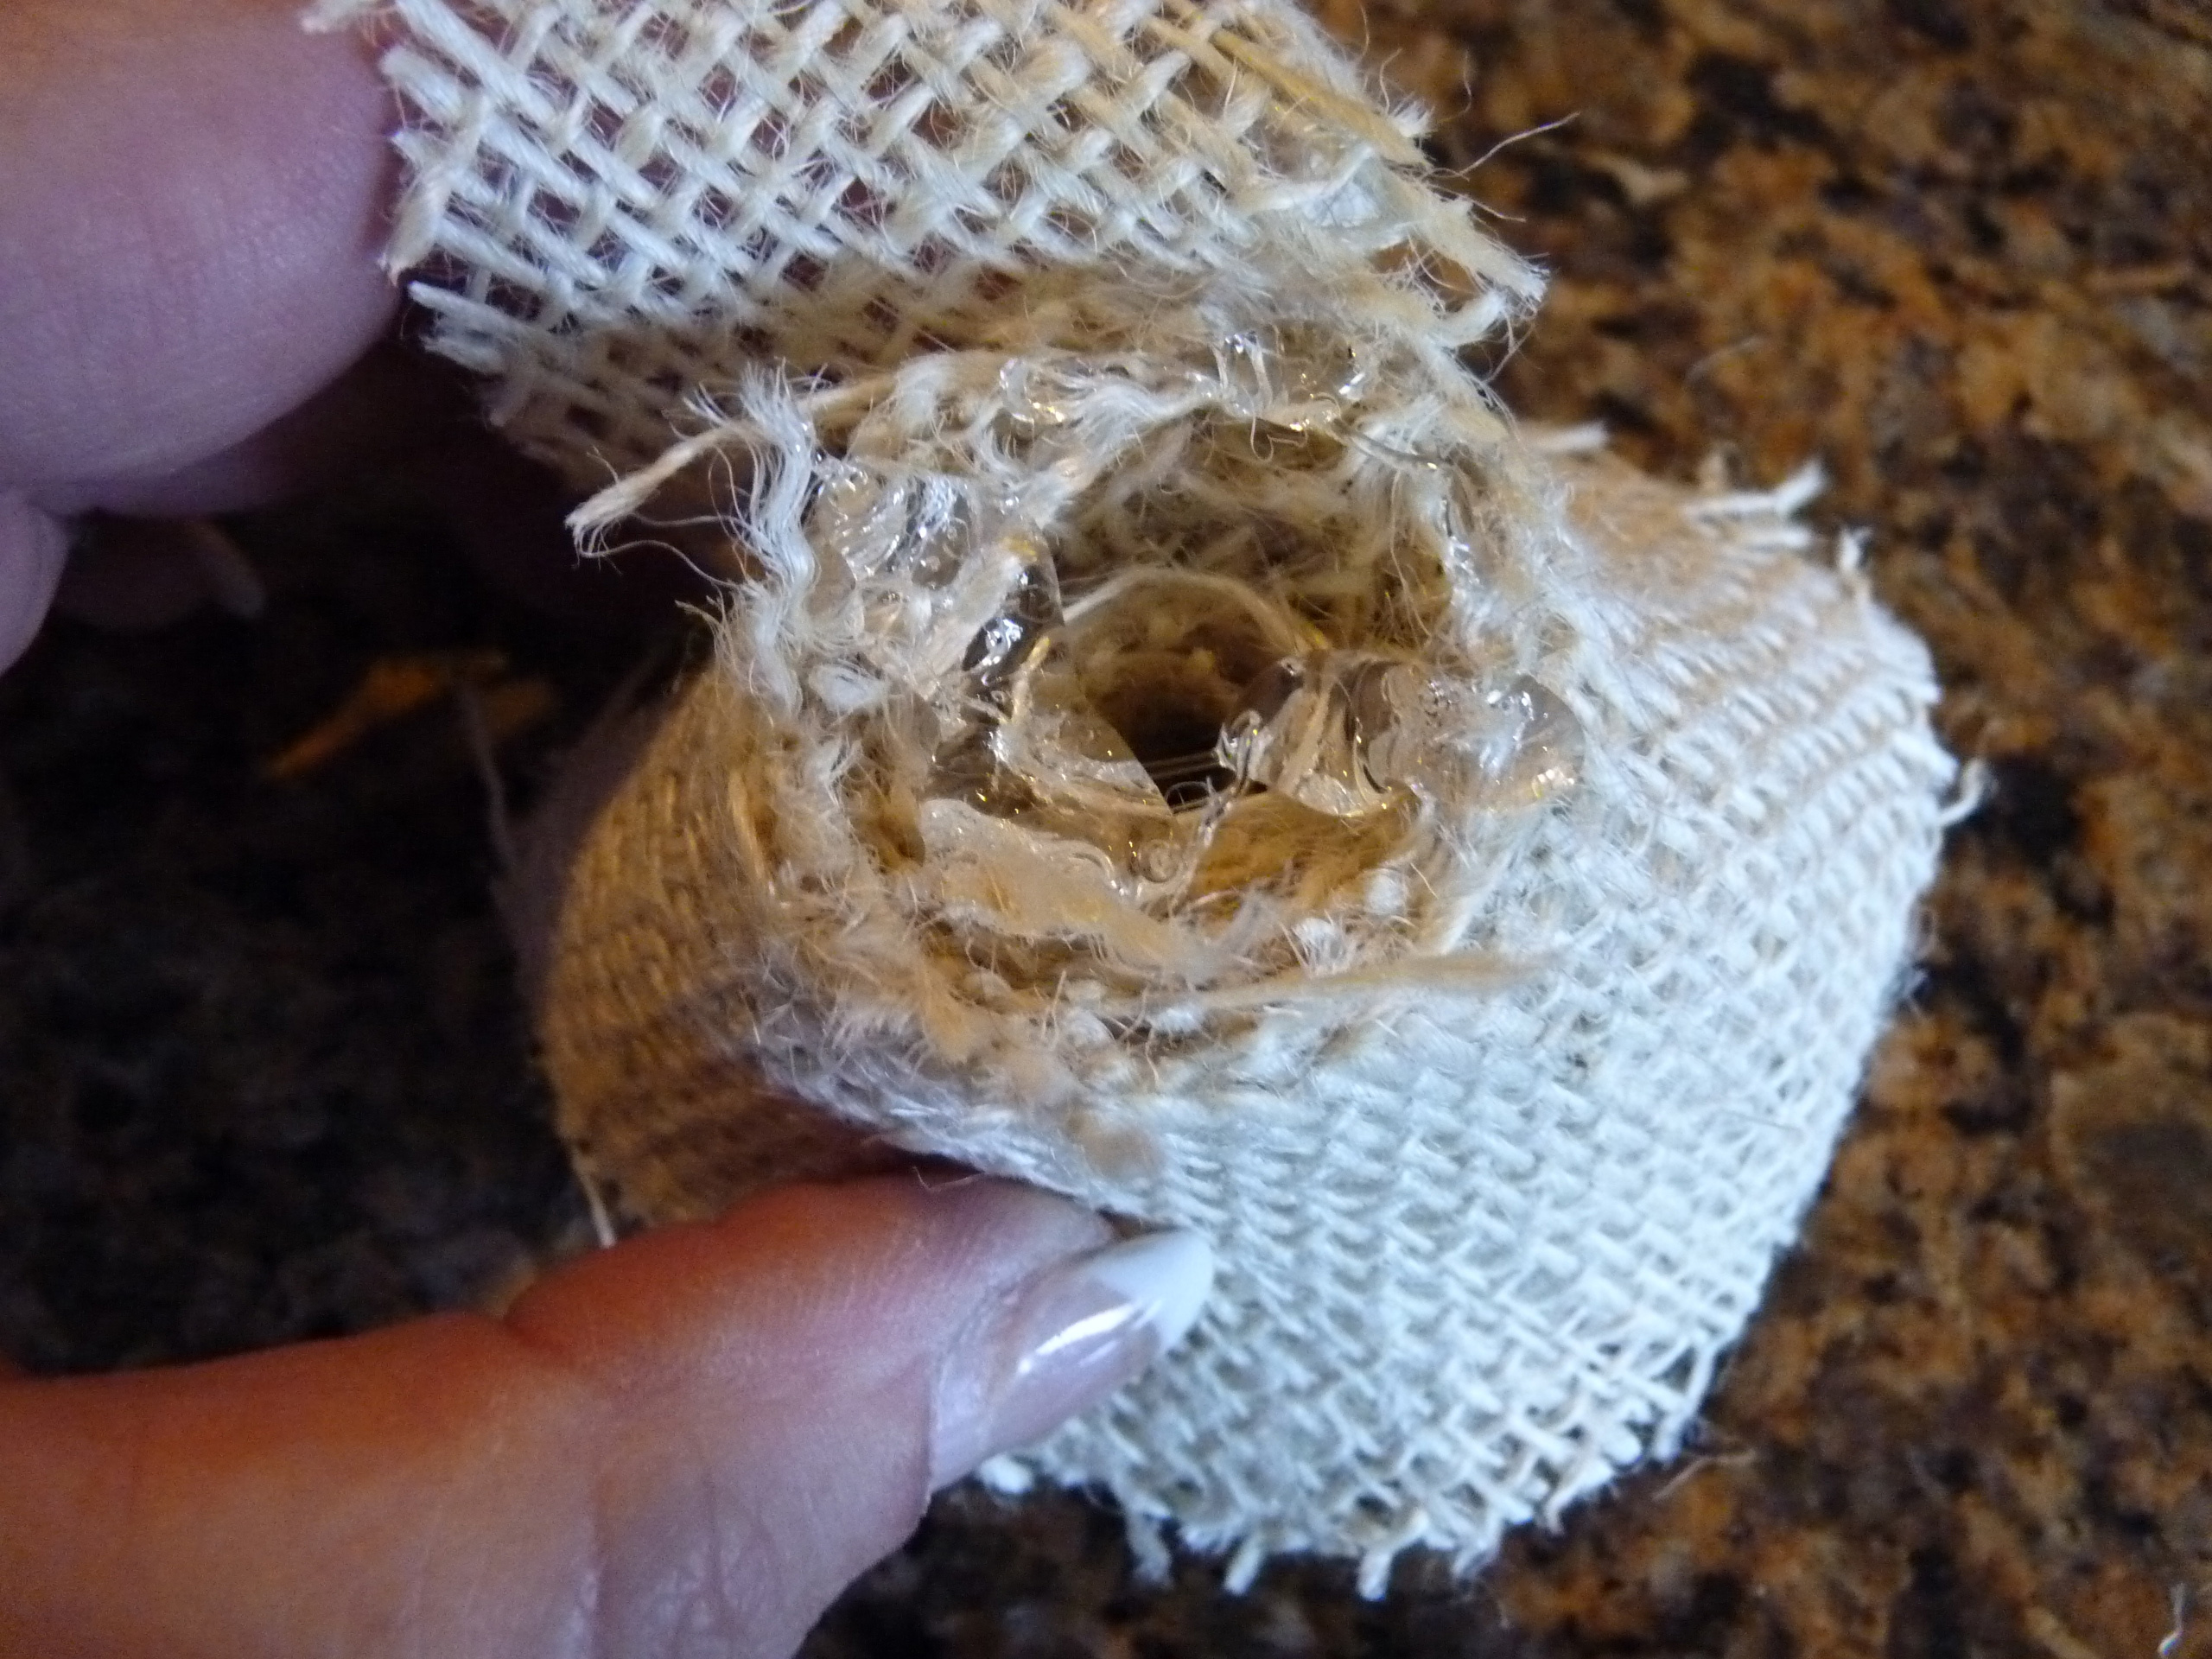
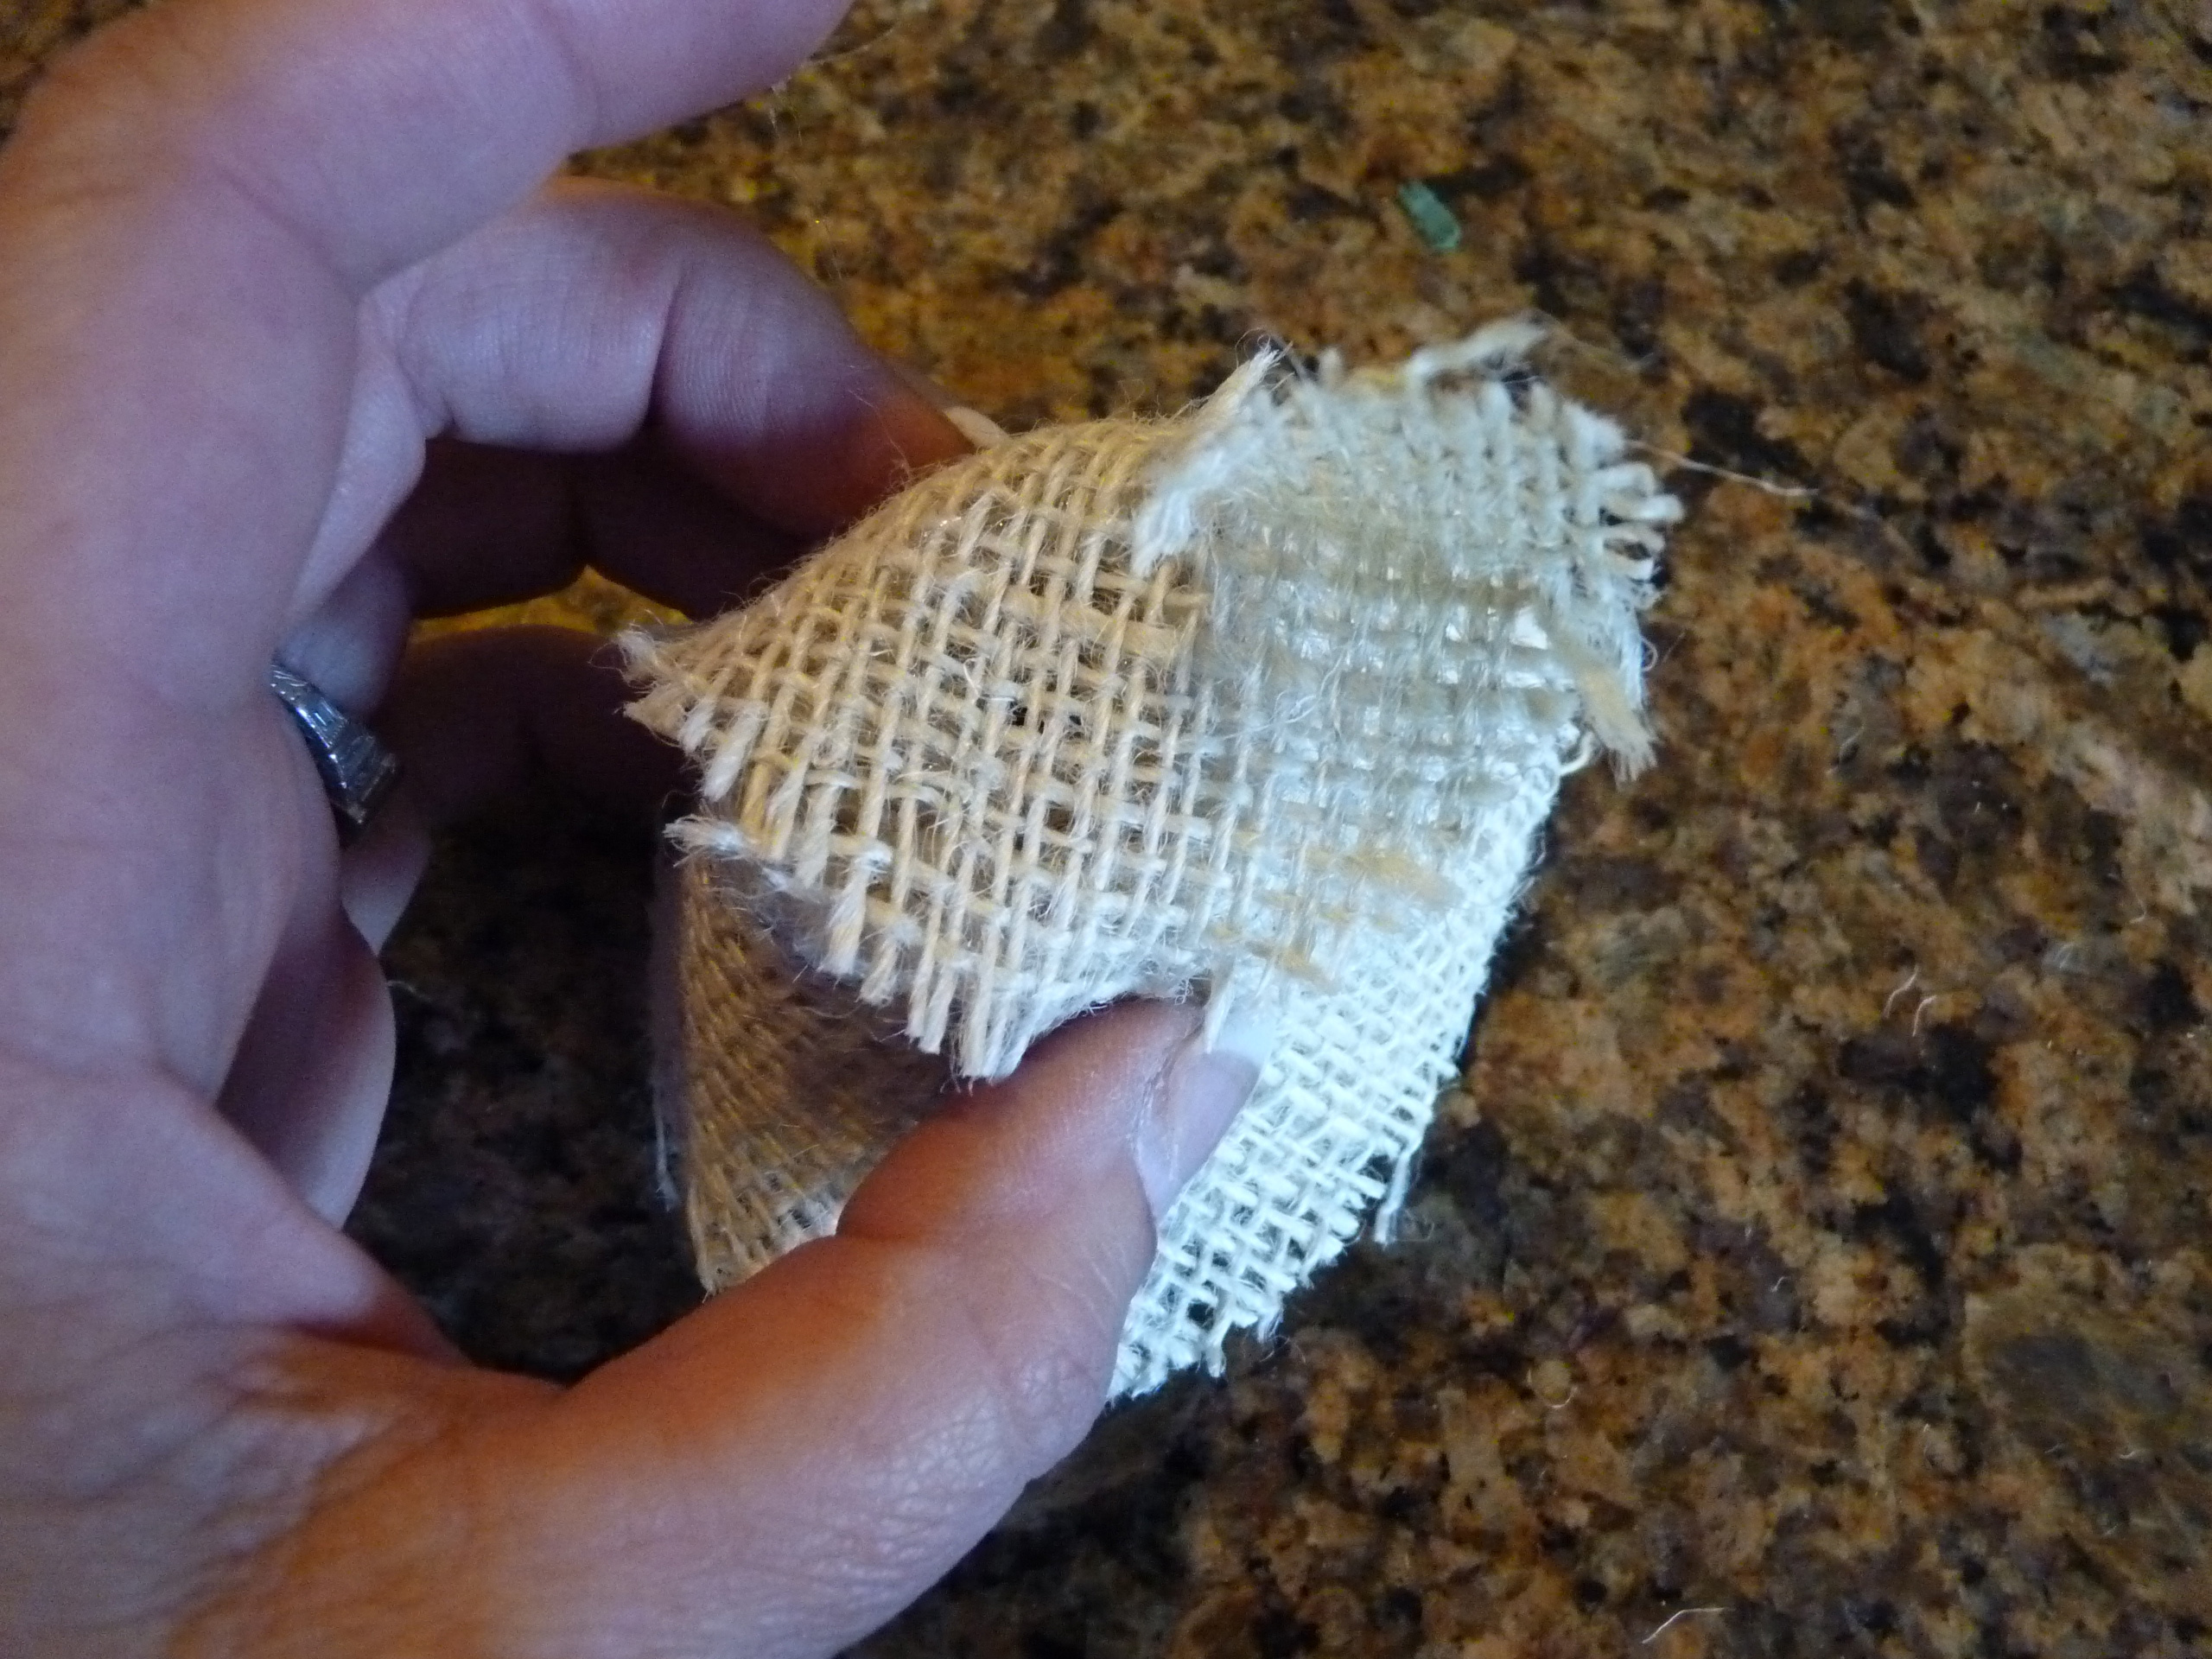
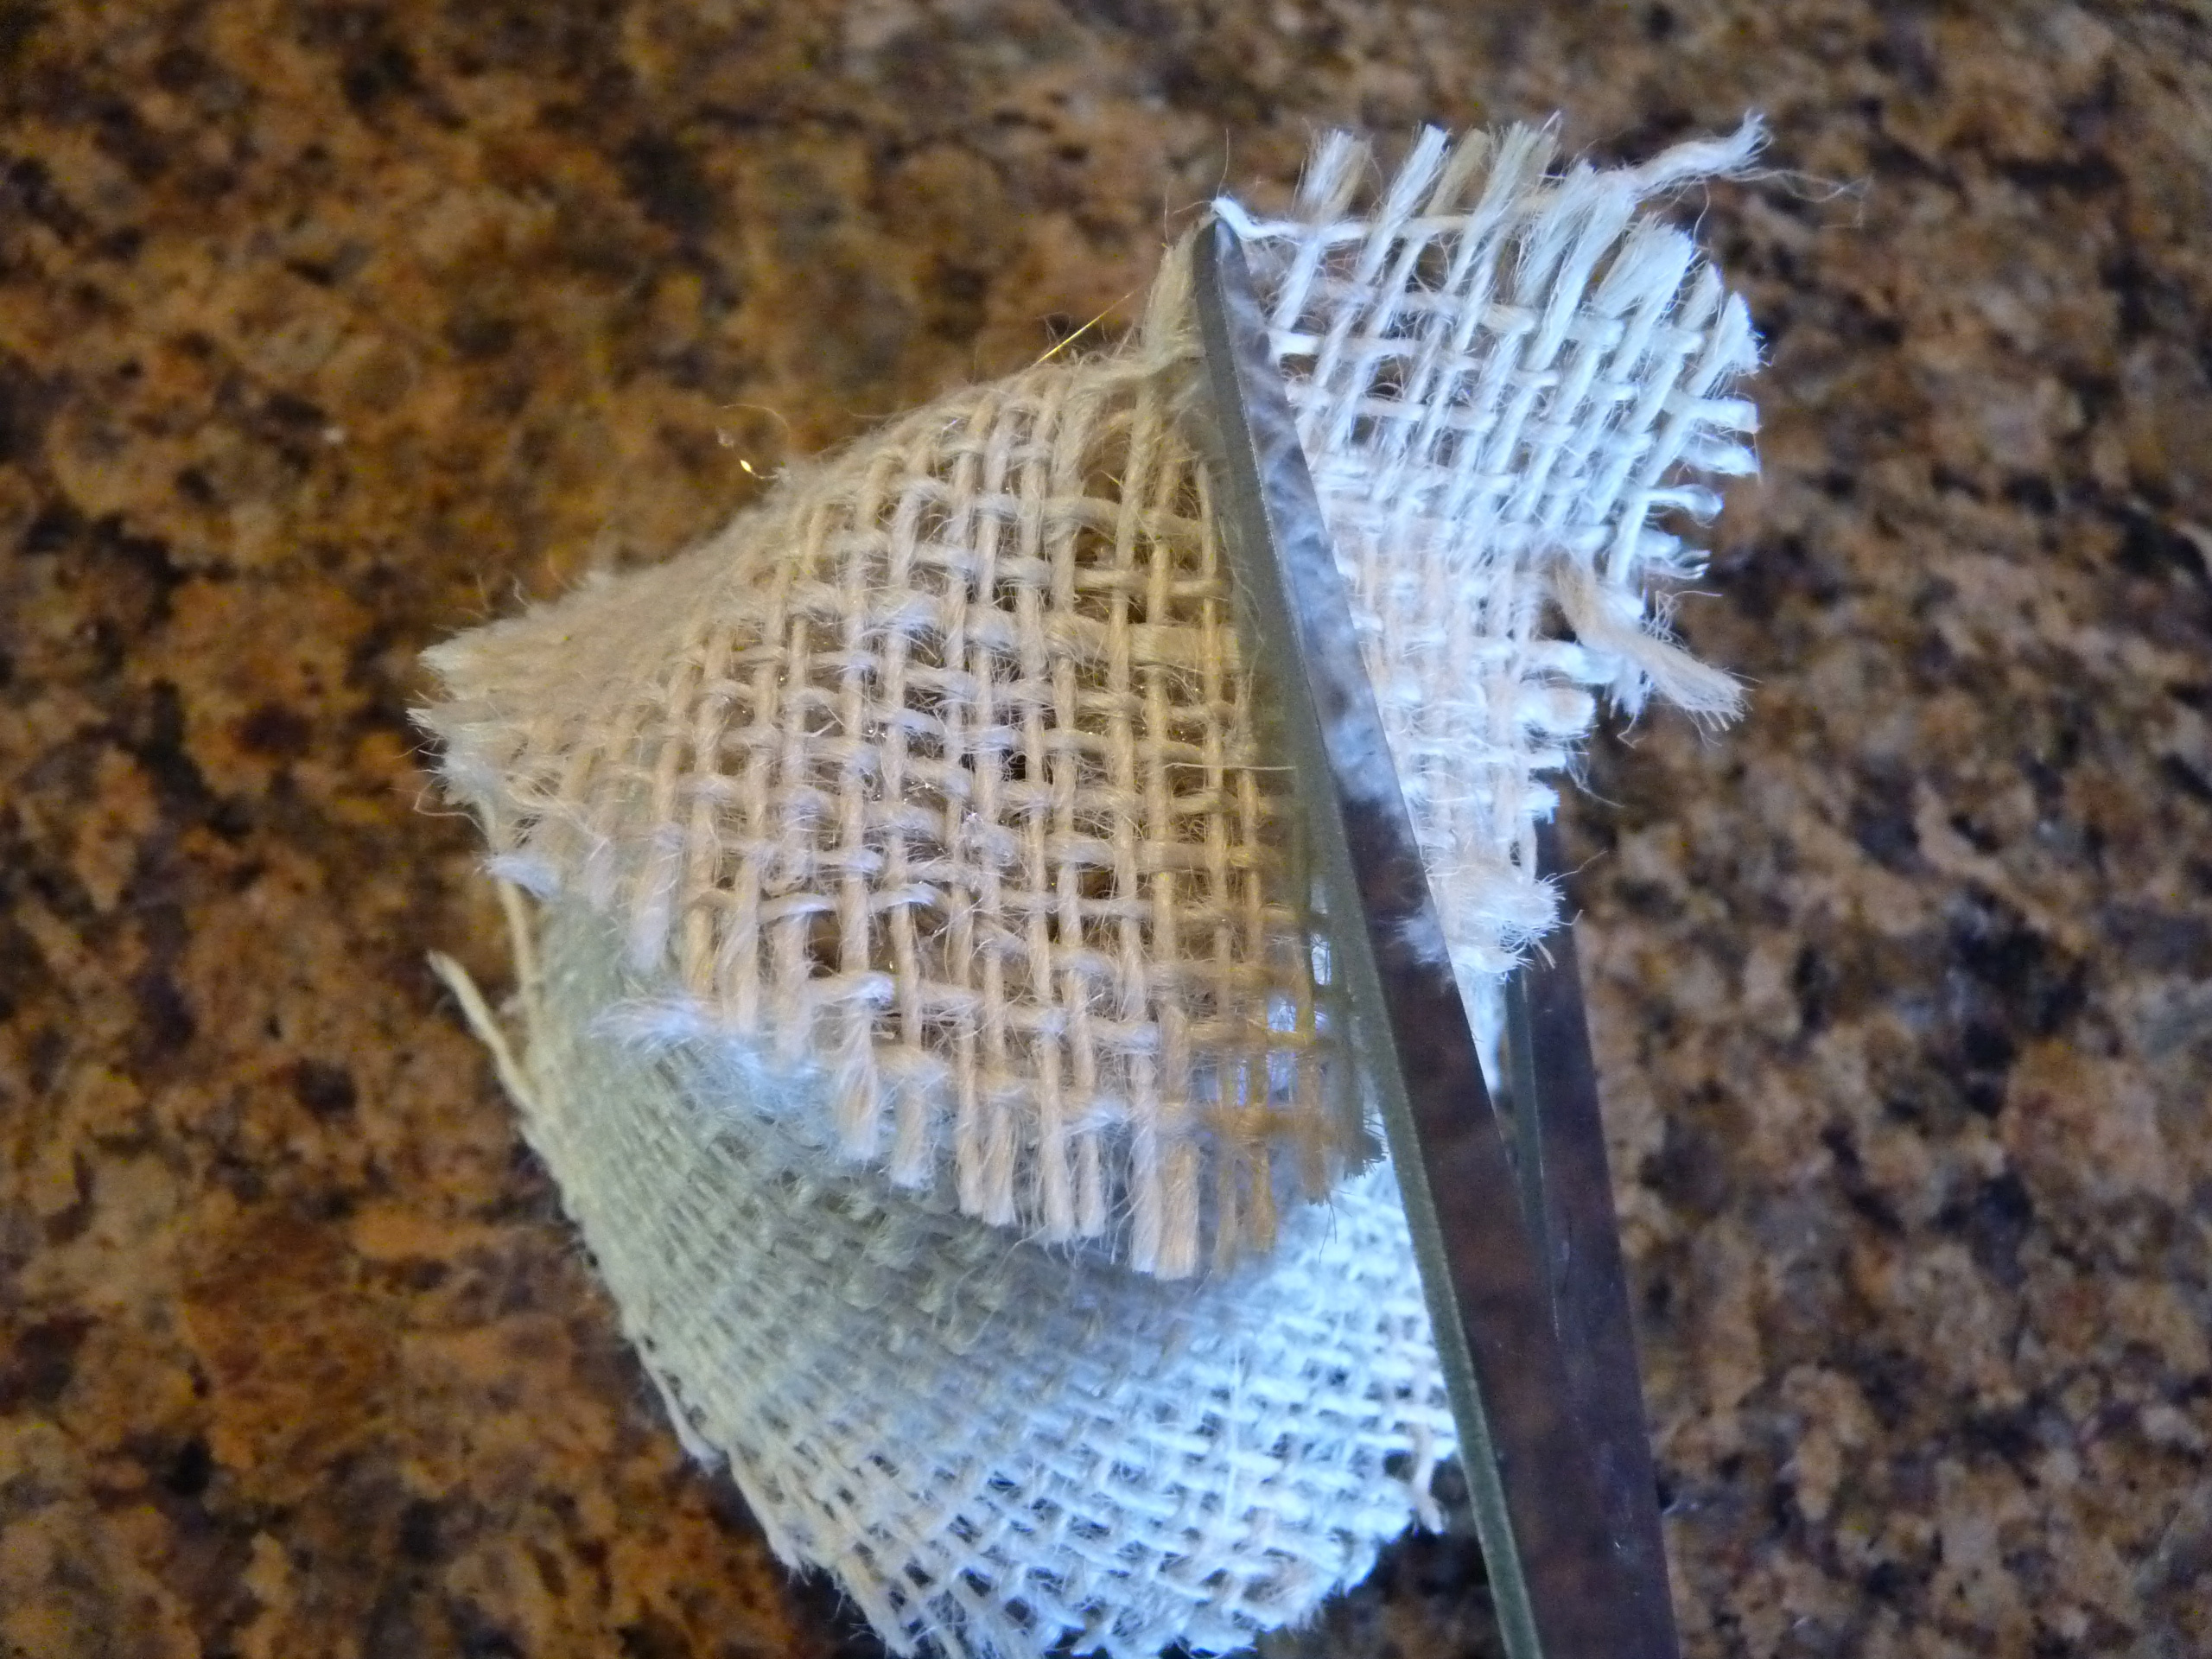
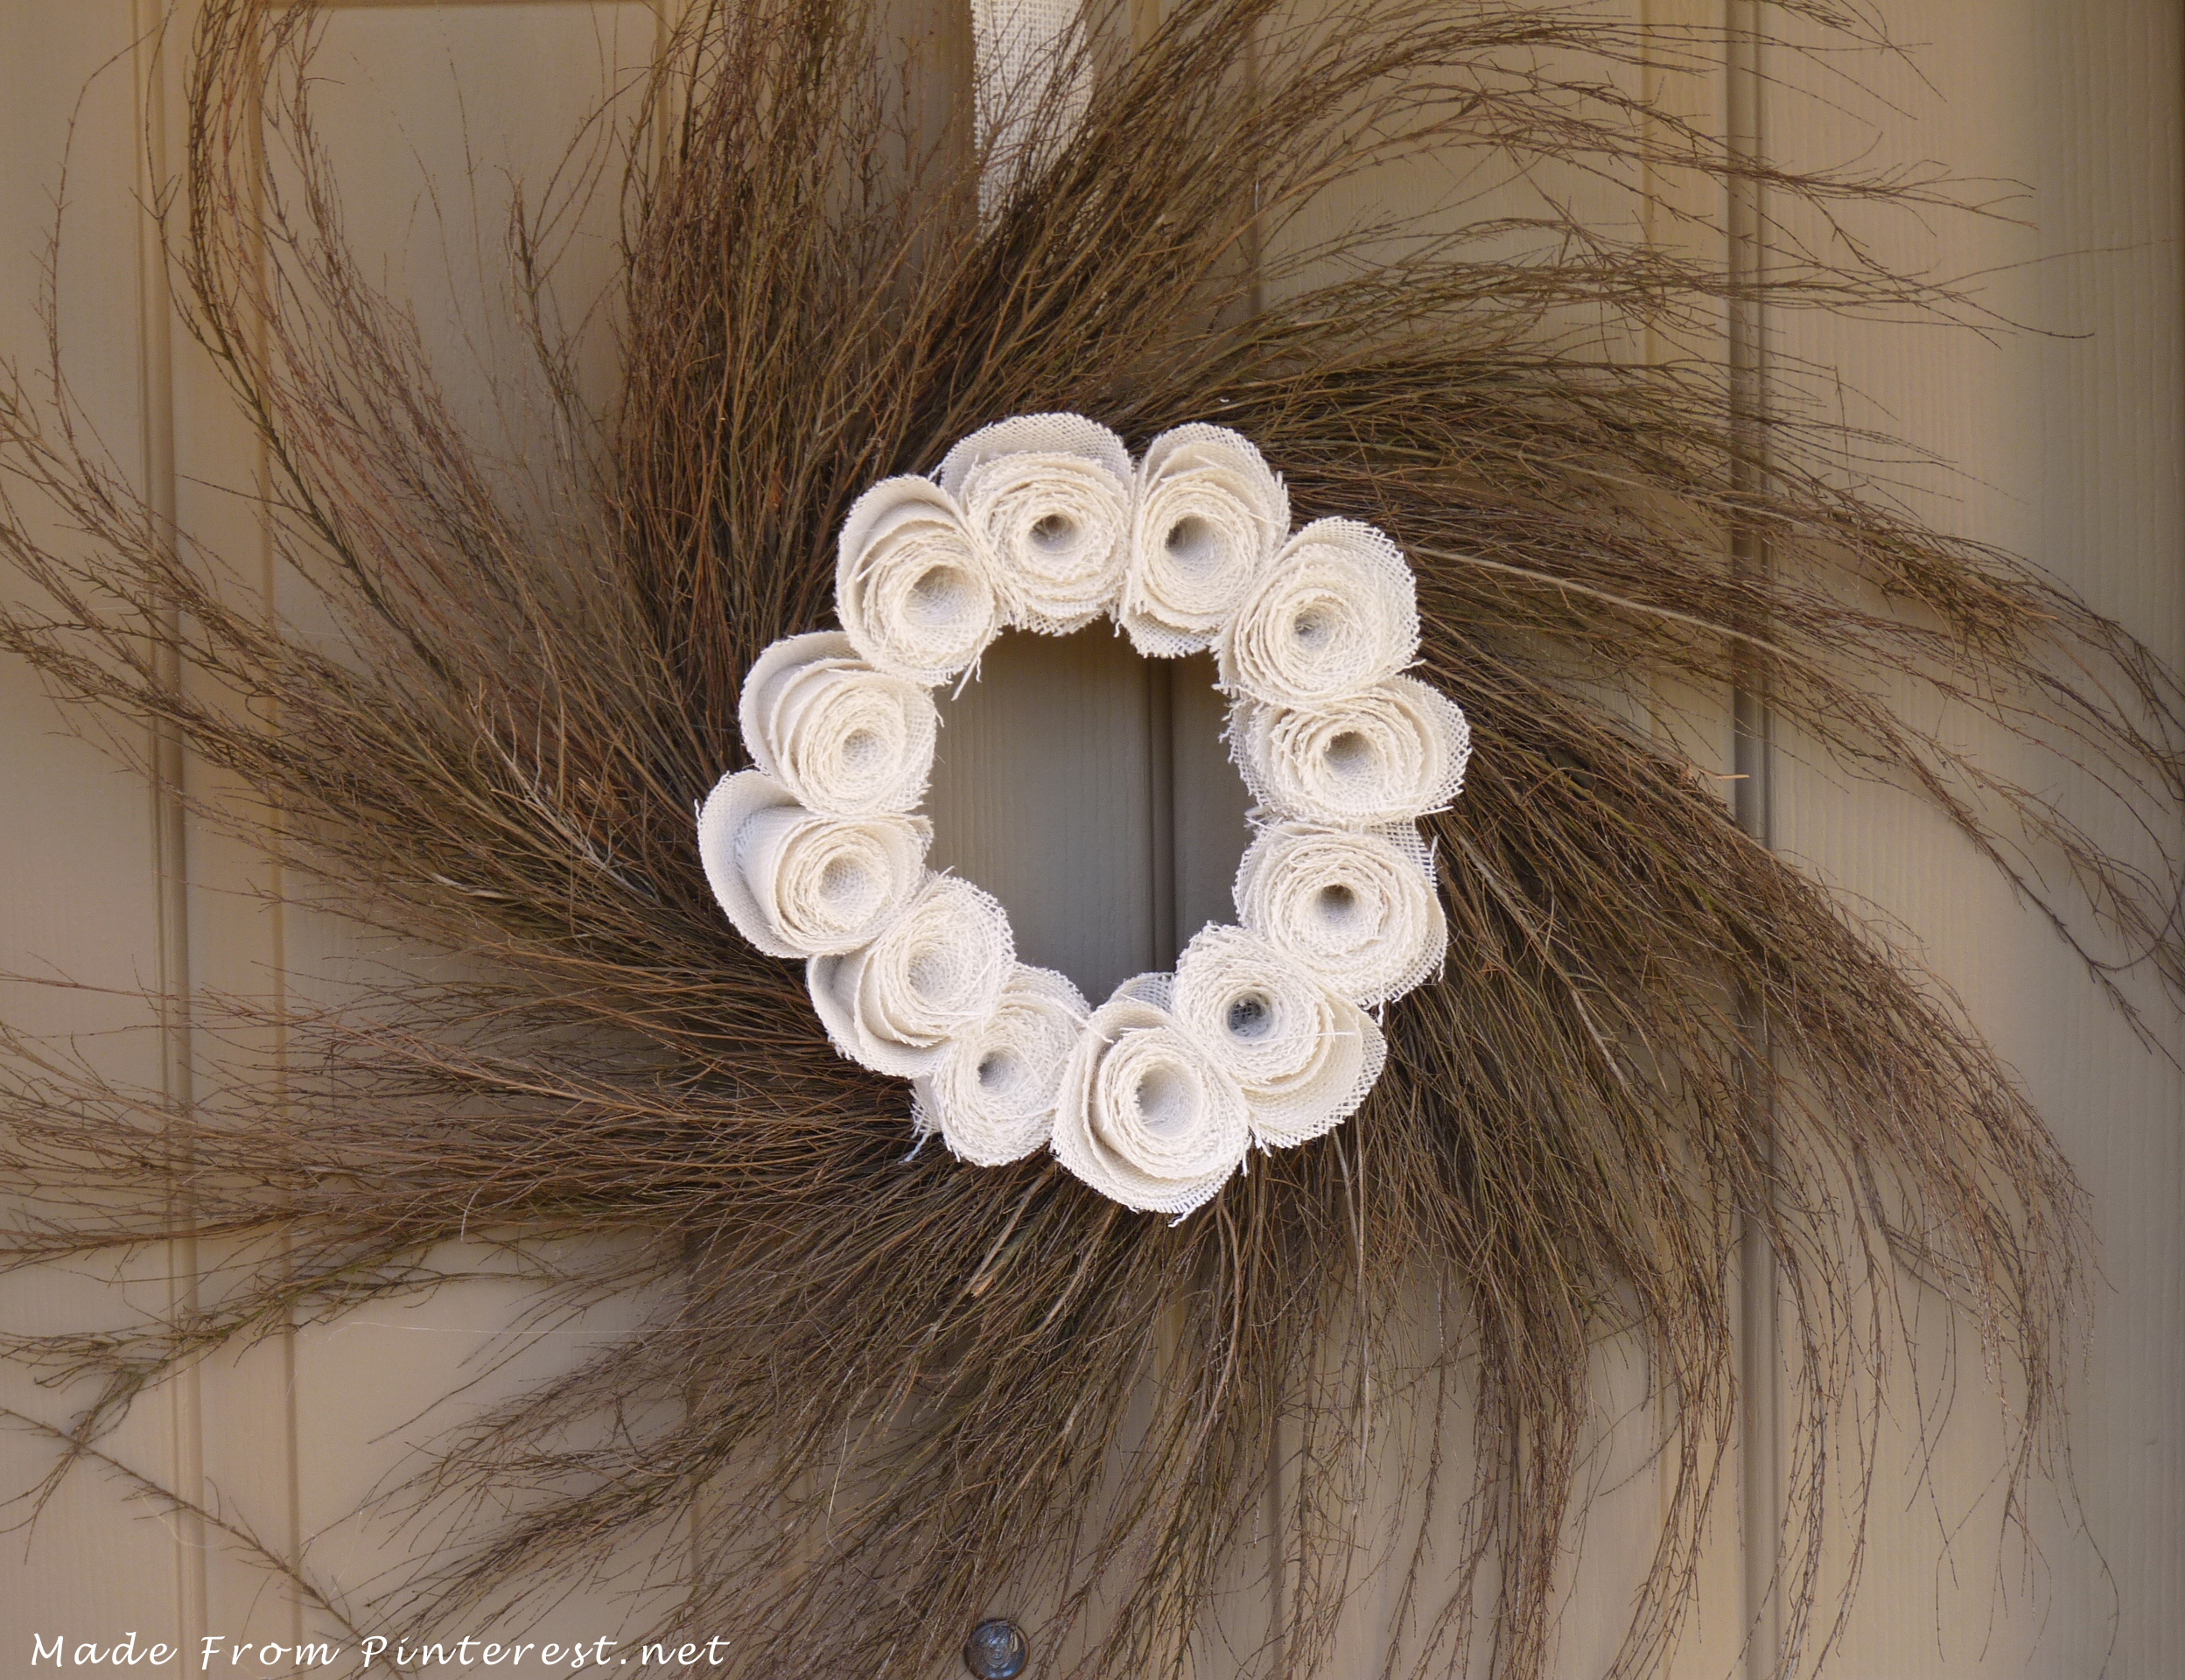
Roll your rosette by starting at the spot where you started cutting your circle into a spiral. This is what it will look like as you begin rolling your rosette. This is what your flower should look like when it is all rolled up and turned upside down.Put hot glue on the bottom of your rosette.Glue down the last small piece of burlap over the bottom of your rosette.Trim off excess material. Now for the best part, put hot glue on the bottom of your rosette and glue them down on the inner edge of your wreath. If you want more rosette’s, place them closer together, or you can space them farther apart and have less rosettes. It all depends on how you want yours to look. I like mine packed close together.
Time to hang your wreath on your door and admire all your hard work! I love how mine turned out. I gotta tell ya that….
This Pin Rocks!
Look who we are Linking with today!
Jeni says
Great tutorial and it turned out so cute!
Tracy says
Jeni – Thanks, I love that it was so easy to make.
Jeni says
Oh, and I pinned it, too! ๐