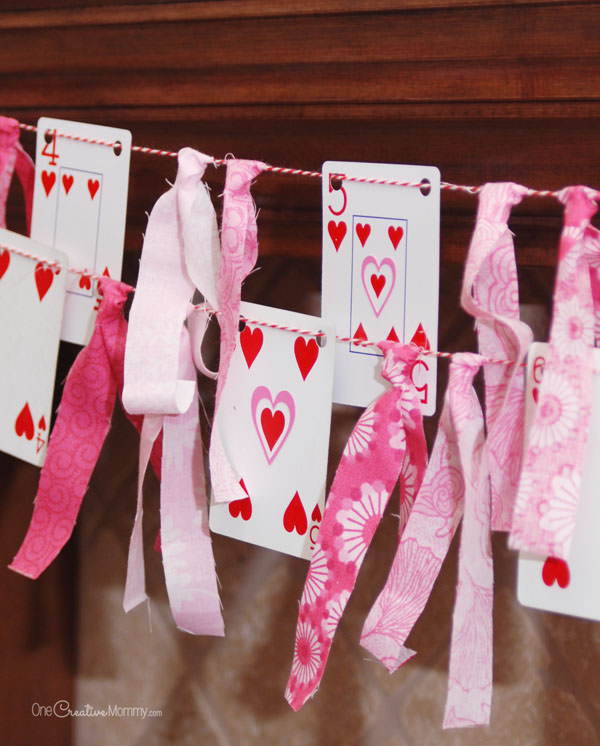
I am so glad I haven’t decorated my mantle for Valentine’s Day yet because Heidi’s Easy Valentine’s Day Banner is exactly the look I want!
Hi, everyone. I’m Heidi, from One Creative Mommy, and?I’m thrilled to guest post as part of the Love Potion #9 series. I had so much fun combining ideas from two awesome bloggers for this adorable and easy Playing Card Valentines Day Banner!
In preparation for this post, I scoured pinterest to find something to try. It took me about 30 seconds to find and fall in love with the Valentine?s Day Heart Cards Garland on Happiness is Homemade. Then, I found the cutest greeting card made from a playing card, and I knew I had to combine the two!
Ready to get started?
Here’s what you’ll need:
- The heart cards from 1 or 2 decks of playing cards. (One deck for each garland, and preferably two different styles.) You only need Ace – 10.
- A hole punch
- Fabric scraps (mine are 3/4″ x 11″)
- Baker’s twine or string
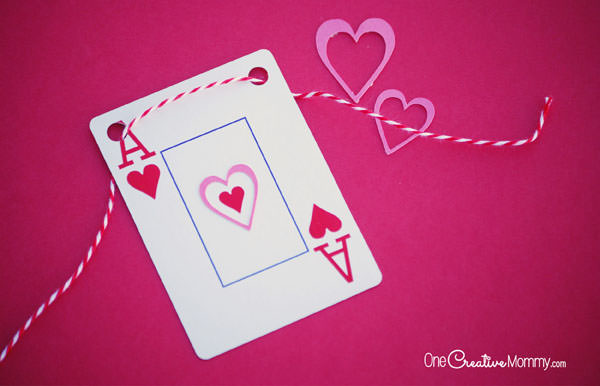
- Heart cutouts (You can download the cutting file from here, freehand cut your own, or use heart-shaped stickers.)
Directions:
- Punch two holes in the top of each card. Be careful! There is a top and bottom to playing cards. Pay attention to the center heart. I didn’t, and I ended up with two upside-down cards. (Bonus points if you can spot them!)
- Cut your fabric into strips. (Depending on the width of your bunting and the pattern you choose, you’ll need 40-50 strips. I used 46.)
- Glue or stick on your heart-shaped embellishments. I only used the cutouts on every other card. I chose the odd numbered cards because they all had hearts right in the middle.
- Measure and cut enough twine to cover the length of your mantel plus some extra for?the banner?to hang down, and string the cards onto the twine.
- Tie on your fabric strips between the cards. How many you use really depends on your mantel and your own taste. I used two strips each before the first card, after the last card, and in between each card. Looking at my finished product, I think I could have used three fabric strips between each card to make it look more full. It’s your banner, so be?creative!
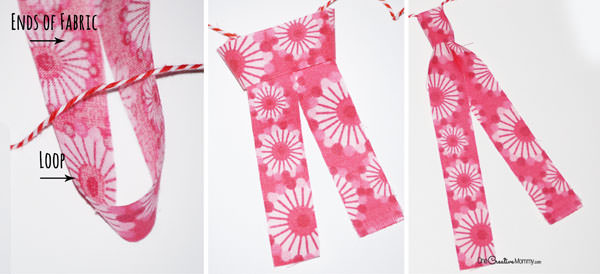
- To attach the fabric strips, make a loop with the fabric, and slide the loop under the twine as shown. Tuck the loose ends over the twine and through the loop. Adjust the ends so that the right side of the fabric is showing and tighten by gently pulling on the loose ends while holding onto the twine. (Your ties should look like little neckties.)
- Attach your banner to the mantel, and spread out the ribbon and cards until it’s just the way you like it. I know you are wondering about the best way to attach?the banner to the mantel. Good question. I used scotch tape, but I’m sure someone out there has a genius?solution. I’d love to hear about it in the comments!
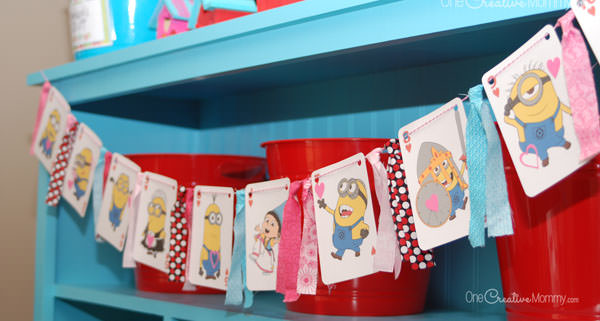
If this traditional banner is too tame for you, go ahead and spice it up with some character playing cards. I made this banner to go across the top of?my kids’ storage lockers. (I used the inside of the hearts from the first banner to make them more valentine-y.) You can read more about this version on my site.
Thanks for letting me visit today. I can’t wait to see the rest of the series. (I have a feeling I’ll be doing a lot of pinning!) Please stop by to see me at One Creative Mommy. I love sharing ideas about DIY, crafting, parenting, parties, and gluten free recipes. If it has to do with being a mom, you’ll probably find it on my site!
Here are a few of my favorites. (I promise that my whole site isn’t related to Disney. Those do seem to be some of my most popular posts, though!) Enjoy!
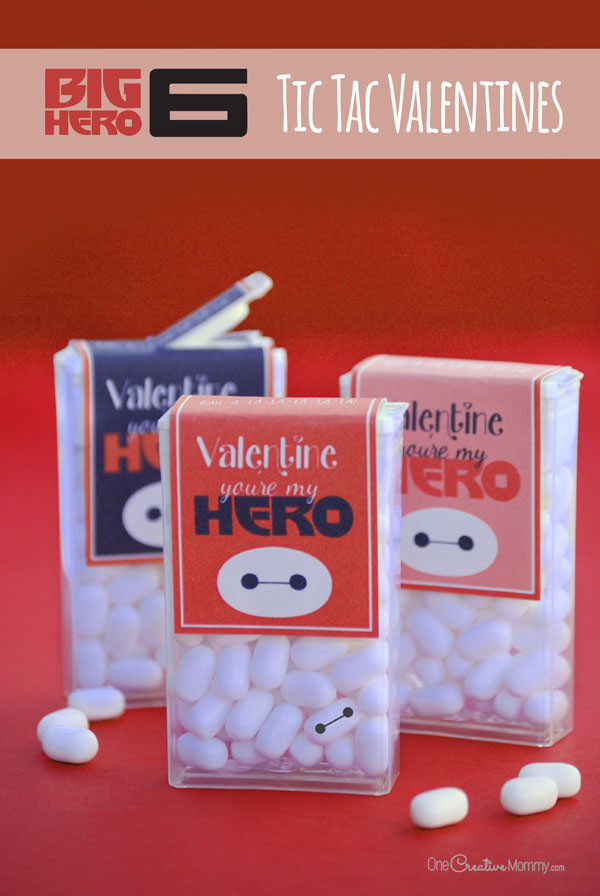
Big Hero 6 Tic-Tac Valentine Printables
You can also find me on social media!


I love Heidi’s Tic Tac Valentines, my son will love handing these out!
This amazing post can also be found with Living Well Spending Less and Whipperberry!




Such a simple but beautiful banner!
I’m so glad you like it, Cheryl! It was really easy and quick to put together.