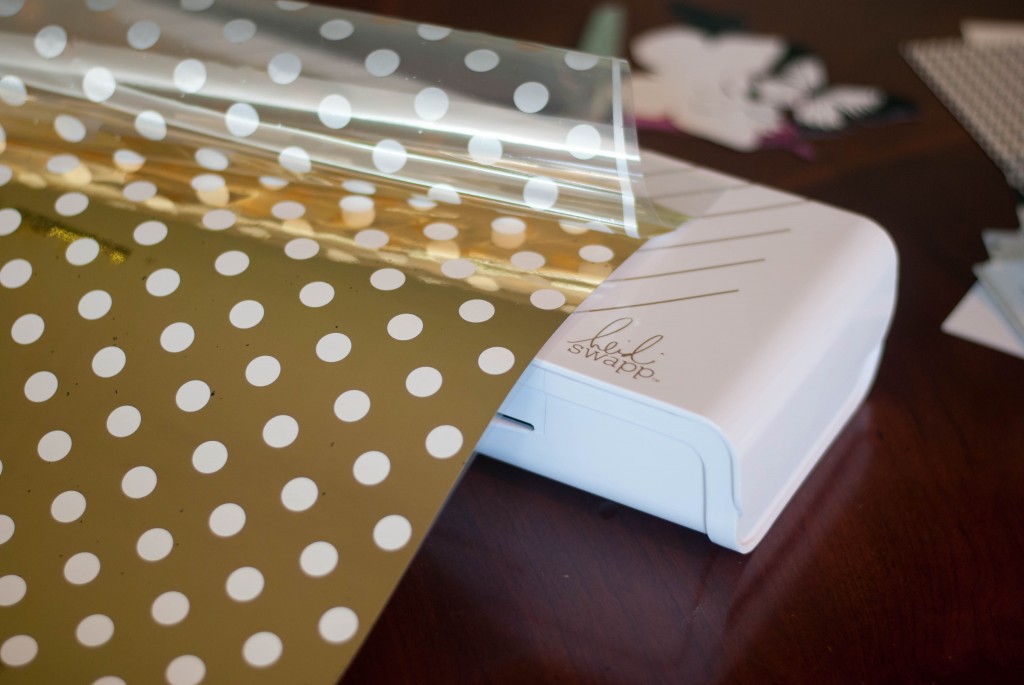
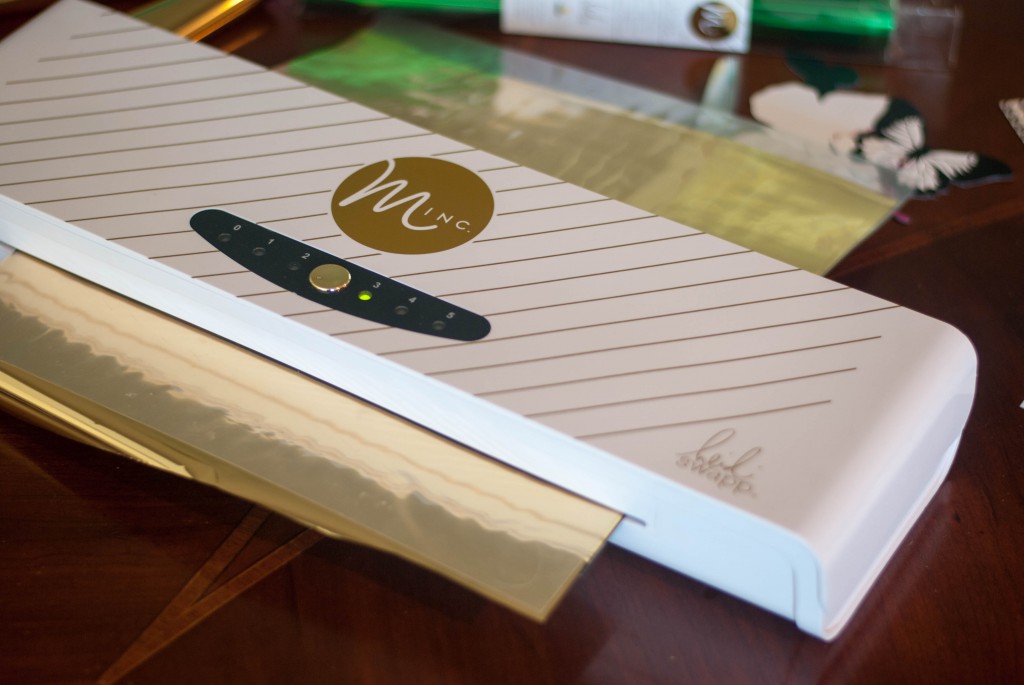
Oh man. I’ve had my Heidi Swapp Minc Foil Applicator for a little over a month and I’m addicted! I want to foil EVERYTHING! But today I’m going to show you how to make a very easy but very impressive DIY Gift Box by using the Heidi Swapp products.
Disclosure: I have received product in exchange for this post but all opinions are 100% mine. And seriously, how could you not 100% like foil??!!
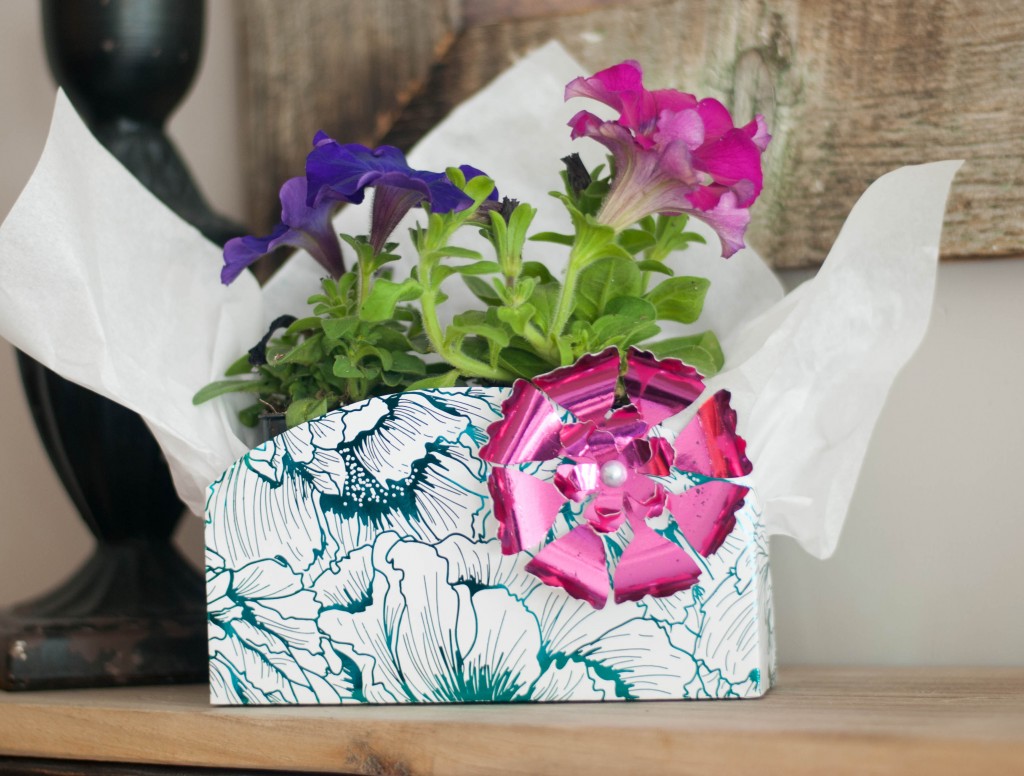
So it’s spring and I have a couple of friends who need a little spring “pick me up” so I decided to make these DIY Gift Boxes to cheer them up! I’ve seen a method of making this box using a paper plate but when you have a Minc machine, paper plates just will NOT do! Heidi’s motto is to “Make Pretty Stuff”, so we are going to make these boxes pretty! Even though there are lots of ways to add foil to a project, I can tell you here and now that this is the EASIEST and most consistent way there is. Here is what you will need:
The Heidi Swapp Minc Foil Applicator which you can find in your local Michael’s or Jo-Ann’s as well as some local craft stores and online.
Heidi Swapp 12″ Paper and Foil color of your choice
Two sided tape or hot glue
That’s it!
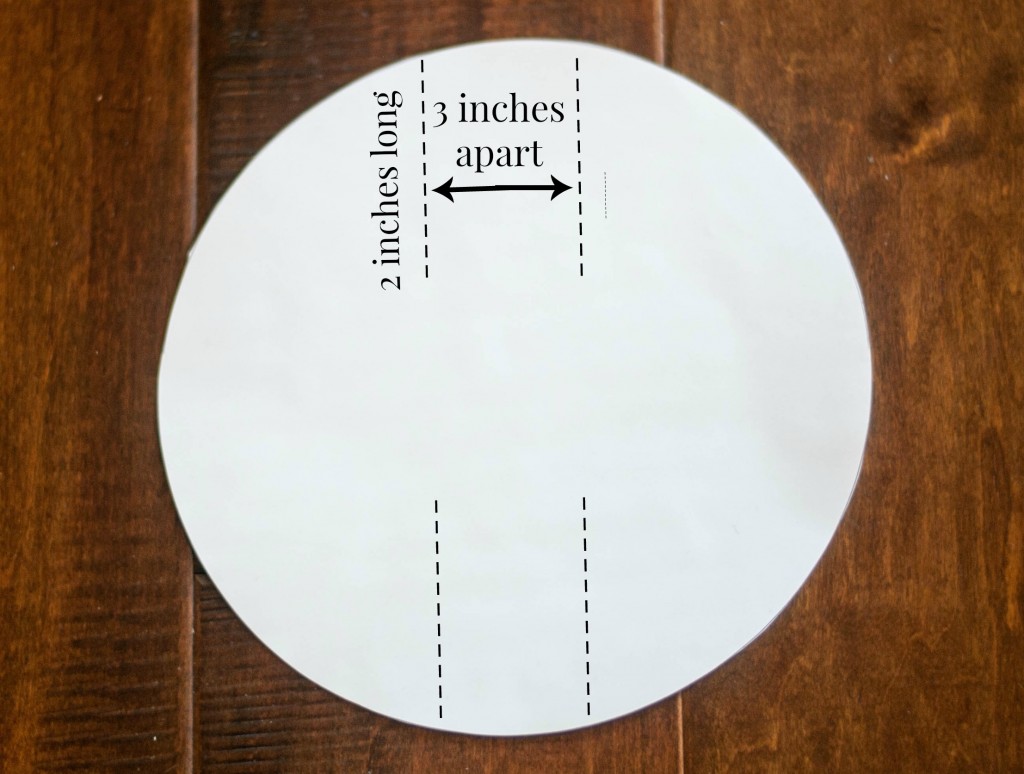
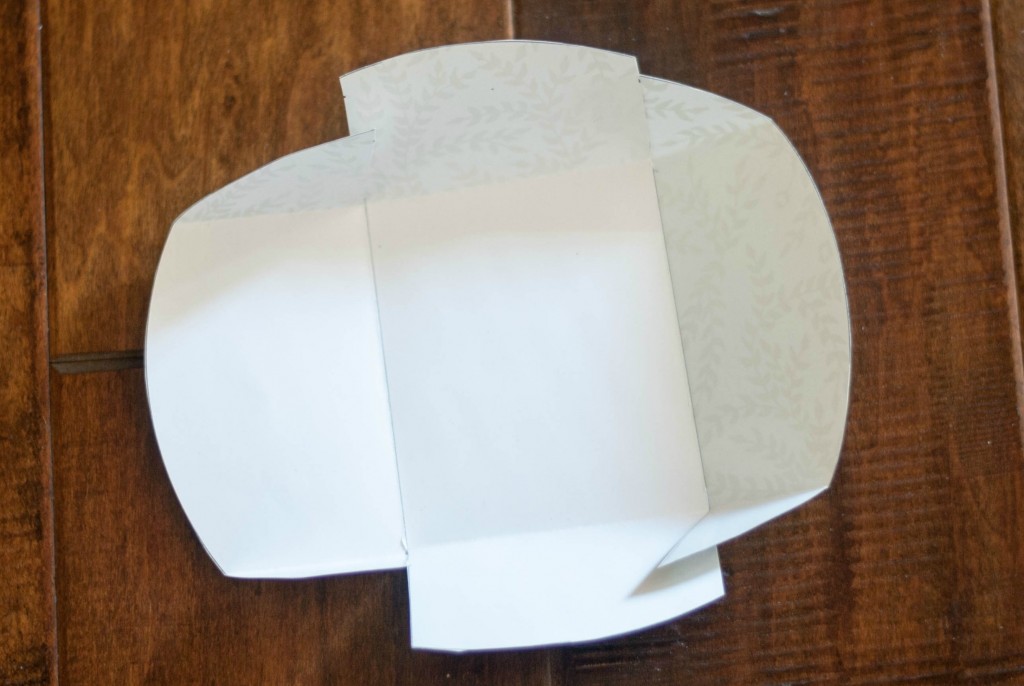
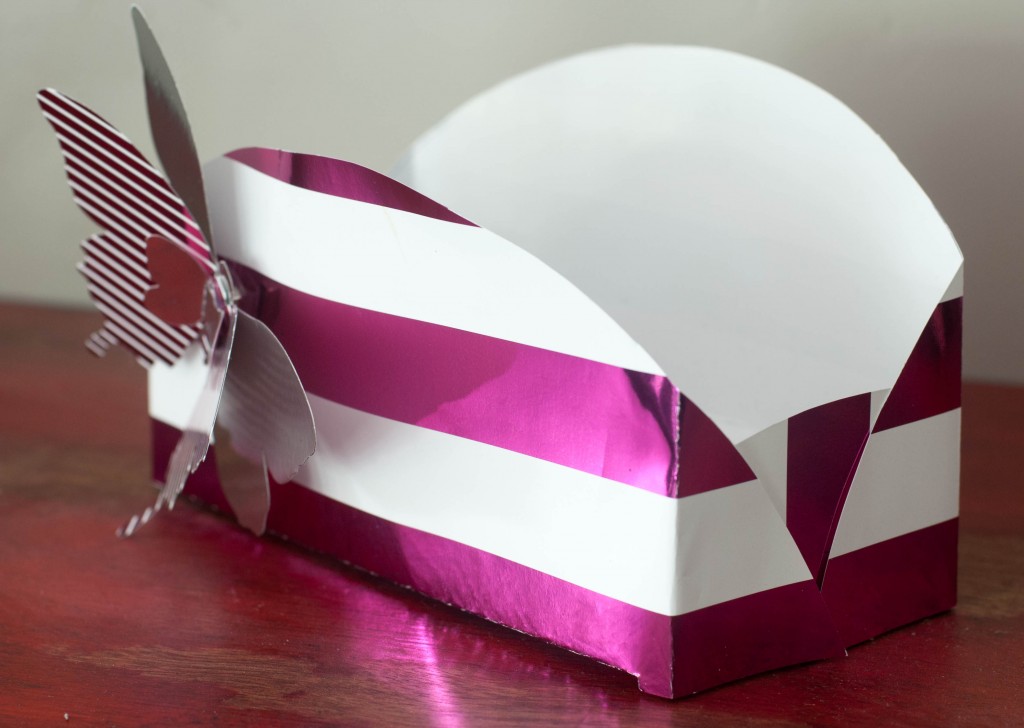
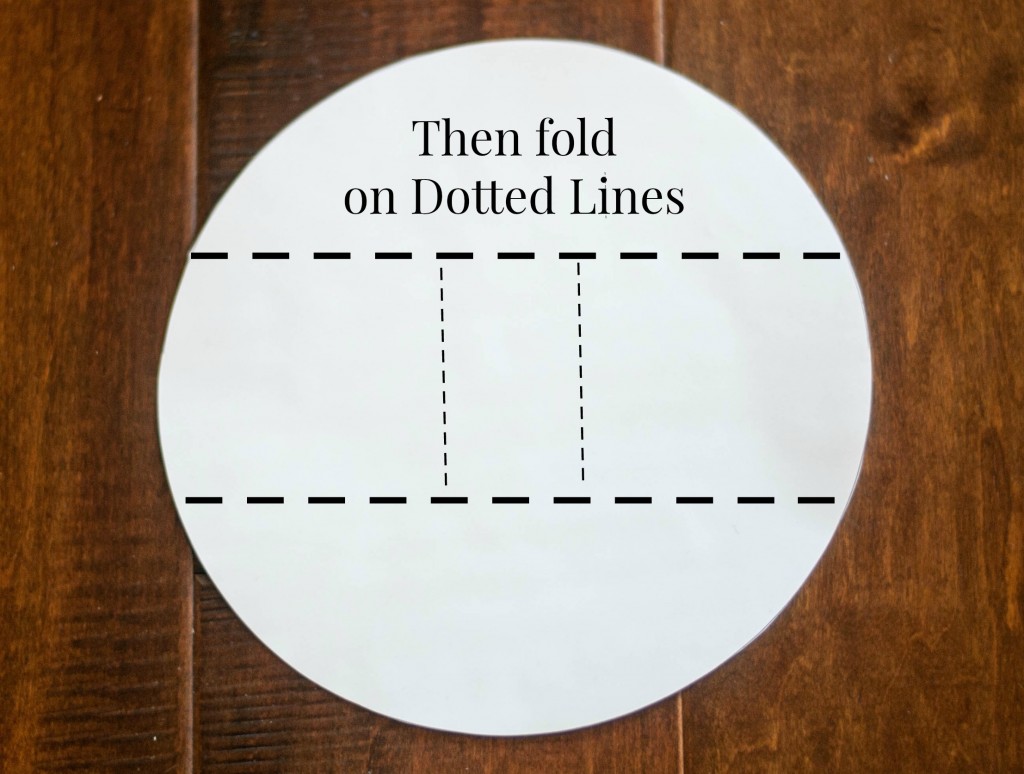
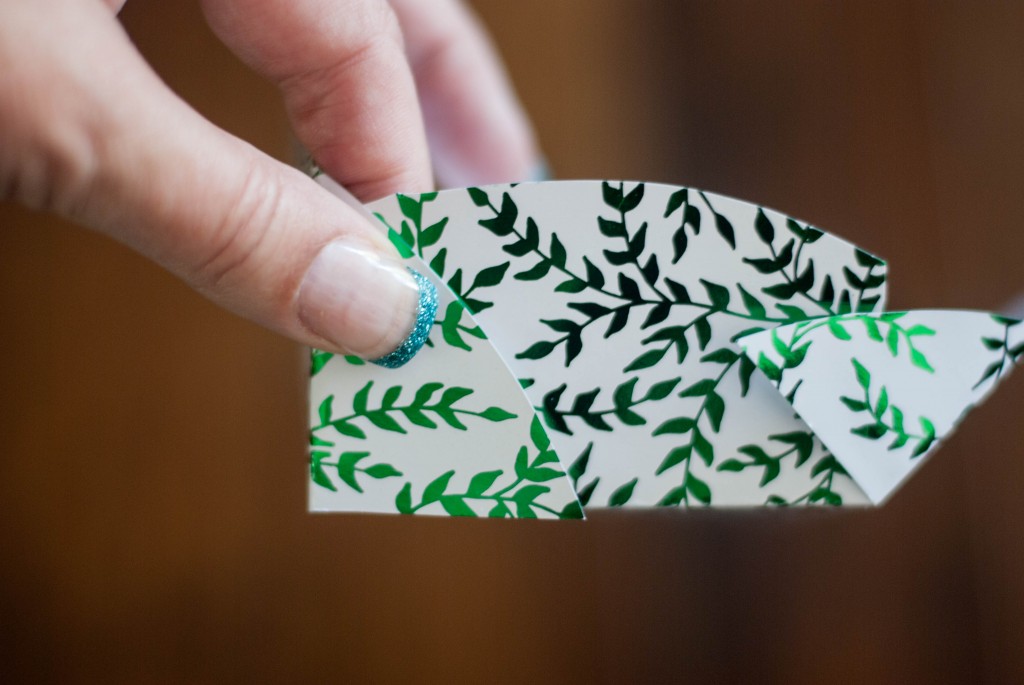
It should now look like this:
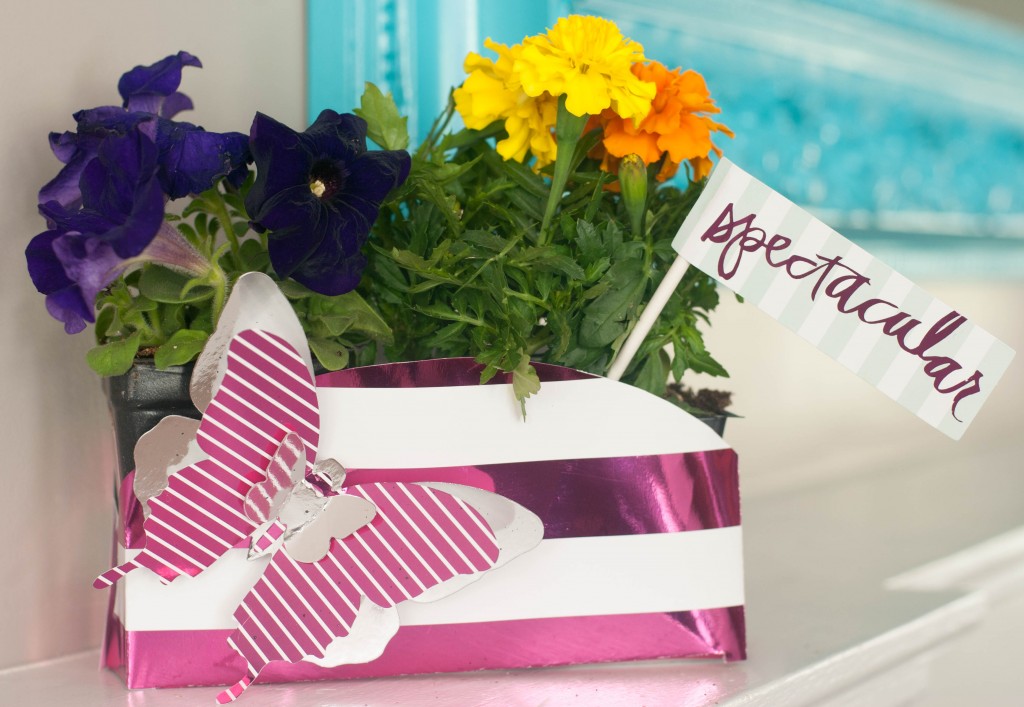
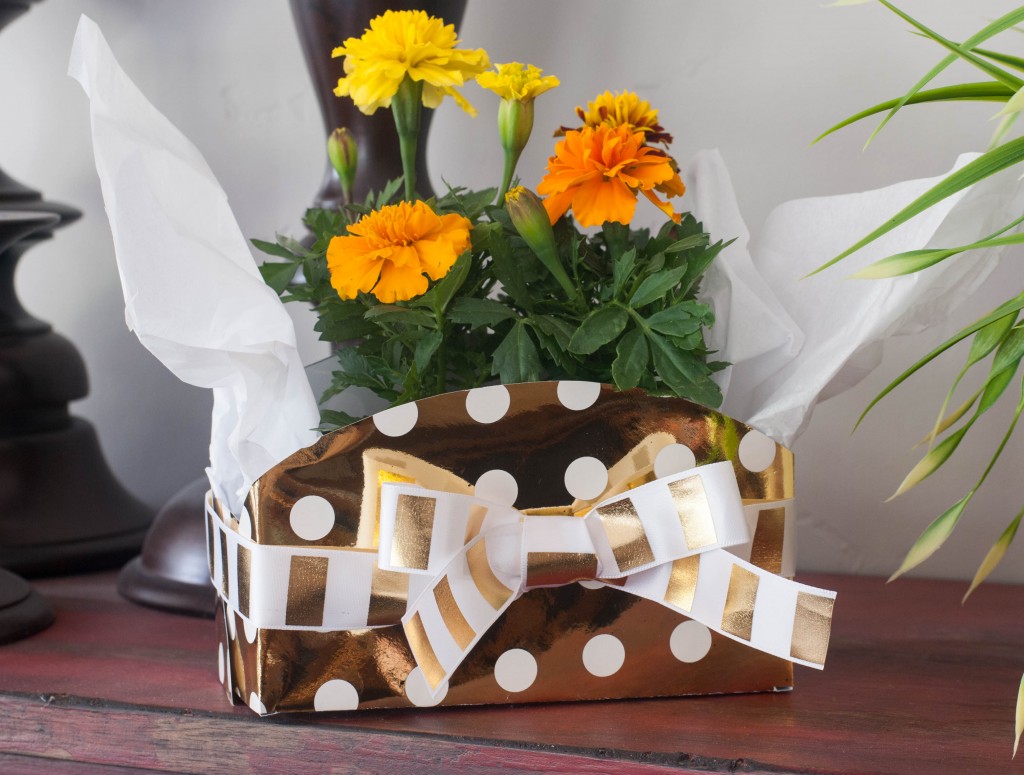
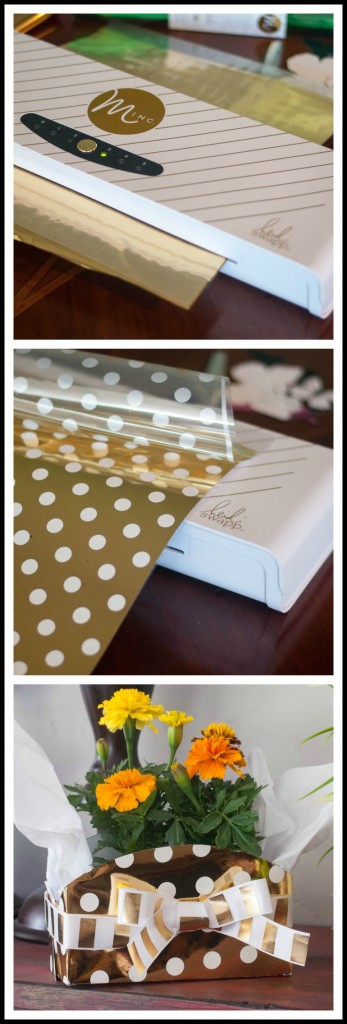
So I brought this gold box to my friend at a luncheon today and the 10 other ladies went crazy! They were full of questions on how I made this and one gal even took pictures because she is decorating for a wedding shower and thought this gold box would make a great centerpiece. With this Minc Foil Applicator, the possibilities are endless!
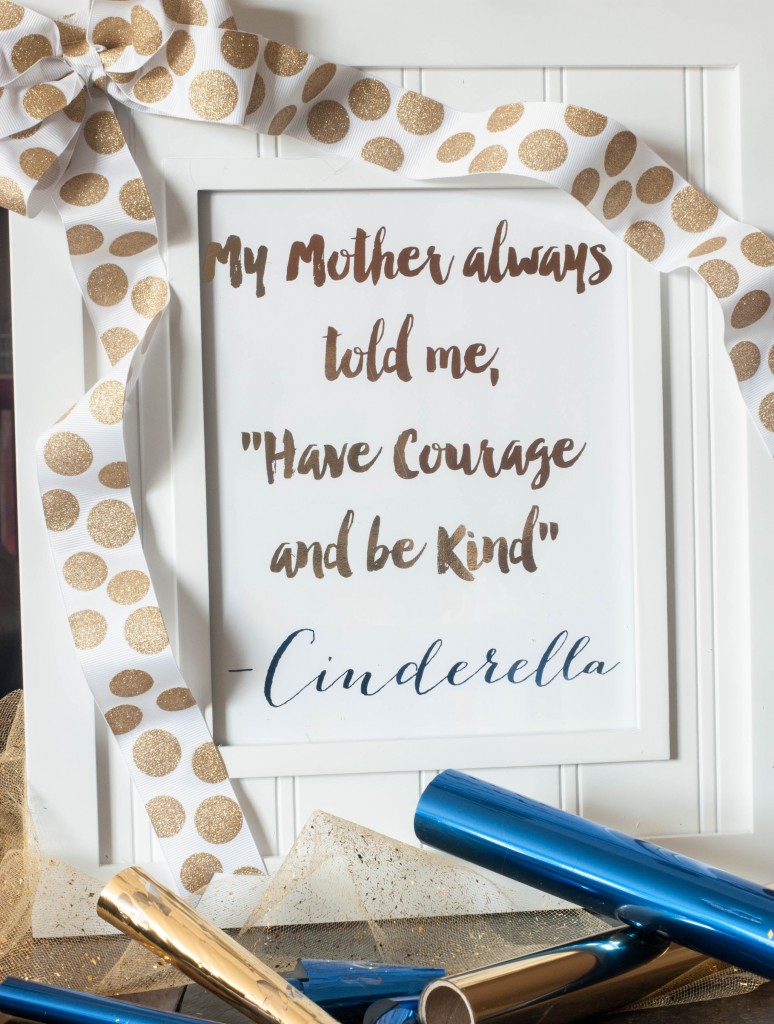
 Last month, I shared how to make this darling Cinderella quote. Hop on over here to get the FREE printable!
This awesome post has been shared with Home Stories A to Z and Living Well Spending Less



Leave a Reply