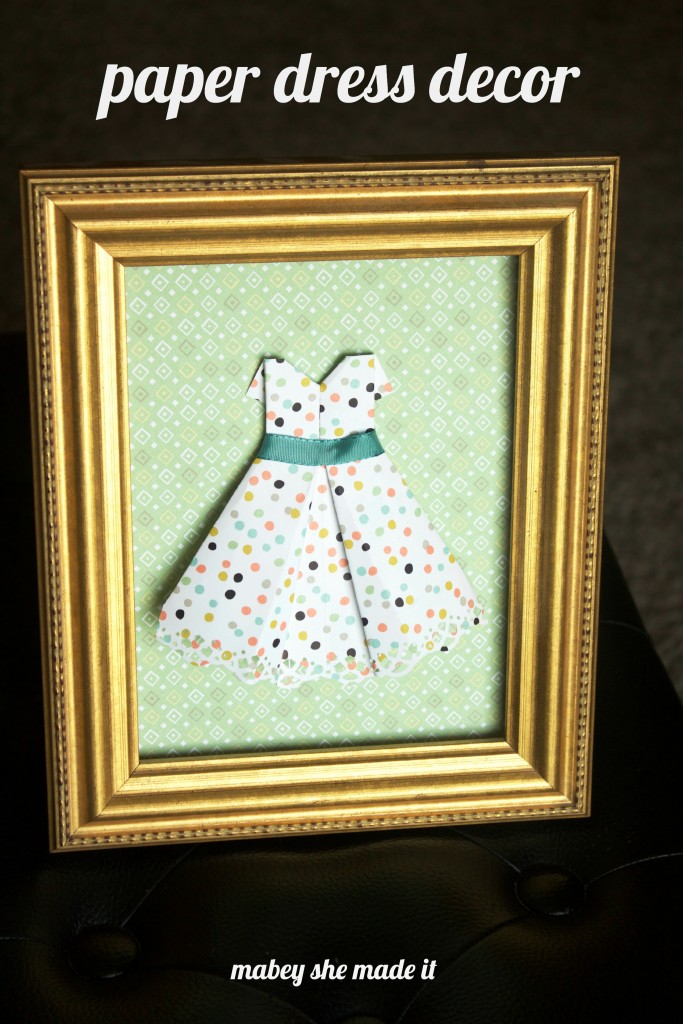
This paper dress decor tutorial is so quick, so easy and definitely so perfect to add a cute touch to any room! It’s our favorite!
I really love the opportunity (and excuse) to make something I’ve pinned each month. I get so wrapped up in creating that sometimes it’s nice to just follow the instructions and make something from someone else.
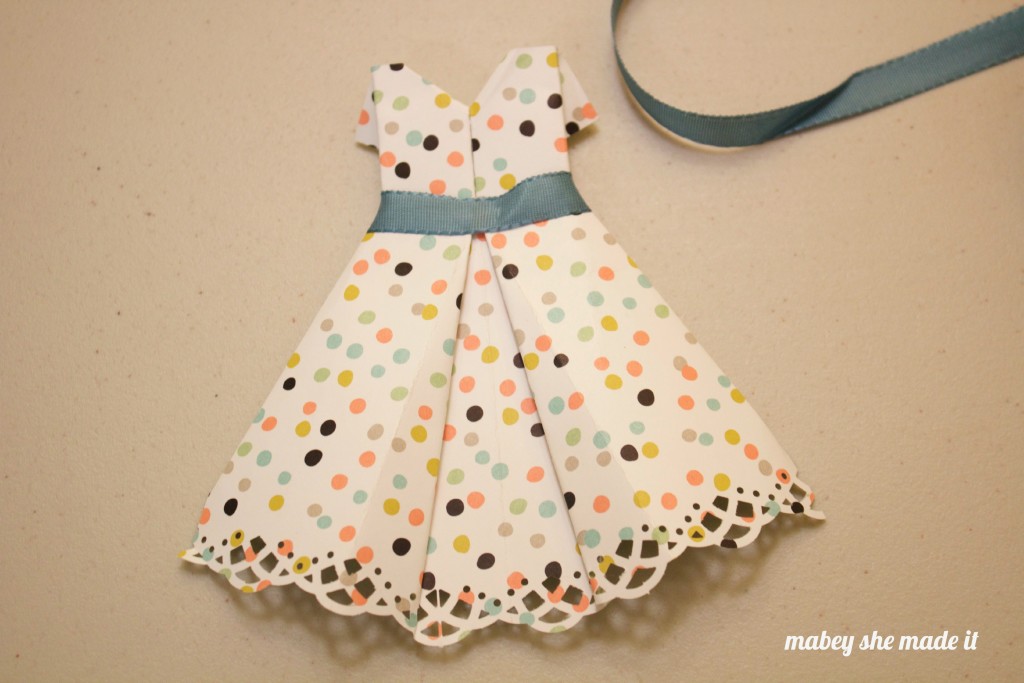
This month I ran across this super cute Origami Paper Dress from Meijo’s Jo, and I just had to make one. It was also something I could do with my girls (although I ended up doing most of it for them since the oldest is 5), but they thought the finished dresses were pretty fun. If you’ve been to Mabey She Made It, you know that I love to sew, and dresses for me and my girls are my favorites. Although I’m in the middle of a move, I would love to hang a few of these paper dresses in my sewing room–wherever that may end up being.
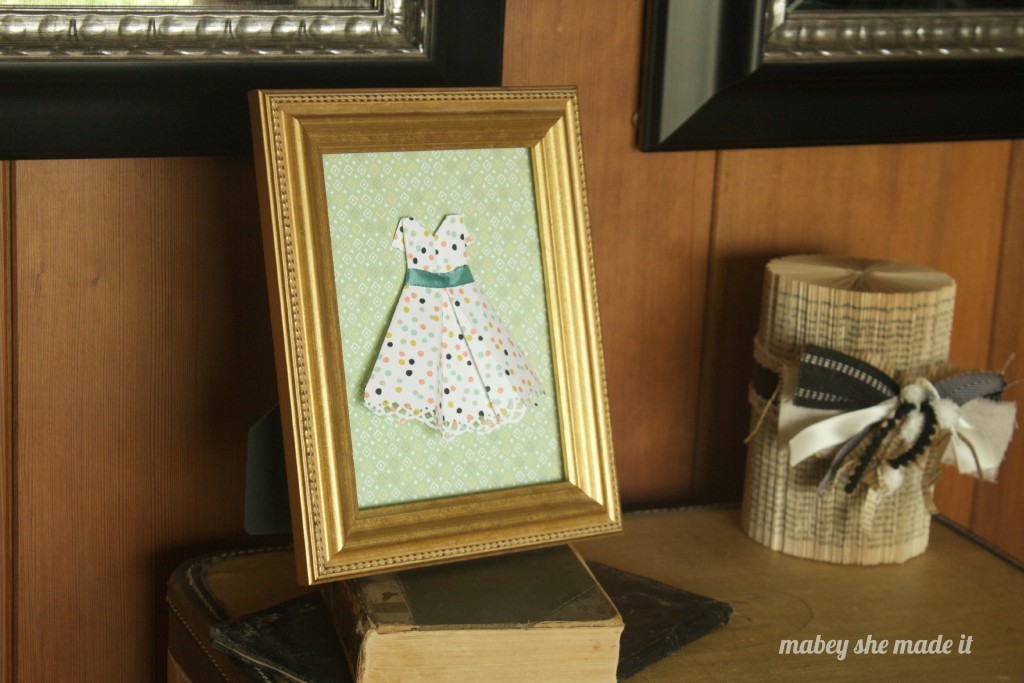
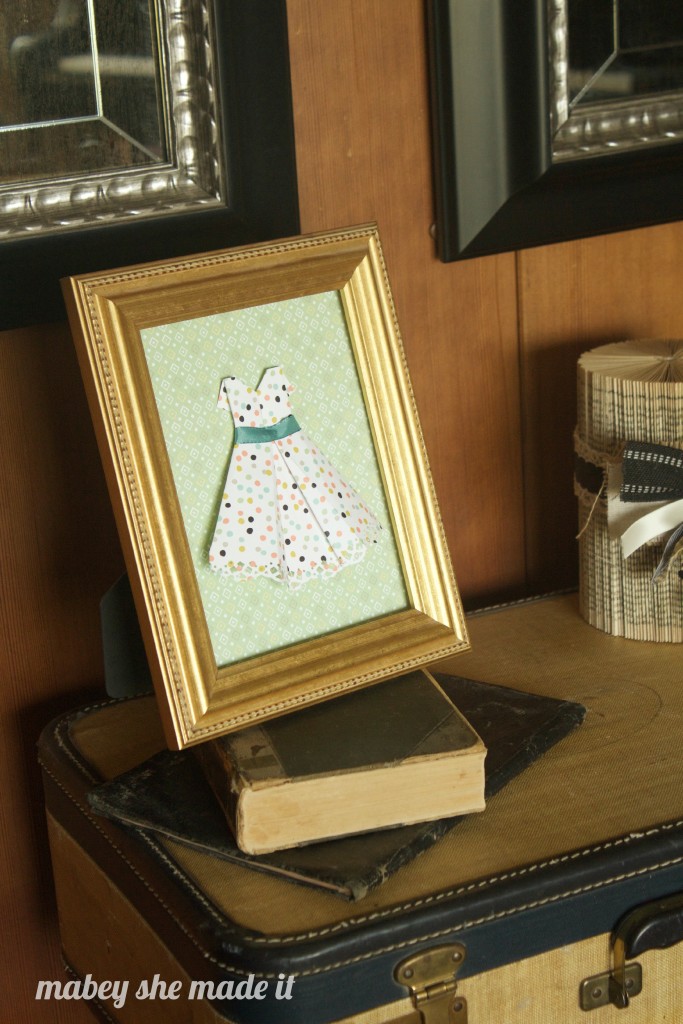
I followed the tutorial for the most part, just altering a few things and then adding it to a 5×7 frame. So let me show you what I did!
Supplies:
- Decorative paper cut to 6″ x 6″ for the dress and 5″ x 7″ for the mat (mine is from Stampin’ Up!)
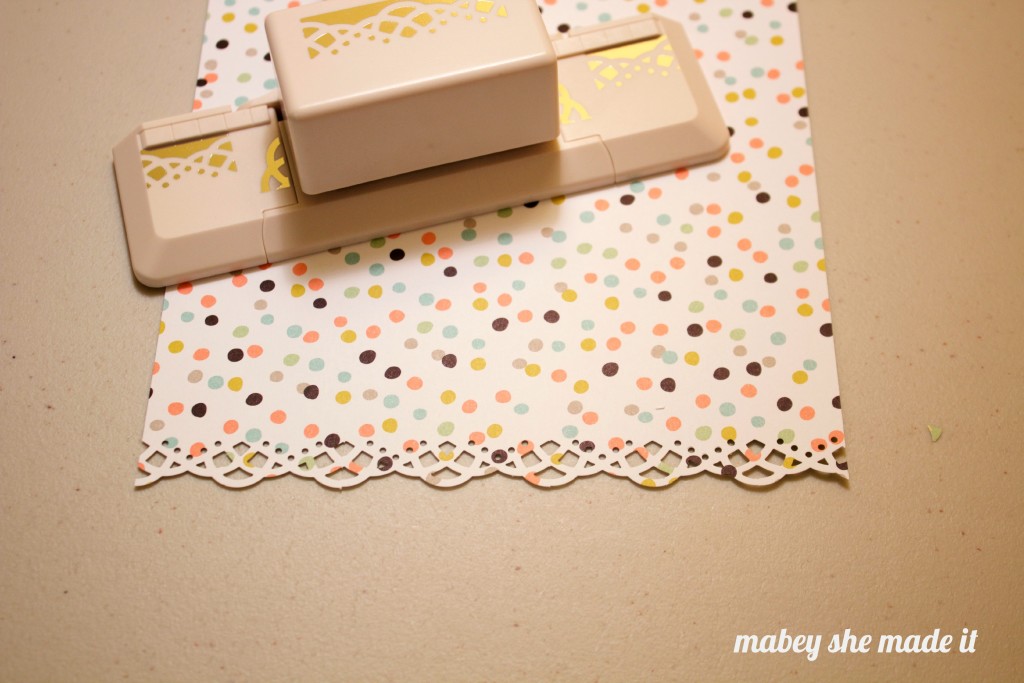
- Decorative edge punch or decorative scissors (mine is from Martha Stewart)
- 3/8″ ribbon (Stampin’ Up!)
- Adhesive
- Frame
Instructions:
- Cut or punch the bottom edge of your 6″ x 6″ paper.
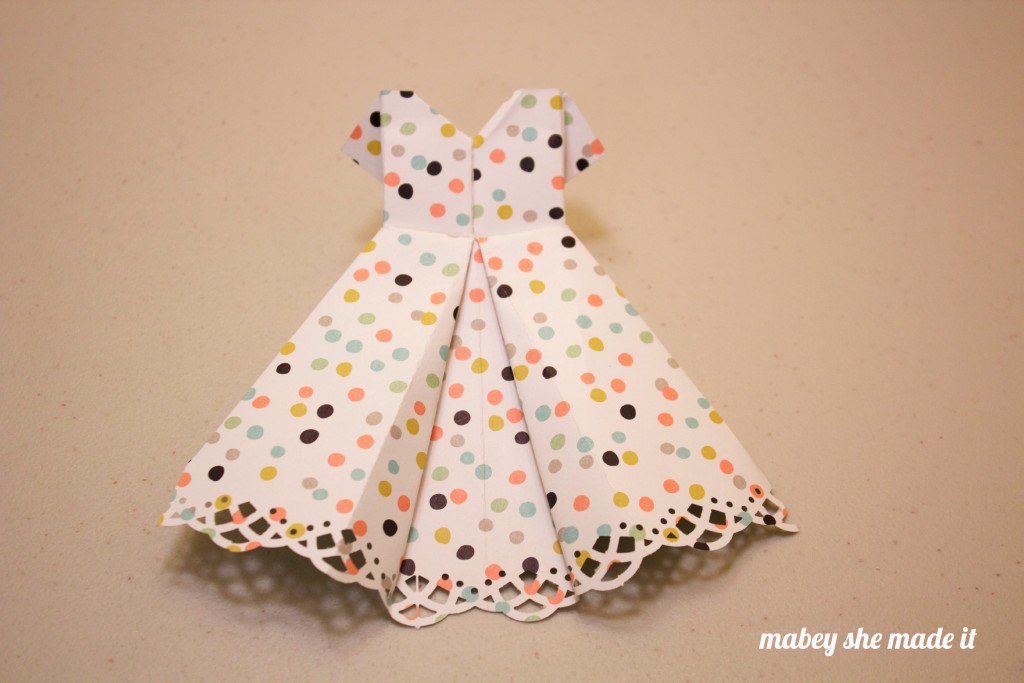
- Fold dress according to the tutorial making sure the fancy edge is at the bottom.
- Adhere your ribbon around the waist of the dress.
- Adhere the dress to the 5″ x 7″ paper, and insert into frame.
It only takes a few minutes to fold, and it really gives a fun definition to your crafting space. I would love to make some for my girls’ room too, since they’re cute and easy.
This awesome post has been shared with Home Stories A to Z

Very cute and can go from nurseries to vintage homes. Lovely craft. 🙂
Thank you! I can see so many fun places to hang these–mine will go in my sewing room!