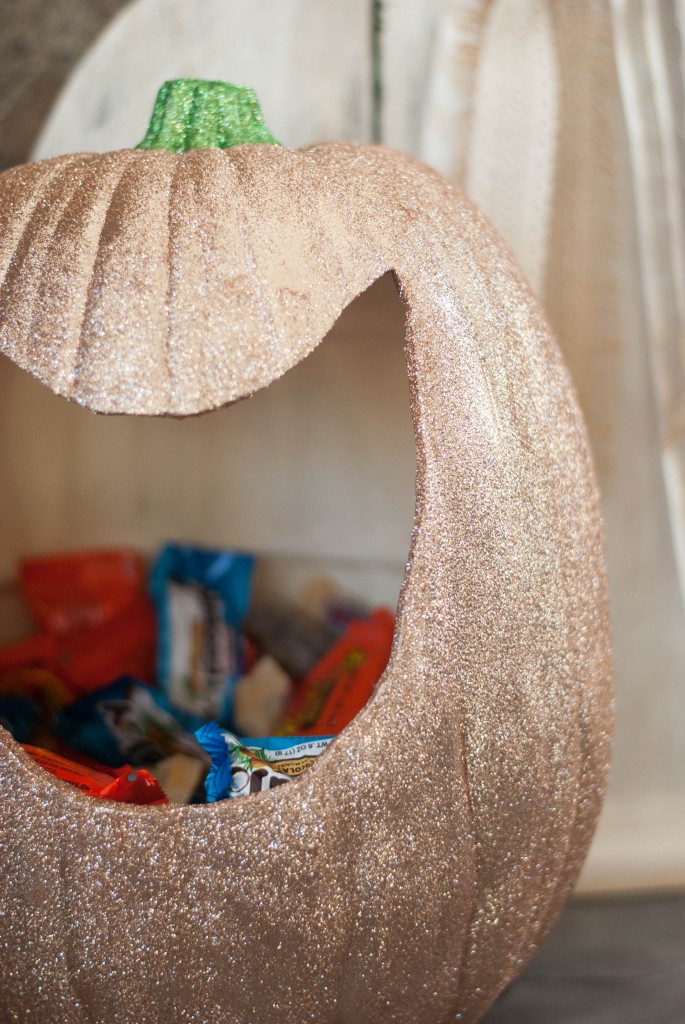
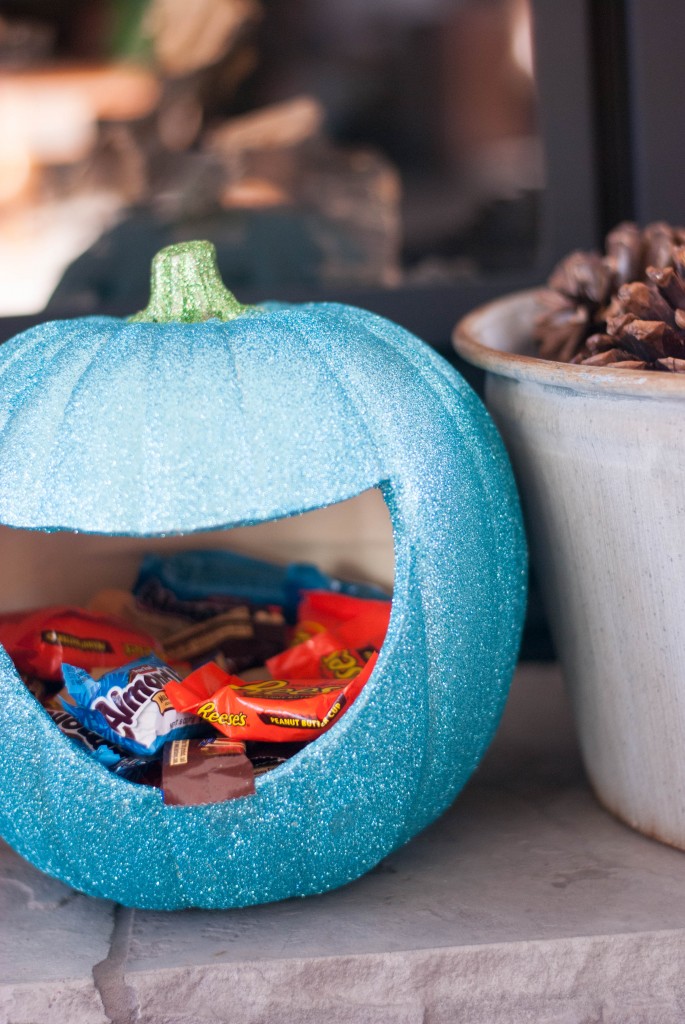
We are going a little glam for Halloween with these Glitter Pumpkin Candy Holders!
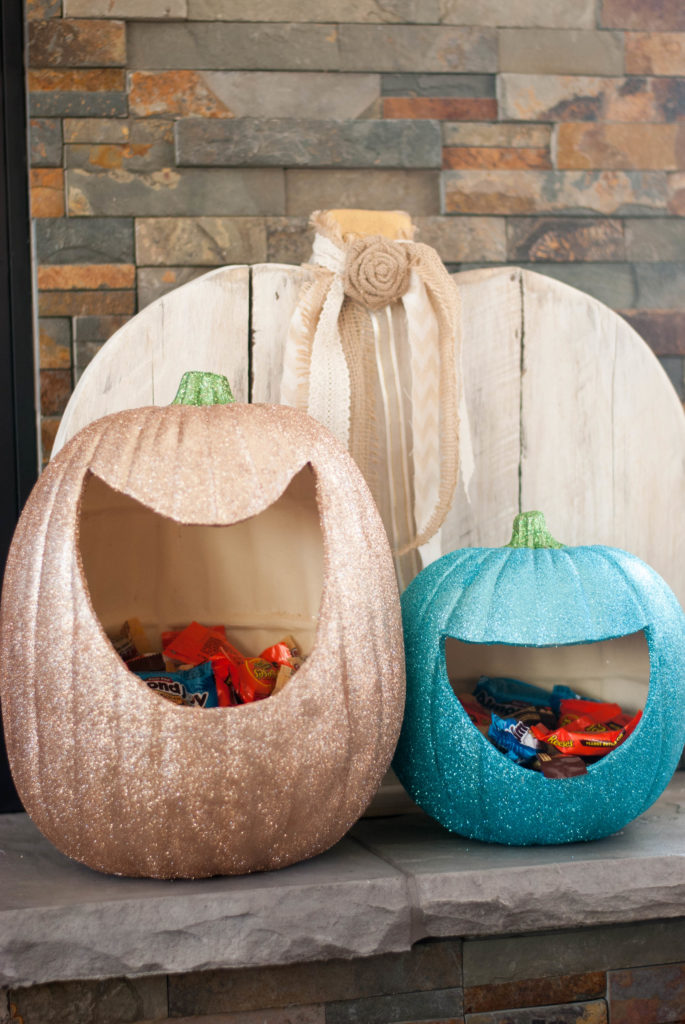
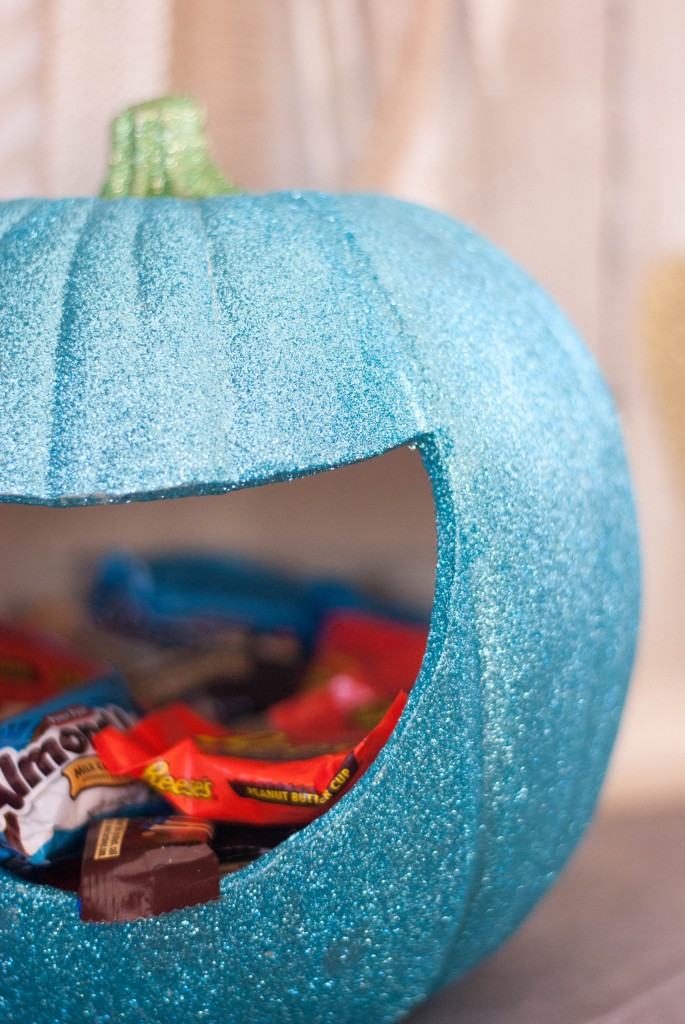
But enough yakkin’, let’s get crafting!
Here are the items that you will need for this project:
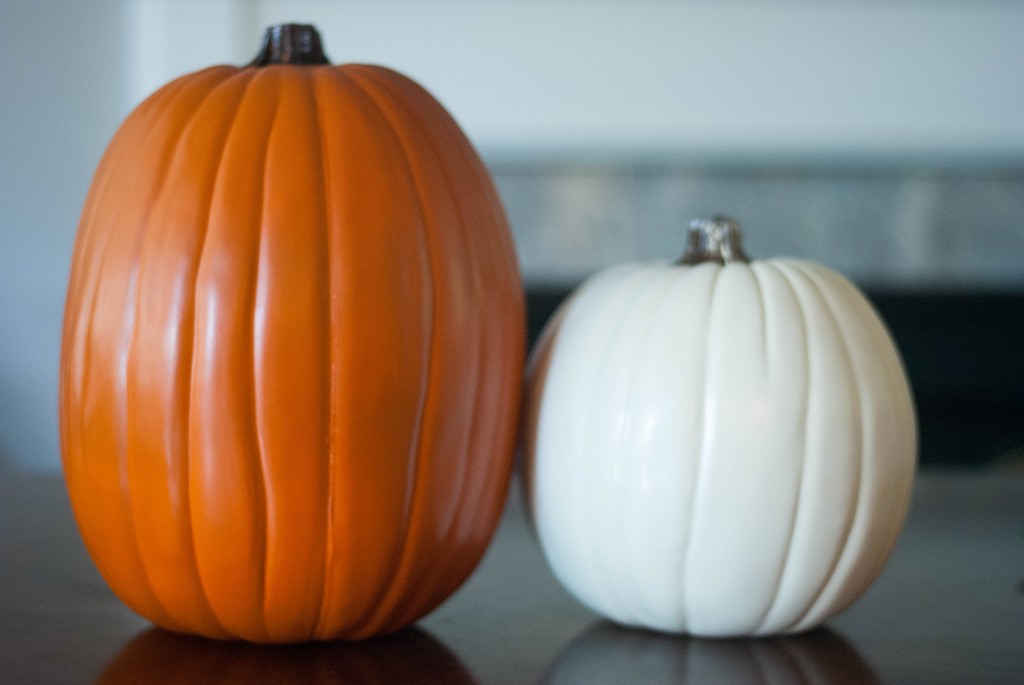
- Craft Pumpkins
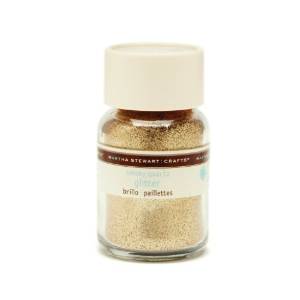
- Martha Stewart Fine Glitter 1.48 oz bottle. I used gold, turquoise and a light green for the stem. I get mine at Michael’s. Picture below
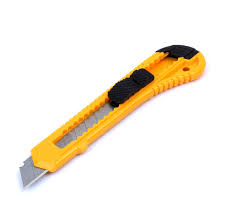
- Box cutter, picture below
- Elmer’s All-Purpose Glue
- Paintbrush. I used a foam one.
Determine what size of pumpkin you are going to glitter and then I just eyeballed it and with a pen, drew a mouth on my pumpkins. Make sure it will be large enough to fit a hand into and don’t go too low so that there won’t be any room to hold candy. You could also draw eyes and a nose to cut out but I wasn’t interested in doing that to these two this time.
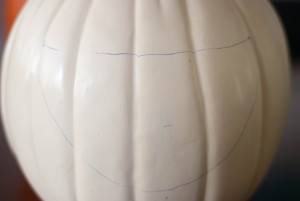
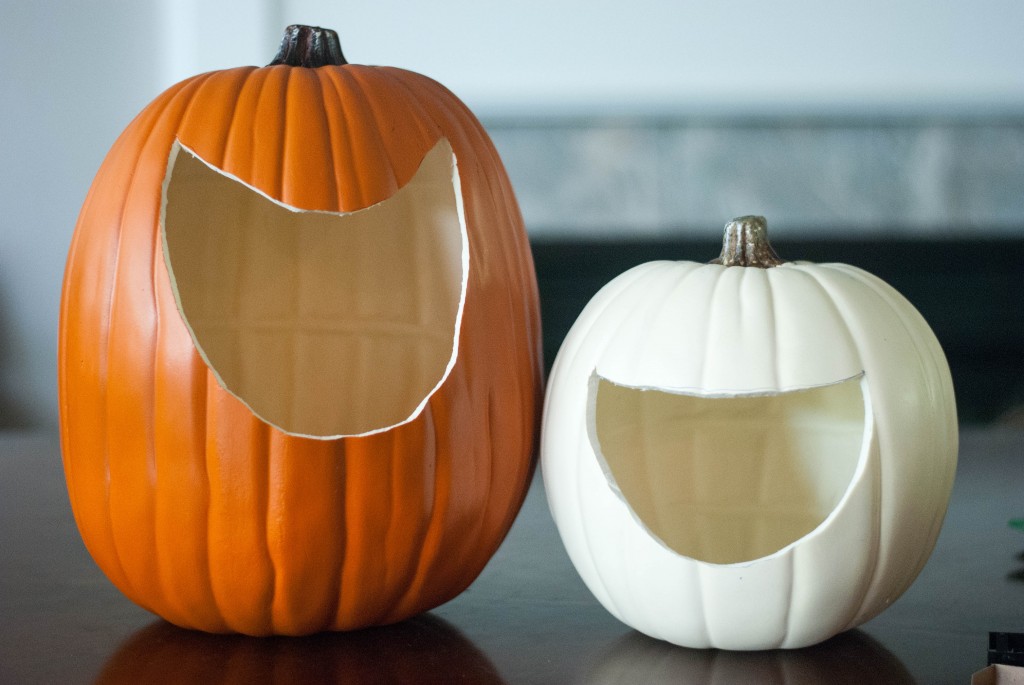
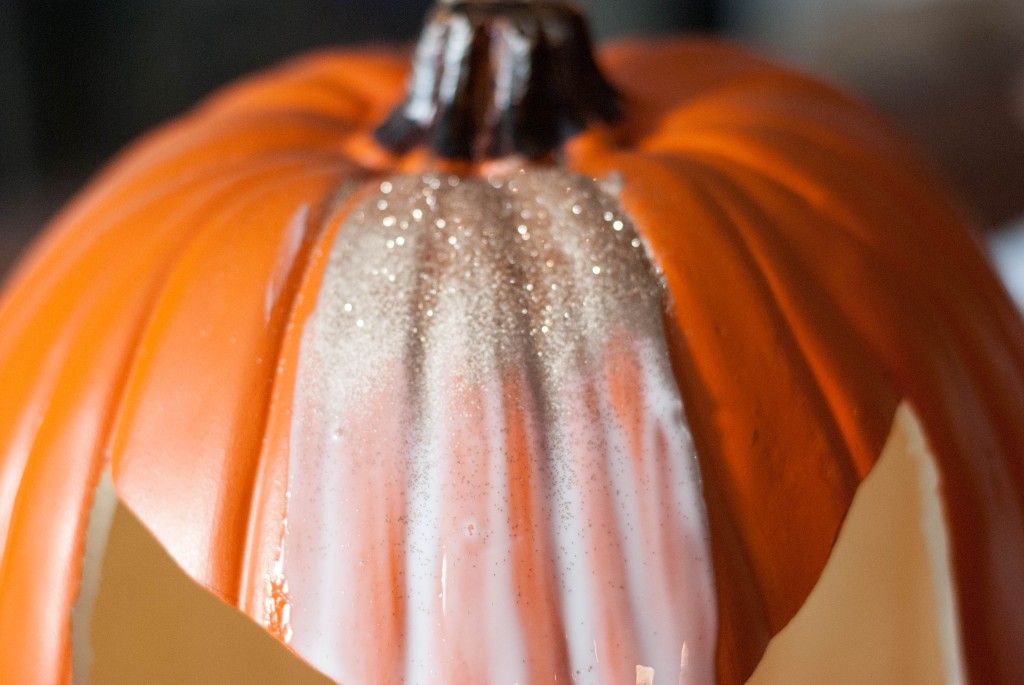
With your paintbrush, apply the glue to your pumpkin. I usually work in smaller sections. Make sure that you have good coverage but not too thick or else after you apply the glitter, the glue will start to slide and cause a glob. Don’t ask me how I know that.
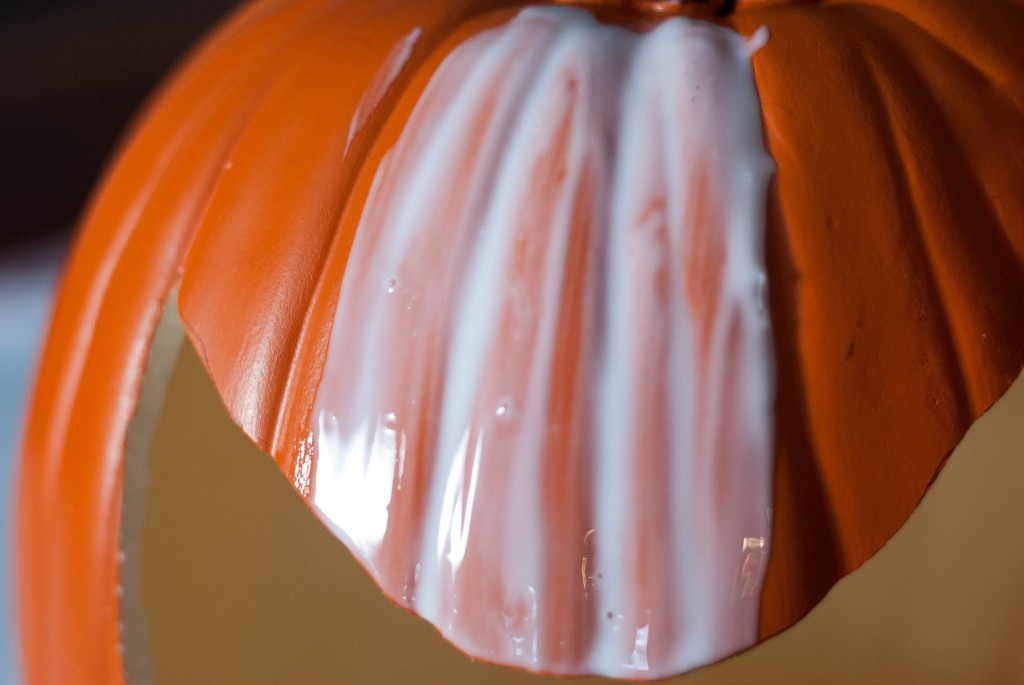
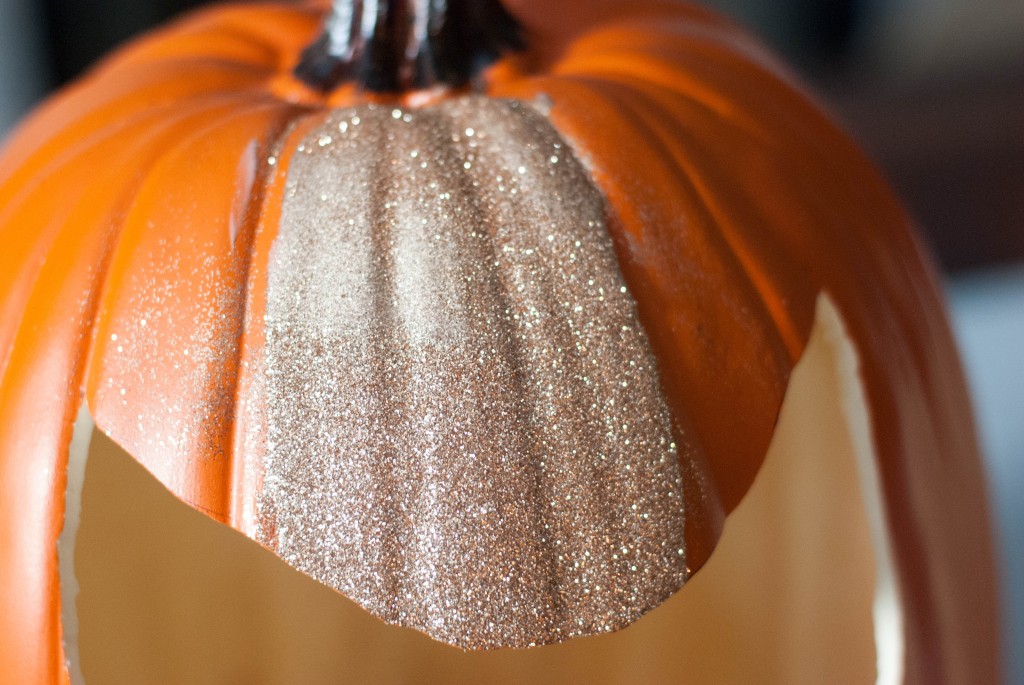
I also glittered one pumpkin at a time so that I wasn’t mixing up the two colors of glitter. You can just pour the excess glitter back into your jar to use again. You will be surprised at how little glitter it actually takes to make these beautiful pumpkins!
If you see any areas that didn’t glitter, don’t worry. Just apply some more glue, sprinkle your glitter, then tap and that should take care of that.
When your pumpkin is completely dry, take a damp cloth and wipe out the inside of your pumpkin of any glitter residue.
Fill with your favorite candy and you are ready to go.
You can also find us on Pinterest │ Facebook │ Twitter │ Instagram │ StumbleUpon │ Hometalk
Check out these other great Halloween ideas!



Oh my goodness! These are absolutely adorable! Love it so much
Thanks so much Whitni! They are SUPER easy!
I love the concept but I am not sure if you are aware that teal/aqua pumpkins are the symbol for allergy friendly homes giving out non food items. Any home displaying a pumpkin this color is safe for children with allergies to visit.