Annie from RockyMtnBliss here to teach you one of my favorite quick and easy spring decorations, DIY Coffee Filter Carnations. I grew up with a dog-eared copy of the Childcraft Make & Do book on my nightstand. When Pinterest first hit the web, I knew I had found my new home.
I’m so excited to be joining you on Made from Pinterest, and I am looking forward to sharing some of my favorite projects with you! This fun project is very low cost and would be perfect for decorating for a party.
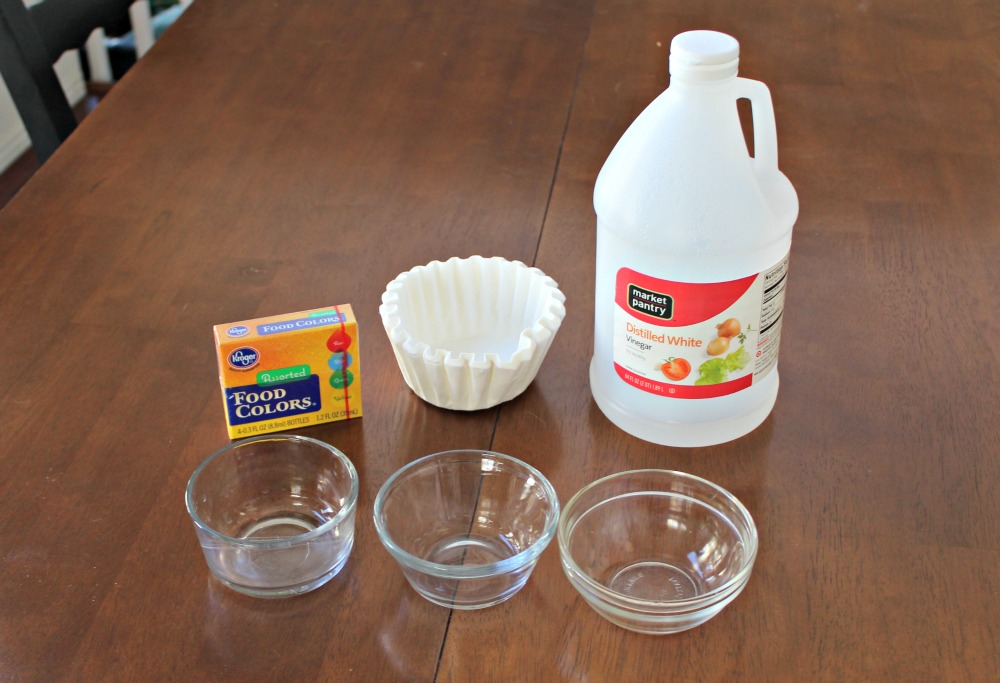
Project Supplies
White Vinegar
Food Coloring
Coffee Filters (9 per flower)
Straw
Floral Tape (optional)
Step 1: Dye the Petals
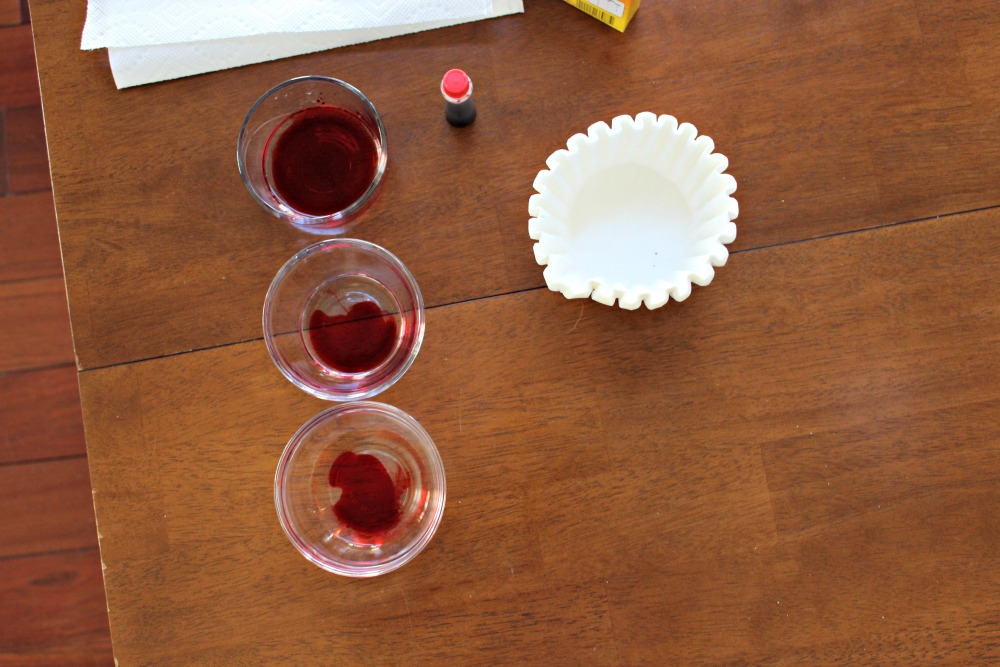
The most time consuming portion of this project is dying your filters. Just like Easter Eggs, creating a quick dye with vinegar, hot water and food coloring will help your filters soak up the dye and become a vibrant color.
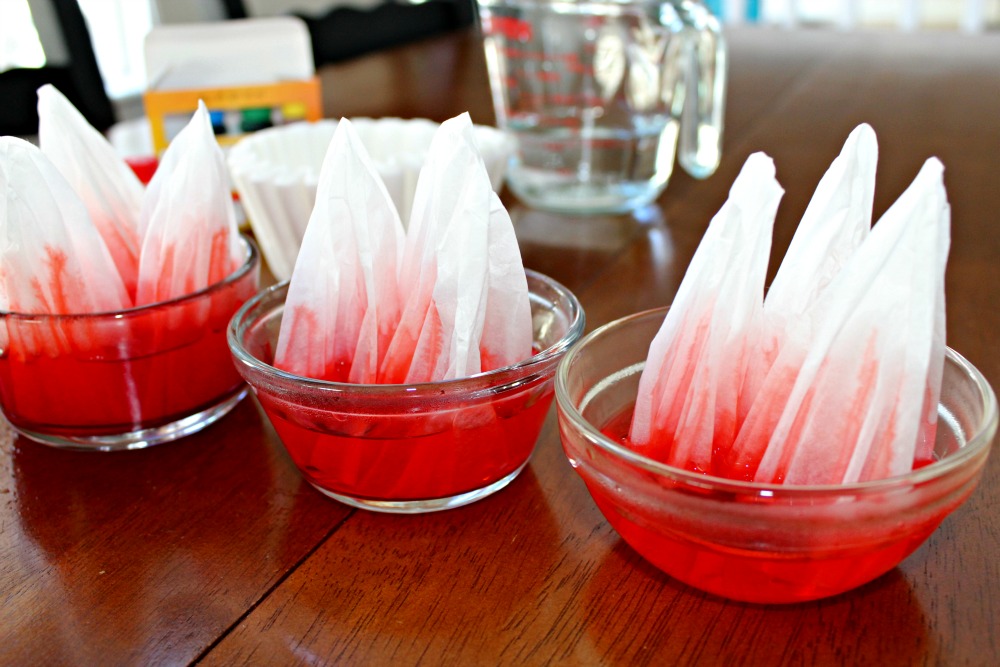
To create an ombre look, I used three containers with different amounts of food coloring in each. The lightest color (bottom bowl) has 3 drops of red dye. The middle color has 6 drops and the top color (and most vivid) has 12 drops.
For an ombre look separate out 3 coffee filters for each color. Bunch up your filters into teepees and place them into the dye. Allow the filters to sit for 5-10 minutes so the dye can soak into the paper. Once you see streaks going up the filters feel free to push the rest of the filters into the dye to soak fully. This helps create a darker outer edge on your petals.
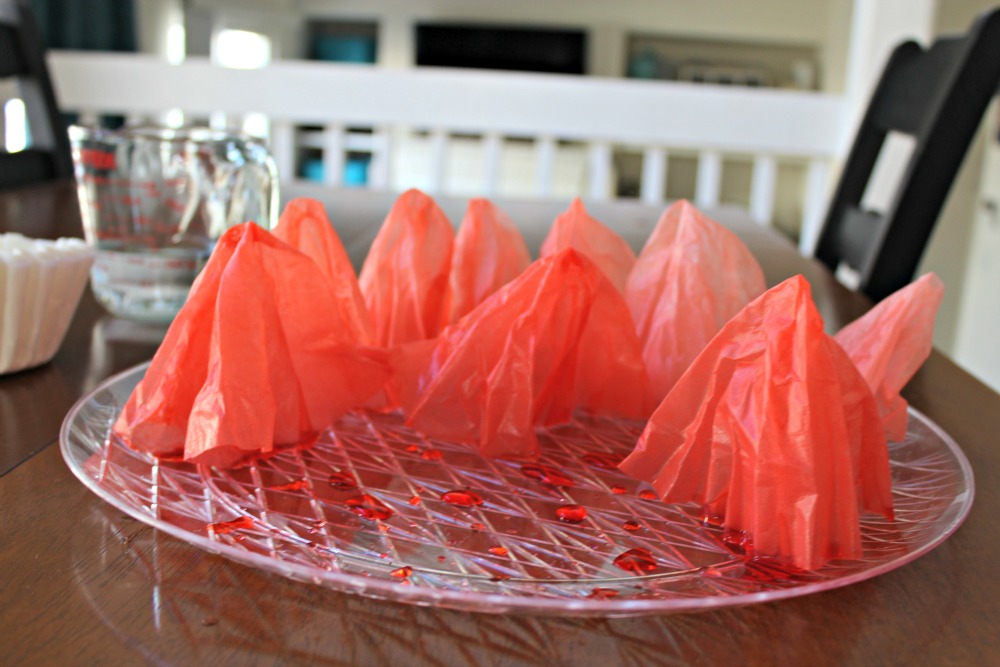
Remove the wet filters and place them aside to dry. The dye could leave a mark on your counter so I recommend placing the filters on a platter or newspaper.
Step 2: Cut the Petals
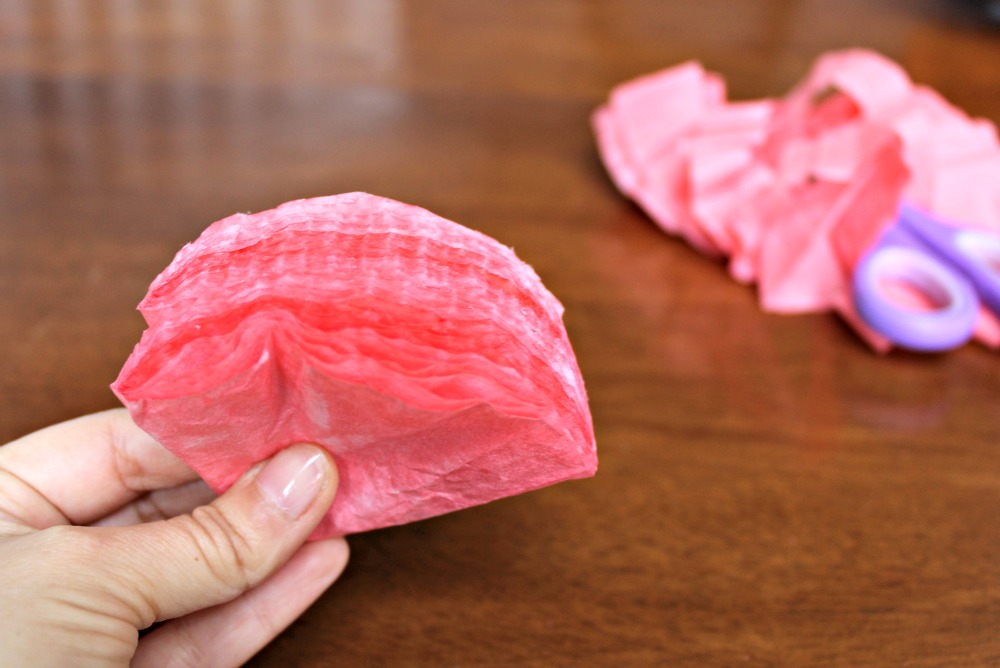
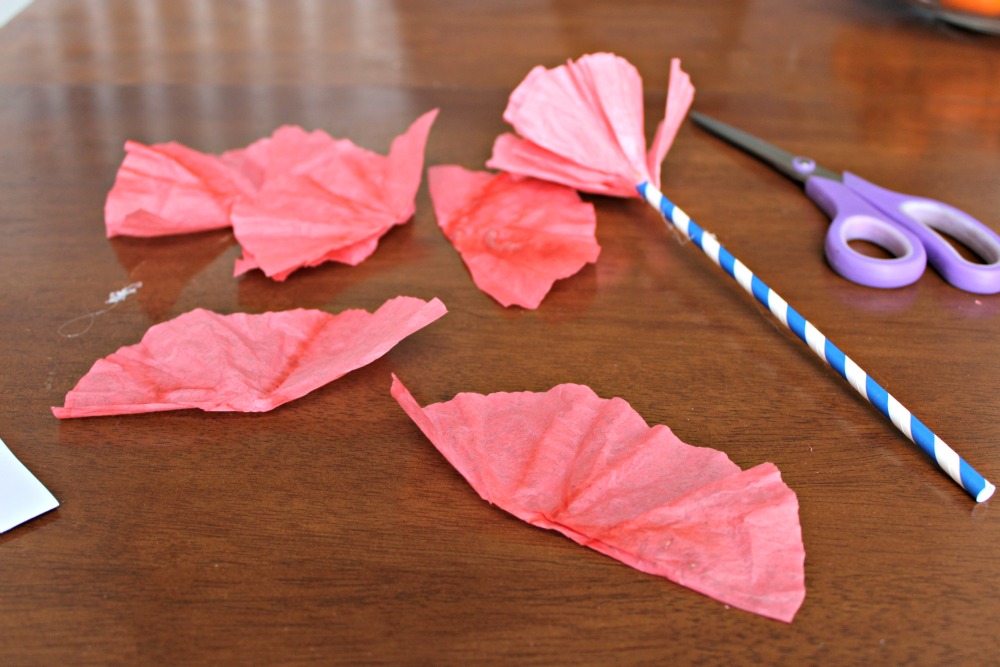
Once the filters are fully dry fold into 1/4 shaped pieces. Stack all 9 filters together and cut a half circle around the edge of your flower.
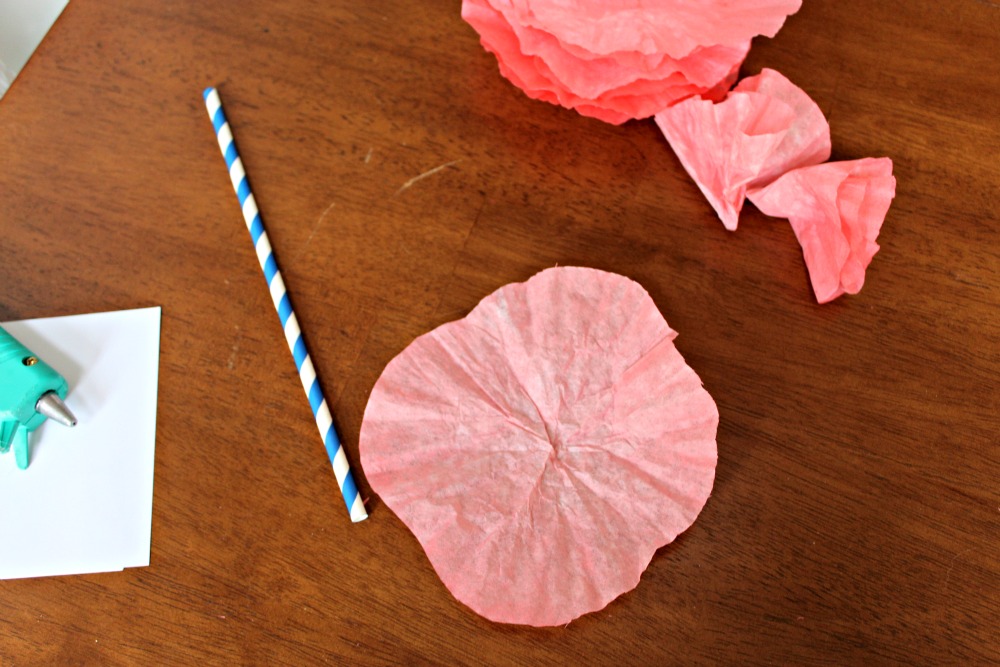
When you open up the filters they will not all be the same shape. This helps give each petal character and texture.
Step 3: Shape the Carnation
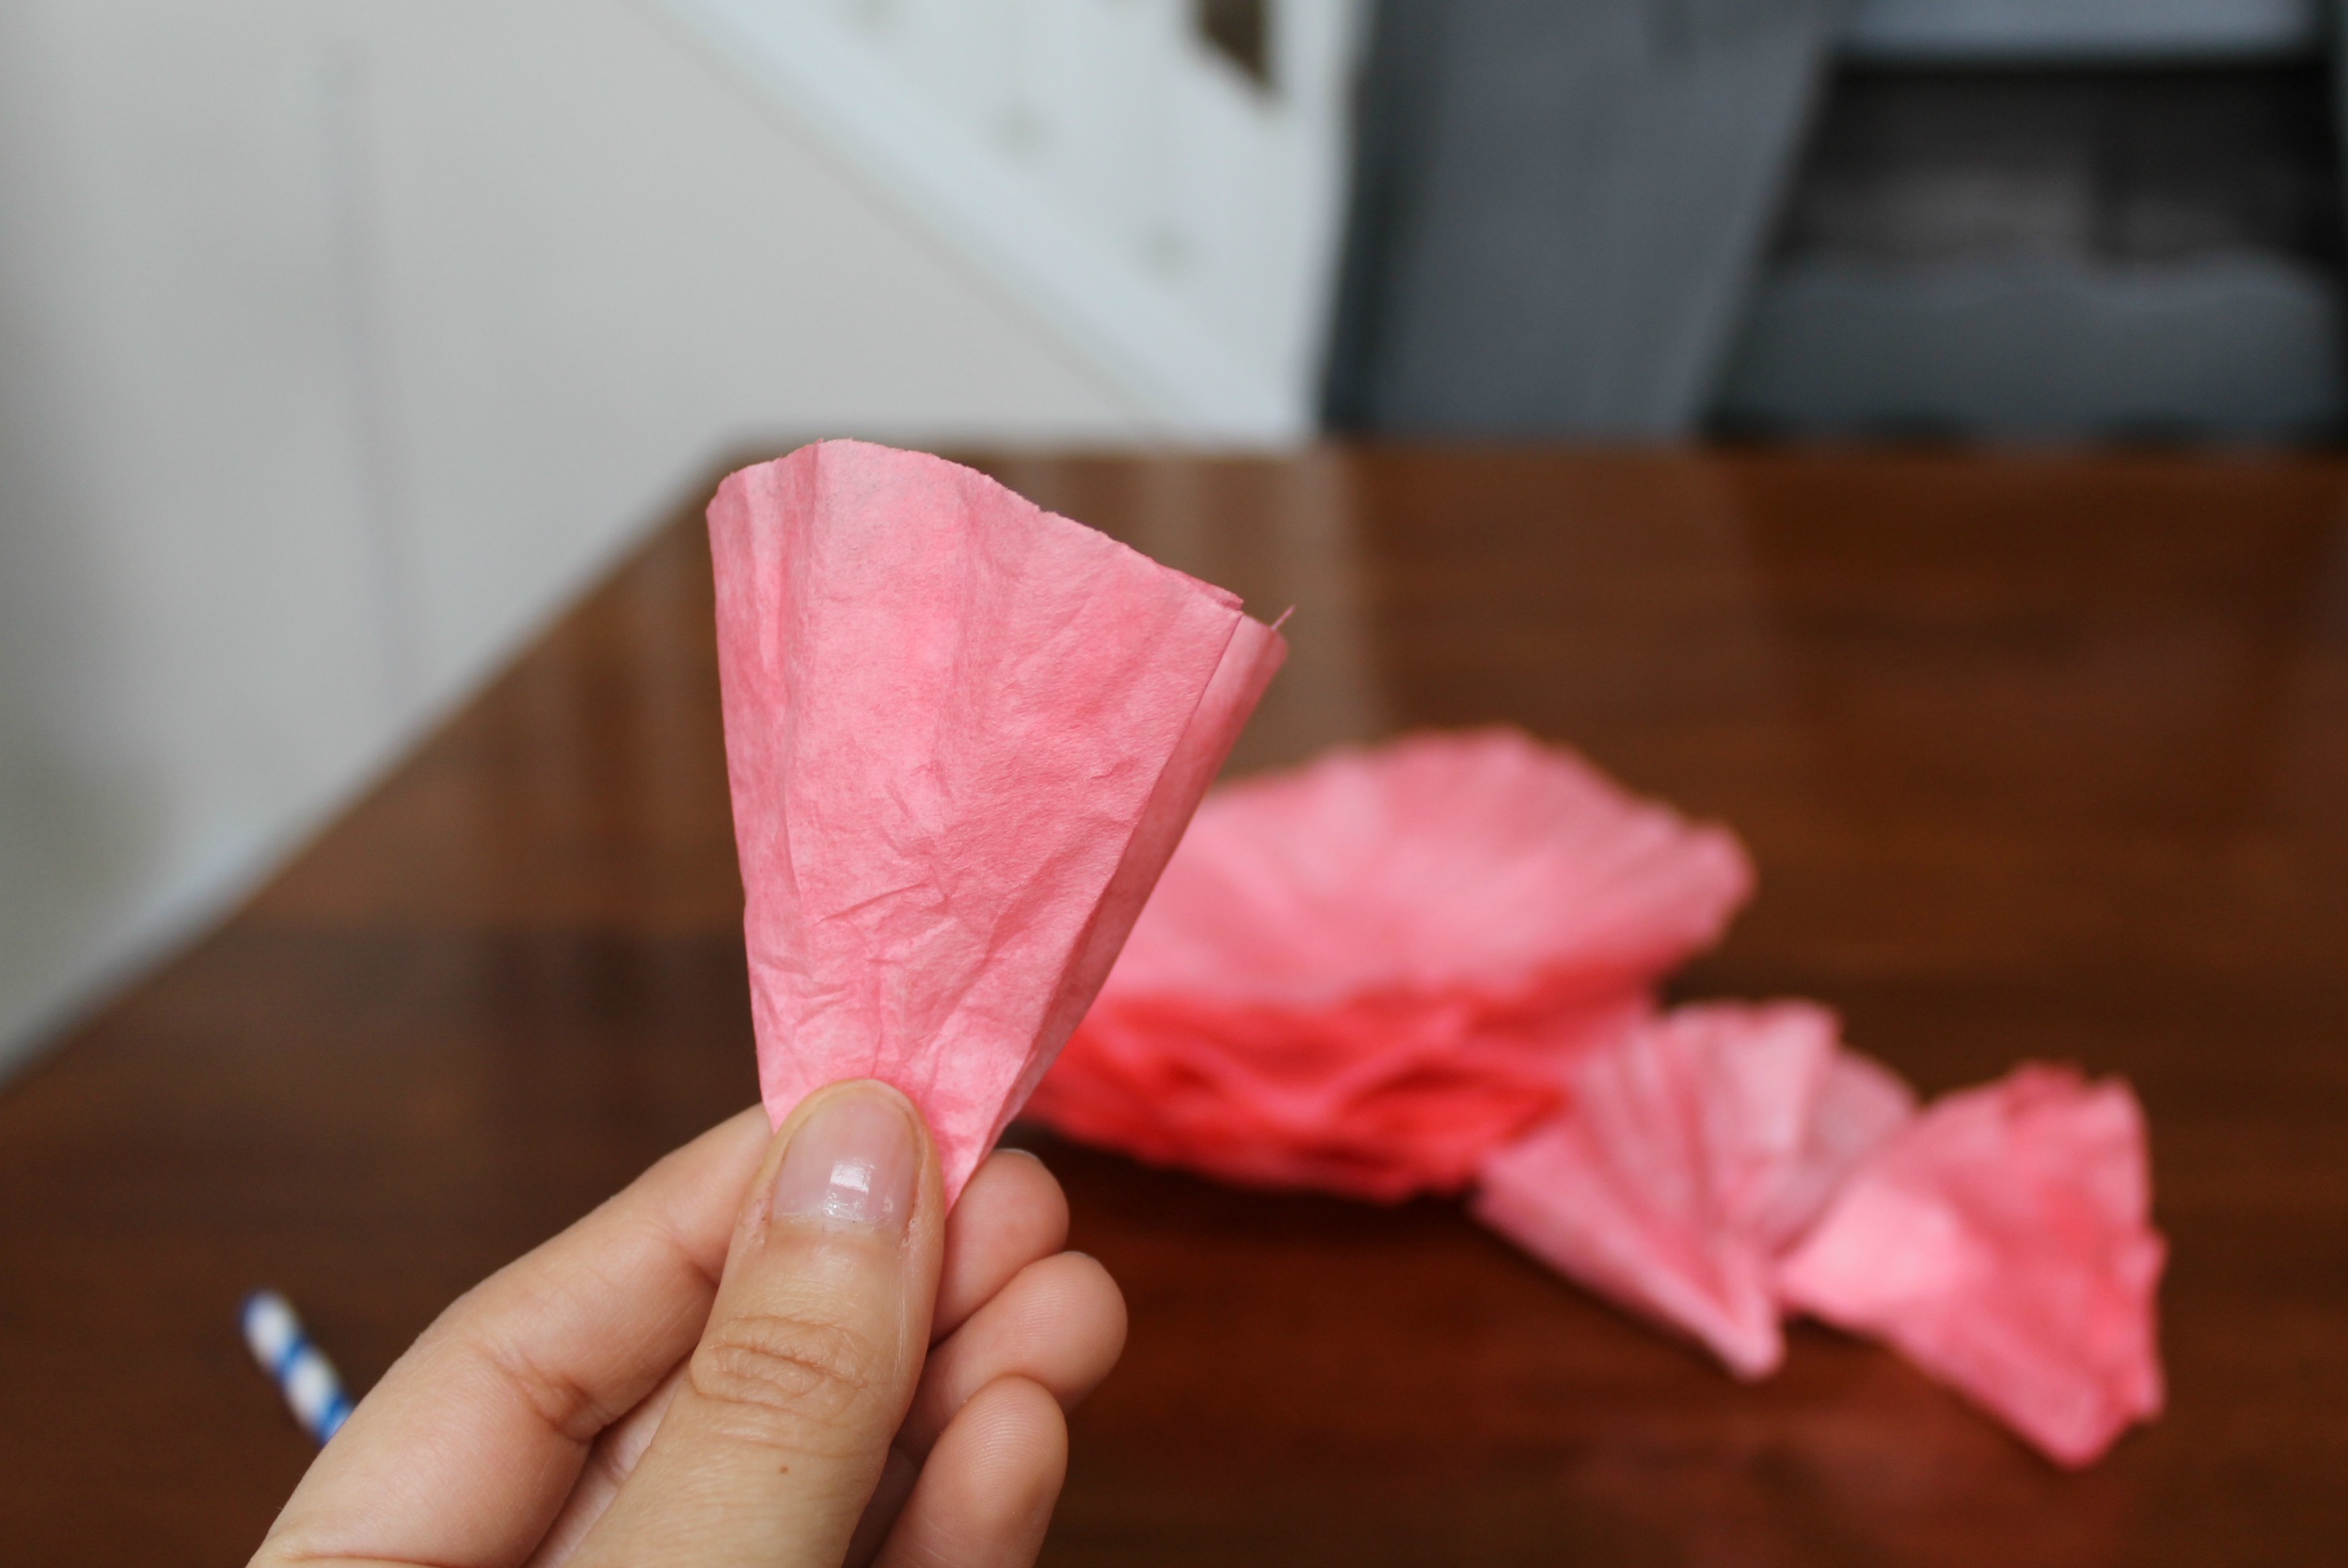
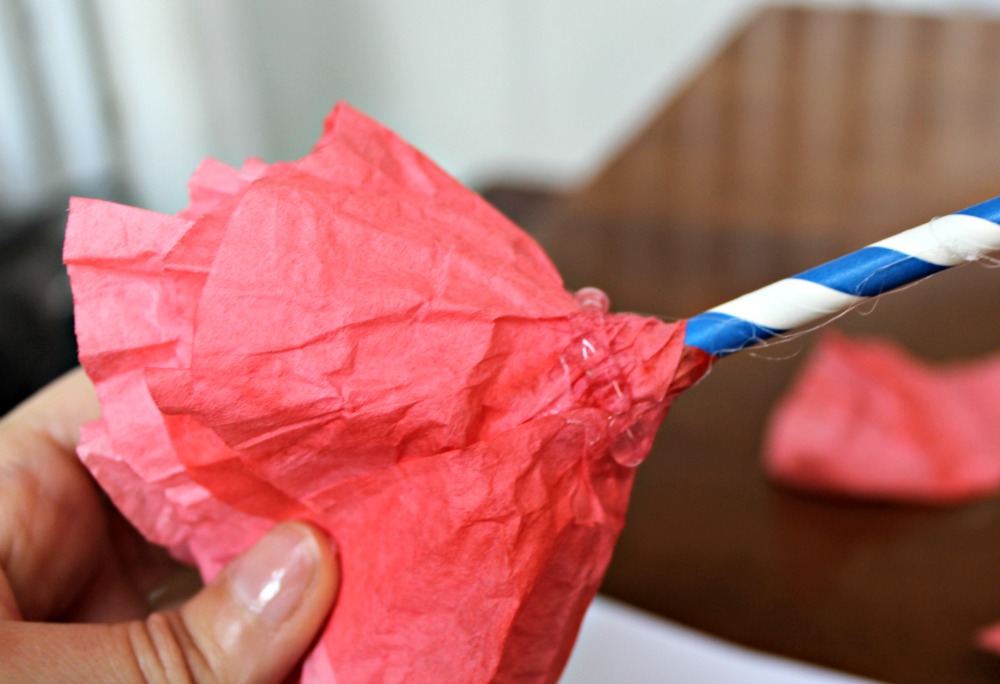
Fold your lightest color filters into 1/8 shapes. This will be the center of your flower. Using a hot glue gun (or other glue of your choice) begin to attach your petals to the straw. Move around the straw covering it entirely.
For your next layer of color, fold the three filters into 1/4 shapes. Repeat the same process as before moving in segments around the straw to glue down the petals.
For the outer petals (and darkest color) cut the coffee filters in half.
Place a string of glue around the base of the flower. Wrap the half cut shapes around the outside. Repeat this with all 6 pieces.
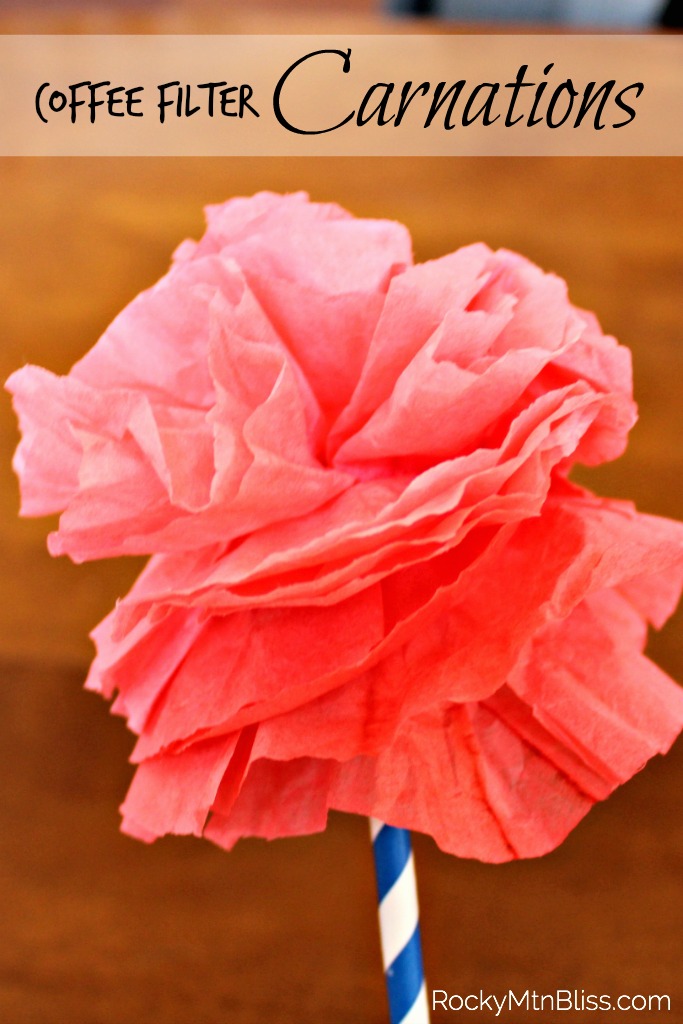
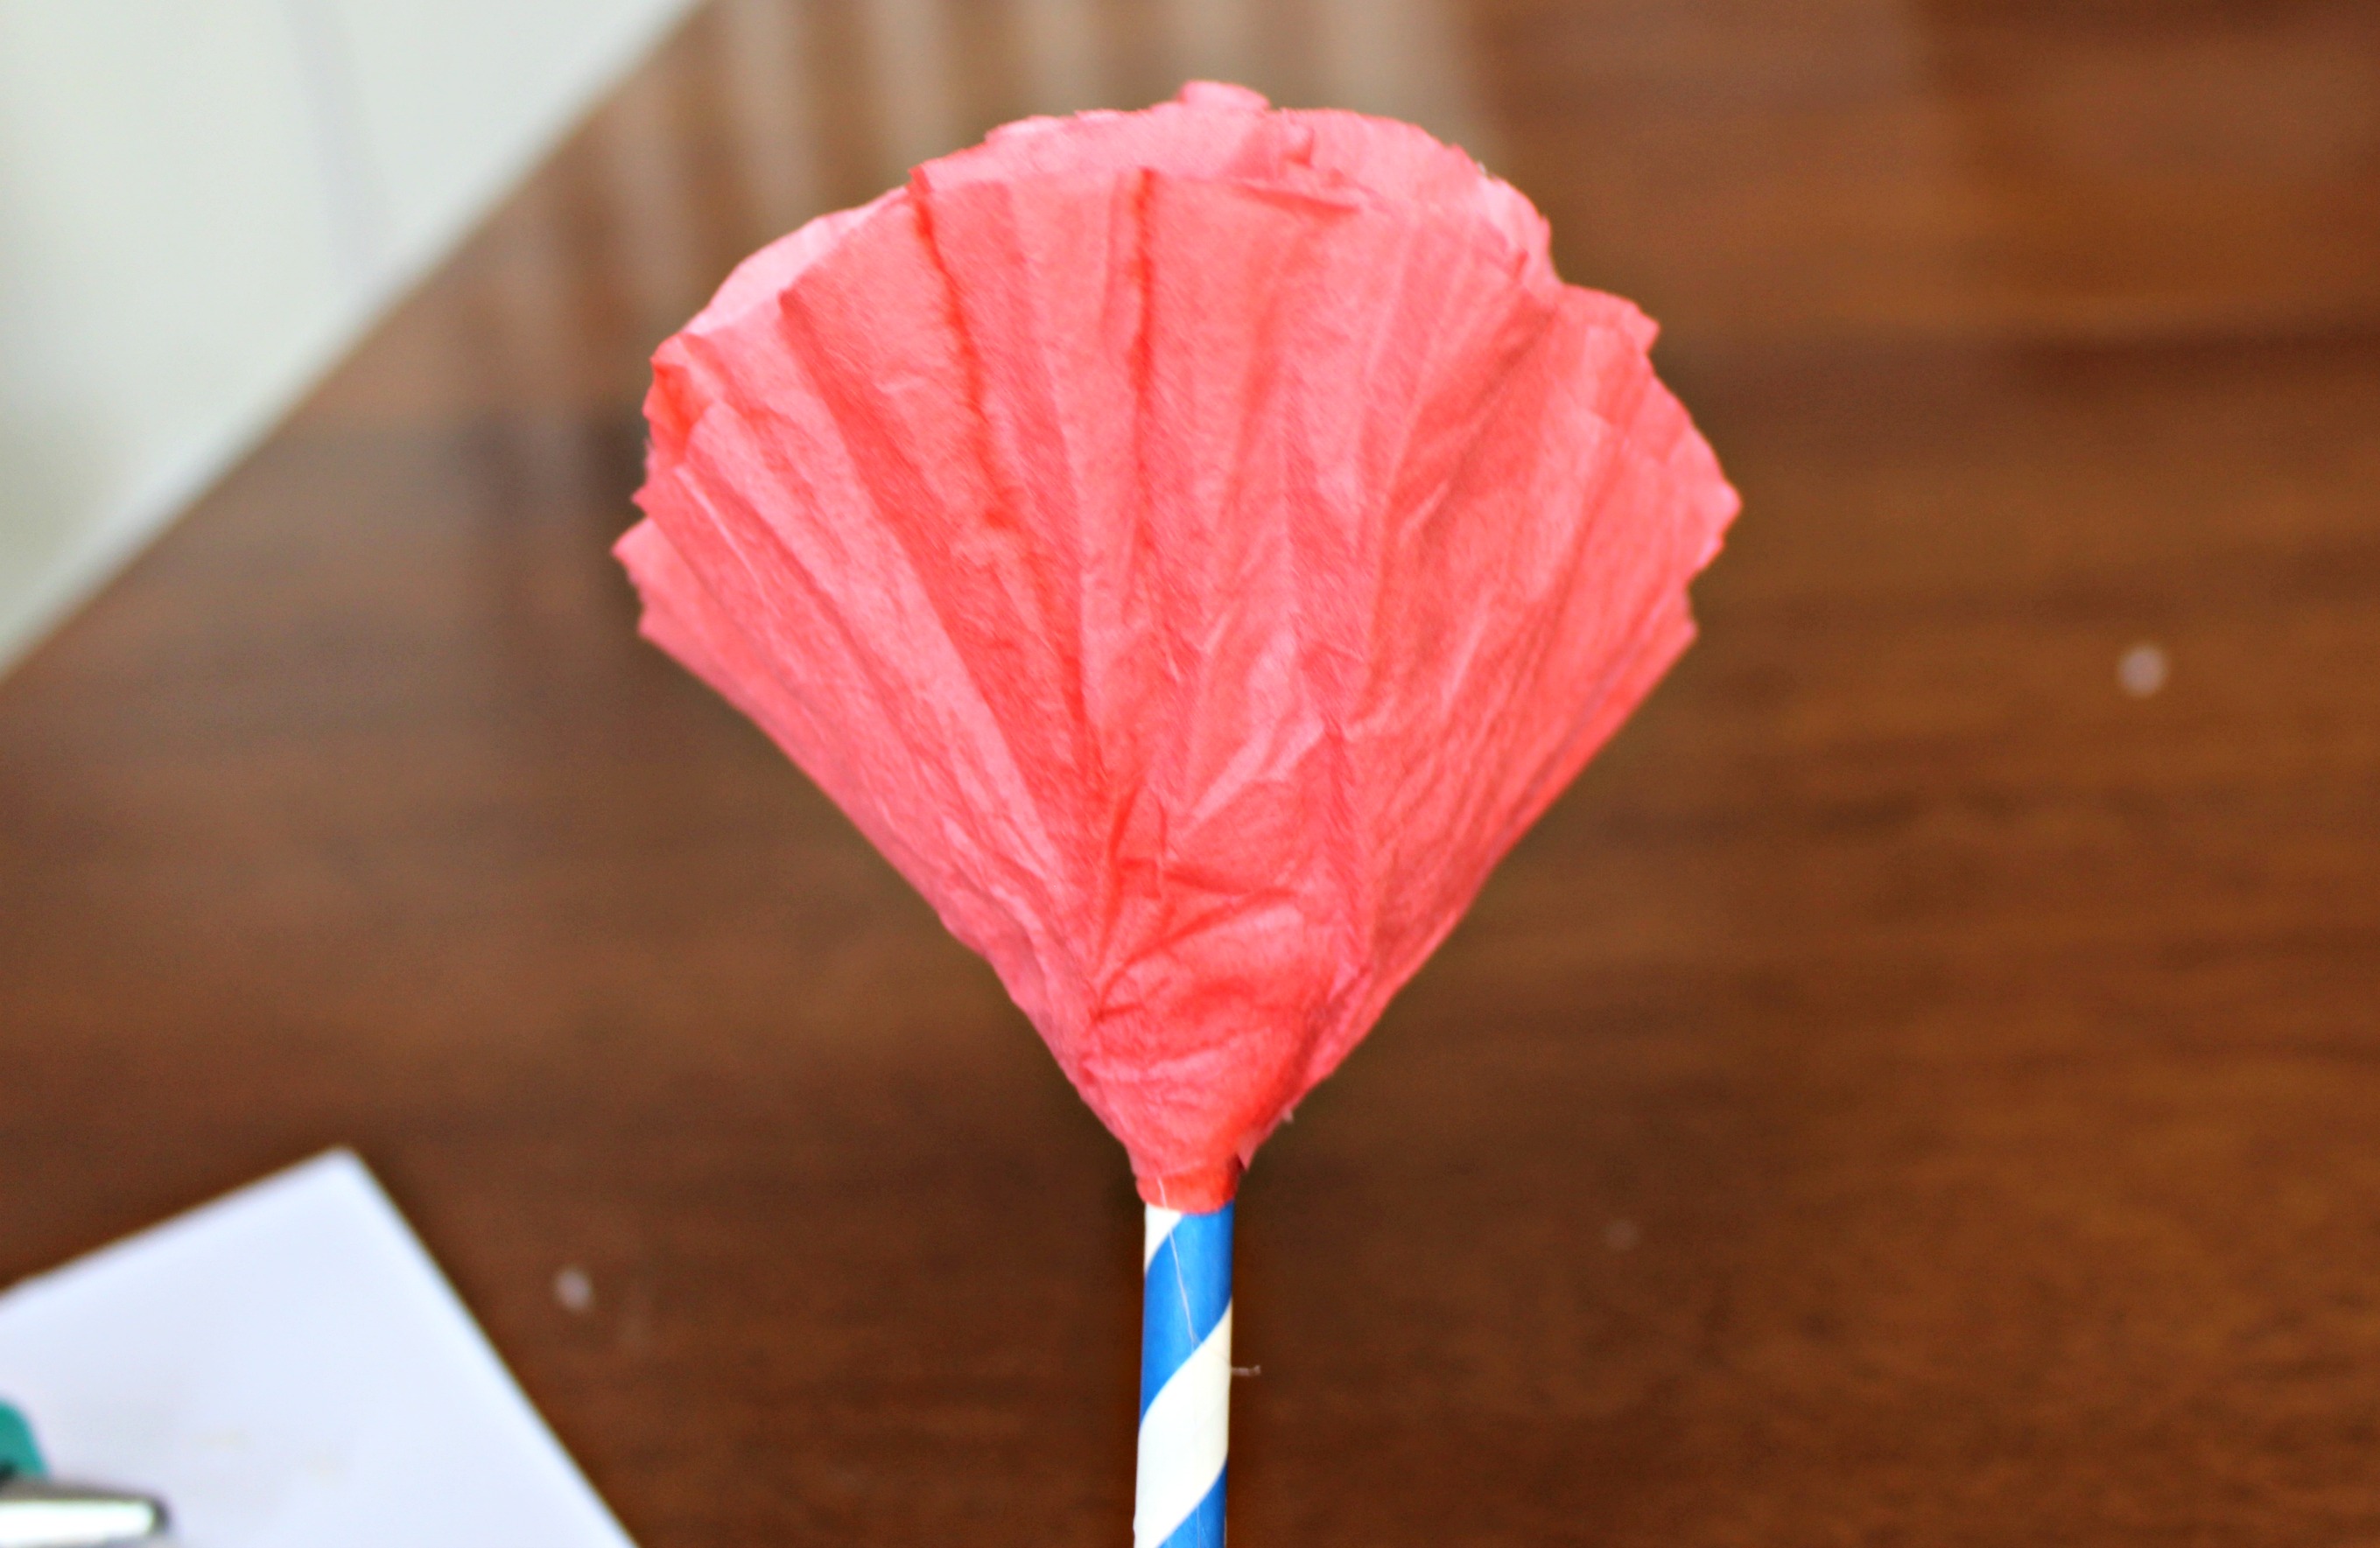
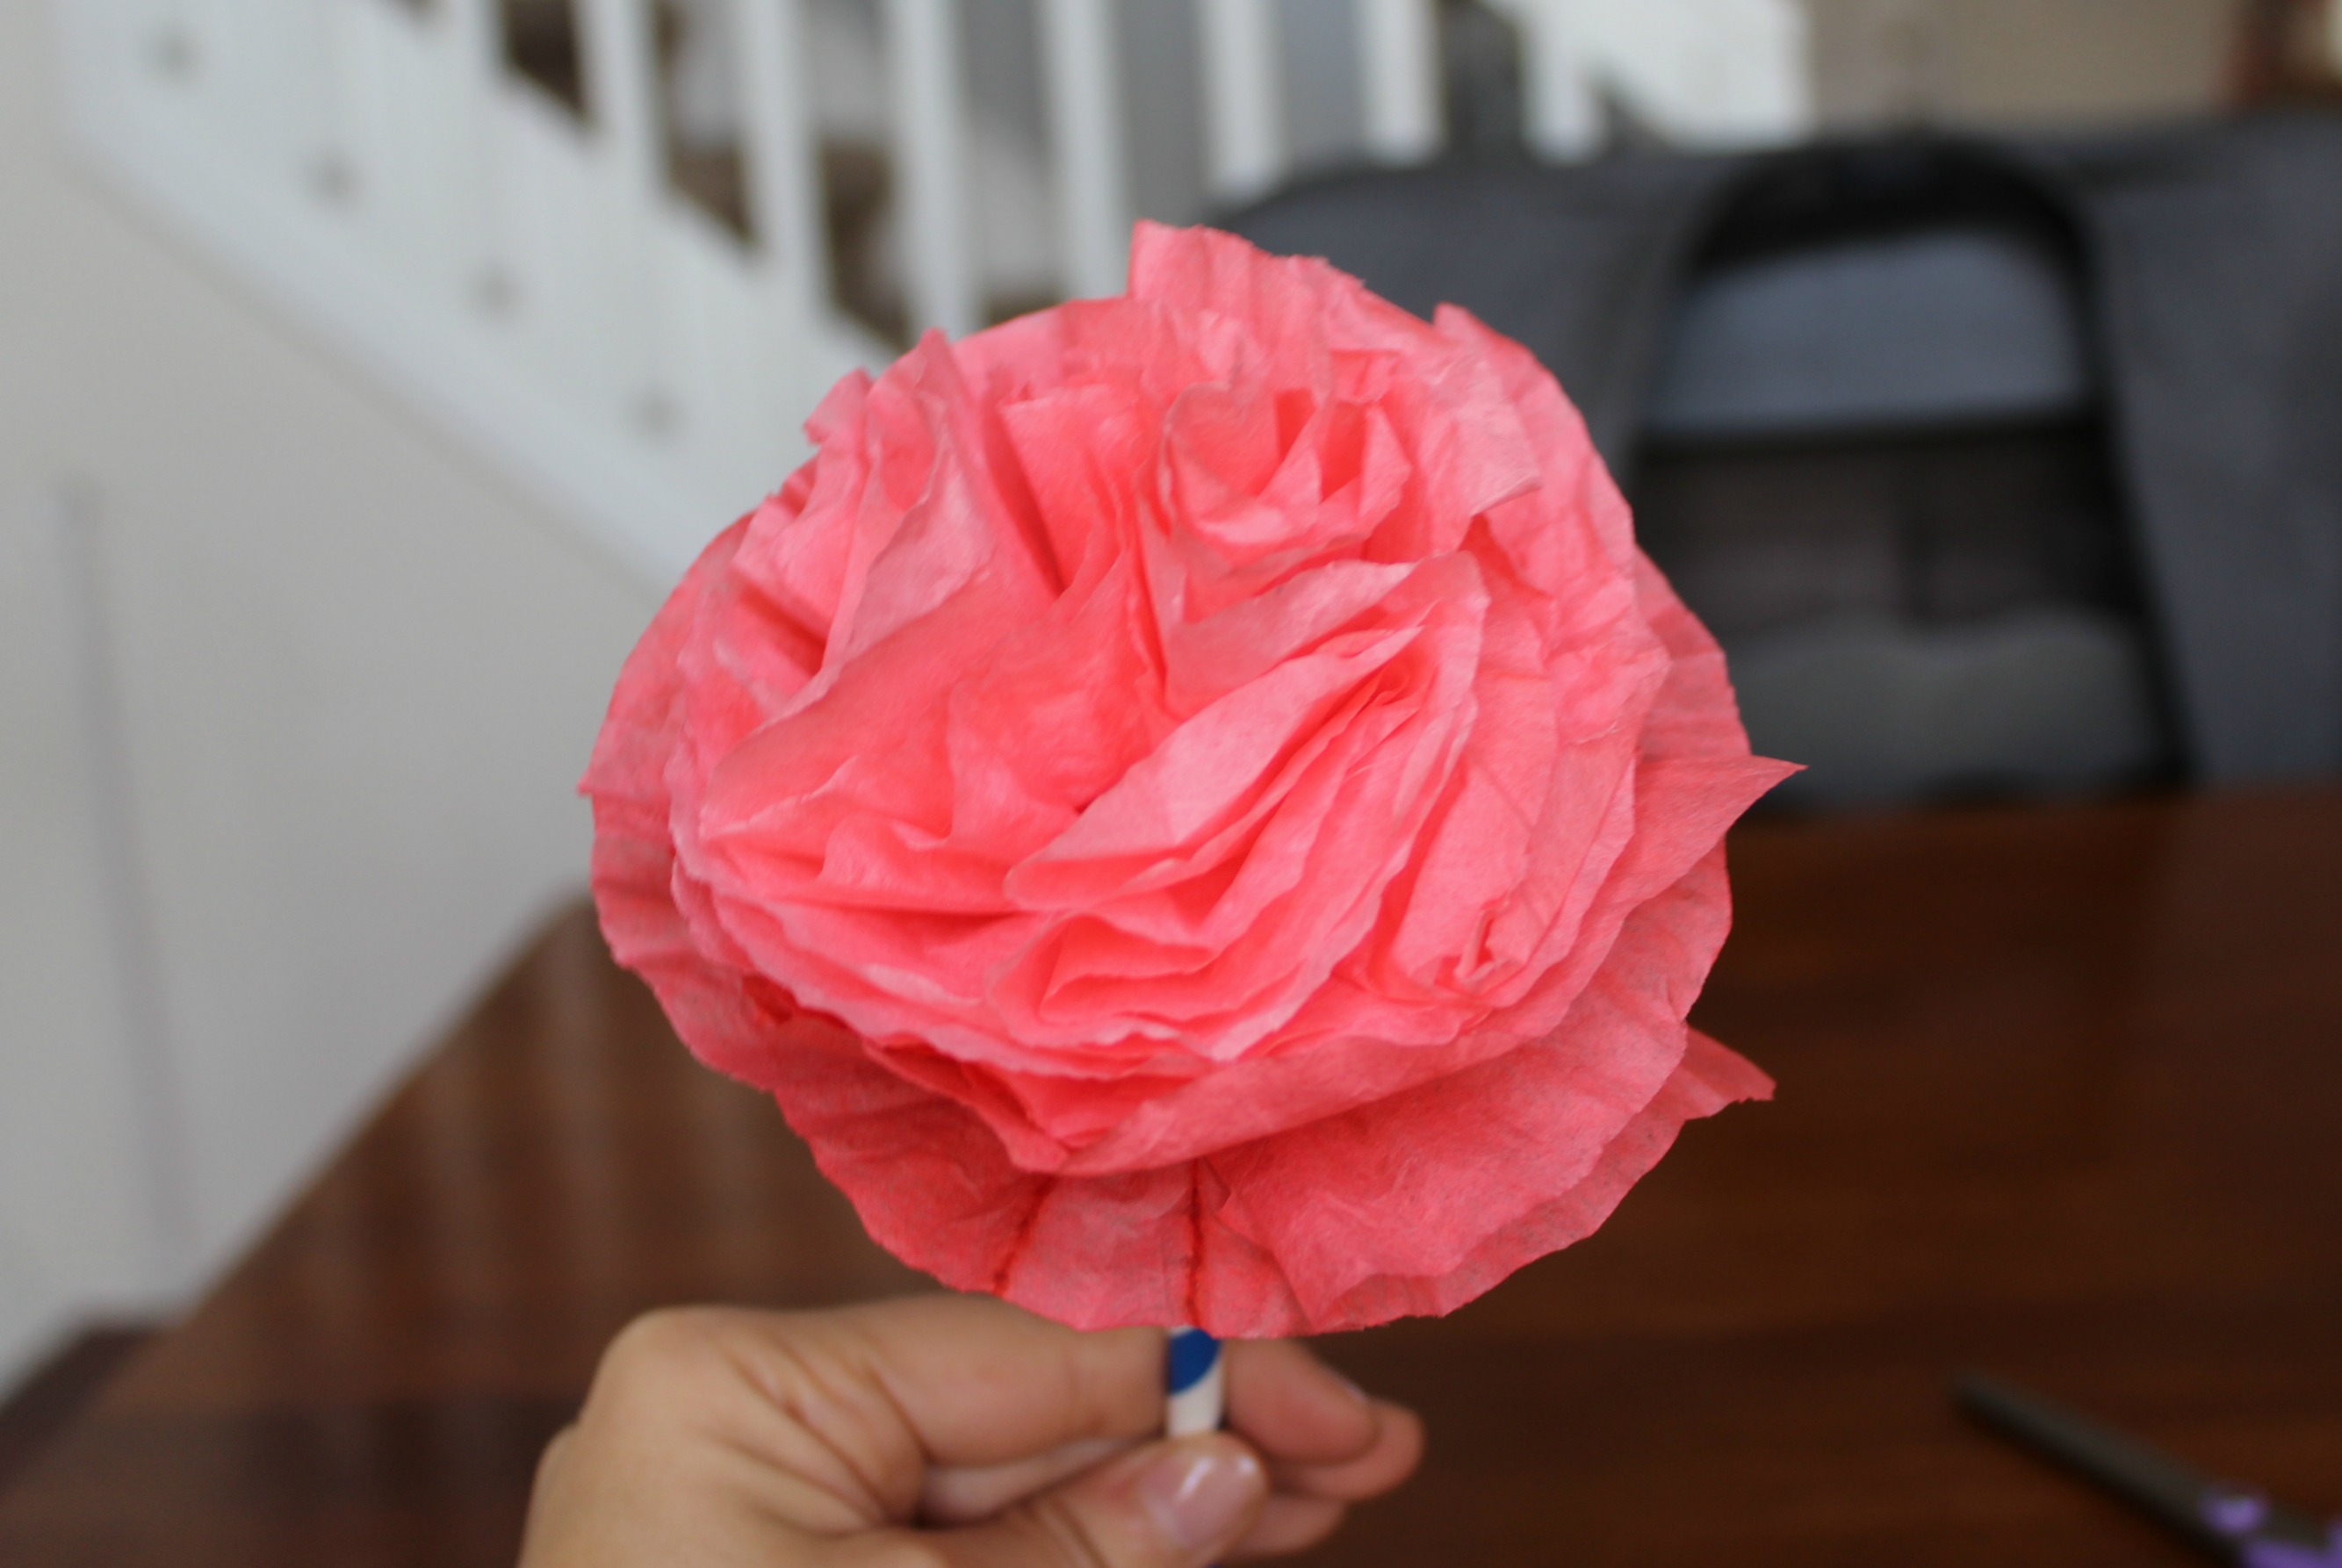
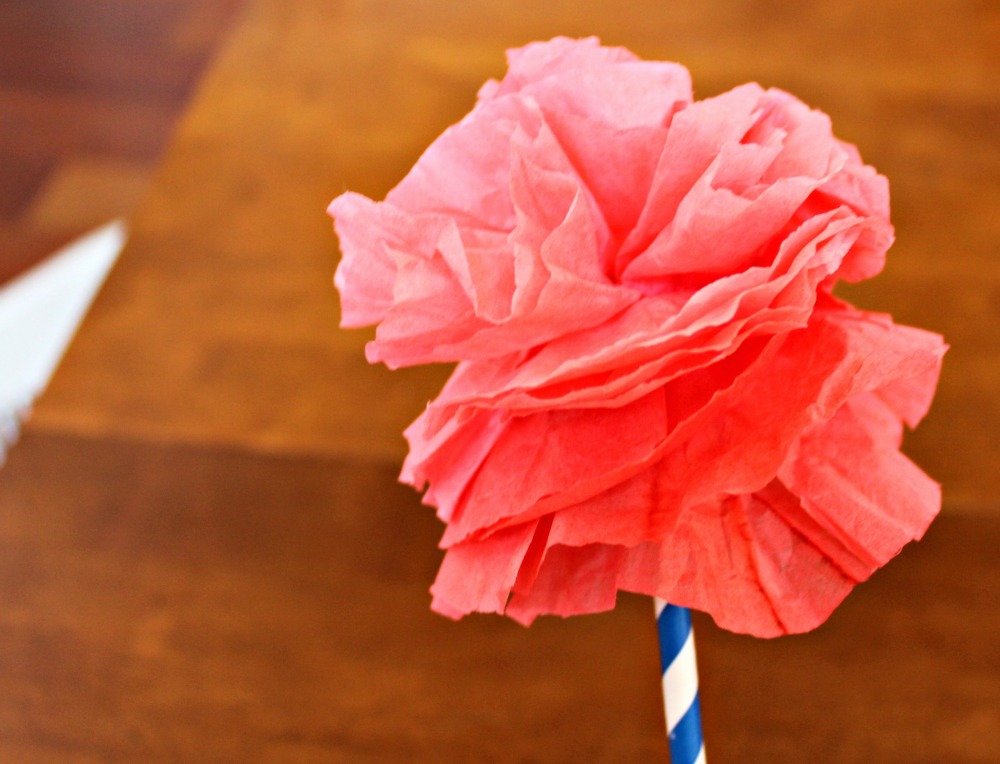
Your completed flower will look like the image below. If you plan to store the flowers for a future event, or travel with them to a different location, this is the best way to transport them. If you wish to have a green stem (instead of a noticeable straw like I used) now is the time to wrap the base of the flower with floral tape. Cover the bottom portion of the filter and down the stem covering up all of the straw that will be visible after placing into a vase.
Step 4: Fluff out the petals
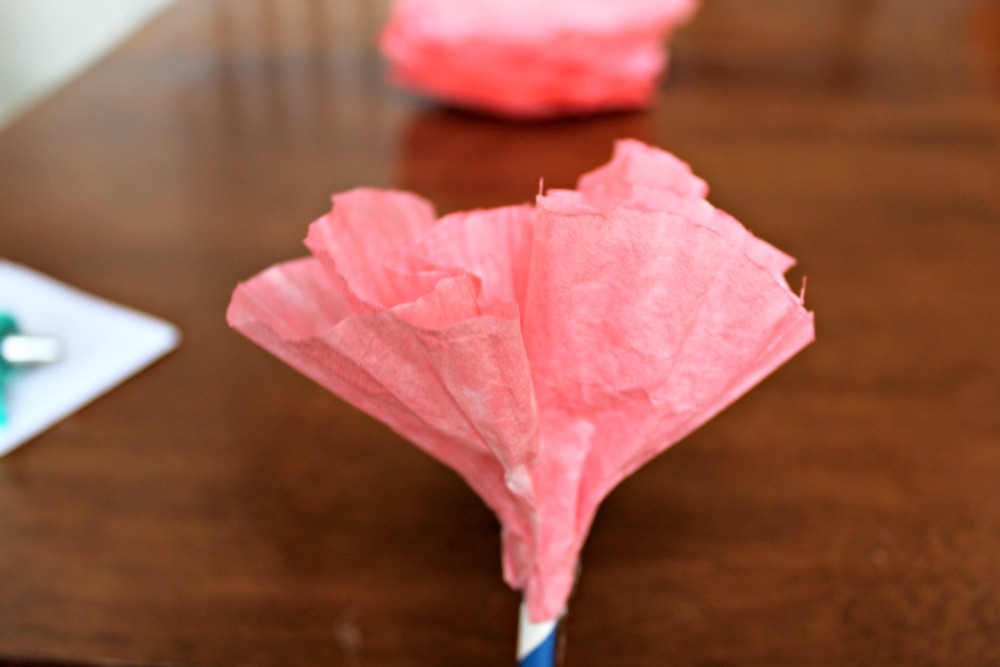
When you are ready to display the flowers begin to fluff out the petals by separating each of the coffee filter petals individually. You should be able to see some of the sections you created in the interior of the flower.
As you separate the sections add texture by crunching some sections and straightening others. Continue to fluff until you are happy with the shape of your flower.
Make a full bouquet of different colors or create a dozen for your next party! I love using paper flowers to add a quick seasonal touch to my home decor and I don’t feel like I have to save them for another use when I’m done with them.
Did you like this project? Check out some of my other favorite projects on RockyMtnBliss!

Leave a Reply