Don’t let your baby memories slip away. With this easy-to-make DIY Baby Shadow Box you will always be able to remember those precious moments.
Hello! I’m Katie from Clarks Condensed, and I’m so thrilled to be a contributor for Made from Pinterest! This is my first of (hopefully) many posts, so let’s get to know each other.
If there’s one thing you should know about me, it’s that I love being a mom. Love it. When I was in elementary school, I was always the girl who would say she wanted to be a mom when she grew up – and I’m lucky enough to have had that come true! I have the world’s cutest little boys (and of course I’m not biased, their grandma thinks so too), and they are the center of my world.
Something else you should know about me is that as much as I love watching my babies grow, I really like the baby stage. There’s nothing better than snuggling a new baby.
Unfortunately for me, babies don’t stay babies. No matter how many people told me that kids grow faster than you can imagine, I never realized it until I experienced it myself.
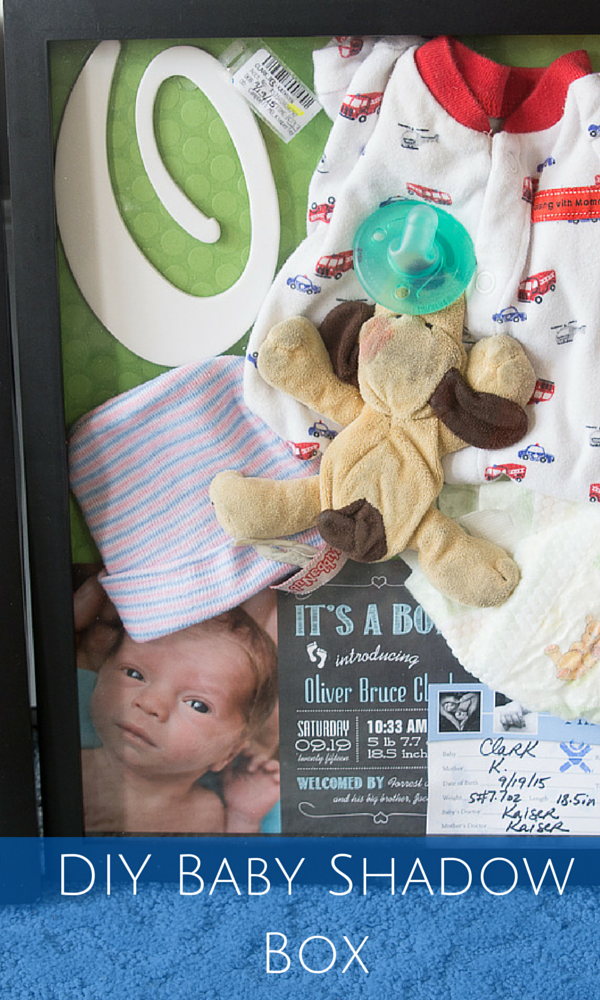
So even though I can’t convince my boys to stay small, (especially my four-year-old, he is convinced he needs to learn how to drive, get a job, and go to college) I love looking back on memories of when they were tiny. On Pinterest, I’ve seen baby shadow boxes floating around, and I loved the idea. Basically, you gather some of your most “prized” items related to your child’s time as an infant and preserve them in a shadow box.
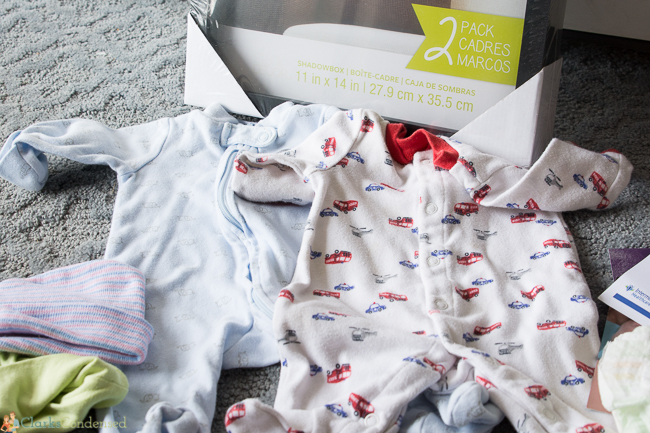
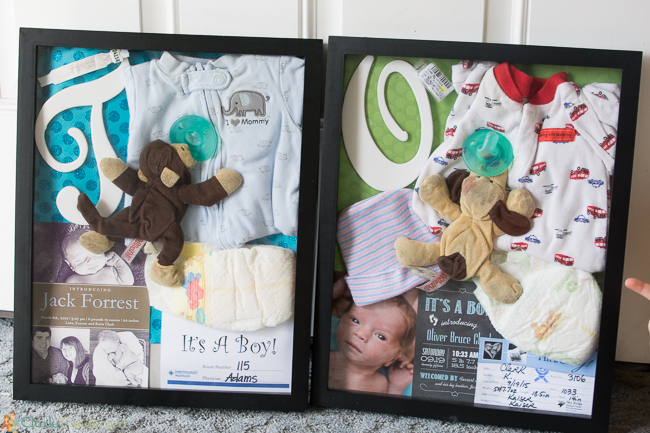
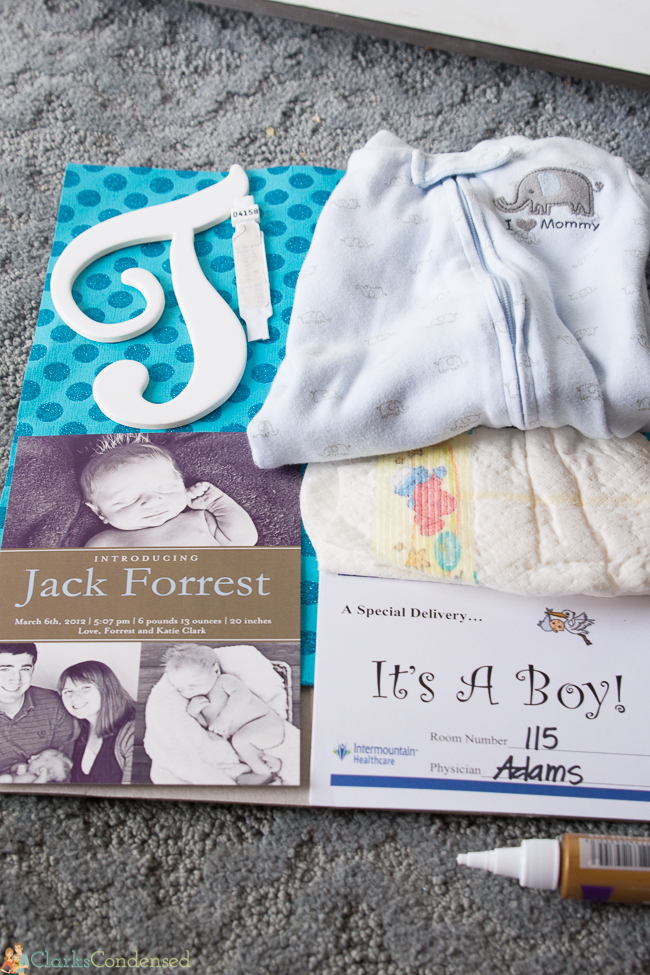
I saw some 11×14 Shadowboxes on sale on Michael’s awhile back for buy one get one free (each package had two). I figured it was the perfect time to buy them – because shadowboxes are expensive! I gathered somethings from each of my boys to put into the boxes, such as their coming home from the hospital outfits (so teeny tiny).
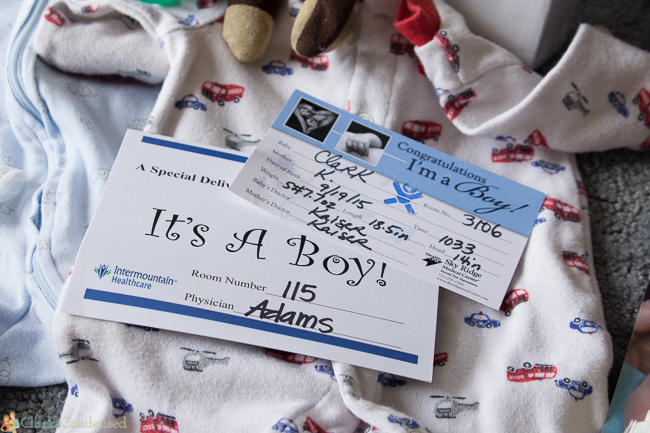
I also included the little cards that were on their bassinets in the hospital. . . .
I had some newborn diapers, my oldest son’s beloved monkey Wubbanub, and their birth announcements that I put in.
I think they turned out really cute. My oldest son, Jack, thought it was so fun and could hardly believe he was so small once! This is the perfect way to try and capture a small moment in your child’s life that goes by too quickly.
So here’s how you make it!
Materials:
11×14″ shadow box
Glue dots
Tacky glue
Scrapbook paper
Various items from baby’s life – outfit they came home from the hospital in, hospital bracelet, hat, birth announcement, etc.
Instructions:
1. Take apart the shadowbox.
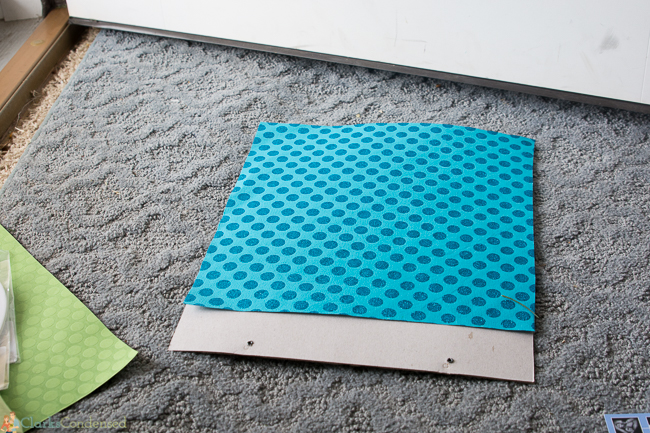
2. Adhere your scrapbook paper to the backing of the shadowbox. I couldn’t find 11×14 sized scrapbook paper, so mine was a little bit short. However, I had a few things to cover it at the bottom, so it didn’t matter as much. You can use wrapping paper if you have trouble finding paper that fits/you like.
3. Arrange your items on the backing.
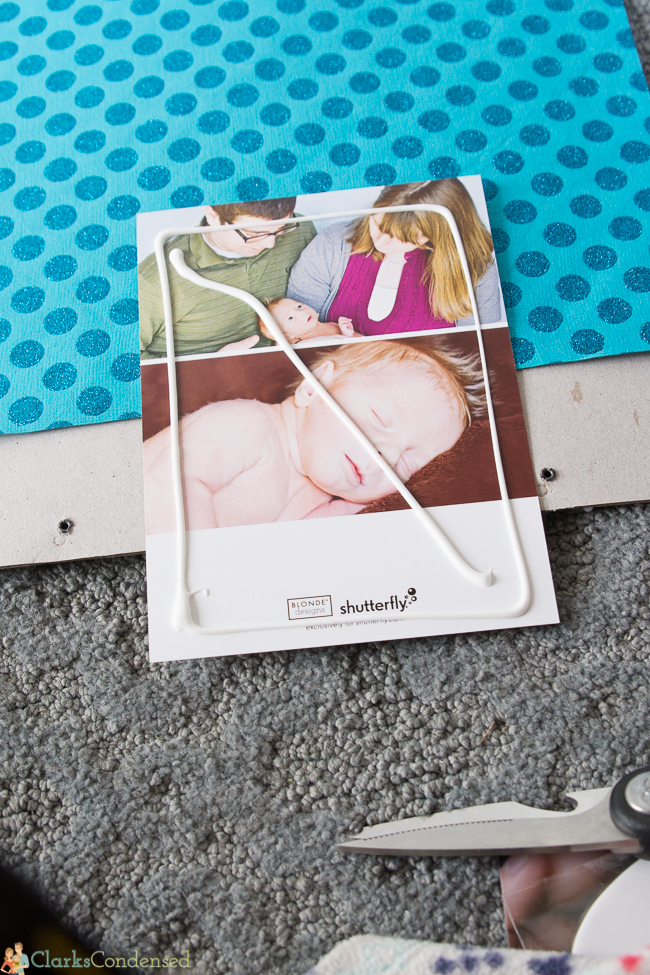
4. Attach the items using tacky glue or glue dots. I found that using the tacky glue was best for the paper items, such as the baby announcement.
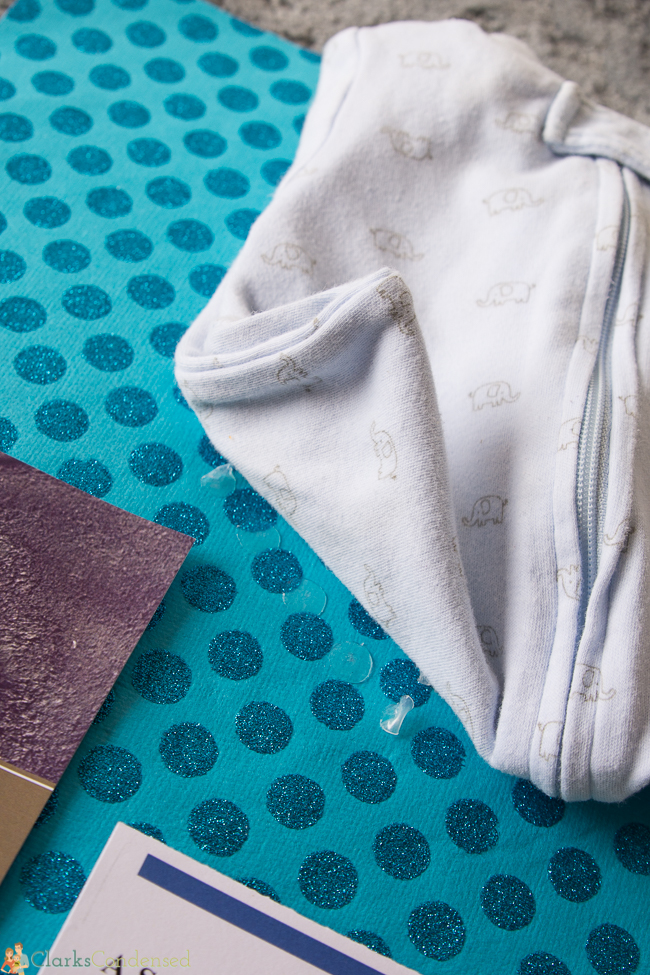
5. I used the glue dots to attached the hat, the letters, the baby outfits, and the diapers. I actually just put the dots directly on the paper and pressed the item into it. It worked really well! I ended up just putting the Wubbanub into the shirt with no adhesion, and it’s stayed in place.
6. Place the glass and frame back over and hang wherever you want.
I hope you’ll enjoy this project as much as I did. It sure made me miss my newborn babies, though! Be sure to hop on over to Clarks Condensed for more fun projects, easy recipes, pregnancy and parenting advice, and really, a little bit of everything. You can also find me on Facebook, Instagram, and Pinterest. I’d love to get to know you better – be sure to tag me if you end up making this project.
In case you aren’t convince that you want to be friends, here are a few more posts to hopefully convince you.


Leave a Reply