I bet Dr. Bloom from the movie “The Absent Minded Professor” never imagined DIY Marbled Flubber! Although, I’m sure Professor Brainard from the movie “Flubber” would have loved it! “The Absent Minded Professor” is the old black and white film from Disney. I think all children should see it because it’s a “classic”! Then they should watch the re-make “Flubber” with Robin Williams as Professor Brainard. Both of these movies provided me with my exposure to the idea of “flubber“! Thank you so much Mr. Walt Disney 🙂 After seeing this pin from Fun Frugal Challenge I thought it would be really fun to make some flubber and put it in the kids Easter eggs.
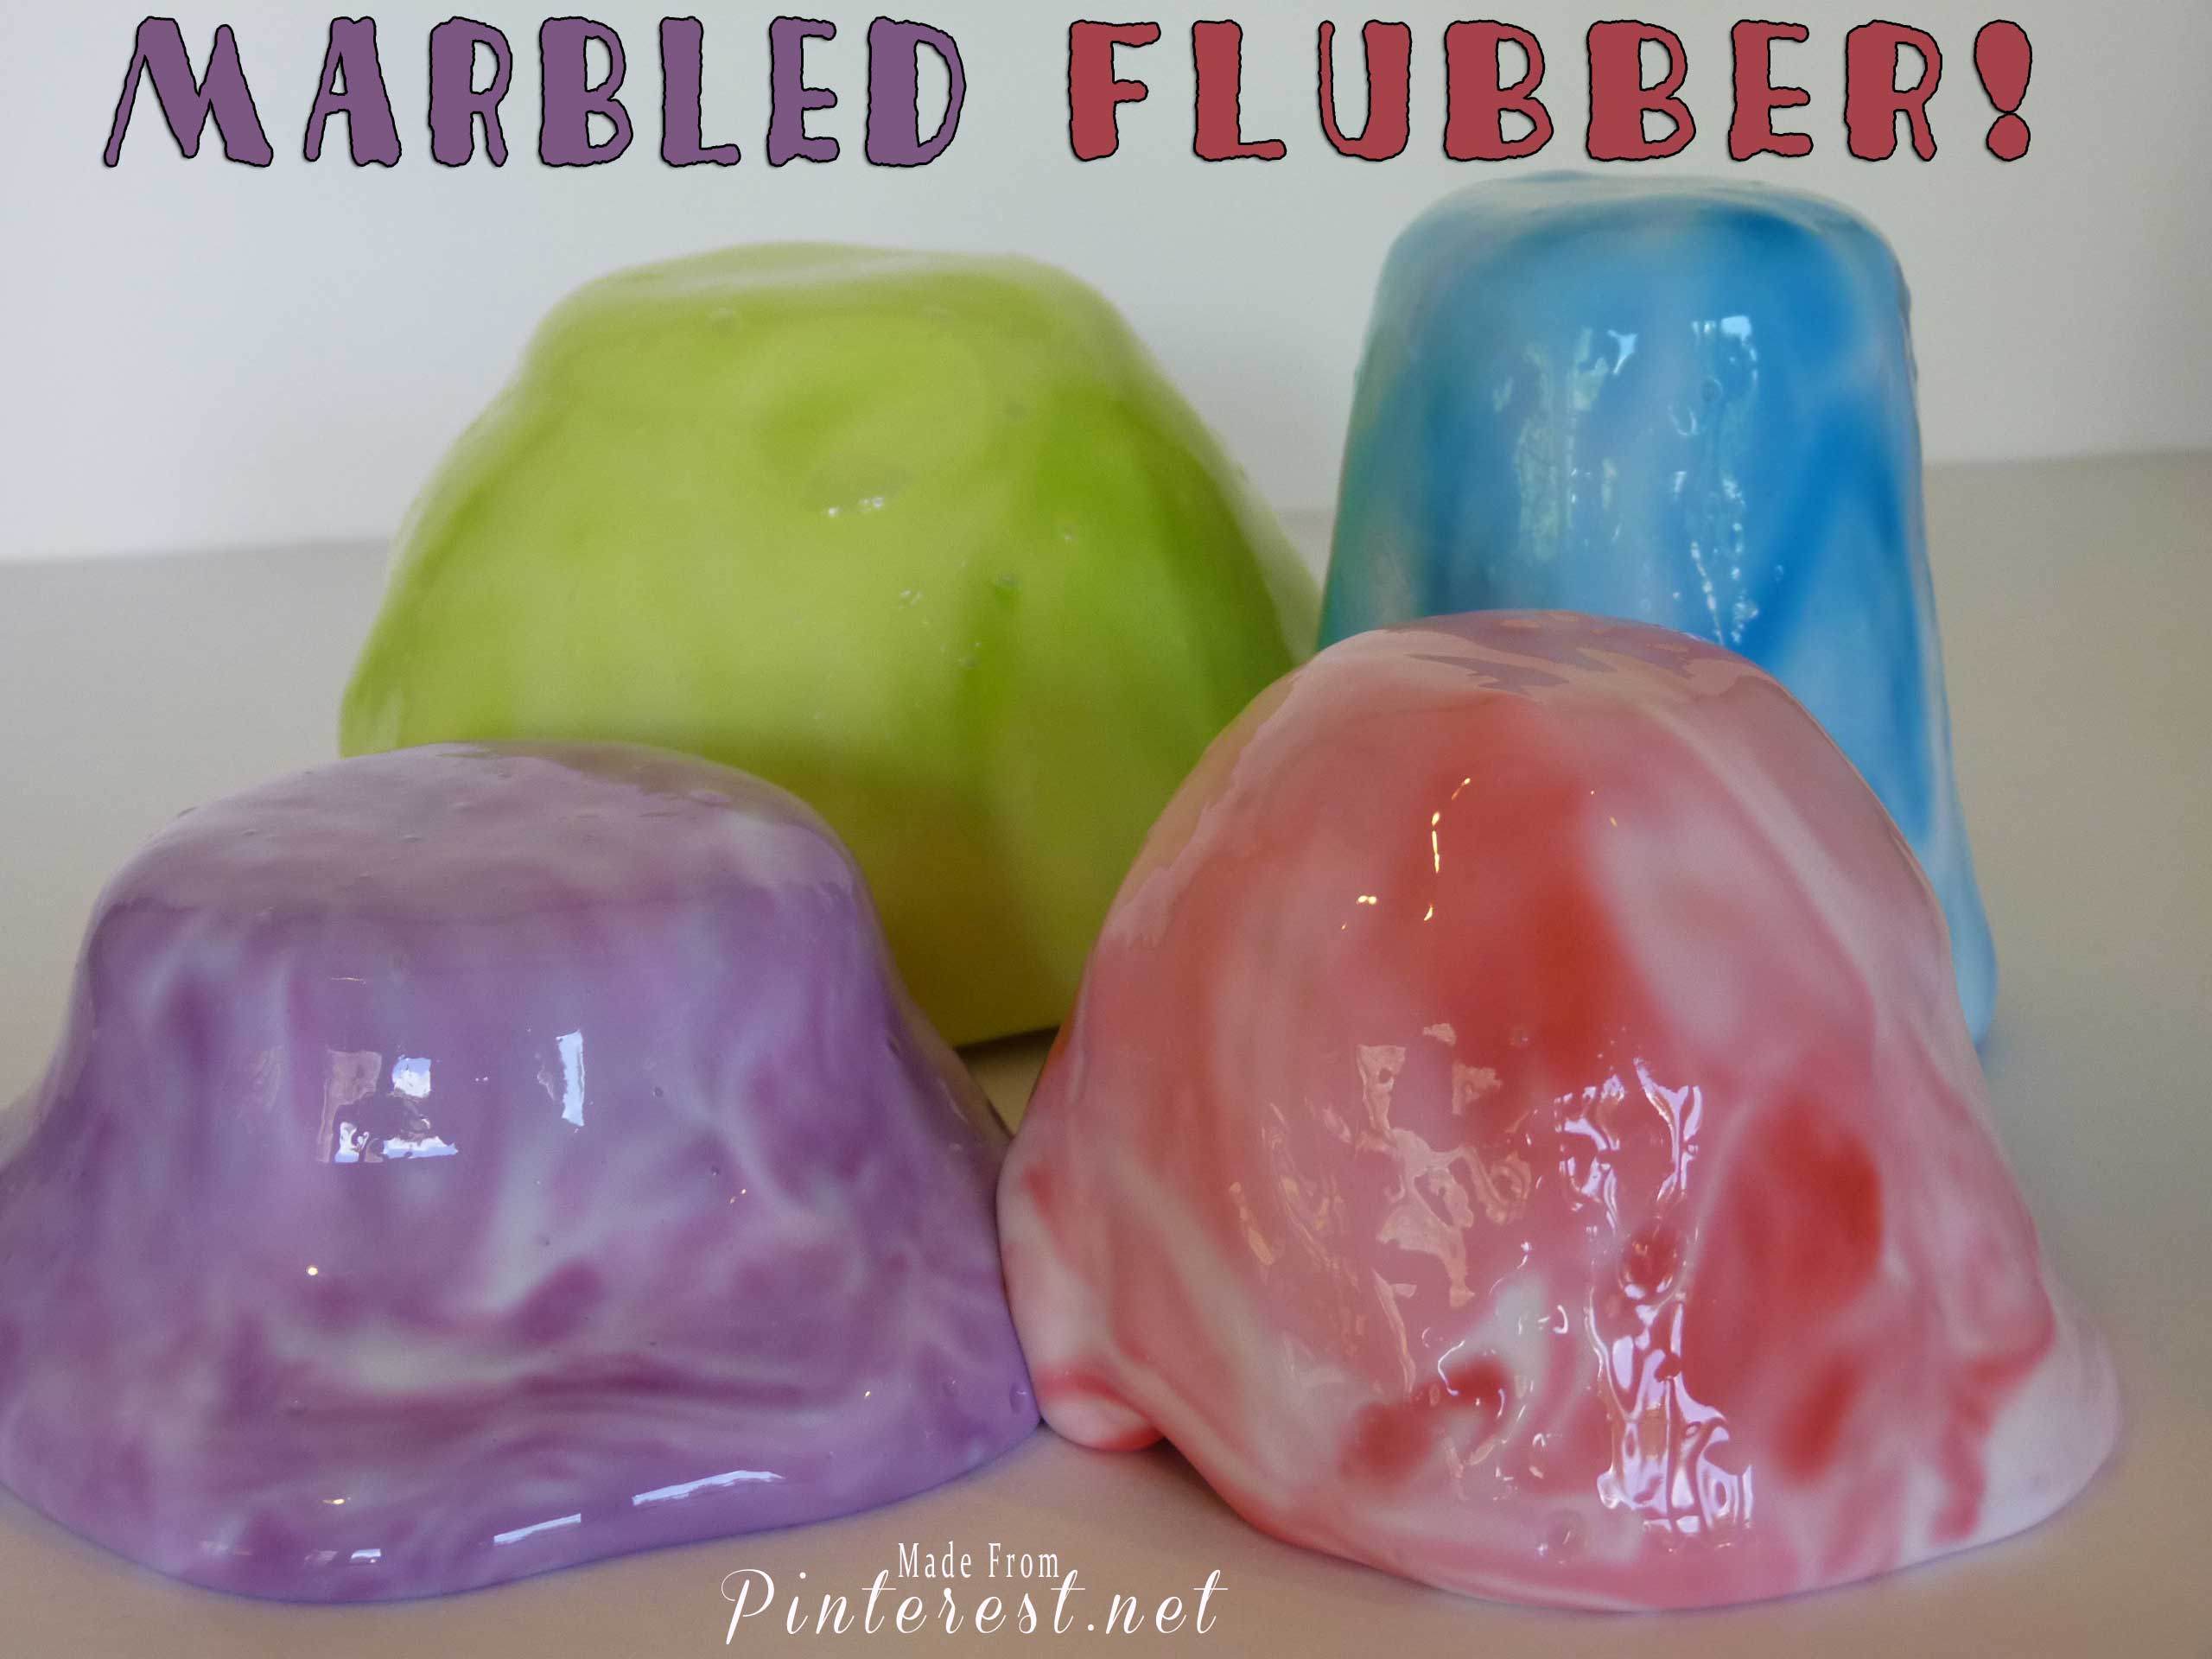
If you follow the instructions you will have one batch of flubber in only one color. I didn’t need to make more than one batch, but I wanted four different colors. To get four different colors from one batch, all you have to do is make adding the food coloring your very last step. This means you will have one bowl of white flubber. Divide the flubber into as many parts as desired. Then add the food coloring of your choice to each part. Here is where it is going to get a bit messy. I suggest wearing some rubber gloves. Because your flubber has already been created, the food coloring requires you to “knead” in the food coloring. I put about 4 to 5 drops on my white flubber, and then spread it around with a wooden spoon. I then took the outside edges of the flubber and pushed it down into the middle of the bowl. Once all the outside edges have been kneaded in, I picked up the flubber and kept rolling the outside edges into the middle. Knead the flubber a litte bit and you will have more of the marbled look. Knead your flubber a lot and you will have more of an all over even tone and less of the marbled looked. You have complete control over the end result simply by controlling how much you “knead” in the food coloring.
My flubber experience was a little like professor Bloom and Brainard’s, I didn’t know ahead of time how it was going to turn out. I did not start out with the plan of having “marbled flubber” it just happened to work out that way because I chose to add the food coloring last. However, I LOVE how it looks!

Marbled Flubber
Ingredients
- Mixture 1
- 1 ½ cups warm water
- 2 cups Elmer’s Glue
- Food coloring
- Mixture 2
- 3 tsp. Borax
- 1 cup Warm Water
Instructions
- Stir mixture 1 together in 1 bowl.
- Mixture 2 in another bowl.
- Make sure both are mixed well.
- Pour mixture 1 into mixture 2.
- There is no need to stir the mixture but you can if you want because it is the chemical reaction that actually makes the flubber . When it is in a glob work it for 2-3 minutes. Initially it feels wet but it eventually dries up to the final product.
I have to say that for my first real experience with flubber was very fun and a complete success! I didn’t put any of the flubber on the bottom of my shoes to see if I could jump to extreme heights. With my luck I would probably slip, fall and hurt my back. If any of you are brave enough to try it, please leave a comment and let us know if you had any out of the normal type of experience 🙂
Yup……..This Pin ROCKS!
Linking up with: The Plaid & Paisley Kitchen, This Gal Cooks, Southern Fairytale, Sew Chatty, Sew Can Do, The Girl Creative, Making the World Cuter, Skip to my Lou, Creating my way to Success, Say Not Sweet Anne, Keeping it Simple Crafts, DIY Showoff, Artsy Fartsy Mama, Mad in Crafts, Craft-O-Maniac, Lines Across, Flour Me With Love, I Should Be Moppint the Floor, The Life of Jennifer Dawn


This would be such a fun activity to do with my granddaughter! Thanks for sharing!
This stuff feels so weird, cold like it should be wet, but it is dry. Very fun to play with, your granddaughter will love it! Tracy (the middle child)
So fun!! My daughter would love playing with this!
Thanks for sharing at Artsy Corner, you were featured this week 🙂
Lindsay,
Thanks for featuring us. We love participating in your party each week! Tracy (the middle child)
I love this! My son is having a science party, and I am hoping to make something along these lines! Thanks for the great tutorial. I’m excited to follow your blog.
Kara
Simplisticallysassy.com