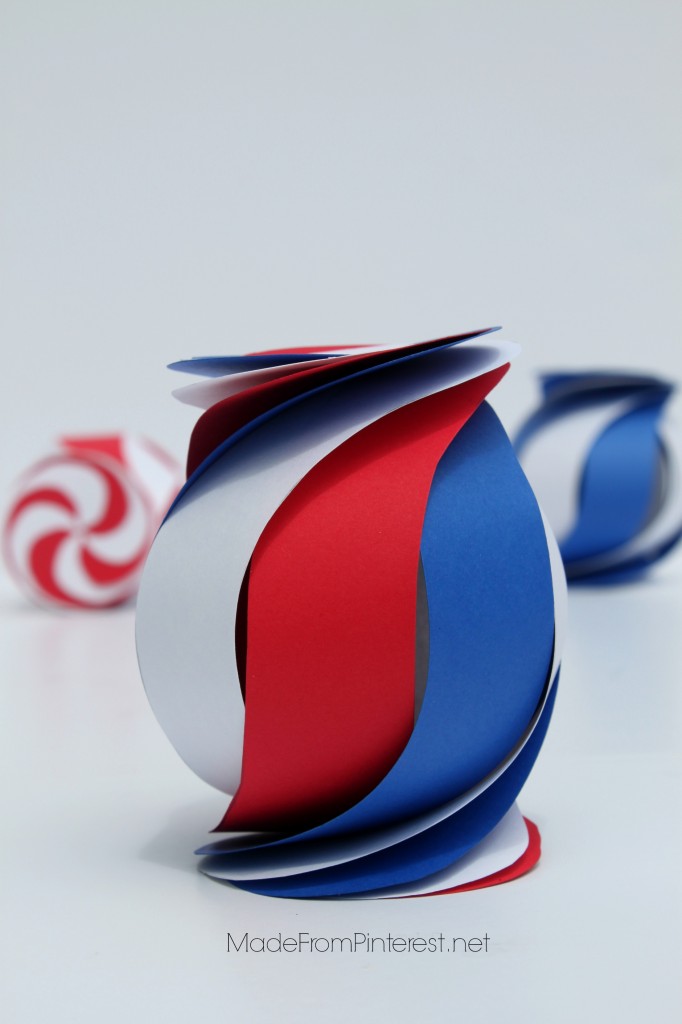
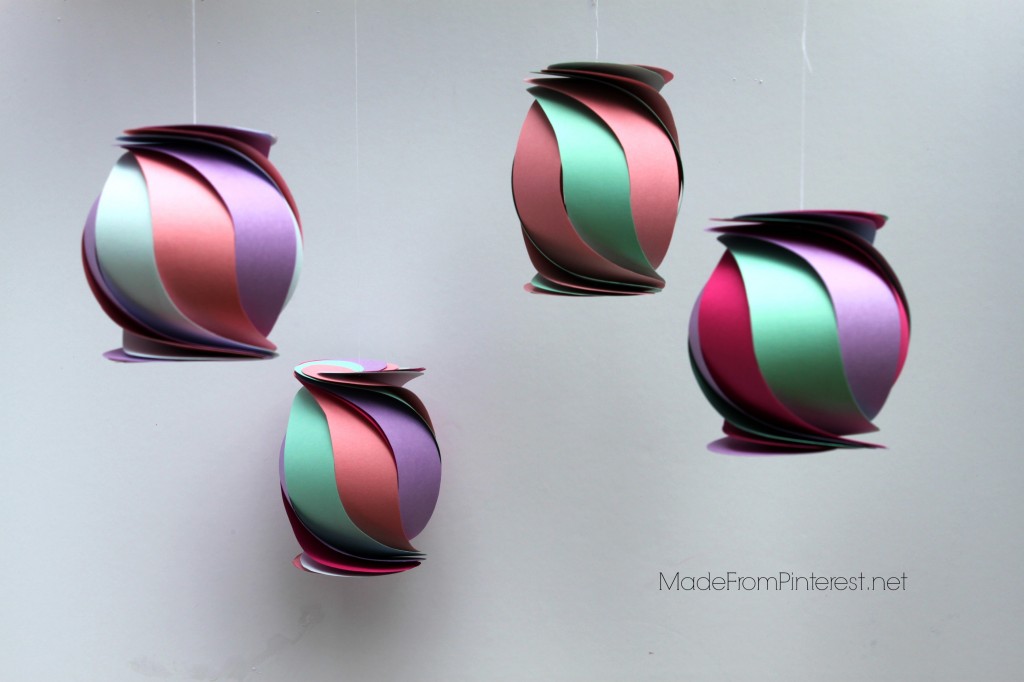
 Lately my life has felt like I am a spinning Paper Whirligig. Thank goodness my mother has been visiting with our family for the last few weeks. She started at Debbie’s (the oldest) where she lives.
From there she went to visit Tracy (the middle child) for one of her grandchildren’s high school graduation ceremony. She left from there to visit us so she could be here for my son’s high school graduation. We are all three so grateful for all the effort she makes to be present for important family events.
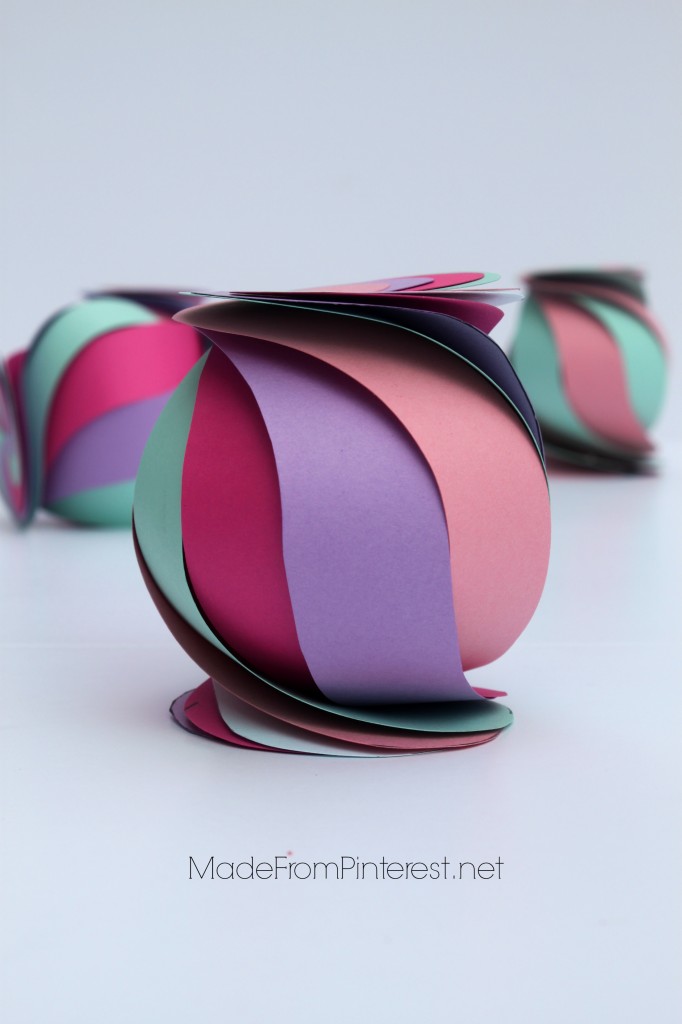
Even as a grown woman, having my mother here brings back the feeling of being a kid again. It is nice to be taken care of. But even better than that is the sense of peace she brings to our household. Everything seems to spin a little slower and I remember to cherish the important things, like time with family.
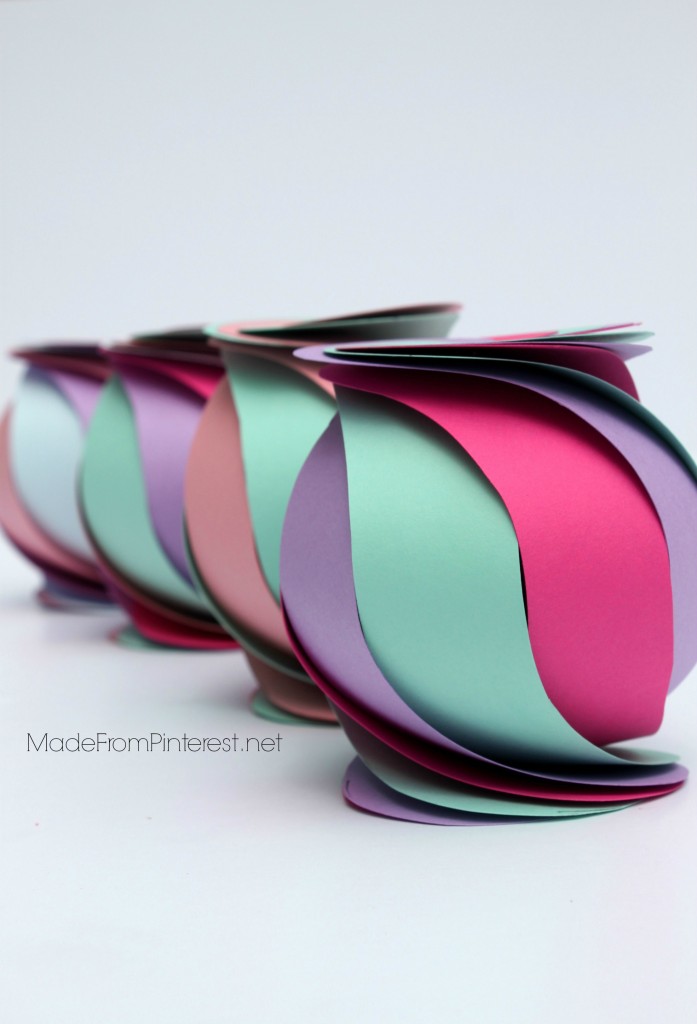
It took me a while, but I came up with my own version. I think it turned out pretty well! To begin, I needed a pattern. To copy the one on the website I began with card stock. I turned it horizontally and made two circles (about 1 3/4 inch) at the top and bottom a little offset from each other.
Then I used a quarter to create the little round tail. From there I drew a very slight S curve (about 1 inch wide) from circle to circle. I erased the unnecessary lines and cut it out. Here is how it looked:
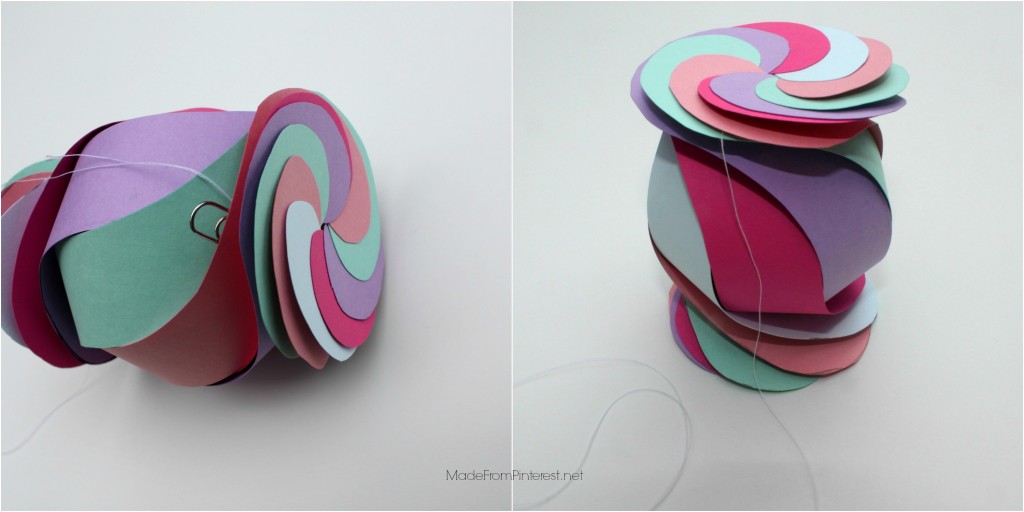
For each whirligig you will need 8 or 9 pieces cut out from cardstock. If you are doing 2 colors, it works best to do 8 pieces and for mulicolor I like 9. I began by laying all the pieces together in alternating colors. Then begin to rotate the pieces making sure to hinge everything along the inside of the “hook”.
Once you have all the pieces rotated, flip it over. Take two pieces that are opposite each other and hook them at the top. Keep going around the circle, hooking them to each other until you have created your whirligig. 
This pin Rocks!
Today we are linking with: – The Girl Creative – One She Two She – Dessert Now, Dinner Later – The T 2 Women – Tatertots and Jello – Be Different, Act Normal – It’s Overflowing – A Peek Into My Paradise
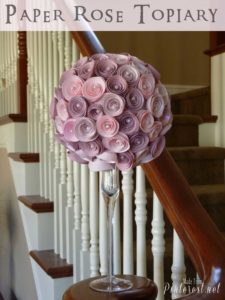
For another beautiful paper craft try this Paper Rose Topiary.



those are SOOO pretty! I love the red, white and blue one. Emily @nap-timecreations.com
Thanks Emily. They were fun to make!
How fun! I gotta get my kids to try these out, they would make really fun party decorations in different colors! Maybe rainbow??
Thanks Michelle. They make a great presentation for parties.
Your post will be featured this weekend at One Sharendipity Place!! Have a great holiday!!
sue @thet2women.com
That’s great news. Thanks Sue!
Wonderful tutorial!
Hugs, Cathy
Glad you liked it! We will come on over and link up right away.
Oschene this is the original person you can find on Pinterest…and here is the link to his video only took me 4 hours to find this info through the Chinese website…I do not speak Chinese nor do I read it. LOL! https://origamimaniacs.blogspot.com.au/2012/10/ten-sided-yin-yang-globe-by-oschene.html
Kudos to you Moraima! Thank you for sharing this. I will provide this link in my post. We have the most amazing readers and you are one of them!