Cooking corn on the cob can be daunting when it takes forever. I know this because I love corn on the cob.
As a teenager growing up in Southern California, the church I belonged to had a Beach Party every summer. Other than the boys that would be there, I looked forward to the corn on the cob! I eagerly looked forward to this event for many reasons. The adults would purchase a brand new trash can and bring it to the beach. After building a rather serious bonfire, they would take the trash can and fill it up with ocean water and place it over the fire. In went, hundreds of ears of corn, and the waiting started.
It seemed to take FOREVER for the corn to be ready, but when it was, I slathered mine with butter and salt and remember thinking that life couldn’t get any better than this! That corn was magical!
Now that I’m an adult and in charge of my cooking, I know full well that life can get better than this, and I’m going to share with you how.
Magical Way to Cook Corn on the Cob Without Having To Boil It In A Pot
Simmering over a hot fire, boiling in fresh saltwater is surely a magical way to cook tasty corn on the cob, but it’s not the only way.
Over the years, cooking many meals for my grandkids has pushed me to find easier ways to cook corn that are just as flavorful in a lot less time. And, guess what?
Below, I share my favorite magical way to cook corn on the cob, plus a few extras – because my grandkid’s like options when they help me out in the kitchen.
Let me introduce you to Making corn on the cob in the microwave – the magical way!
After pinning this from Passion For Savings Blog, I truly wondered if it really worked. Well, you are in luck because the magic way to cook corn on the cob is genuinely magical!
How To Make Corn On The Cob In The Microwave: Technique
Yes, you read that correctly! Microwaveable corn is magic. That glorious appliance for reheating leftovers and making popcorn works in straight-up magic when cooking corn on the cob. No need to wrap in foil or plastic or even have a steamer basket – just good ol’ fashion microwaving. The results are astonishing, and the husk peels off like magic leaving you with perfect corn on the cob ready to eat.
The process is simple, the flavors are delicious, and their husks peel effortlessly. For the best corn on the cob you’ve ever had, follow the steps below for magical results.
Before getting started, ensure you have all of the ingredients. It doesn’t take much, but it’s an important part.
Ingredients:
- Corn on the cob
- Water
- Salt
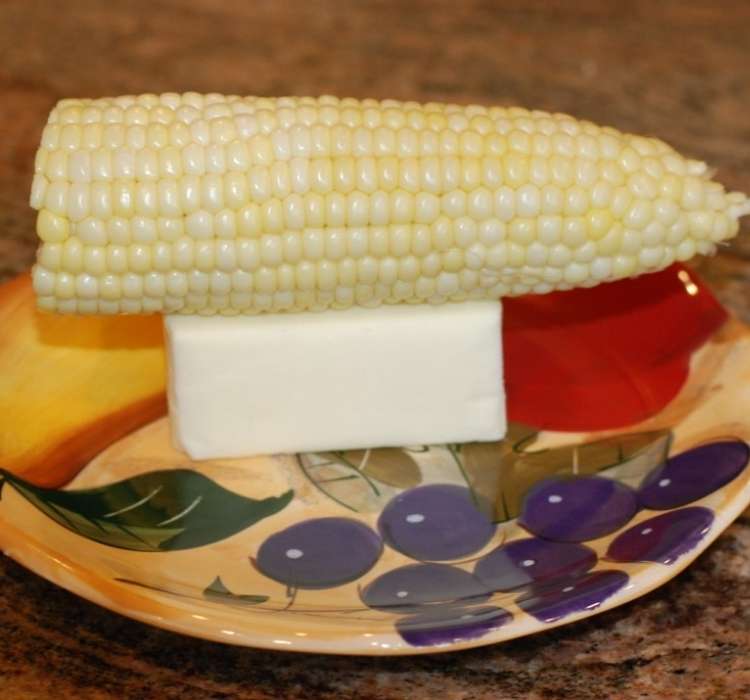
- Butter
Supplies:
- Paper Towel
- Knife
- Microwave
Step 1: Remove Dry Husk
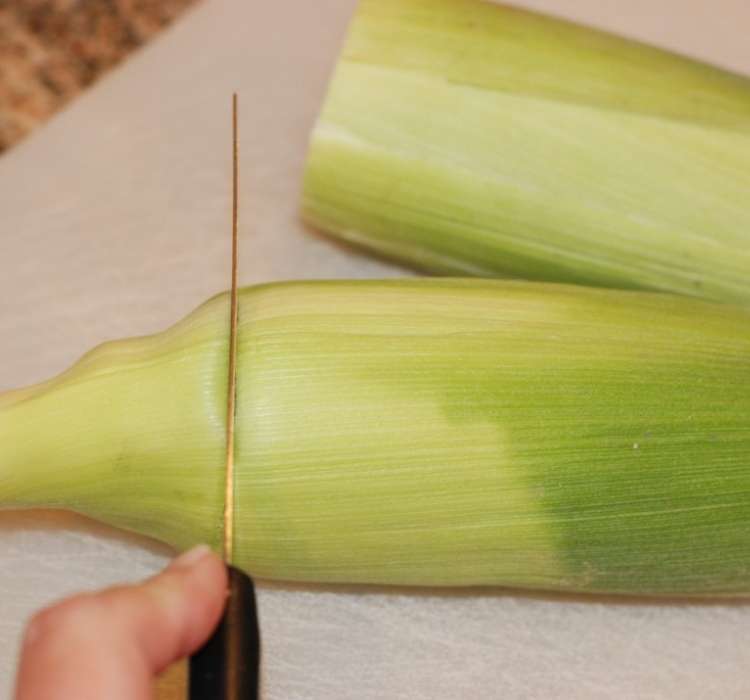
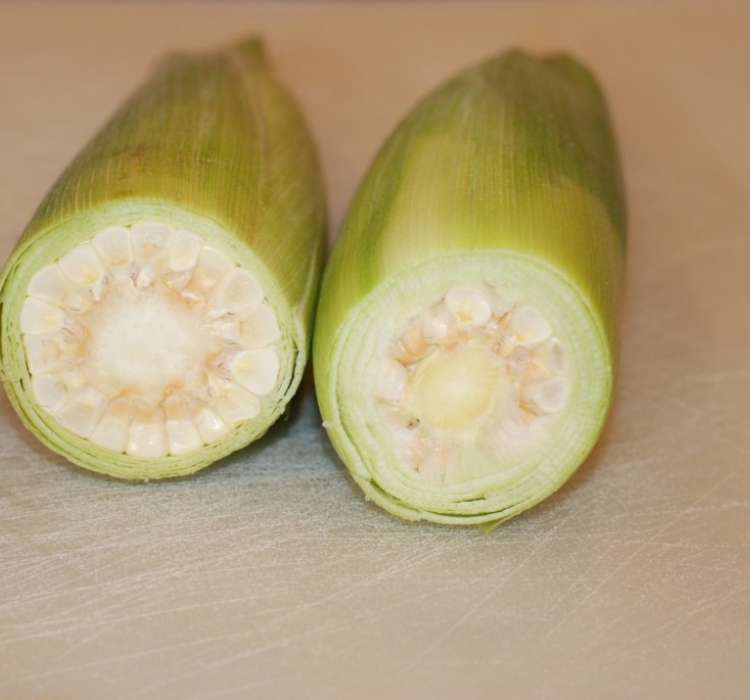
Begin by removing any super dry outside husks and cut off the bottom of your corn. Use a sharp knife. Cob is tough to cut through.
Note: savor the husk that isn’t dried out. We’ll remove that later because corn on the cob in the microwave cooks best in the husk.
Why you should cook corn on the cob in the husks:
- Corn will be sweeter if you cook it with husks because it retains its natural sugars.
- It’s easier to get the corn out of the husk without contaminating other parts of the corn.
- With husks, you can steam your corn, which preserves the flavor and nutrients better than boiling
- Husk prevents dryness by absorbing cooking juices.
- Cooking with an unpeeled ear of corn helps retain some of its vitamins.
- By cooking in their natural wrapping, you’ll create less waste.
Step 2: Wet Paper Towel-Cooking Corn on the Cob
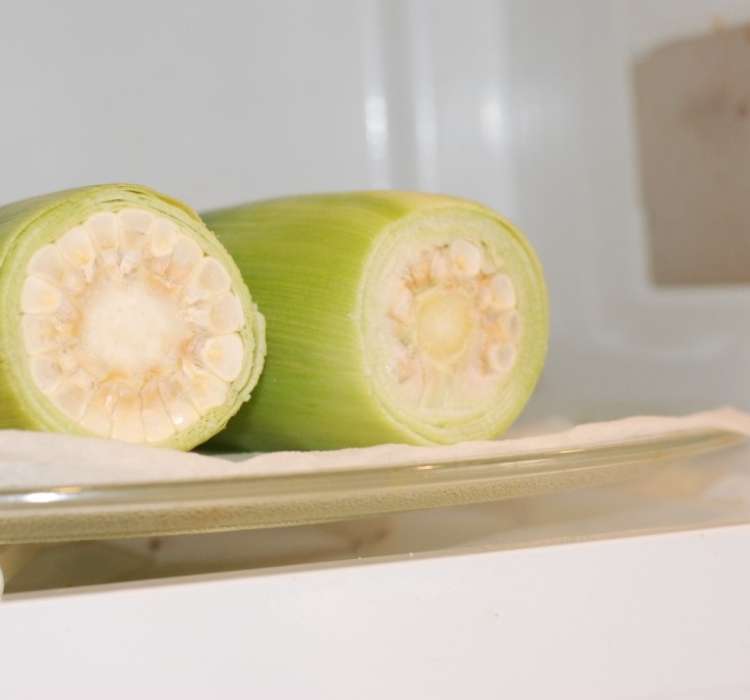
Next, take a wet paper towel and place that in the bottom of your microwave, followed by your ears of corn. This step is crucial. Damp paper towels help the corn hold steam, cooking faster, and staying moist. It also prevents the corn from scorching in case there is a problem with your microwave.
Step 3: Microwave Corn on the cob
Press start! It’s time to let the magic happen. Mouthwatering, corn on the cob will be ready in no time.
Here are your cooking time guidelines remembering that every microwave varies, and you may need to adjust the times:
- One ear – 2 minutes
- Two ear – 3 to 4 minutes
- Three ear – 5 to 6 minutes
- Four ear – 7 to 8 minutes
- Six ear – 8 to 9 minutes
Step 4: Let Corn Rest
After cooking, let the corn sit for 2-3 minutes. This allows the corn to continue cooking and let it cool down so that you can handle it.
Step 5: Shuck Corn
Now, for the magic!
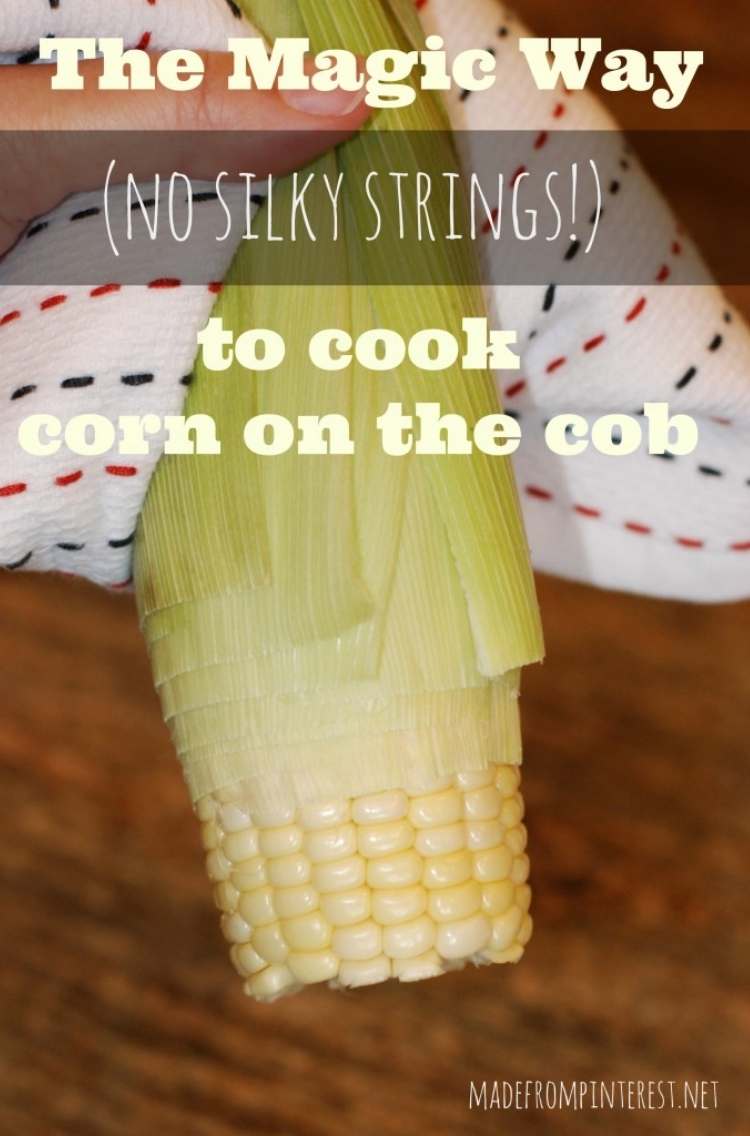
When your time is up, grab your corn (with a mitt) and squeeze. Shake until your corn starts to slide out. No strings. Fresh, yummy corn on the cob, with no strings left behind.
This method is quick, easy, and brilliant. My grandkids are my favorite little people, but they can also be picky little people (as all kids can be). This simple yet effective hack has made our time together more special, as it allows us to have a great meal together with fewer complaints.
Grandma wins again!
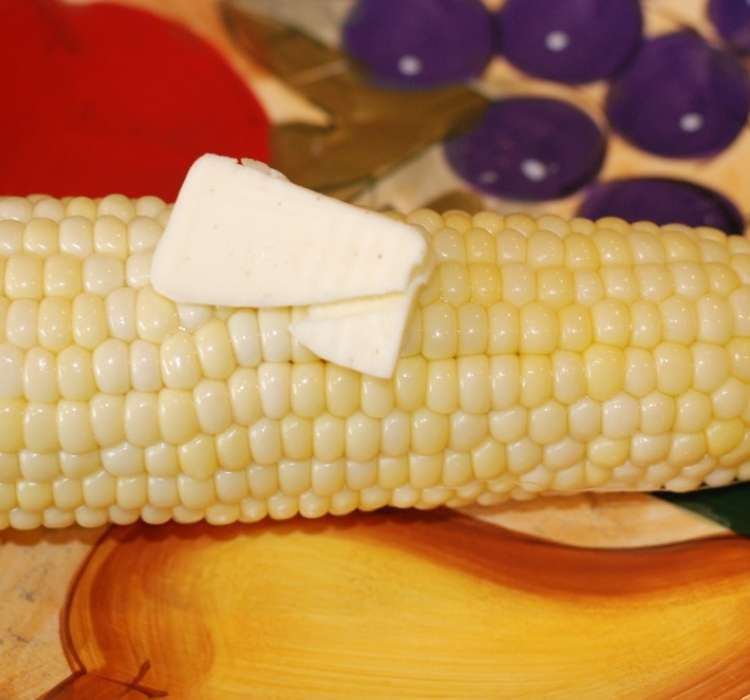
Step 6: Lather with butter
Garnish. Well, butter and salt is not a garnish, but it may as well be. Grab your butter and salt, and get going! I like to rub the butter on each ear of corn instead of drenching it, and then sprinkle a little salt and pepper.
That’s it! That’s all there is to cooking corn on the cob in the microwave.
If the chemical smells and sizzling noise scare you, just remember that microwaves are tricky.
However, safety first.
When you smell smoke or smell something burning, then stop cooking. Your corn may be undercooked and could potentially burn!
If your ears of corn aren’t done after five minutes in the microwave, try three more minutes and check at thirty-second increments until cooked through.
To prevent a soggy, microwaved corn dish, always cook for a few minutes before stopping and checking.
Look how completely clean these ears of corn are! Go ahead. I dare you to find a silky string.
Microwaveable Corn on the Cob: Tips for Making Multiple Servings
If your grandkids live close, you probably experienced this same scenario yourself.
Have you ever had to feed your grandchildren and their friends, who broke into your house without any earlier notice, because they were playing close and suddenly got very hungry? Well, microwaving your corn on the cobs is the best way to cook a big batch quickly for a crowd.
If you need to make a larger quantity of corn, use a microwavable dish and cook the corn in batches. Preheated the plate by covering it with a damp paper towel and heating it for two minutes before adding the corn.
Continue by cooking corn for four more minutes. Once you find the magic, you’ll be dying to share this tasty dish with the ones you love.
Removing Corn from the Cob
This corn on the cob hack saves time when shucking corn, but what do we do about getting the corn off the cob? Especially when cooking for our grandkids who are still growing teeth ad learning to chew.
The quick and easy way is:
- Take a sharp knife and slice off the top of the ear of corn.
- Grasp the base with one hand and hold it steady. Holding the knife at a 45-degree angle to the cob, start slicing down towards yourself.
- Slice about ½ inch into each row until you reach the bottom of your ear of corn.
- Place the cooked corn into a bowl or onto your plate.
- Put your cutting board over your dish to catch any juices that may have fallen while cutting the corn off of the cob.
- Finally, repeat for all ears, one at a time.
Lastly, how to preserve corn on the cob
While tasty, I find corn on the cob chewy, once refrigerated and reheated. So, here’s a little more magic for when you need to reheat the microwaved corn dish for tomorrow.
When cooking corn on the cob, do not leave it unrefrigerated for more than two hours. When storing leftover cooked ears of corn in the refrigerator, please place them in a container with a lid and refrigerate—sealing out the air, seals in the moisture.
Perhaps you’re saving the side for a later time. It’s ok to store in the freezer, whether frozen or refrigerated; boil the corn on the stovetop for 10-15 minutes to reheat and pop flavor back into the corn.
With this corn-on-the-cob trick, you can feed your family juicy, sweet corn any night of the week. Plus, you can save some for later with little hassle. In the end, my biggest wish is that you enjoy it with the ones you love because I know that I will. From now on, this is the ONLY way that I am going to cook and eat corn on the cob.
Unless.
You tell me it came from a trash can.
This Pin Rocks!
Did you like this magical way of cooking corn on the cob? Then, you have to check out these other tasty ideas we have for you:
- Pudding Sand Cups Recipe
- 29 Recipes Your Kids Will Love To Make!
- Easy Cherry Cheesecake Recipe
- Peach Apple Crisp Recipe
- Raisin, Nut and Spiced Quick Bread



Oh, corn roasts! I grew up in Irvine, and those were some of my fondest memories. I tell people about it now, and they don’t believe that we ate corn cooked in ocean water. Love this microwave idea–I will try it out!
Hi Cheryl! ME TOO! People can’t believe that we used the ocean water but wasn’t it good??? Great memories…. Deb – The Oldest Sister
Ocean water is awesome for cooking lobsters too 🙂 There was a campsite up in Maine my family used to go to and the place had its own lobster boat. So fresh they still had barnacles on them! We’d cook the corn right next to them in another pot. Amazing!!
Hi Monica! Stuff like that make the BEST times and BEST memories. Deb – The Oldest Sister
This is exactly how we’ve been cooking our corn on the cob for years! It IS magic! =) Thanks for sharing at Weekend Potluck!
Hi Mrs. Baker….I love to know that I’m in good company! Deb – The Oldest Sister
I have been cooking my corn on the cob this way for years. Also, freeze it prepared this way. Then I can microwave without thawing and it taste fresh. If only I could convince my daughter-in-law and granddaughters-in-law. They think I’m crazy.
Hi Sharon! Well, consider us both crazy…this is the way to do it! Deb – The Oldest Sister
I posted this same trick to my website a couple of weeks ago. It’s a great trick and it WORKS! So slick and easy.
You did? Great minds think alike! I was so surprised and happy that it really worked!!! Deb – The Oldest Sister
I wonder if it’s the microwaving, or if it’s the cutting off of the bottom so you can shuck it downward like that, that eliminates the silks. (We don’t cook in the microwave, but I’m betting it’d work even with other cooking methods, especially if they involve steam.
Hi Rachel! I’m guessing if you steam another way that this will still work. If you try it, let me know! Deb – The Oldest Sister
Rachel – We avoid the microwave as much as possible. So I’m going to try cooking it the old fashioned way, but cutting off the bottom. Hopefully, it’ll work! I LOVE sweet corn!
An even easier way to cook corn is in the oven. I place ears of corn directly on the rack in a cold oven. I then turn the oven on and set it to 350F. When the oven comes to temperature I start my timer for 30-45min. depending on how many are in the oven. Once they have cooked I remove them and cut off the top and bottom – then peel off the husks and the very little bit of silk that sticks to the ears. We don’t even put butter on them. They come out perfectly roasted and yumolicious!
Hi Carol! I’ve never cooked them in the oven like that. What a great way when you have to make a lot at the same time. Gonna try this! Thanks so much for stopping by. Deb
Summer Corn Roasts were our family’s FAVORITE yearly tradition. And the boys didn’t hurt either.
Beach+corn+boys= a phenomenal childhood. 😆 Sigh. Good times.