Disclosure: I have received product in exchange for this post but all opinions are 100% mine. But seriously, how could you not 100% like foil??!!
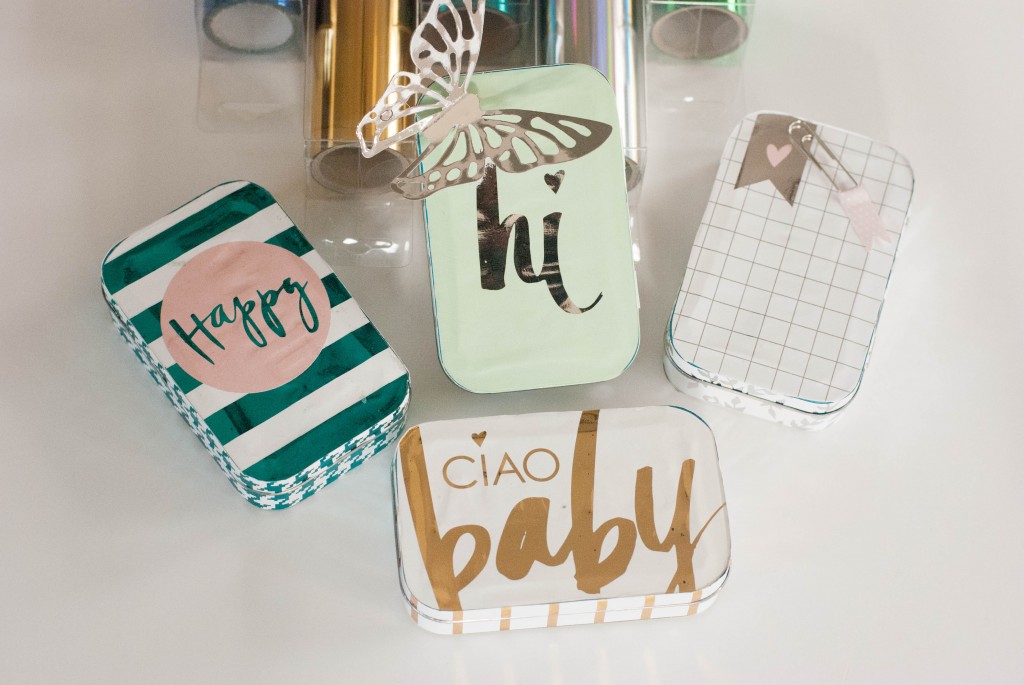
Today I am going to show you how to make these super chic DIY Altoid Gift Tins.
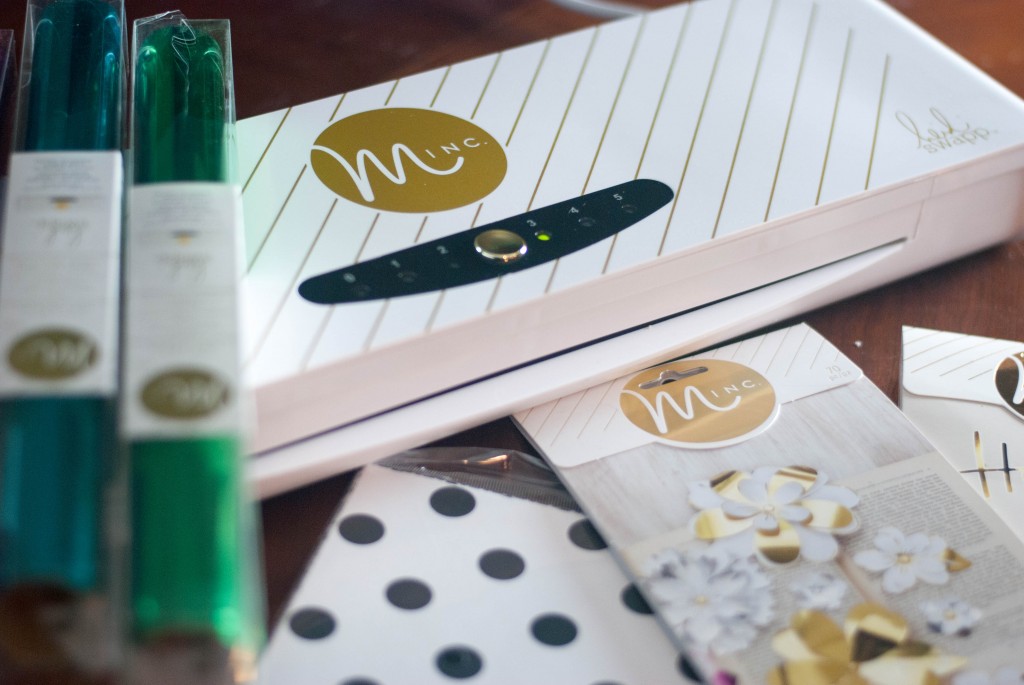
 You can make these gift tins with any paper, but in order to get them super chic and this pretty, you will need to get a Minc Foil Applicator from Heidi Swapp. This machine can be found in your local Michael’s, JoAnn’s and Hobby Lobby Craft Stores. It is a cinch to use and let me tell you, IT CHANGES EVERYTHING! I mean seriously, your craft projects will go from drab to fab with this baby!
For my tutorial on how to use this machine, please click HERE.
Items needed for this project: Heidi Swapp paper, foil and the Minc Foil applicator, razor cutter, scissors, paint brush or foam brush, Mod Podge. A cutting mat is also nice.
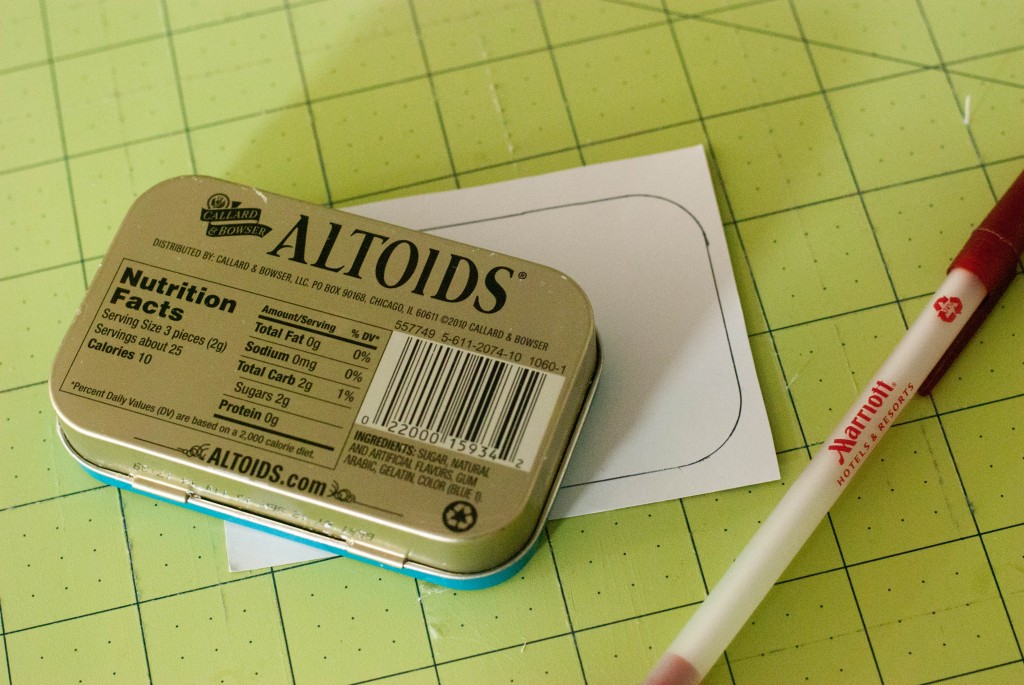
After you have chosen your papers and have applied the foil, you will need to trace the Altoid box onto the backside of your paper. You will need four paper designs: the outside top, the outside bottom, the inside top and the inside bottom. They can either be the same paper design or different as you will see on mine later on.
Cut out two of this shape of your patterned paper. This will be for the outside top and bottom. Then for the two insides, cut on the inside of your drawn line and try placing them inside of the tin box. If they do not fit, continue cutting around the box shape until they both fit into the inside of your box.
TIP: If you are going to make more than one of these boxes, now is a good time to trace these templates onto your other paper for your other boxes so that you don’t have to keep measuring for every box.
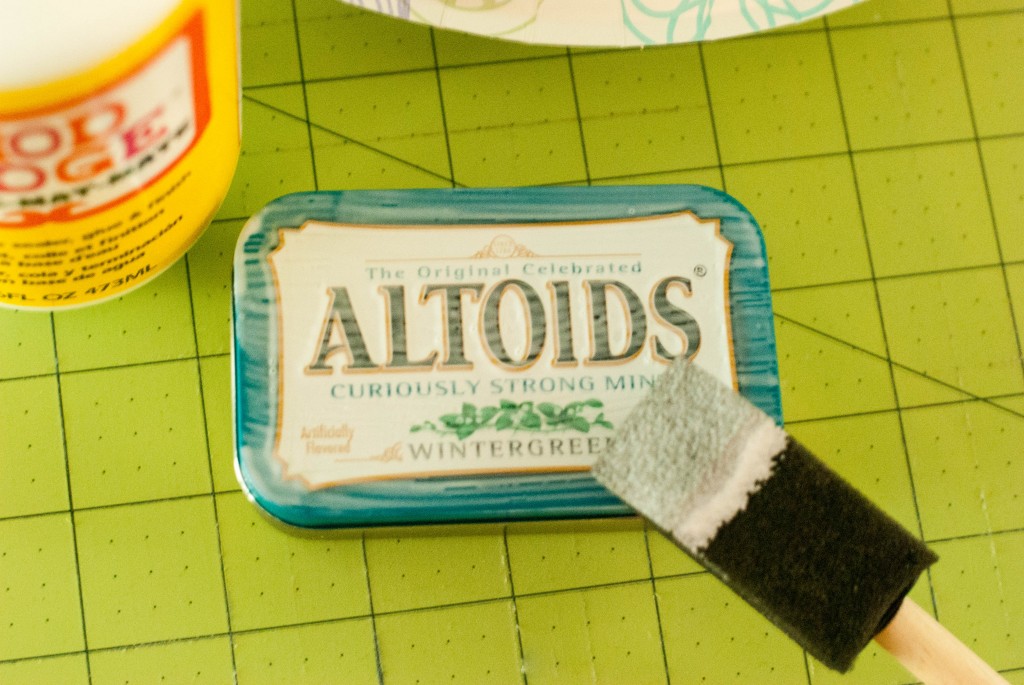
Mod Podge on the top of your tin box:
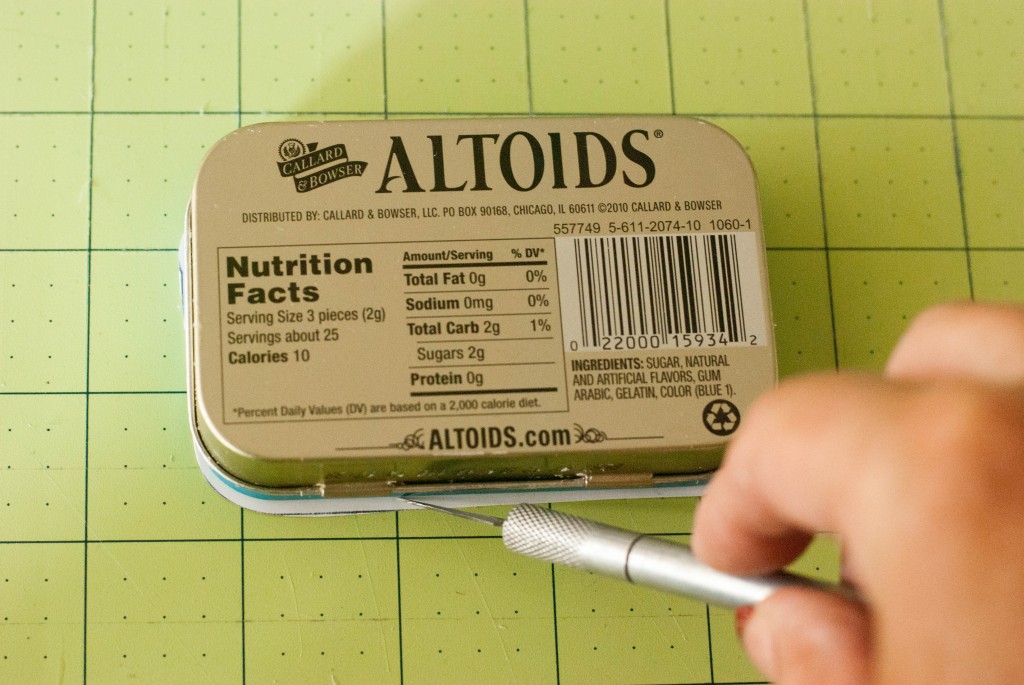
Place the cut-out of your paper onto the top of the box and press firmly. It will be a little bumpy because the altoid letters are raised. Let dry. After it is dry, place upside down and with a razor cutter, cut any excess paper that is hanging over the edges. Do this all around your box.
Don’t you just love these papers by Heidi Swapp? They are preprinted and ready to just insert into the Minc machine to appy the foil. Easy Peasy.
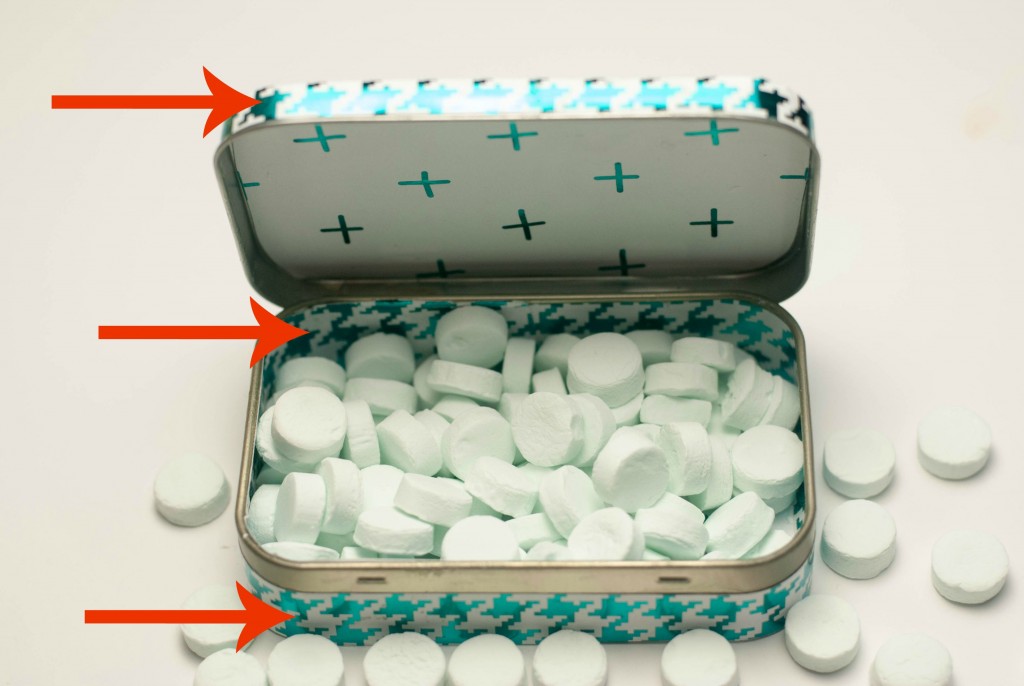
Again, once you have measured these three strips, if you are making more than one box, mark the widths on the other paper that you are going to use.
I have found it easiest to apply the rest of your paper to the tin box in this order:
1. Mod Podge around the bottom of the tin and apply the strip for the bottom. Press firmly around the corner edges so the paper strip does not gap. I had my strip meet in the back of the tin.
2. Following the same process, apply the smallest strip around the lid. You will need to cut around the hinges and you can do that with the razor cutter.
3. Apply the third strip around the inside of the box.
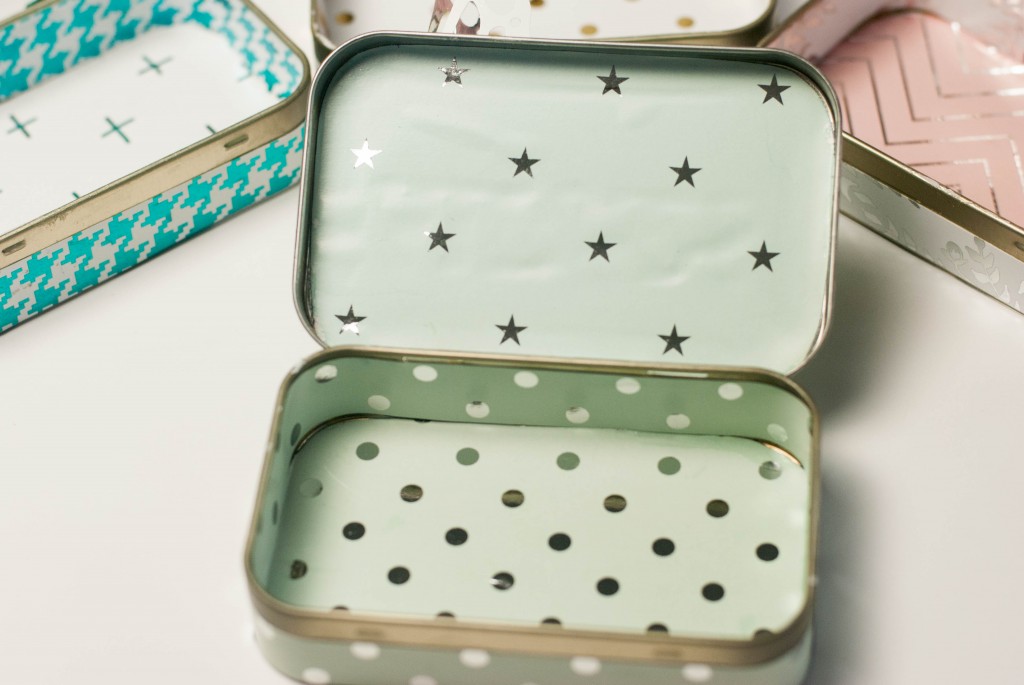
4. Now Mod Podge and insert your paper for the bottom inside of the tin and then do the inside top.
5. Lastly, Mod Podge the outside of the bottom of your tin. Let dry and then once again, cut around the edges for any paper that is hanging over.
That’s it!
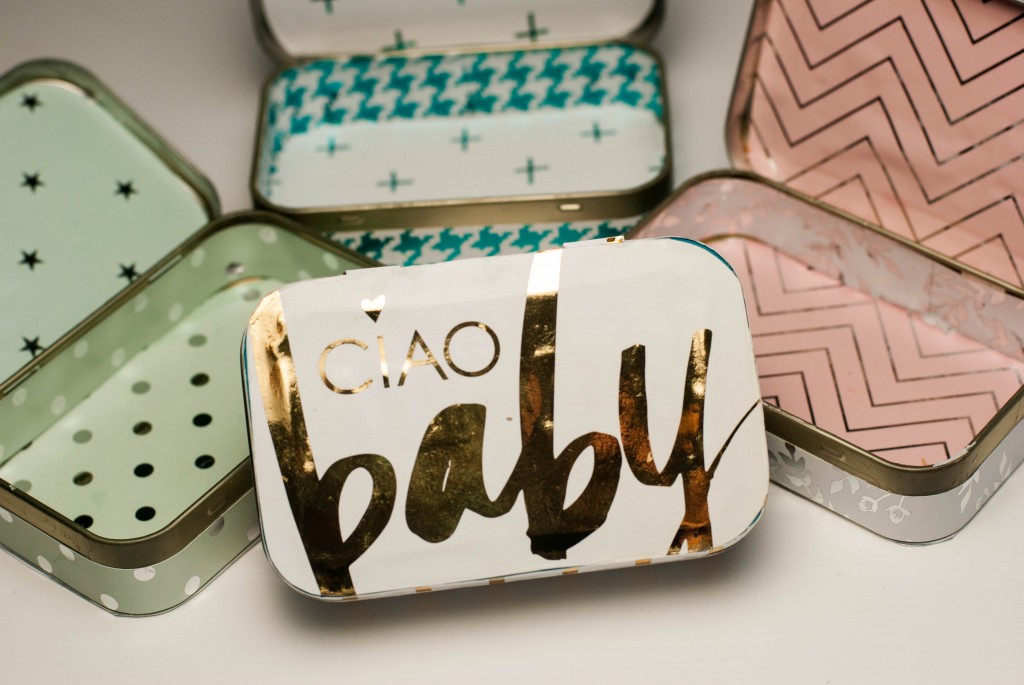
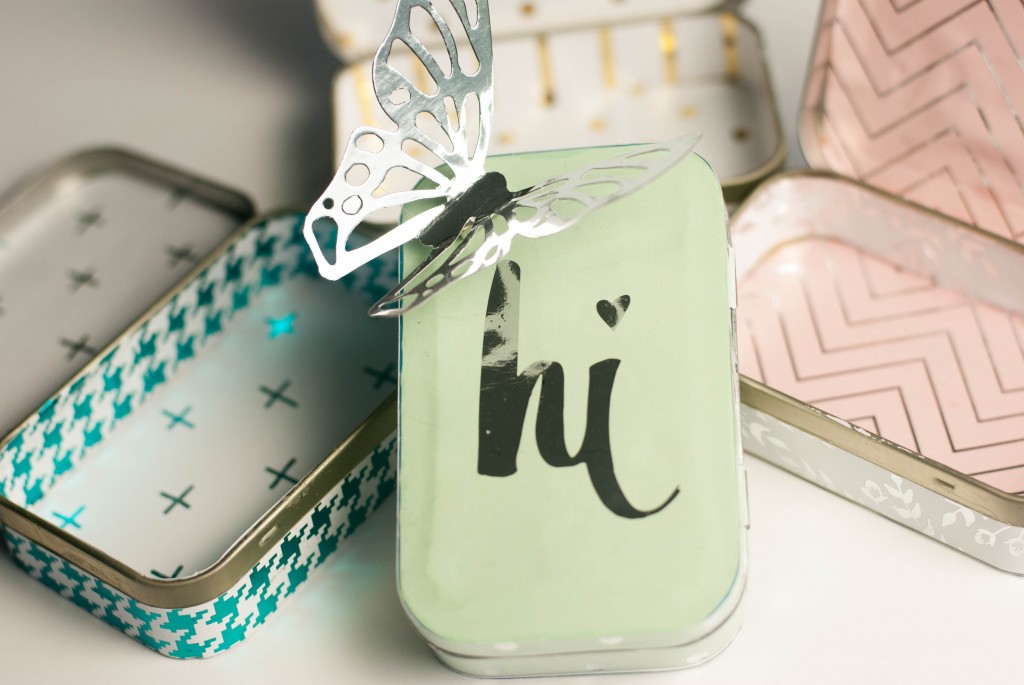
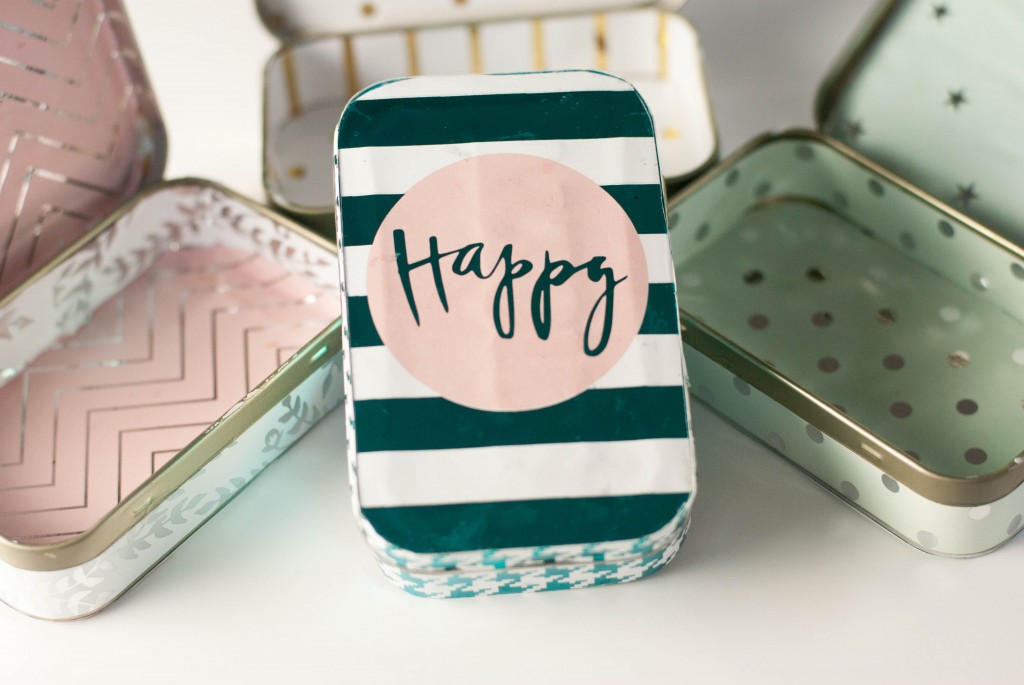
Here are some photos of the ones that I made. The papers are all from Heidi Swapp and I loved how they coordinated.
Heidi also has some great embellishments that you can foil and add like this darling butterfly that I added to this one. Again, her paper embellishments are preprinted and just ready to foil!
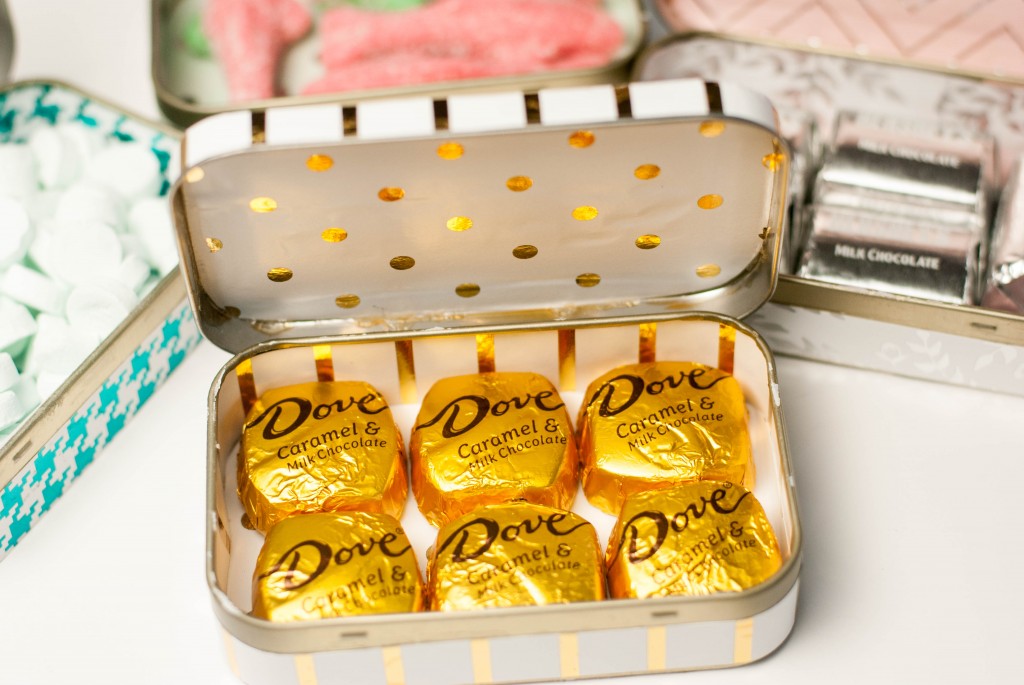
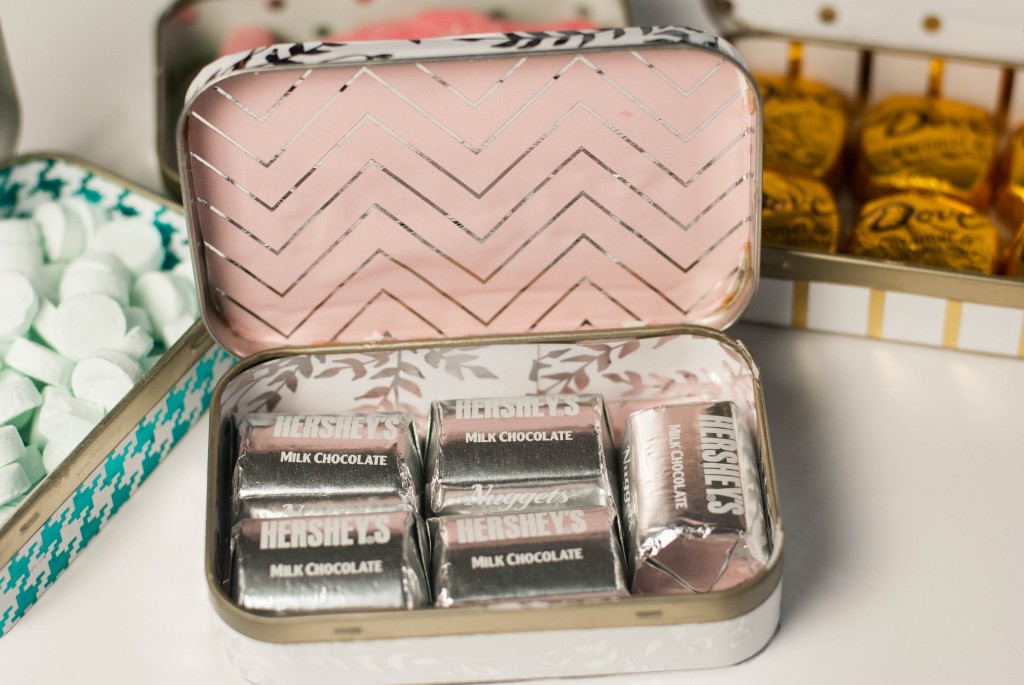
You can fill these with SO many things: jewelry, ear buds, keys, spare coins, etc. But I chose…Candy! Oh yeah. Look how perfectly these six little Dove chocolates fit inside this box! And the gold foil matches perfectly.

This awesome post has been shared with Home Stories A to Z





Leave a Reply