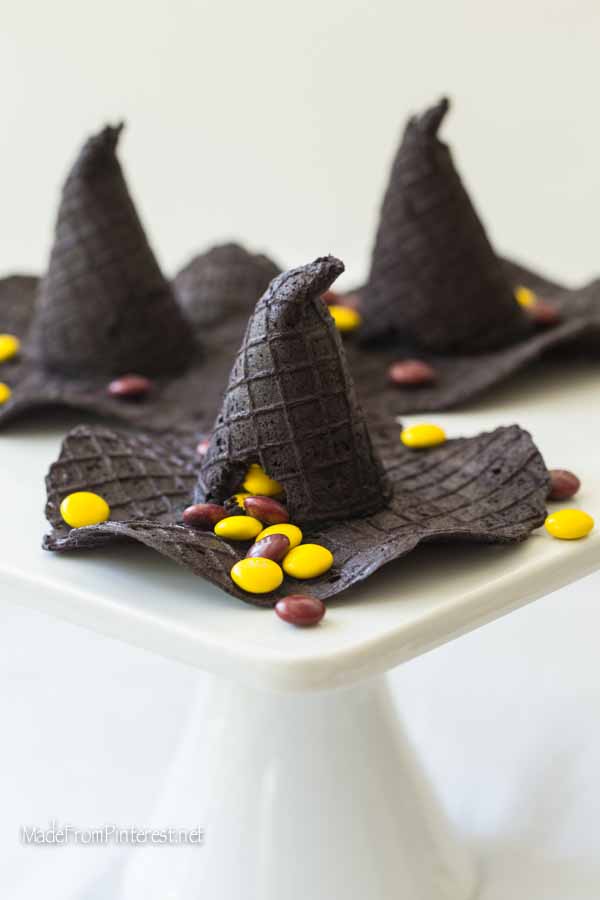
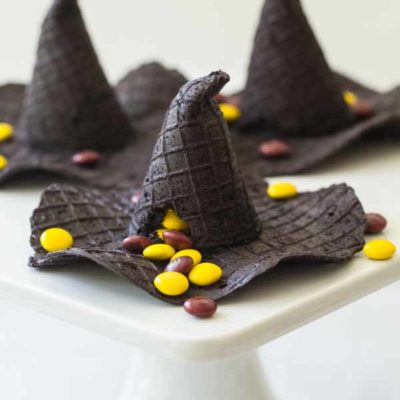
A while back I wrote a post about being disappointed by Facebook quiz. See the thing is, it was supposed to tell me which Harry Potter character I am most like. Only now I realize, Professor McGonagall was not on the list. I still think I am pleased with the results of my quiz, but McGonagall is so cool. She is one of my favorite characters in Harry Potter. I love how she is full of surprises and personality that you would not expect. This treat is inspired by the floppy hats Professor McGonagall wears with such style. These Candy Filled McGonagall hats are completely edible. They were fun to make and the kiddos love the candy surprise inside! Can’t you just see this at your Halloween party next month?

So I just had to get myself a Waffle Cone Maker. My family began to think I was going crazy with batch after batch of botched hats and trashed cones. I wanted to mimic the way her hat droops at the top, the floppy brim and I wanted to get everything to be the right proportions.
The next hurdle was getting M and M’s in the Gryffindor house colors. So I was off to Candy World at the mall. I placed my bag, pulled the lever and heard the pleasing sound of M and M’s spilling into my bag. Then I weighed it. Okay, FYI, those candies come out of the dispenser really fast! I was up to $17 and all I had were maroon M and M’s! I did much better on the gold M and M’s, but not good enough. Friends, learn from my $30 M and M mistake and get 7 to 8 ounces of each color. Nobody needs that many Gryffindor colored candies.
It took me a while to work out my design for Professor McGonagal’s hat, but once I did, it was really pretty quick and easy. So I have worked out all the bugs, cleared out all the cobwebs and shazaam accio! Now you can see how easy it is to make your own in this short video. Mrs. Weasley couldn’t have done better with magic! Make sure to scroll down for the printable recipe after viewing. Hope this helps you have a magical Halloween!

Candy Filled McGonagall Hats
Ingredients
- 3 eggs
- 3/4 cup sugar
- 1 stick half cup melted butter, cooled
- 1 cup flour
- 1 teaspoon vanilla
- 2 teaspoon black gel food coloring
- Colored Candies to fill the hat
- Black decorating icing
Instructions
- Whisk eggs. Add sugar and continue whisking until light yellow and well combined. Add melted butter and flour. Whisk until it is free of lumps, add vanilla and food coloring. Mix well.
- Next, follow manufacturers directions to make cones, BUT undercook them. 40 seconds was perfect on my cone maker. This way they stay soft enough to punch the tops and bend it over. Otherwise they will be to crisp to do that. The cones will be very hot. I used a spatula or a kitchen knife to remove them from the cone maker. Lay a towel on the counter as a work surface.
For the cones:
- Three small cookies scoops was the perfect amount for my waffle cone maker to make a full size cone. To make the hats, make full size circles and cut them in half. Then lay one half back onto the heated plate to keep it soft and pliable. On one corner, put a dab of black decorating icing. Take your cone form with the tip along the straight edge and begin rolling at the icing free edge of the cone along the form, keeping edges even, towards the dab of icing. You may want to use a towel or cloth as the cone will be hot. The dab of icing helps the cone hold tightly. Slide the form out of the cone slightly, pinch the top of the cone and hold in place with a kitchen towel. Remove the form. Cool for 50 seconds to a minute. Repeat with the other half.
For the brims:
- Lay five large spoons in a circle, with the handles out. Make a cone with two scoops of dough for a smaller circle. Lay the circle on the five spoon. Lay the handle of a knife in between each spoon to create an undulating edge. Cool 50 seconds to one minute.
To assemble the hats:
- Turn the cone upside down and fill with candy. Pipe decorating icing along the rim of the hat. Place the brim of the hat over the cone and press into place. Turn the hat over and let icing harden for about 20 - 30 minutes before serving.
Notes
Each small cone (2 scoops of dough) makes one brim. You will need 10.
Make sure to handle the hats from the base. If picking up the hat from the cone, the brim may fall off.
If ordering specialty colored candy, 7 ounces of each color will be plenty.
These are best fresh, but the cones and brims may be made 1 or 2 days ahead and kept in Ziploc bags or an airtight container.
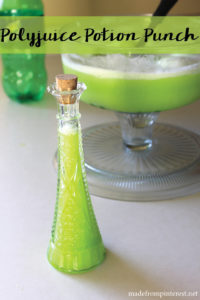
Don’t forget to have a little Polyjuice Potion on hand to help wash down all that candy!
This post contains an affiliate link which means I receive a small compensation, at no additional cost to you, if you make a purchase using my link. Clearly I am really happy with my waffle cone maker and had a blast designing these hats. I promise I will only recommend products I truly love!


This is so cute! Great idea!!
Thank you! I am glad you like it. Super fun to do.
YOU ARE AMAZING! These are fabulous!!!
Chanel, you may leave comments like this as often as you would like. Daily if you please. Haha! Thanks so much. They are tasty and it was really fun.