Carmelitas dessert bars are one of my favorite desserts, but I don’t make them very often. Let me explain.
There are some desserts that I do not make unless I have been asked to. Some desserts are so good that if I am left alone with a pan of it, by the end of the day I will have eaten myself sick!
Embarrassing I know. I wish it wasn’t true, but it is. Carmelitas is the perfect example.
I haven’t made them in a really long time because they are just too dangerous. Alyssa from The Recipe Critic should have included a “these are extremely addicting” warning with the recipe. The decadent chocolate and rich caramel sauce make this the absolute best dessert ever!
What is Carmelitas?
Carmelitas are a delicious chocolate, caramel, and oats dessert that can be made as cookie bars. They are a one-of-a-kind experience and will be a hit at any party or potluck that you grace these with. They are soft, chewy, and absolutely irresistible!
This is a one of a kind, melt in your mouth Carmelitas recipe that is worth every calorie!”
Alyssa Rivers
Legend has it that the recipe was first used around the 1960s, but in all of my research, I wasn’t able to find the actual origin of this incredible treat. Although the name is Spanish and translates roughly to “Little Browns”, there doesn’t seem to be any indication that this dessert is actually of Spanish Origin.
If you are familiar with the history of Carmelitas, please let us know in the comments!
Carmelita Dessert Bar Ingredients
All you need to bake this irresistible dessert is:
- caramel – get the candy ones that are individually wrapped.
- heavy cream – half and half can also be used if that’s what you have on hand
- butter – melted so it’s easy to mix with the butter
- brown sugar – pack it tightly in your measuring cup
- flour – this helps keep everything together, substitute almond flour to make it gluten-free
- rolled oats – don’t use instant oats, and if you’re going for gluten-free, double-check the label to make sure it’s not processed on shared equipment
- baking soda – helps the oatmeal cookie crust rise
- chocolate chips – see note about semi-sweet vs milk chocolate below.
The recipe calls for semi-sweet chocolate chips, although so do chocolate chip cookie recipes. I prefer to make chocolate chip cookies with milk cholate chips, so try it both ways and see which one you like best.
If you have both types of chocolate chips available, you could also do half of the pan with semi-sweet chocolate chips and the other half with milk chocolate chips, or mix them up!
The caramel squares are simply the little candies you can get at the grocery store that are individually wrapped. You will want to unwrap them before getting started so they are easy to use. Adding the heavy cream to the melting caramels is to help make the sauce rich and creamy.
Make sure to pack the brown sugar tight when you are measuring it. And when choosing oats, it’s going to be better to use rolled oats than instant oats.
How to make Carmelitas
After preheating your oven and prepping your bakeware, grab your mixing bowls and start by mixing your melted butter and sugar. Don’t forget to line your bakeware with some aluminum or parchment paper. The melted caramel will be very sticky once it’s baked, so this will be really helpful for cleanup.
In the bowl that you mixed the butter and sugar, add your dry ingredients: flour, oats, and baking soda. This is going to be the crust of your cookie bar. Once it’s all mixed, press it down into the bottom of your 8×8 pan. If you are doubling the recipe, press the cookie mixture down into the bottom of a 9×13 pan.
Bake the cookie crust for 10 minutes and then remove it from the oven.
While the cookie crust is baking, it’s time to work on the caramel sauce. Take your unwrapped caramel squares and heat over medium heat in a saucepan with heavy cream. Stir until this is completely smooth and set aside.
This step can also be completed in the microwave, just heat up the caramel and heavy cream for 30 seconds at a time, stirring when it stops. Watch it carefully and do not let the caramel burn.
Building and baking your Carmelitas
At this point you have all of the parts of the Carmelitas ready, it’s time to put it all together! When the timer for your cookie crust goes off, take it out of the oven and sprinkle your chocolate chips over the whole thing. Very carefully pour your caramel sauce over the chocolate chips, and crumble the remaining cookie dough over it.
Put it back in the oven and finish baking it for about 15-20 minutes. You will know that it is ready when the edges are lightly browned.
When you take it out of the oven, let it cool completely. Keep in mind that the caramel will be like molten lava at this point and can cause severe burns if touched right out of the oven.
Carmelitas are a great dessert for events
I was asked to bring a dessert to a social function so I made these wonderful Carmelitas. I thought I was safe knowing I would take all of them to my social function, which meant I wouldn’t couldn’t eat too many.
It’s a perfect option for making for events and potlucks since it’s so simple to make, and simple to make a lot of. And not to mention it’s simple to transport versus a bunch of cookies or a frosted cake or cupcakes. You will be the hit of any gathering you bring these delicious desserts to.
To double the recipe for a big event, all you have to do is double the ingredients and use a 9×13 inch pan.
Carmelitas can also be made gluten-free
My daughter wanted me to make a gluten-free batch as well so she and I could have some. We are the only 2 who are gluten-free in our family and having “some” translates into half a pan for each of us. I made these this morning, it is now late afternoon, I’m not feeling so well. (I’m hanging my head in shame!)
To make these gluten-free, use almond flour instead of all-purpose flour. As you can see above, this did not affect the deliciousness of this dessert.
Please note that oatmeal is technically gluten-free, however, there is a chance that it is processed on shared equipment. Check the label to verify that your rolled oats are certified gluten-free if this is a concern. The other ingredients are also supposed to be gluten-free, but check your labels to be certain.
Tips to make amazing Carmelitas
- You can add a pinch of salt to the oatmeal cookie crust to balance out the sweetness and make the flavors really pop.
- The author of the recipe that I reference here recommends that you use high-quality caramel such as Worthiers Caramel candies.
- You can use a larger pan to create a thinner crust. This can be a great way to get more slices of cookies out of one batch for parties and potlucks.
- Don’t forget to let the Carmelitas cool completely before diving in. I cannot stress enough how hot the caramel sauce gets when it’s in the oven, so please use caution when melting, pouring, and handling it.
- You can use instant oats if that is all you have on hand. The author recommends rolled oats but does mention that instant oatmeal can also be used.
- Store your Carmelitas in an airtight container. They can be stored in a cool space, although they will last longer if refrigerated.
- You can even freeze your Carmelitas! After they have cooled, stack them in a freezer bag and store them for up to a month. Use smaller bags to create individual portions so you don’t have to defrost the entire thing when your sweet tooth hits.
A delicious (and dangerous!) dessert
Yes, half of my half of the pan is now empty. It sounds better if I say 1/4 of the pan is empty. Either way, I have once again eaten too many Carmelitas.
This morning I needed every ounce of willpower to resist eating too many. As my teenagers would say… “epic fail”. This afternoon I needed some protein and a 5 – 10 mile walk! It really should be a run, but I only run in EXTREME emergencies. The protein is going to happen – I’m not so sure about the walk. If you are looking for an out-of-this-world, fantastic dessert recipe, Carmelitas is for you because… This Pin Rocks!
Carmelita's
Ingredients
- Ingredients
- 32 caramel squares unwrapped
- ½ cup heavy cream
- ¾ cup butter melted
- ¾ cup brown sugar packed
- 1 cup flour
- 1 cup rolled oats
- 1 teaspoon baking soda
- 6 ounces semisweet chocolate chips
Instructions
- Preheat your oven to 350. Grease an 8×8 pan or you can line it with aluminum foil or parchment paper for easier removal. The caramel gets very sticky. (This can also be made in a 9×13, by doubling the ingredients)
- In a mixing bowl, combine melted butter and brown sugar. Add flour, oats, and baking soda. Mix until combined well.
- Divide the cookie mixture in half and pat half of the mix into the bottom of the 8×8 pan. Bake for 10 minutes and remove from oven.
- While the crust is baking, combine the caramels and heavy cream in a saucepan over medium heat; stir until completely melted and smooth. The caramels can also be melted in the microwave, just stir after every 30 seconds being careful not to let it burn.
- Remove pan from the oven, immediately sprinkle chocolate chips over the crust. Pour warm melted caramel mixture over the chocolate chips and crumble remaining cookie dough on top.
- Return to oven and bake for 15-20 minutes until the edges are lightly brown.
- Once removed from the oven, allow them to completely cool and the caramel to set up. The caramel is like molten caramel right out of the oven and you want to let it cool. You can speed up the cooling process by putting it in the fridge if needed.
- Gluten Free Version
- Use gluten free flour.
- Use certified gluten free oatmeal, can be found at Trader Joe's

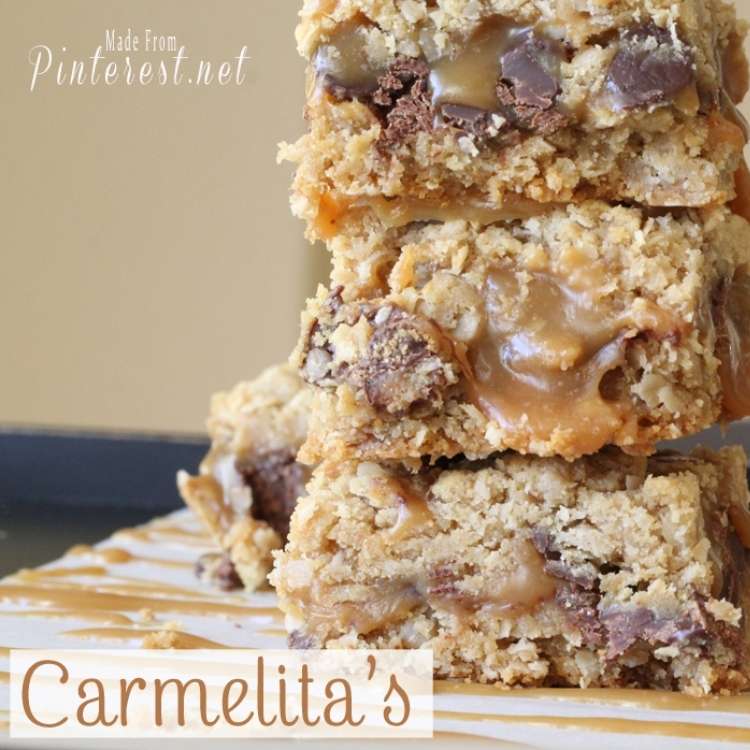
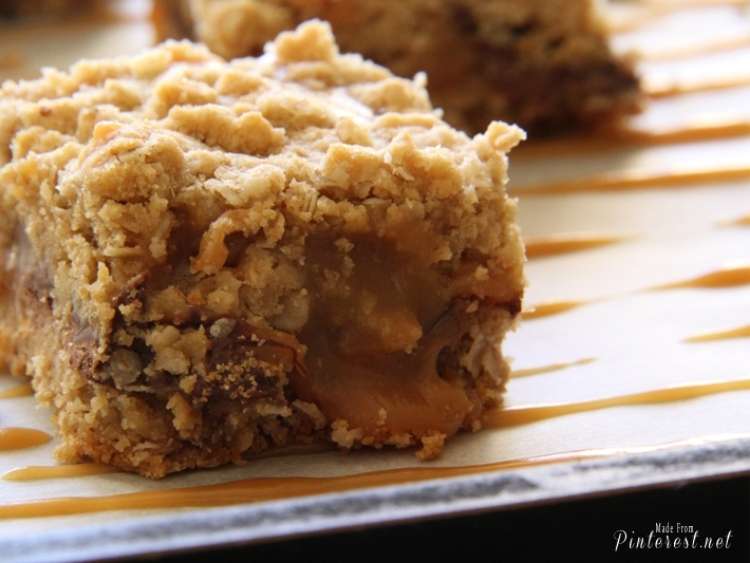
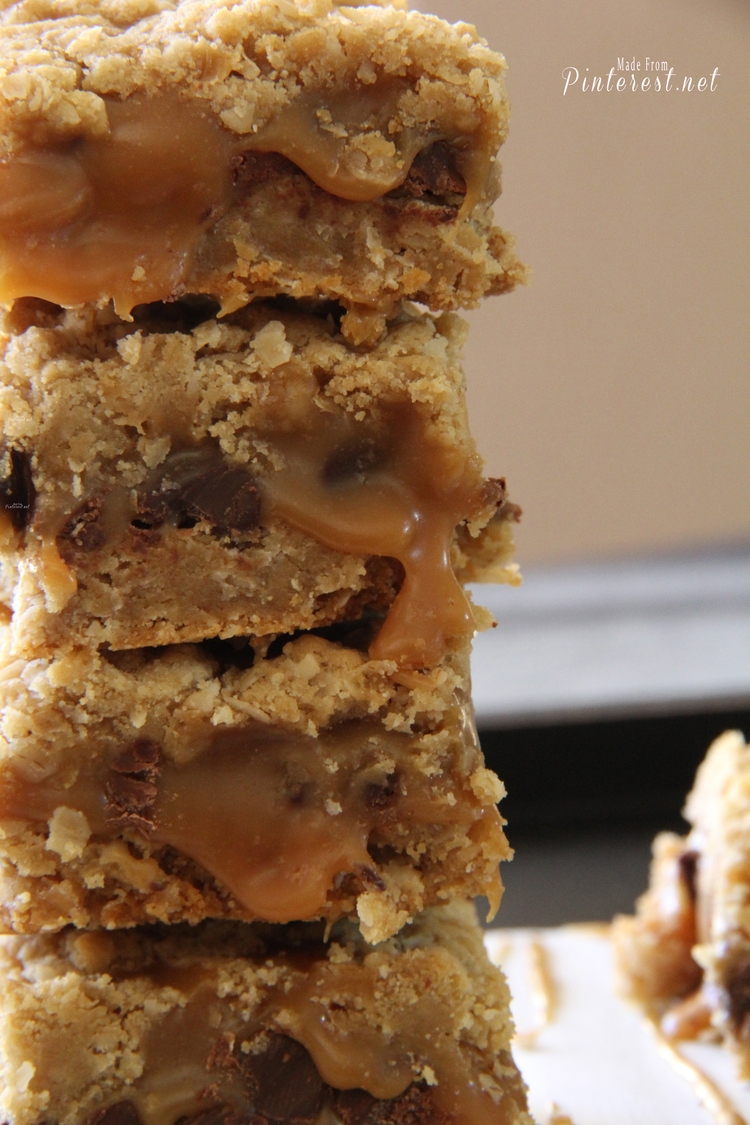
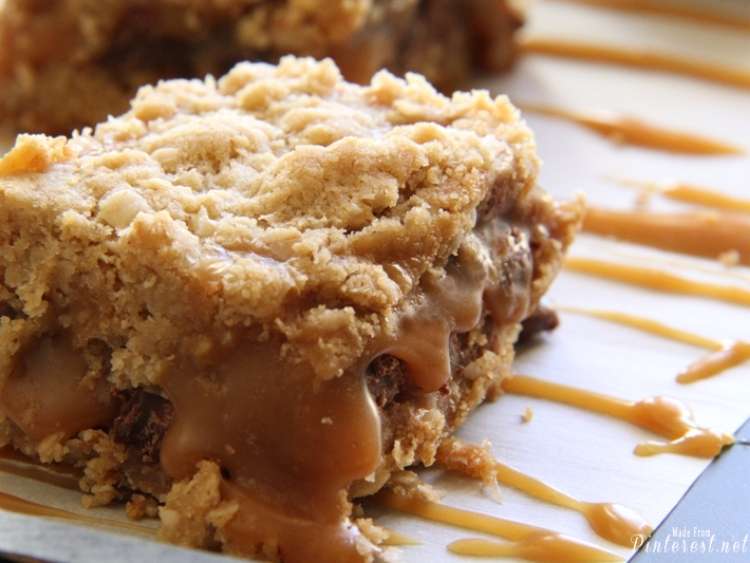
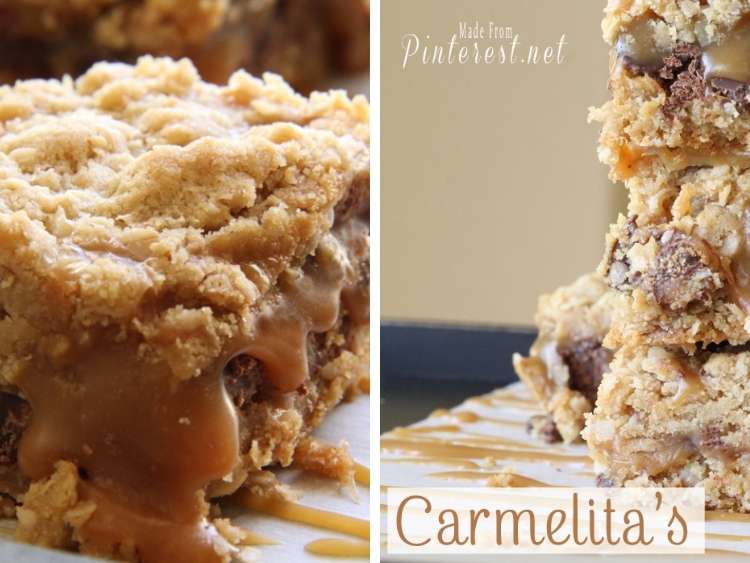

Seriously they look so addictive …
Actually u seem to be better eating only 1/4 portion of yours .
If it was given to me . I would have eaten my portion aswel as my husbands .:p.
Anyways he is not fond of sweets 😛 😀
Then you are a good wife for doing him a favor of saving him from eating something he might not enjoy (although I can’t really imagine anyone not liking these.)! Make some up today and eat his portion as your gift to him. Heehee!
Sounds amazing! And I totally understand–I try not to make anything too decadent or addicting unless I know I have someone else to pawn most of it off onto. Otherwise, I’m liable to eat myself into a sugar coma haha. I can see myself having that problem with these carmelitas!
Glad they caught your eye, Rebecca. You gotta find a reason to make these, they are totally worth it.
seriously?? that looks beyond words amazing. I love CARMEL!! pinning
Havalah, I promise you won’t be disappointed!!! Tracy
Thank you for sharing this fantastic recipe. I made them to include in our Super Bowl spread tomorrow. Of note, I used homemade caramel sauce instead of the store bought caramels.
Aren’t these yummy? And homemade caramel sauce? Can’t get better than that!
Thanks for the recipe!! Smucker’s makes a sugar free caramel ice cream topping that I bet you can use in place of the caramel squares.
Robin,
What a great idea, my daughter and I are going to try and cut down on our sugar. Nice to know that Carmelita’s can still be an option! Thanks for commenting – Tracy (the middle sister)
Carmelita’s what? There shouldn’t be an apostrophe unless Carmelita is possessing something! the plural form is “Carmelitas.”
Ooops! What a silly mistake we made. But, it’s done now, so we will try not to make that mistake in the future. Good thing bad grammar does not affect a good recipe. 🙂
any chance you could include the gluten free version of this as well?
Hi Shannon!
Just replace the regular flour with gluten free flour and make sure your oatmeal is certified gluten free oatmeal. They taste just as good as the regular Carmelitas! Tracy (the middle sister)
How many servings does this make?
Hey Sidney,
This recipe makes enough to fill a 9X13 pan. If you cut 4 across and 5 down you will end up with 20 large pieces. These are very rich so I cut mine smaller, 5 across and 6 down giving me 30 smaller pieces. It doesn’t matter how I cut them I always end up eating too many! Have a great day, Tracy (the middle sister)
They look amazing!
I live in a foreing country so I was wondering if you could upload or send me some pictures of the caramel squares you use for this recipe. This way I would know what to look for in the supermarket…
Thanks!!
Hi Coti,
Check your email, I just sent you a picture of the KRAFT Caramels I used to make my Carmelitas. Let me know if you have any other questions! Best, Tracy
Hello. I like to make caramel from scratch, how much would I need to replace those candies?
Hi Kathleen!
Oh my, caramel from scratch? Can I come to your house and have some of your Carmelita’s? It is going to take about 1 1/2 cups of caramel, it will really depend on how much you like caramel. I love caramel so I a little extra works for me. Enjoy, Tracy
How long can I store them at room temperature? I live in Malaysia.
Hi Mae,
Depending on how hot and humid it is at the time, I would guess about 30 minutes to an hour before the caramel gets too soft. You could refrigerate them, remove them from the fridge about 20 minutes before serving. That should buy you 30 to 45 additional minutes at room temperature. Enjoy! Tracy
If I doubled it and used 9×13, do I still bake it for the same amount of time as the recipe?
Hi Carrie,
Yes, you bake it the same amount of time. I’m warning you again, these are extremely addictive! Enjoy, Tracy
Thank you so much for sharing! I made them as a treat to give to my new neighbors. This was so easy and delicious. My new favorite!!! I’m wondering if anyone has revised the recipe to include fruit or nuts? Message me if so!