I‘m a day late getting my post up! I have a very valid reason for my tardiness. My daughter Madison (15) decided it would be “fun” to have her wisdom teeth removed with her sister Haley (18), on the same day. Last Friday at 8 am Haley had her wisdom teeth removed, followed by Madison at 9 am. After both procedures were over, it was time to get my silly girls in the car. We got Haley in the car first. As Madison got in the backseat next to Haley, they saw each other and burst out laughing. Haley then told Madison, “you look ridiculous!”. Madison then burst into tears. The harder Madison cried, the harder Haley laughed. The harder Haley laughed, the harder Madison cried! Needless to say it was an eventful ride back to the house. I was happy to get them home and have my husband help me get them in the house and on to the couch. This weekend has been all about ice packs, pain meds, gauze changes, smoothies, milkshakes and popsicles. And, yes, a double set of chipmunk cheeks!
The girls are on their way to recovery, which means I have some time to finish my post on these Crayon Hearts. 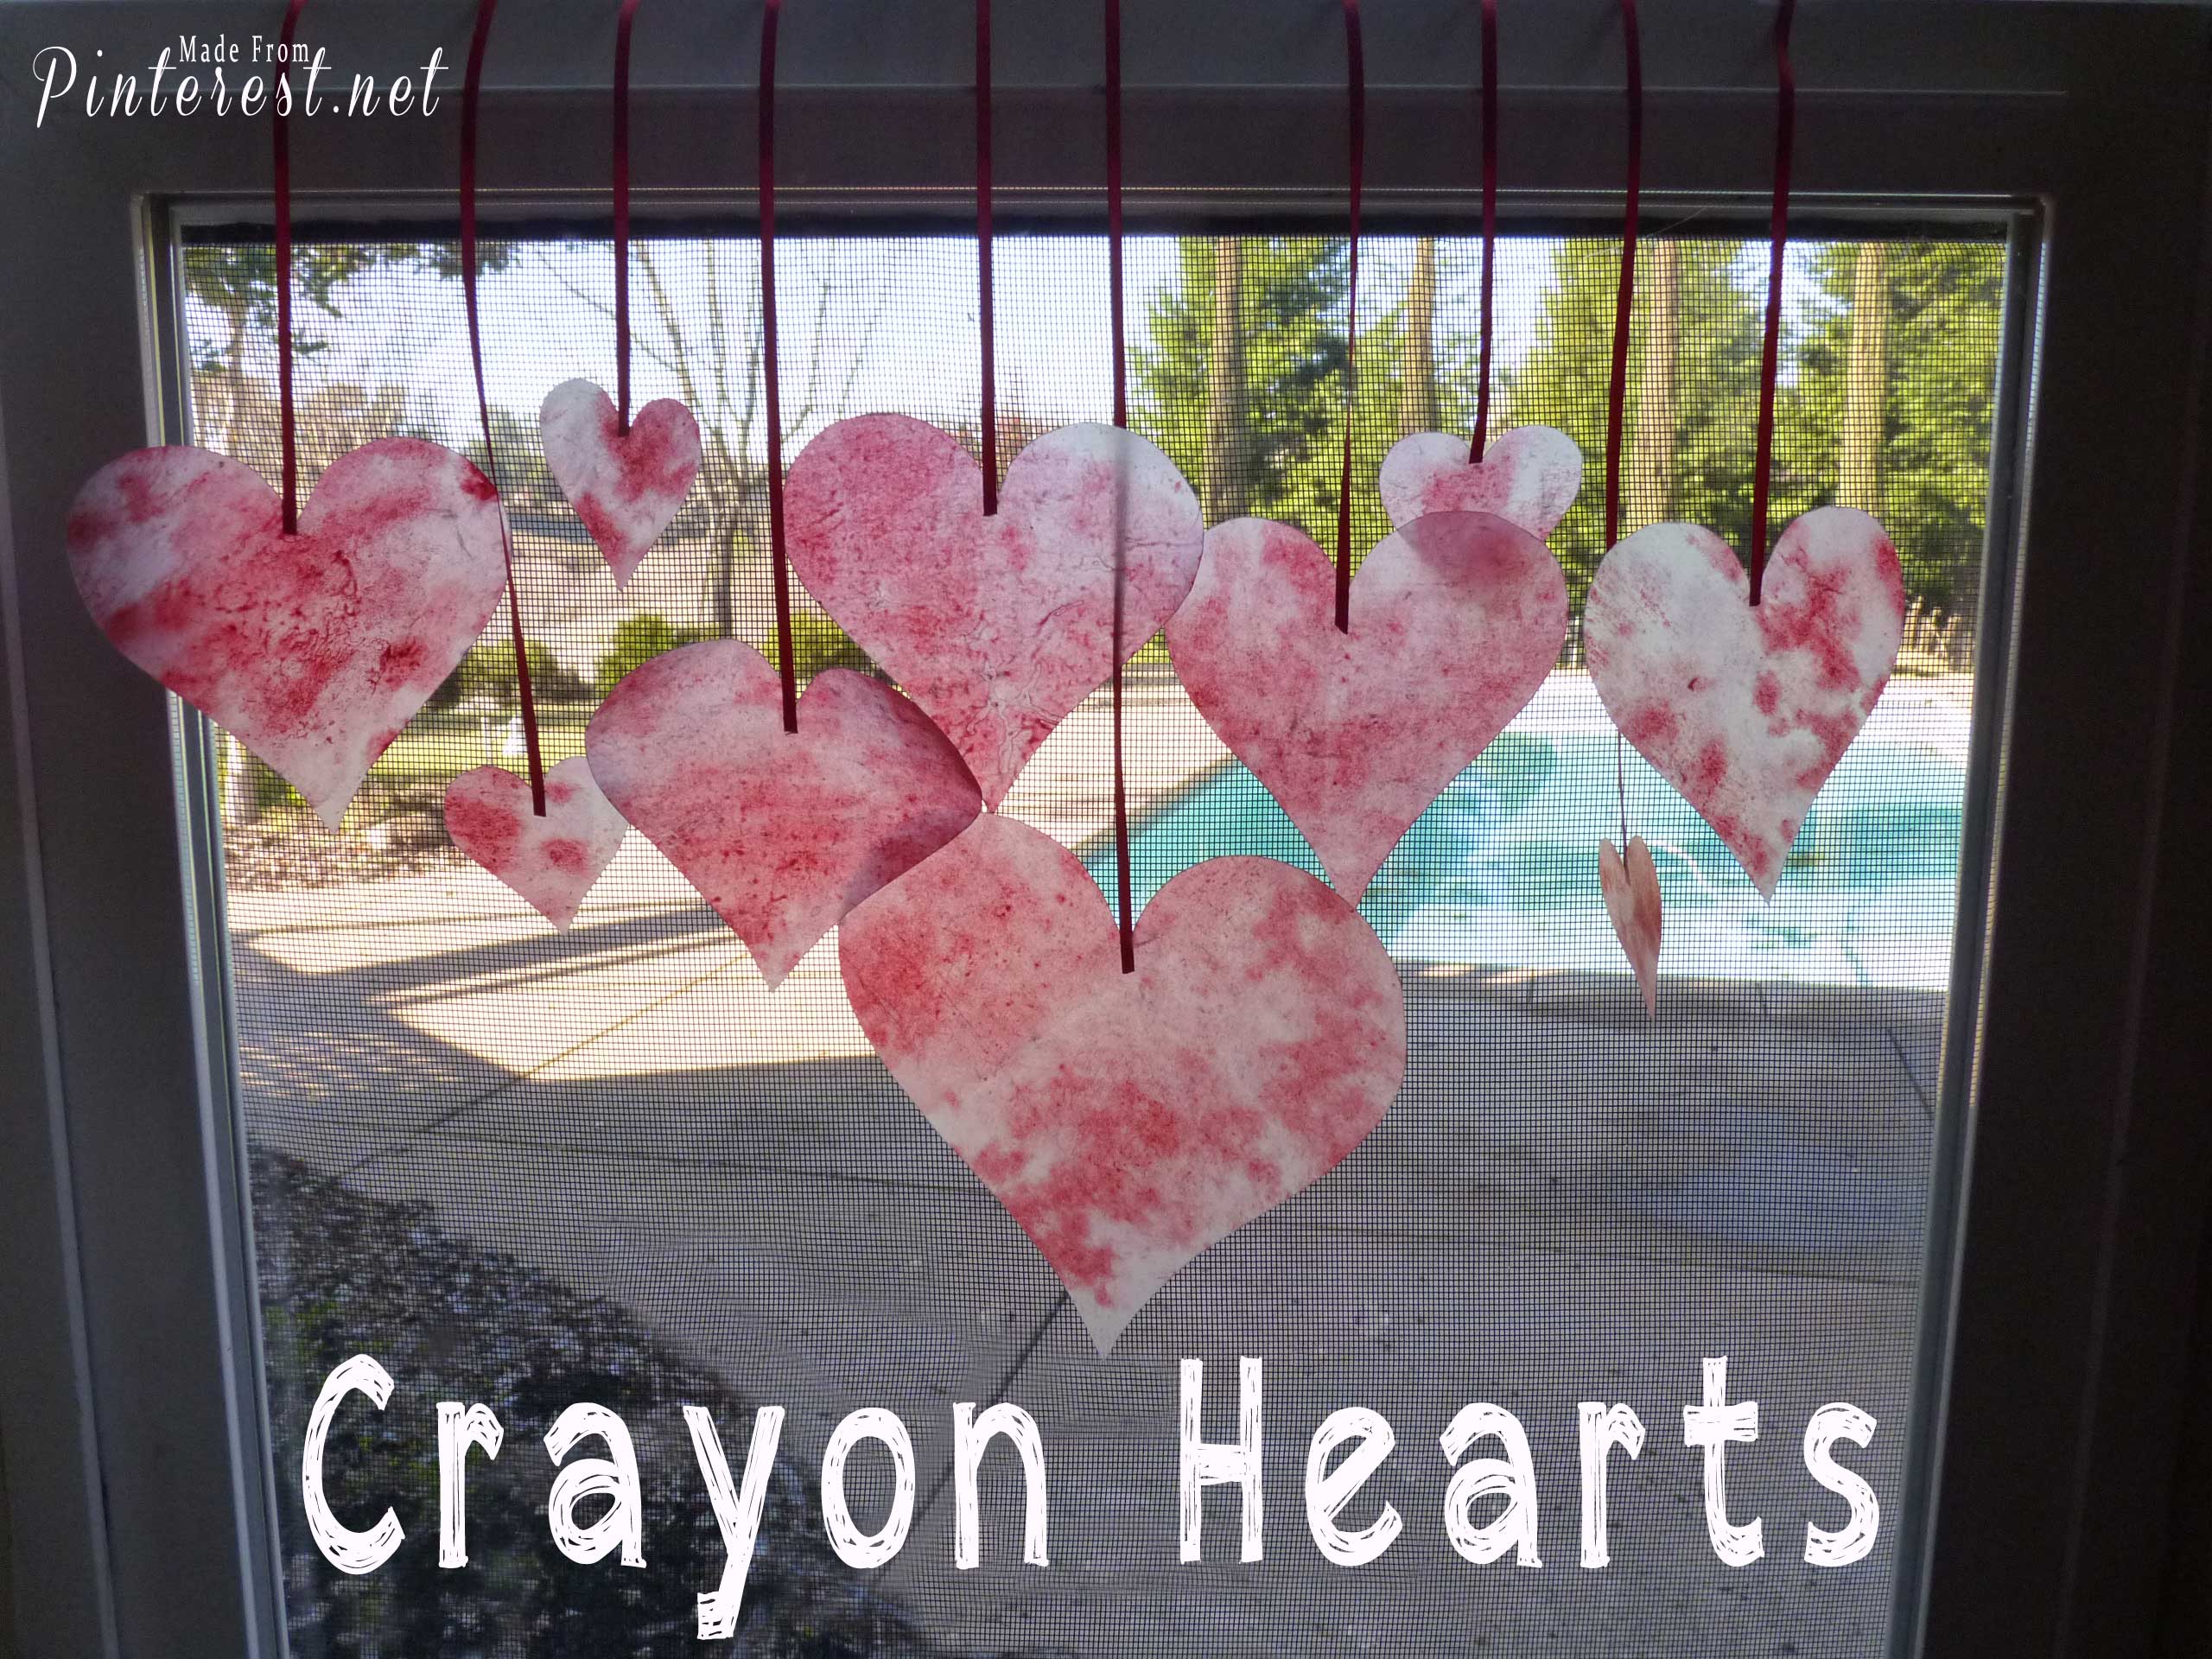

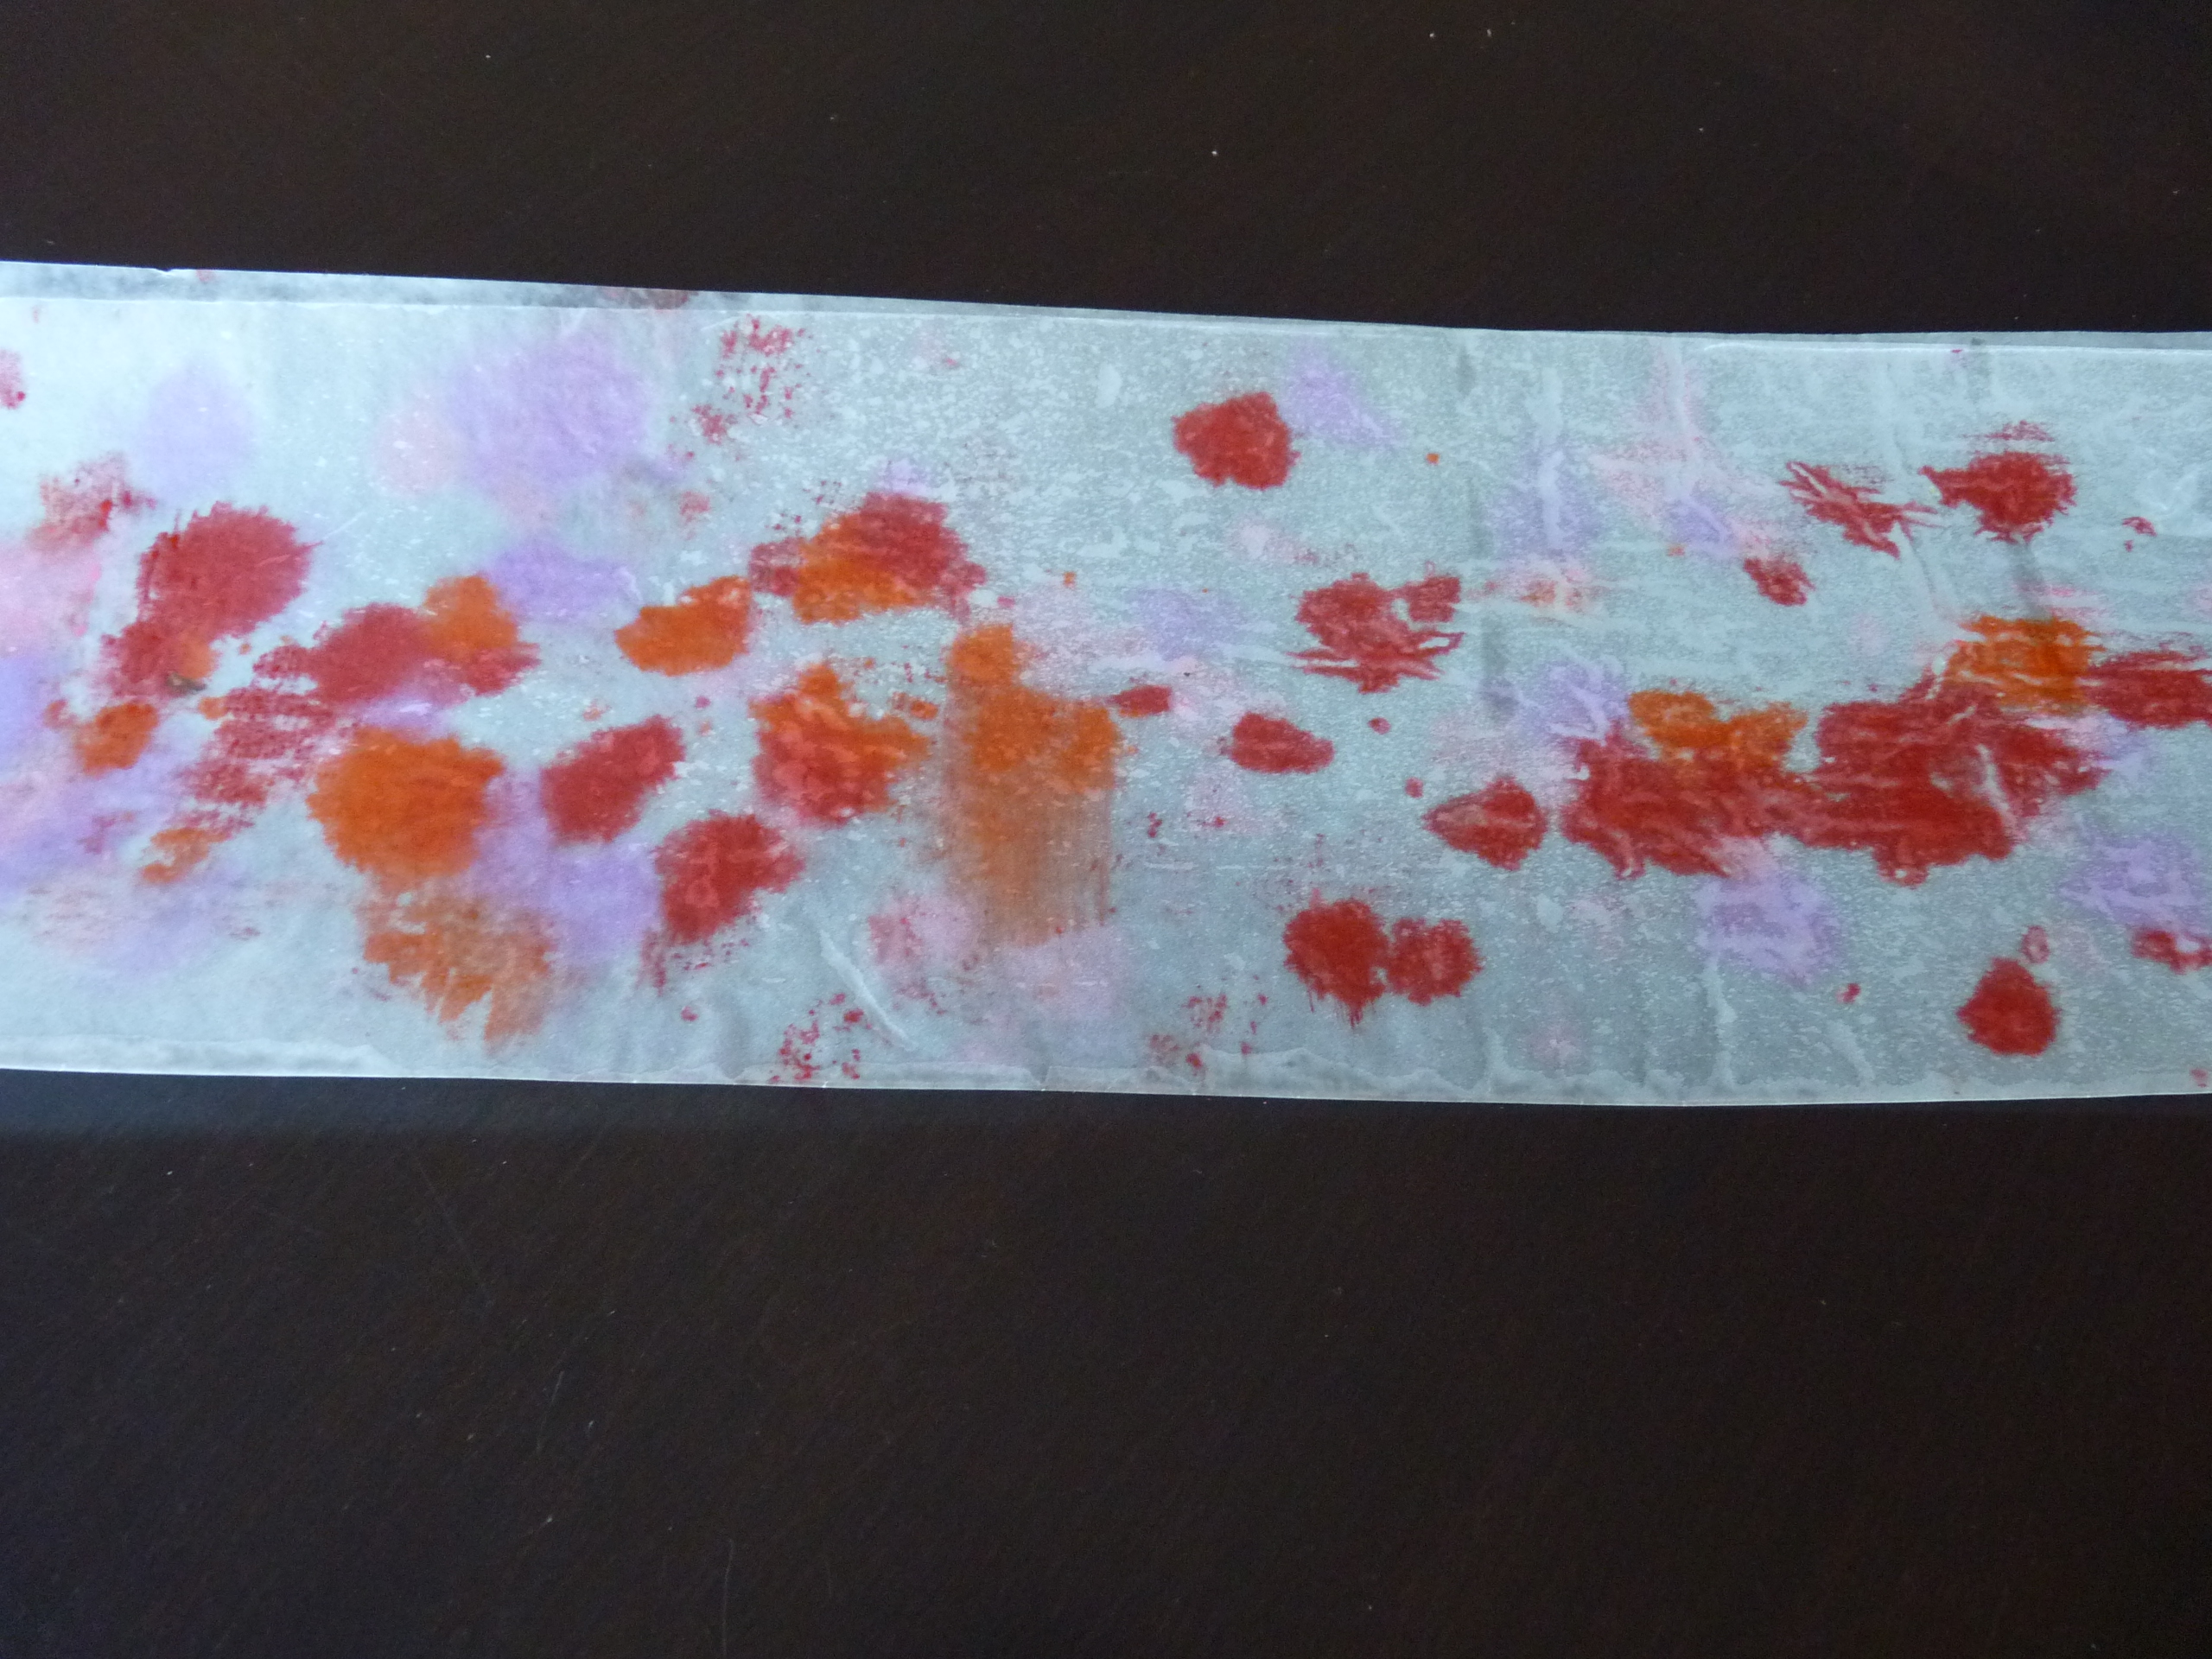
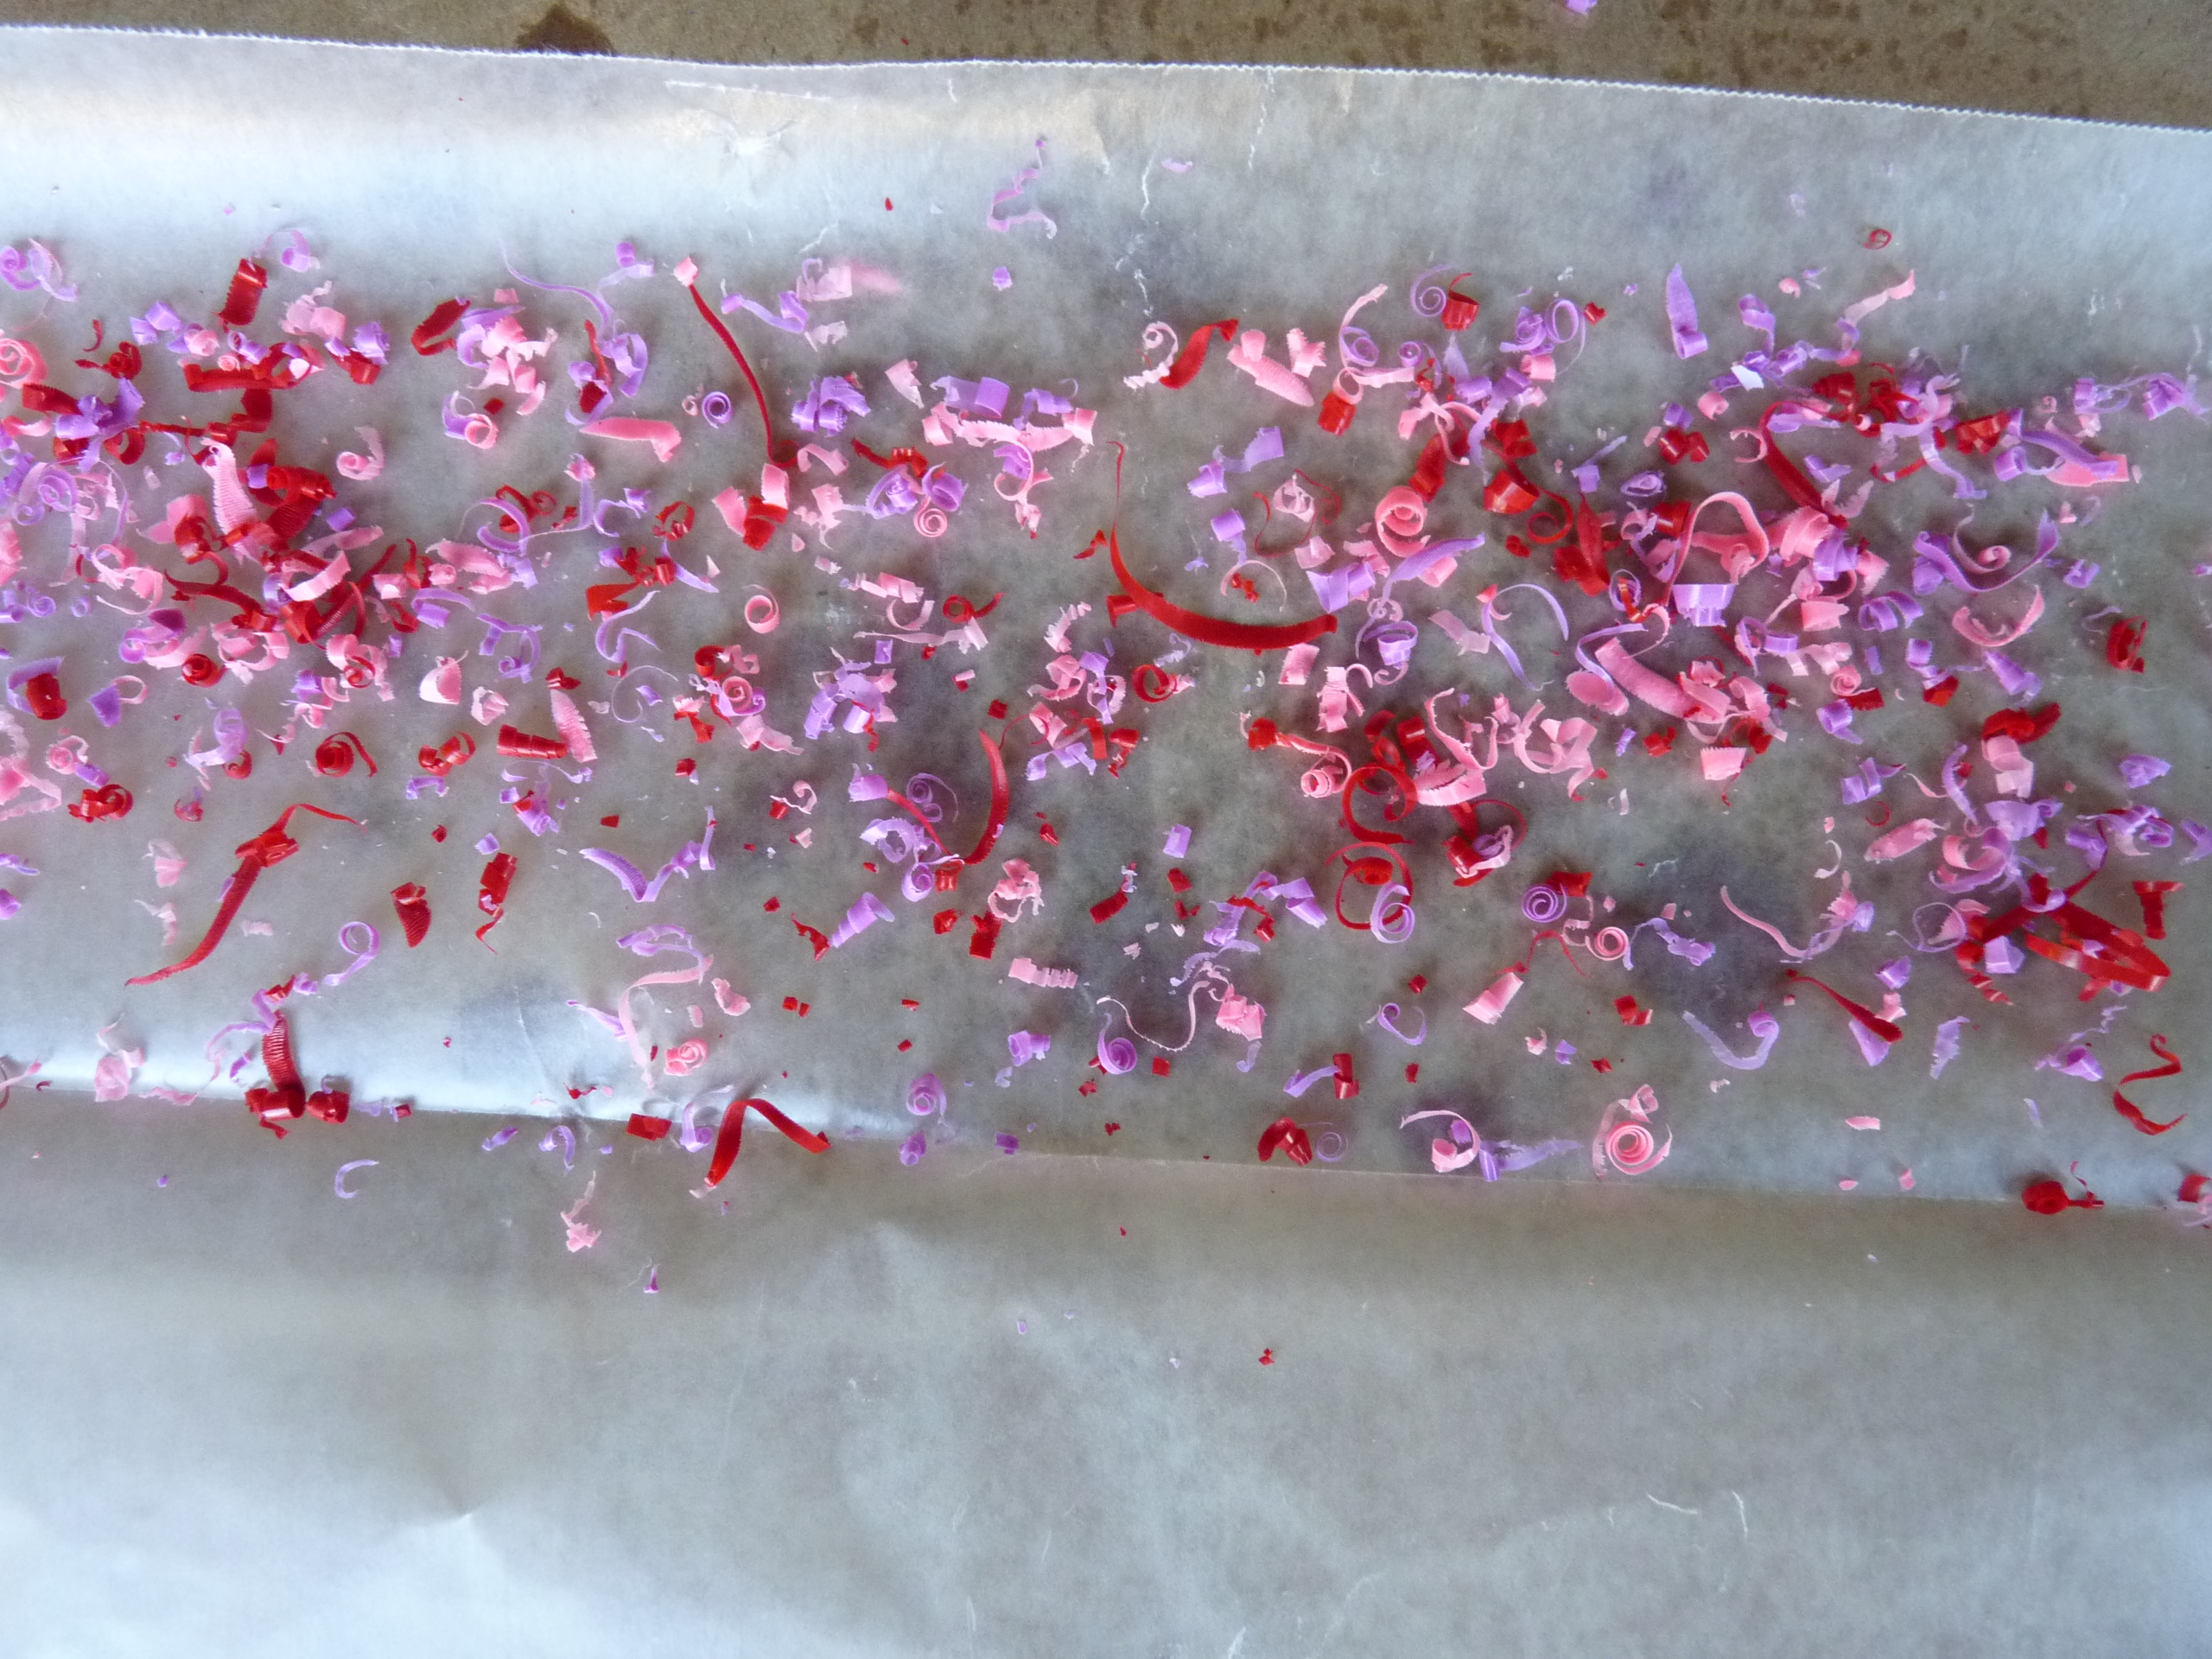
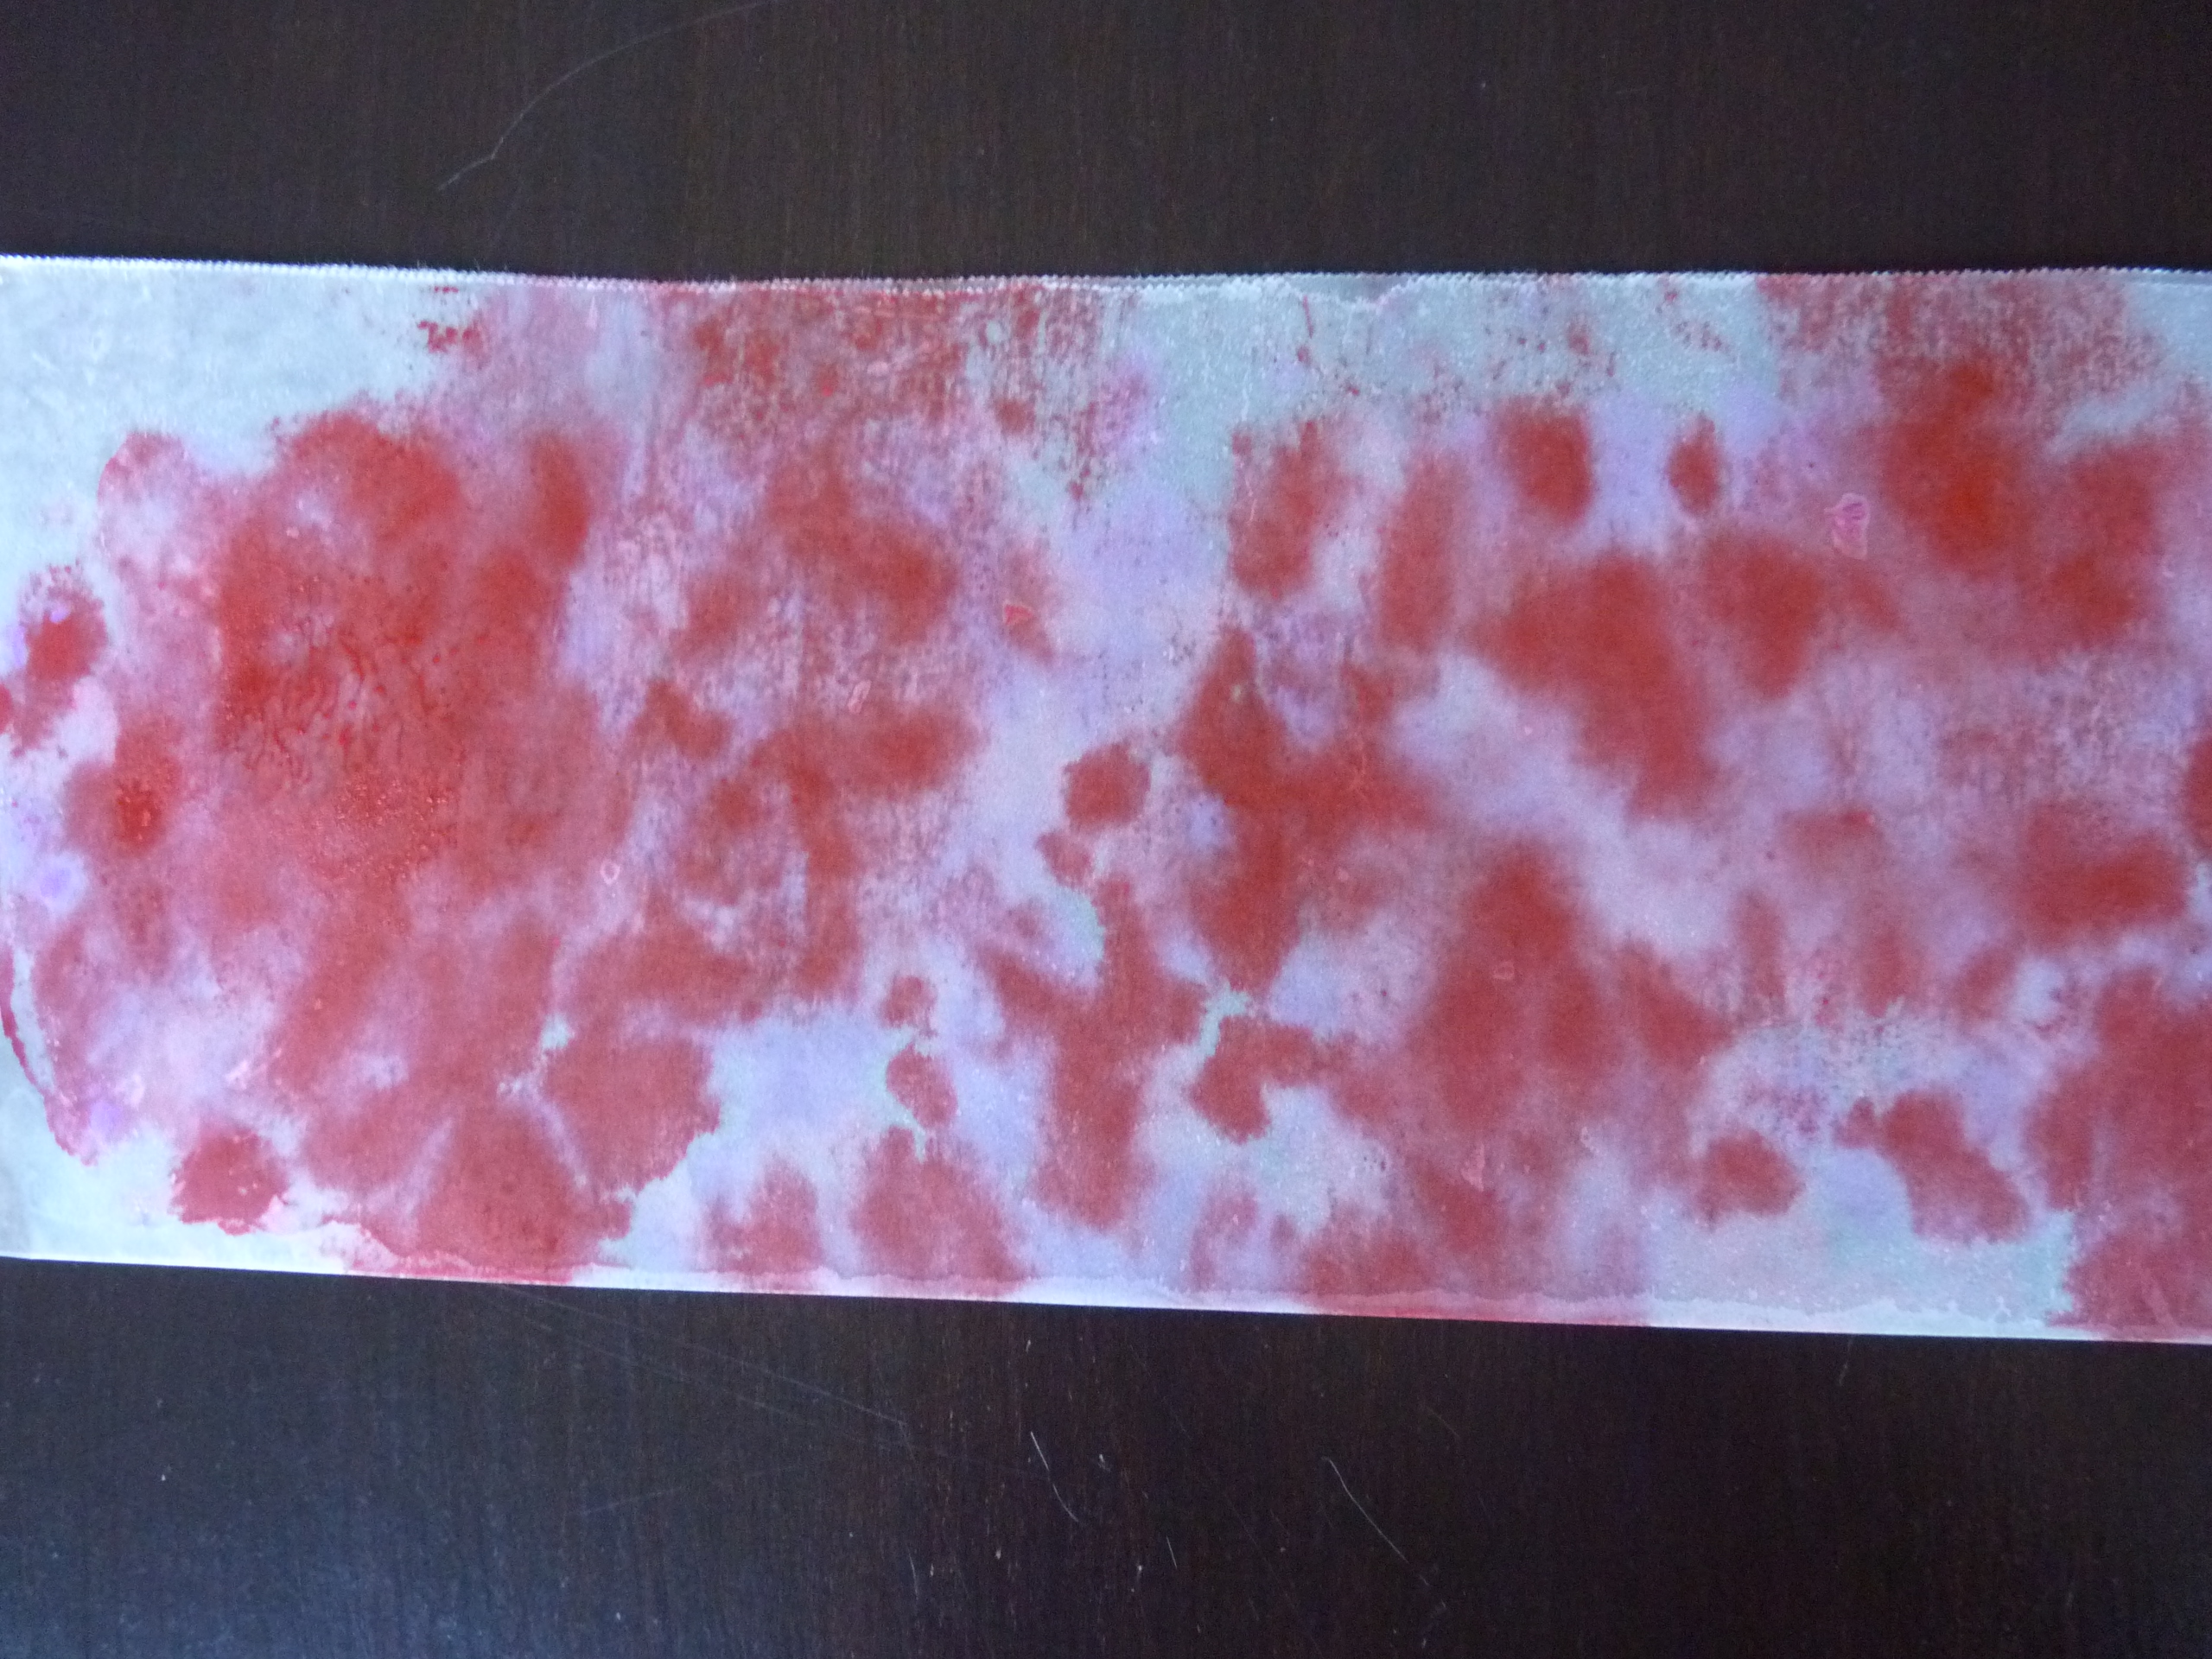
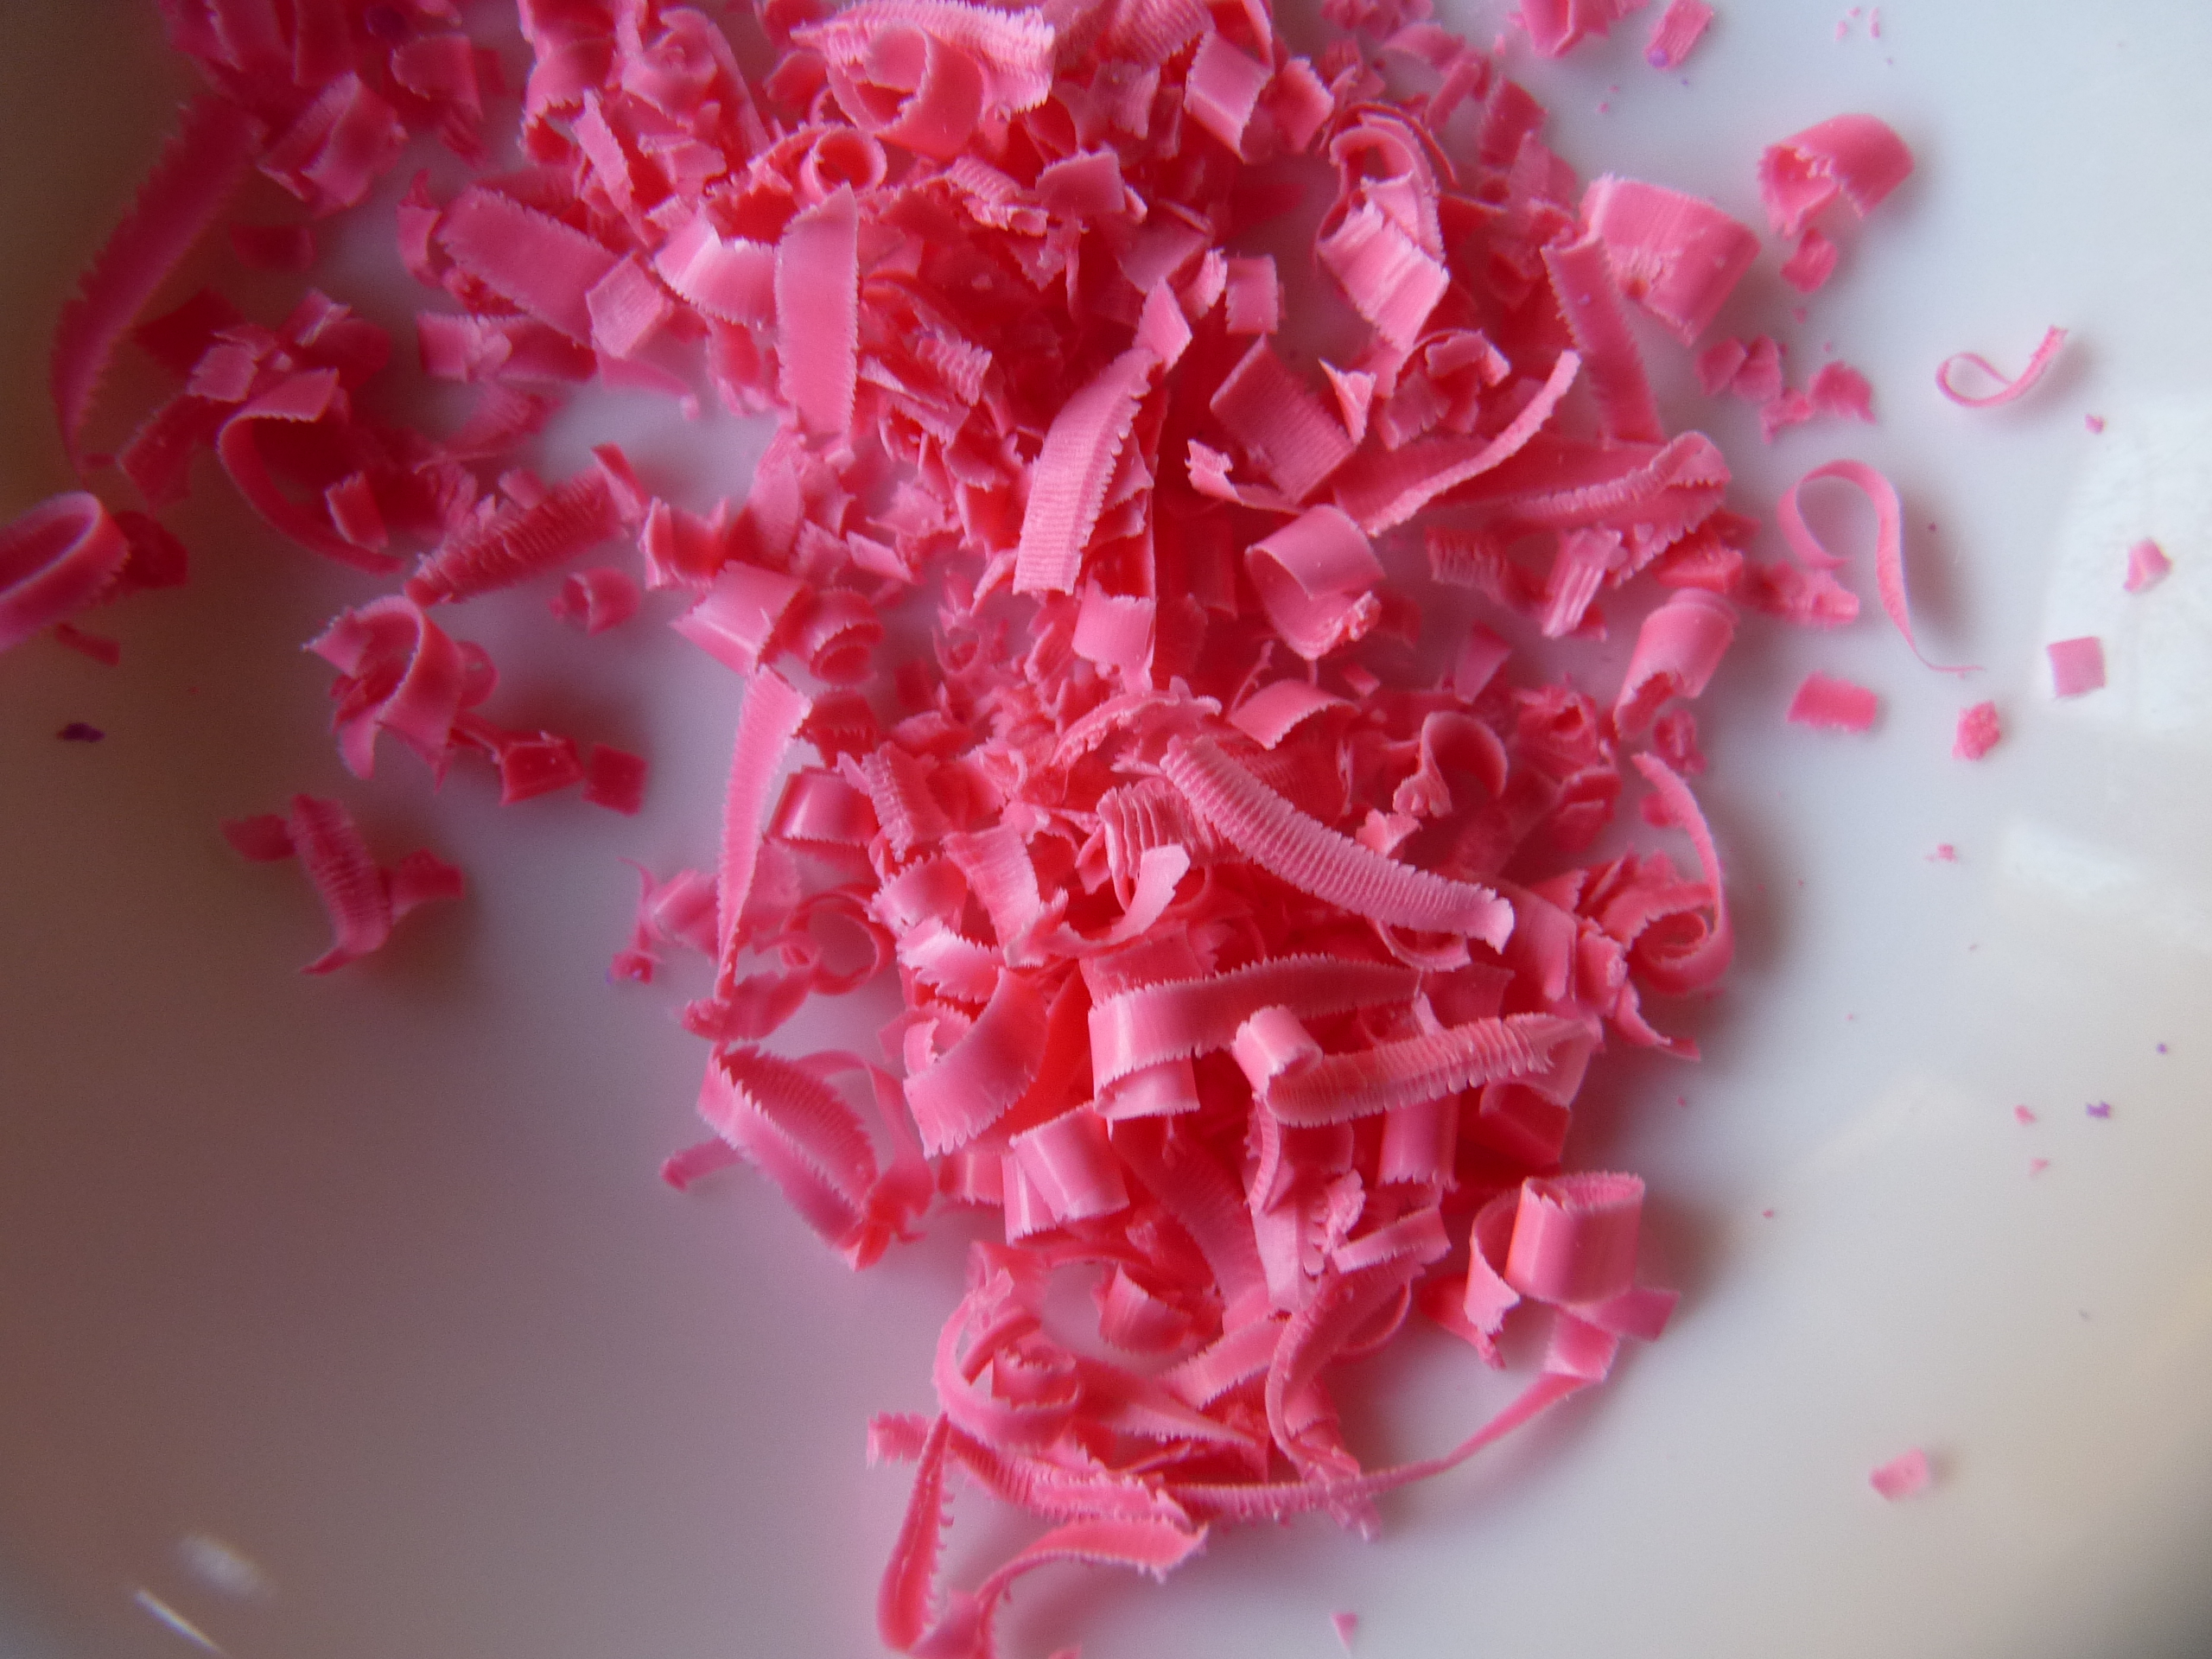
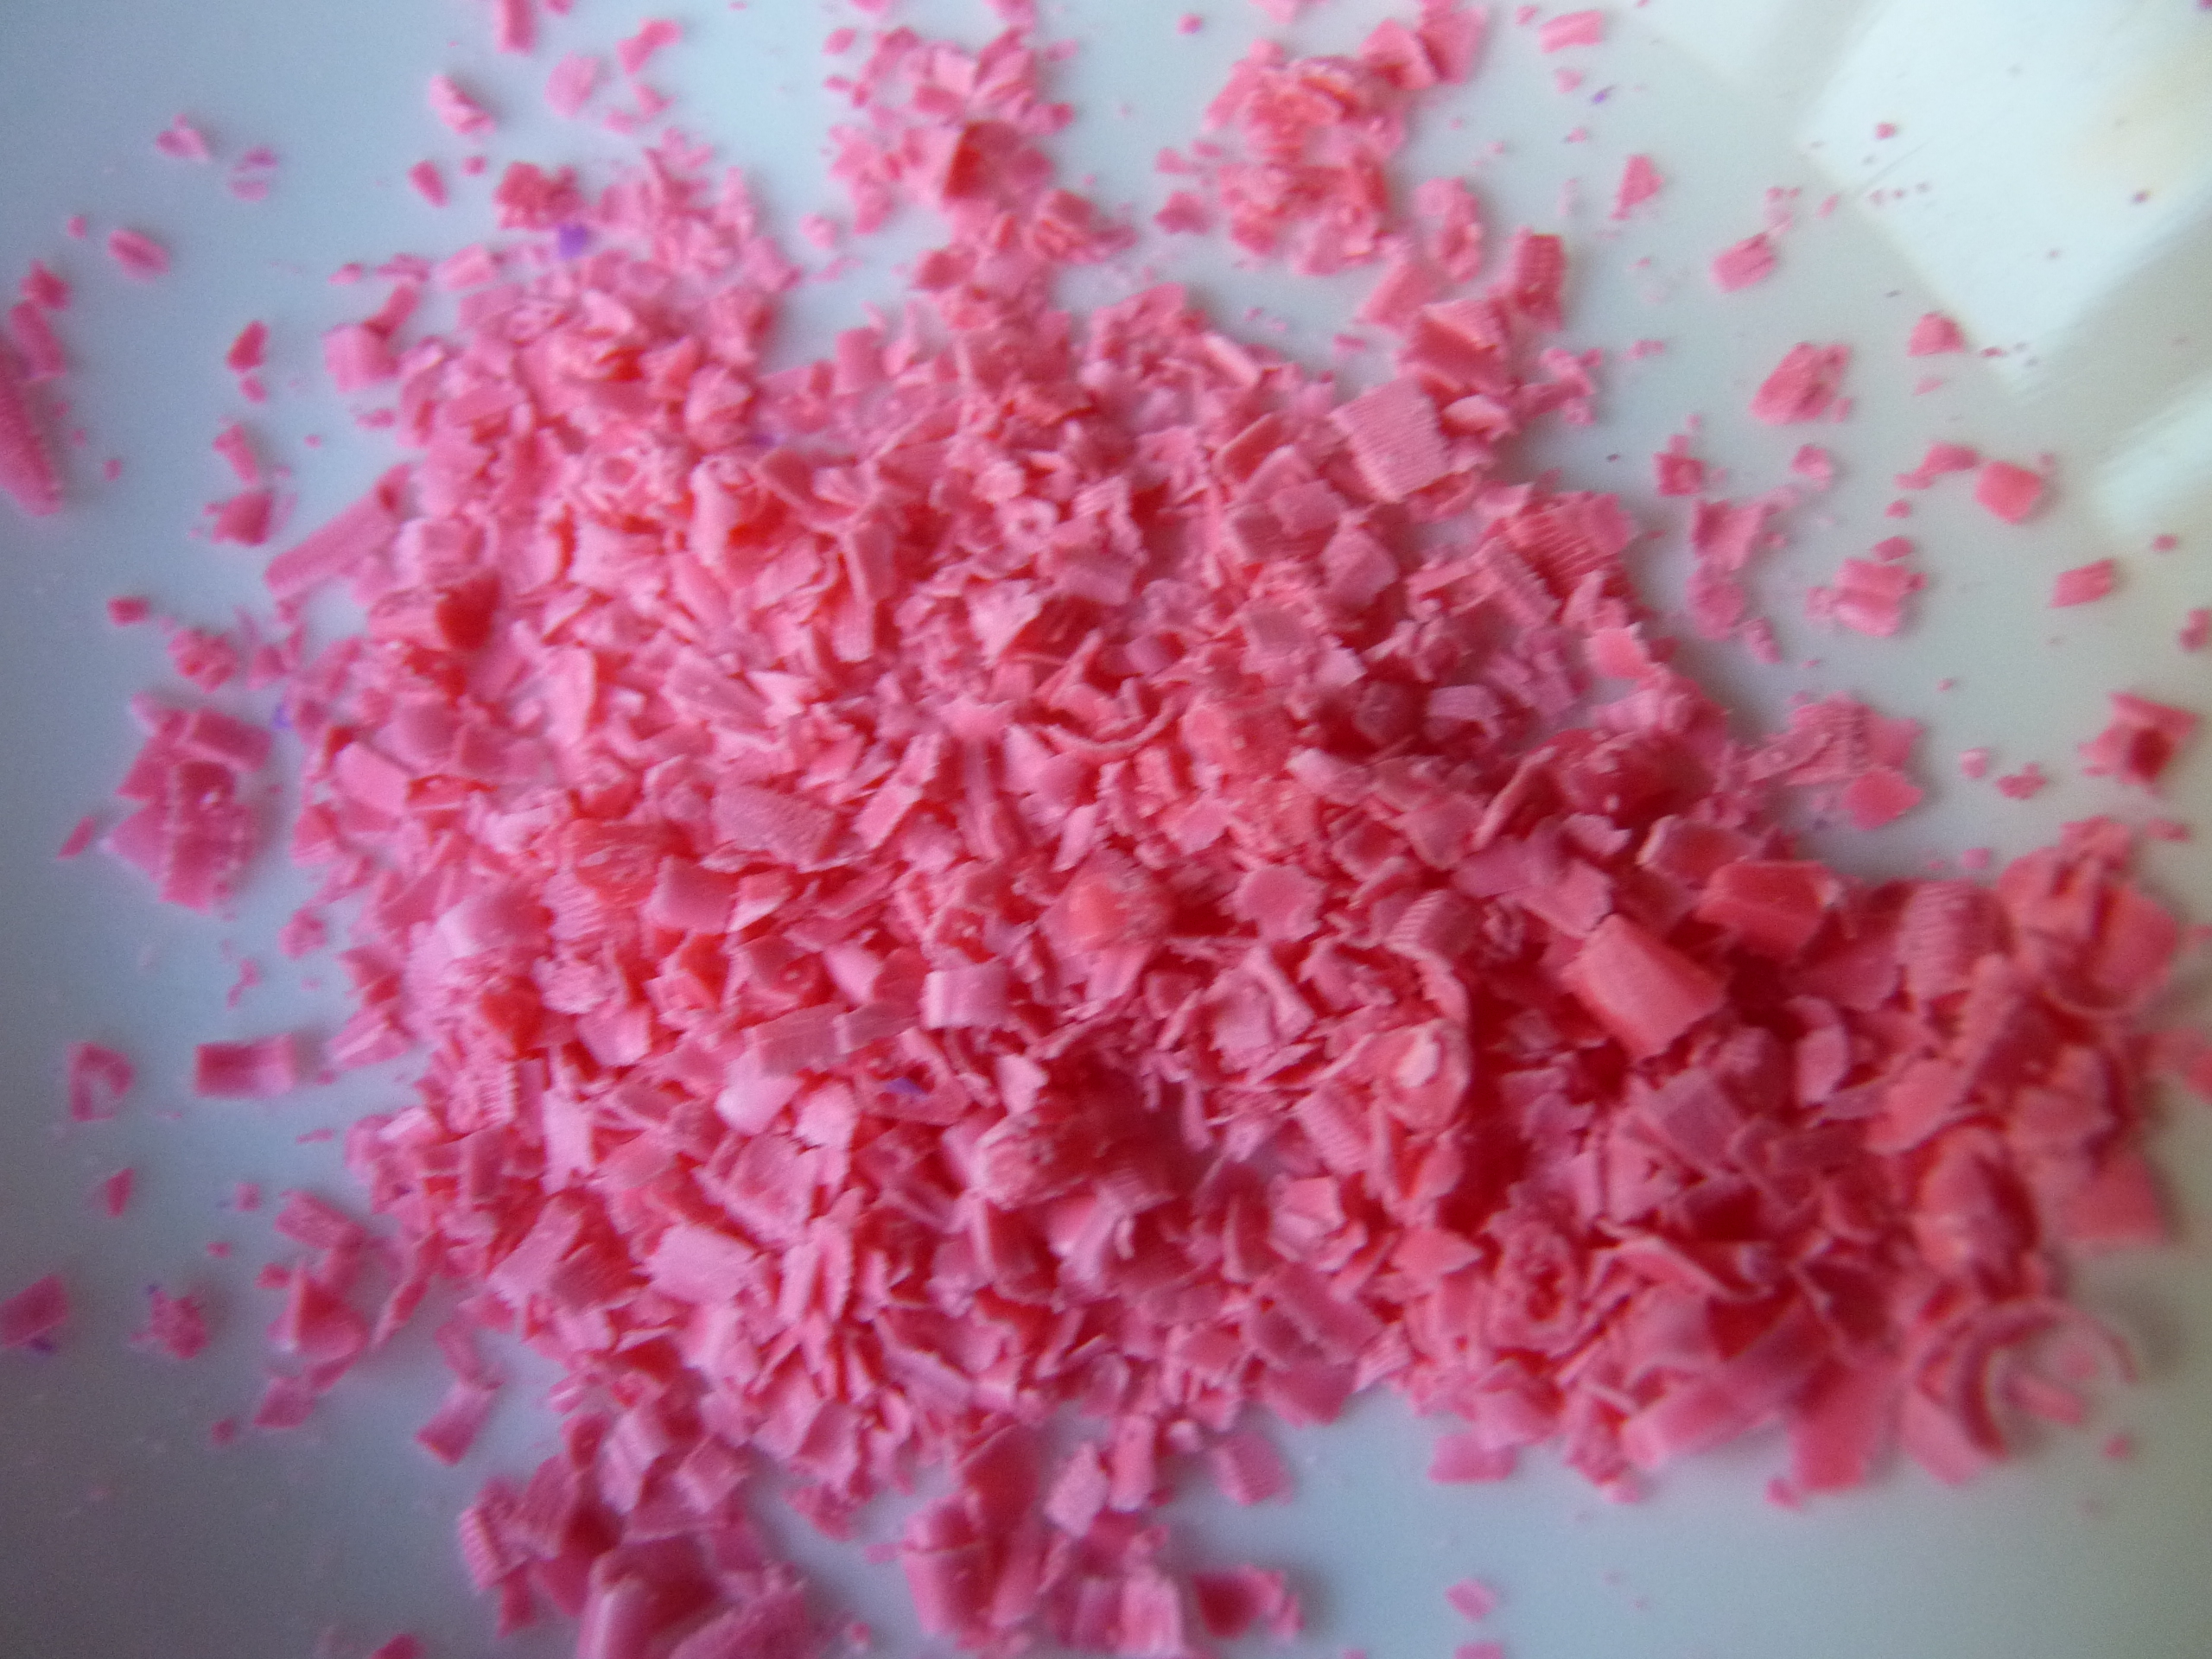
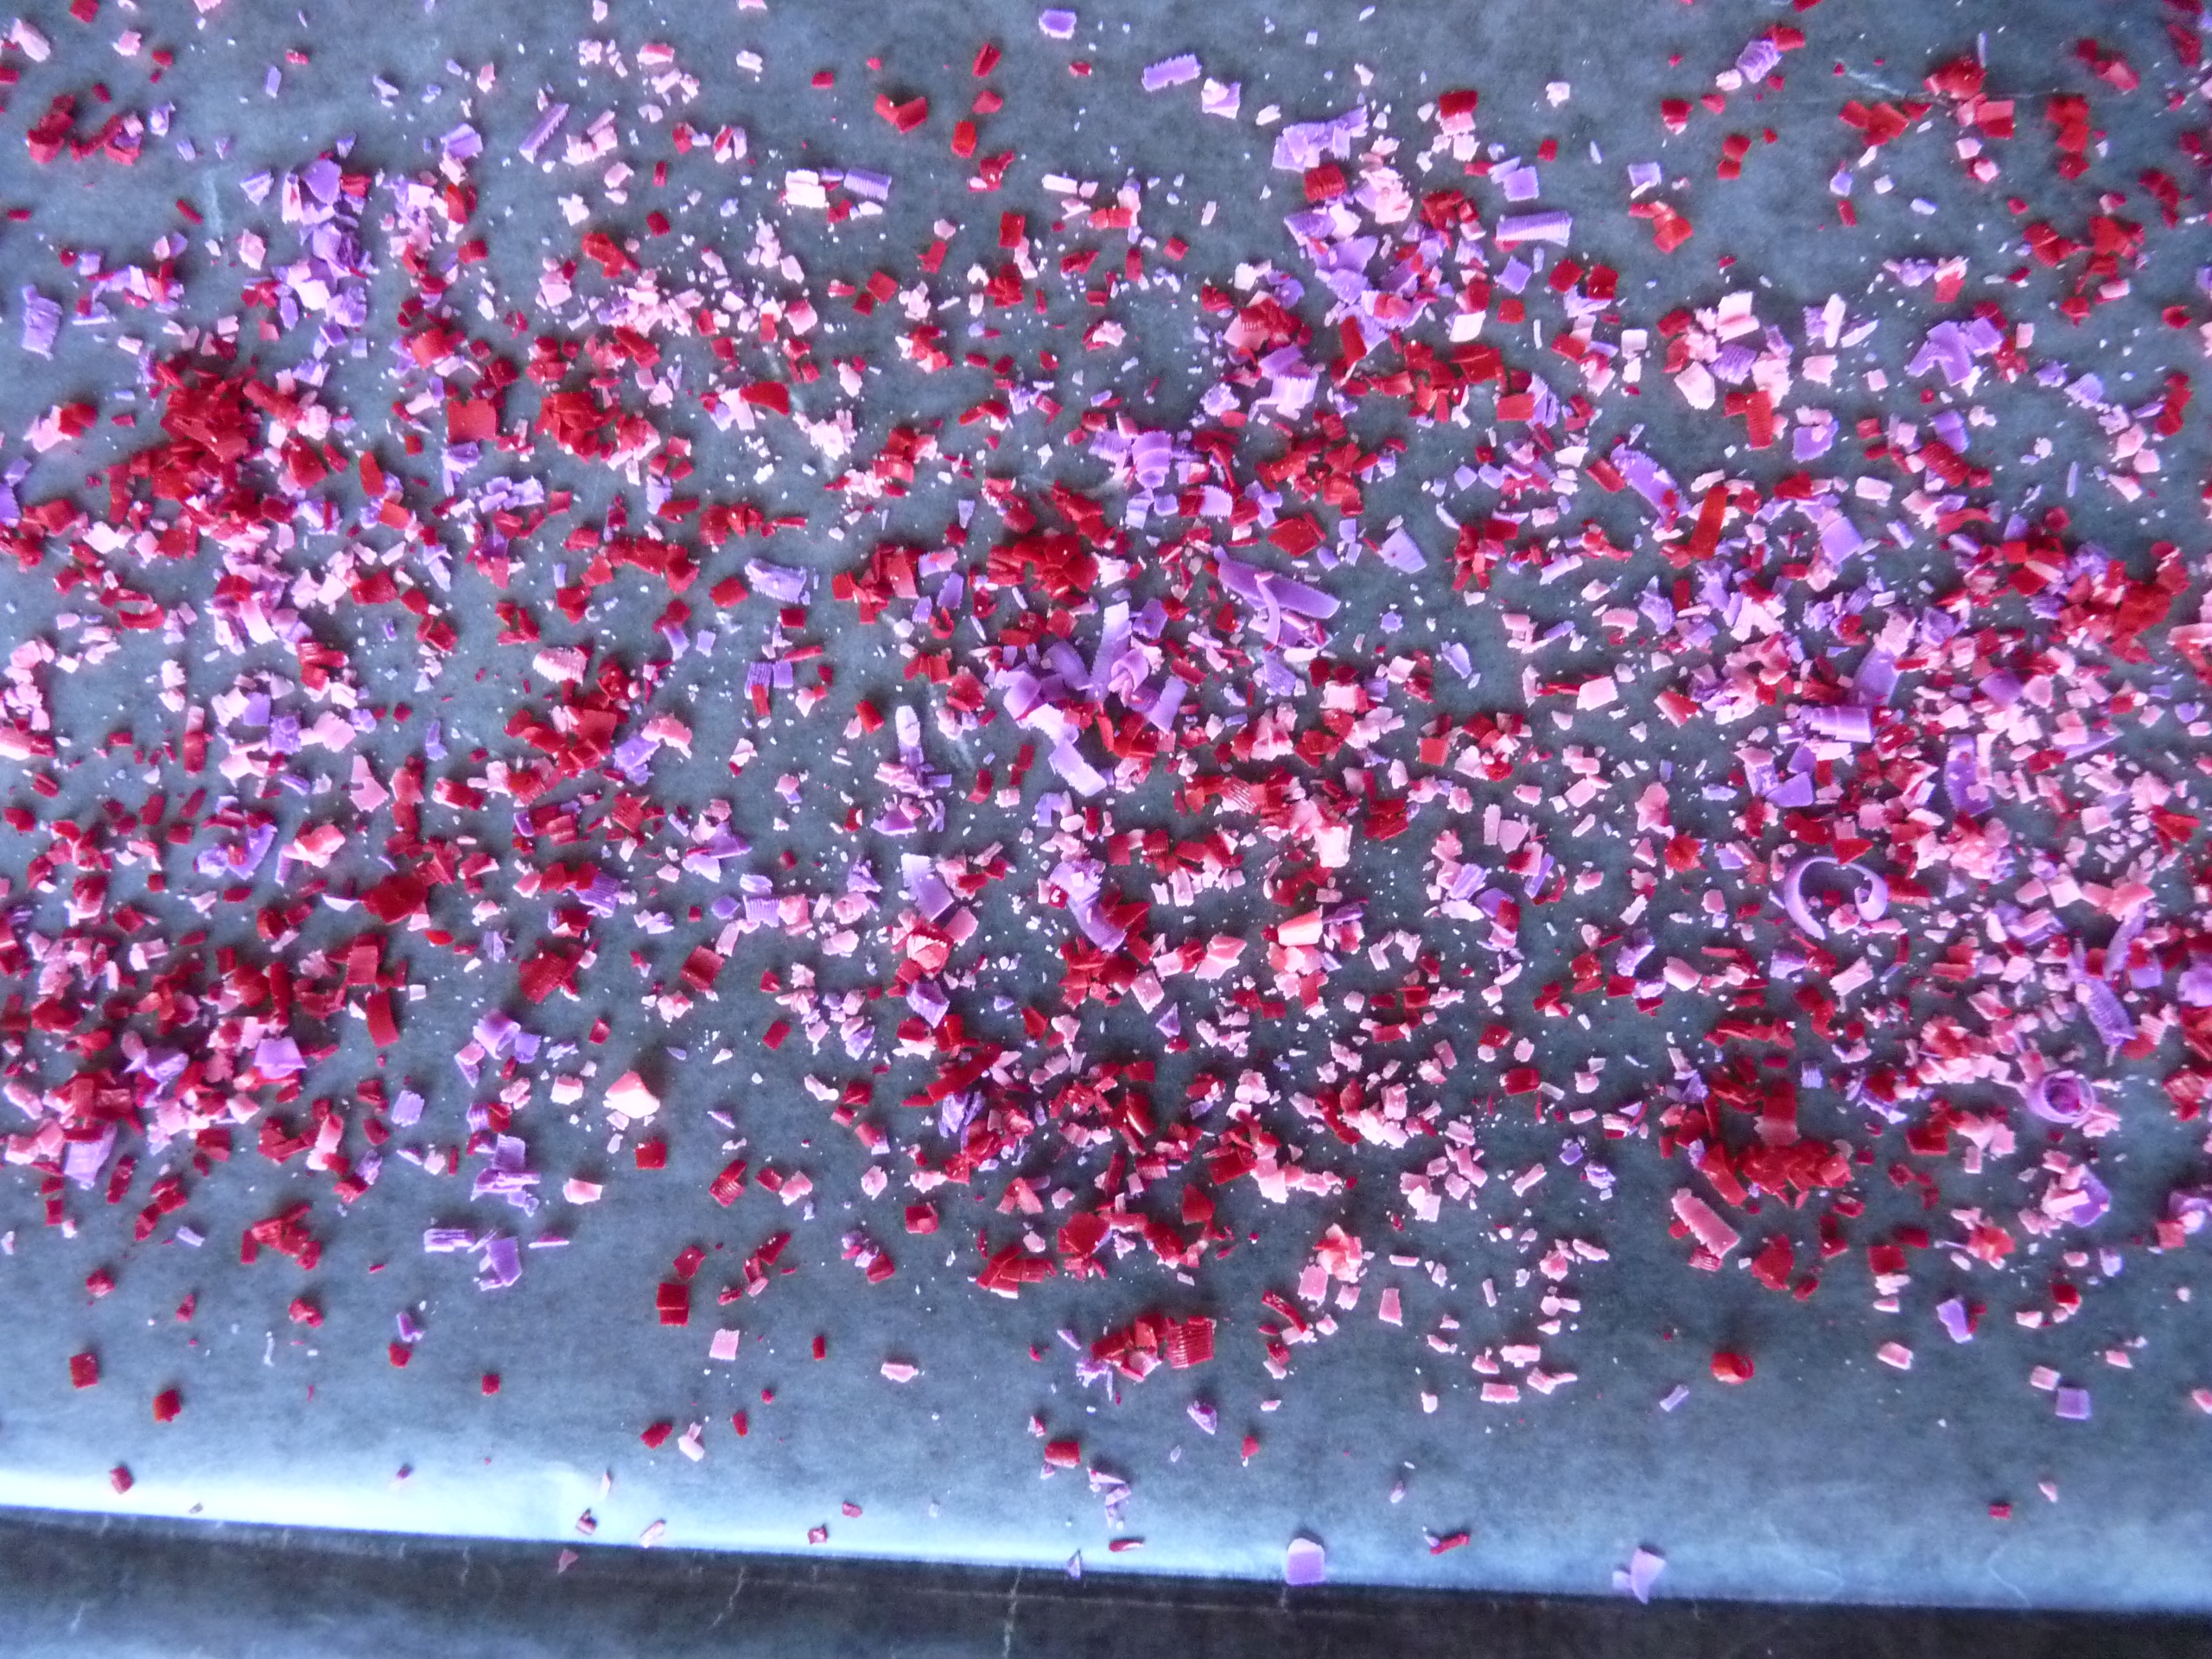
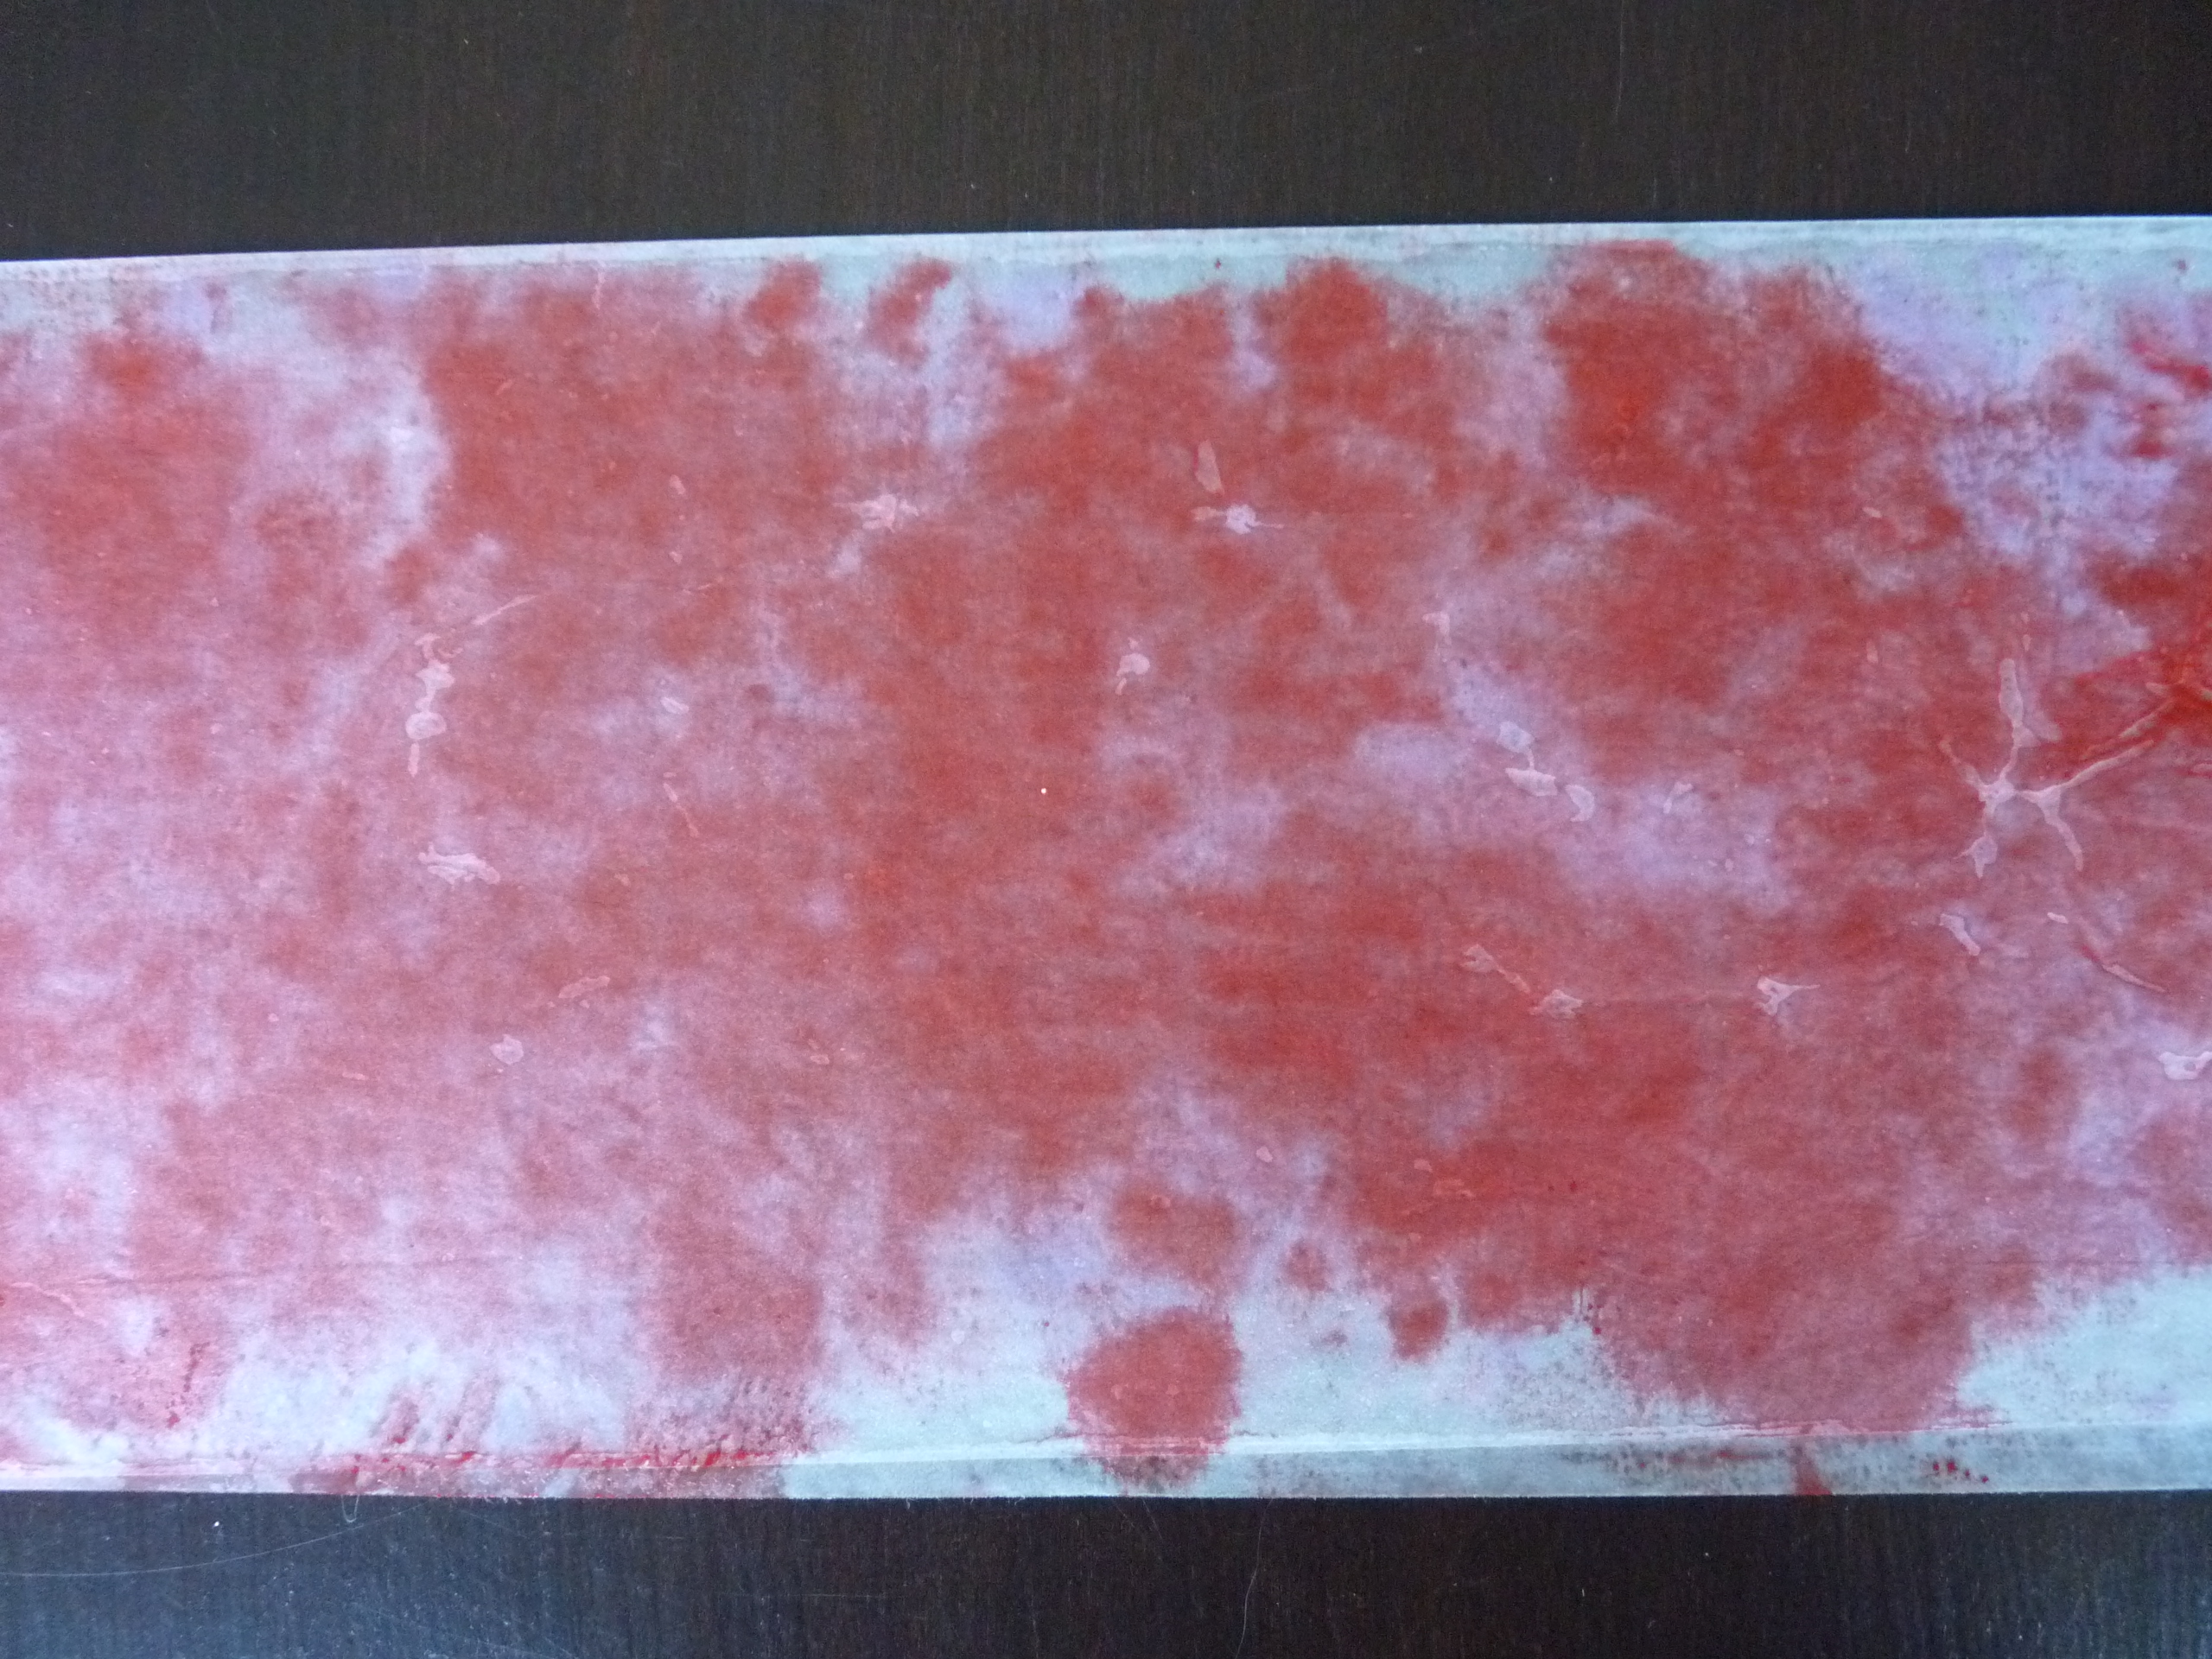
The instructions tell you to use a pencil sharpener to make shavings from the crayons. I found this to be a tedious process, so I grabbed my vegetable peeler. It goes a lot faster with the vegetable peeler! I wasn’t sure how much the shavings would spread out when melted, so I decided not to put too much on the first time.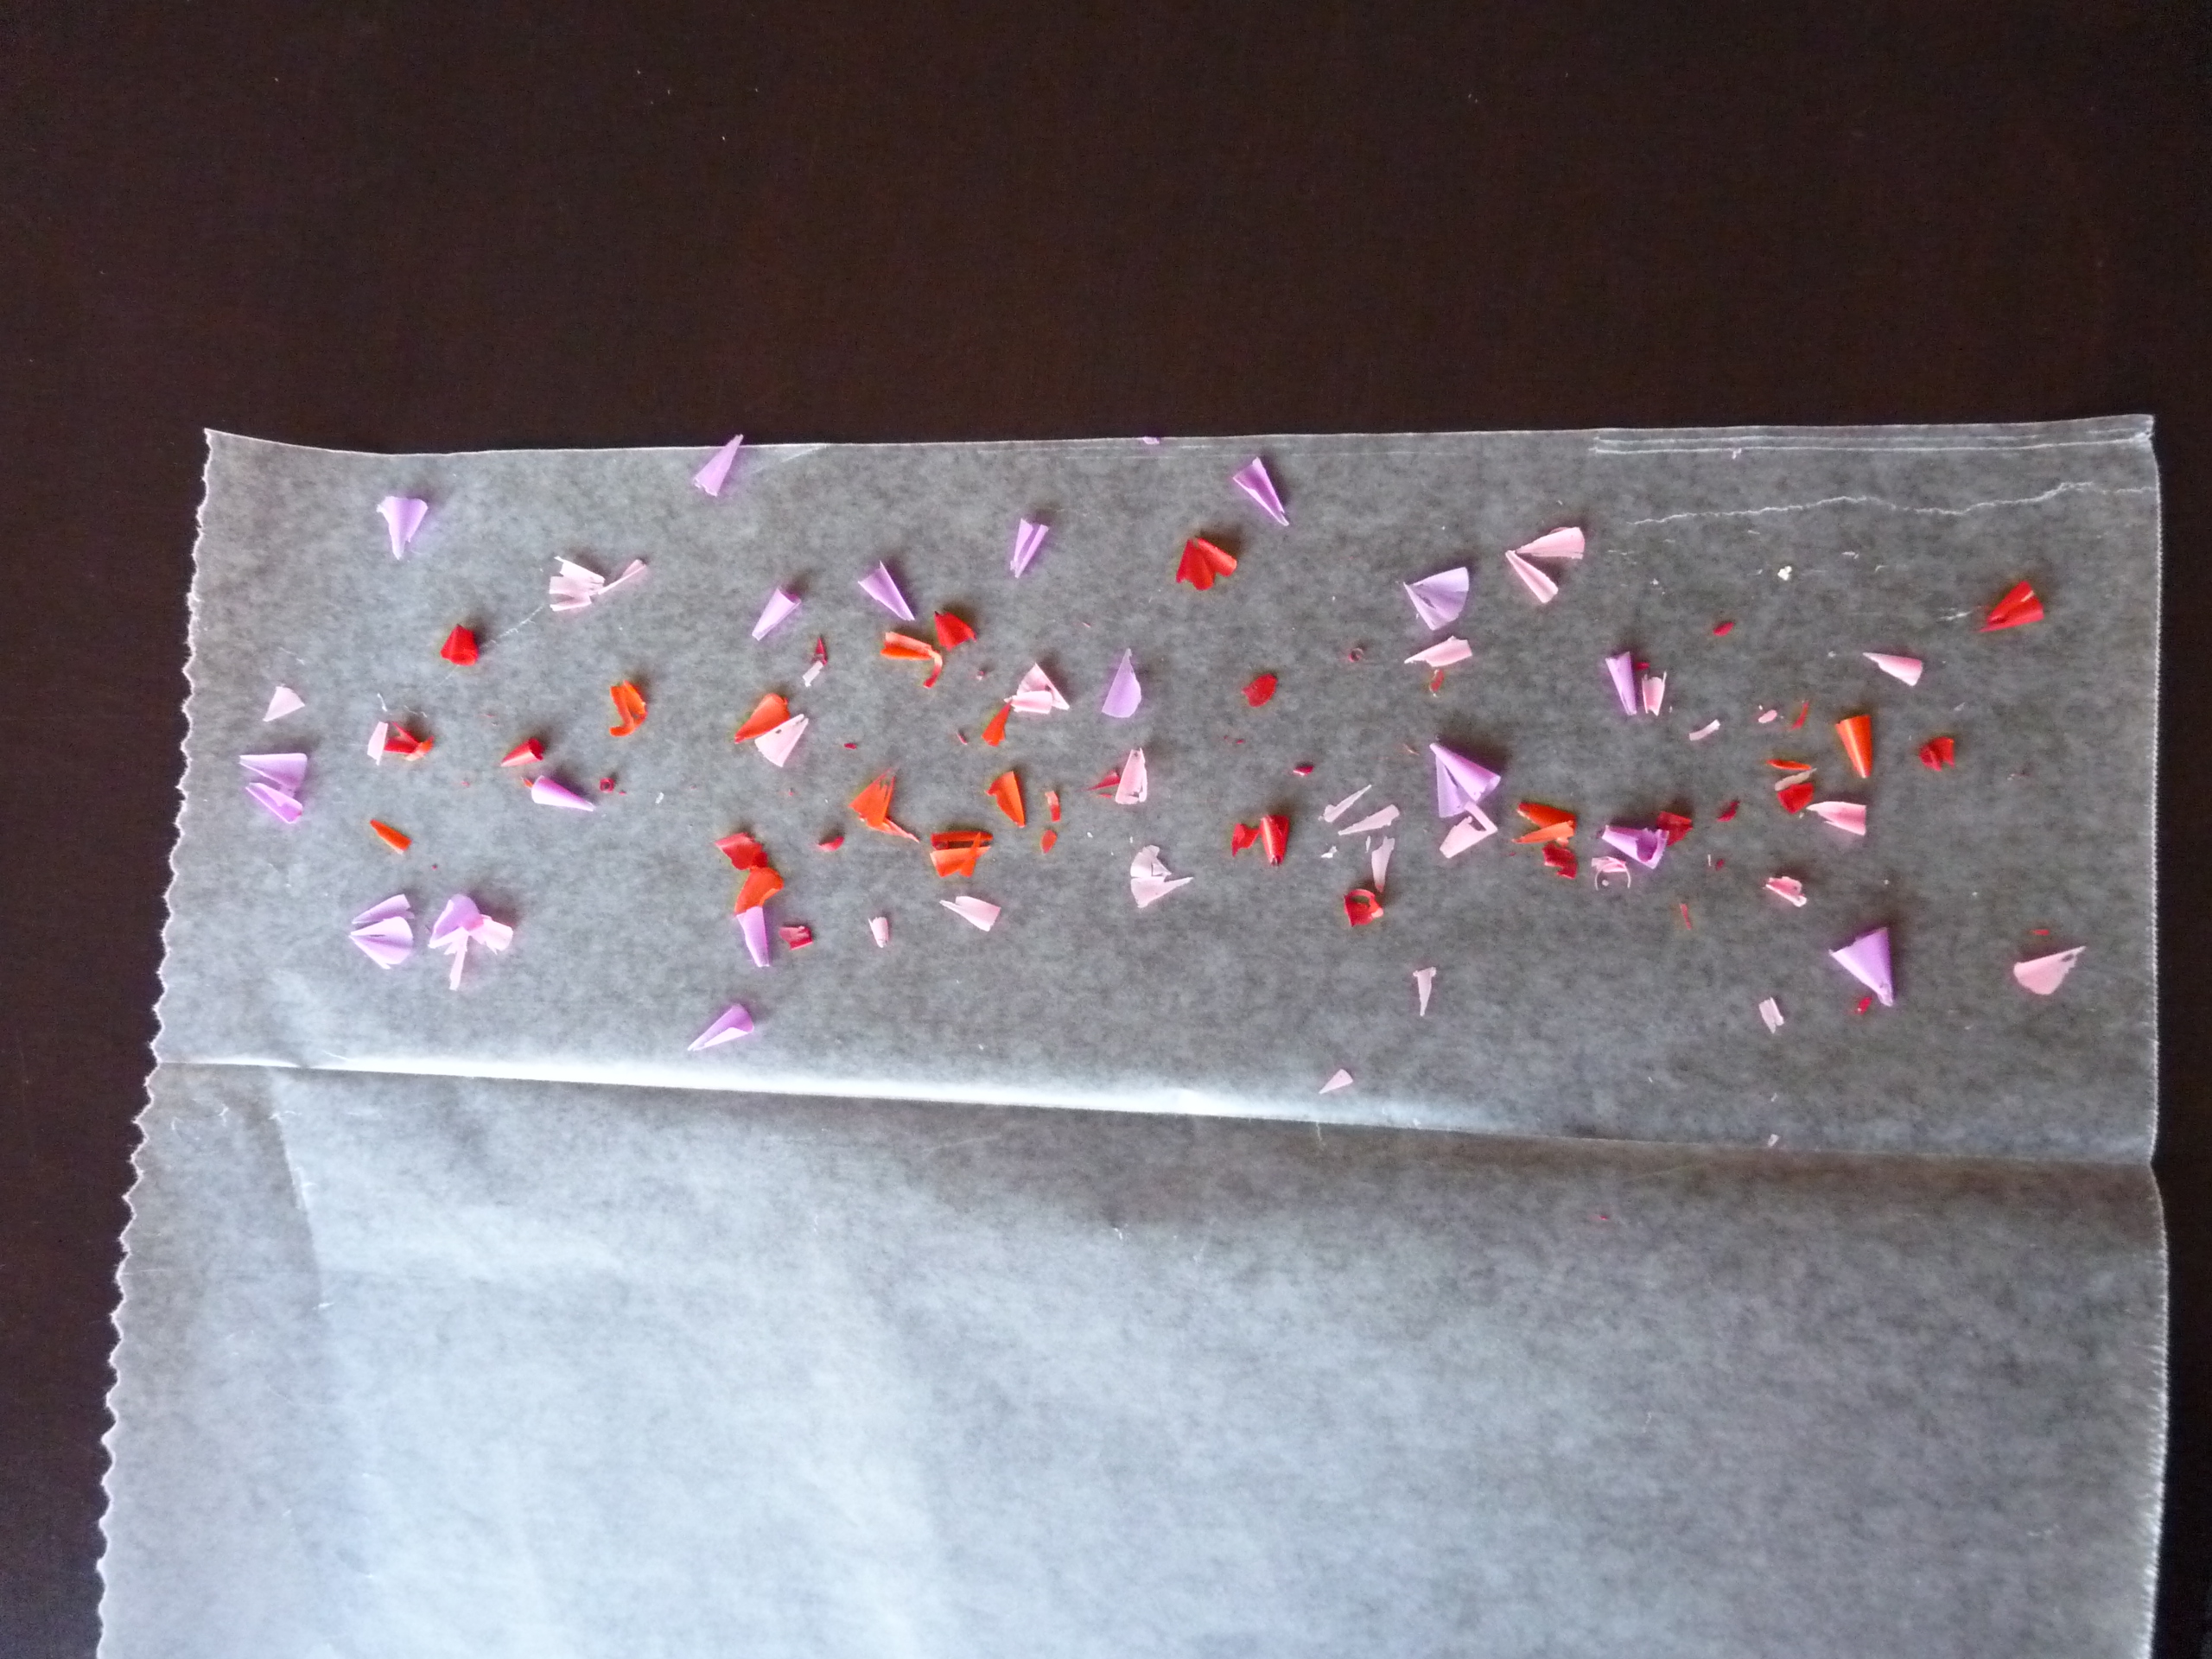
- Crayons$ 0.99
- Wax paper $ 0.99
- Kraft paper – I used a paper bag from Trader Joe’s
- Ribbon $1.00
- Iron
- Scissors
- Pencil sharpener or vegetable peeler
- Paper heart templates
Total Cost: $2.98
Results
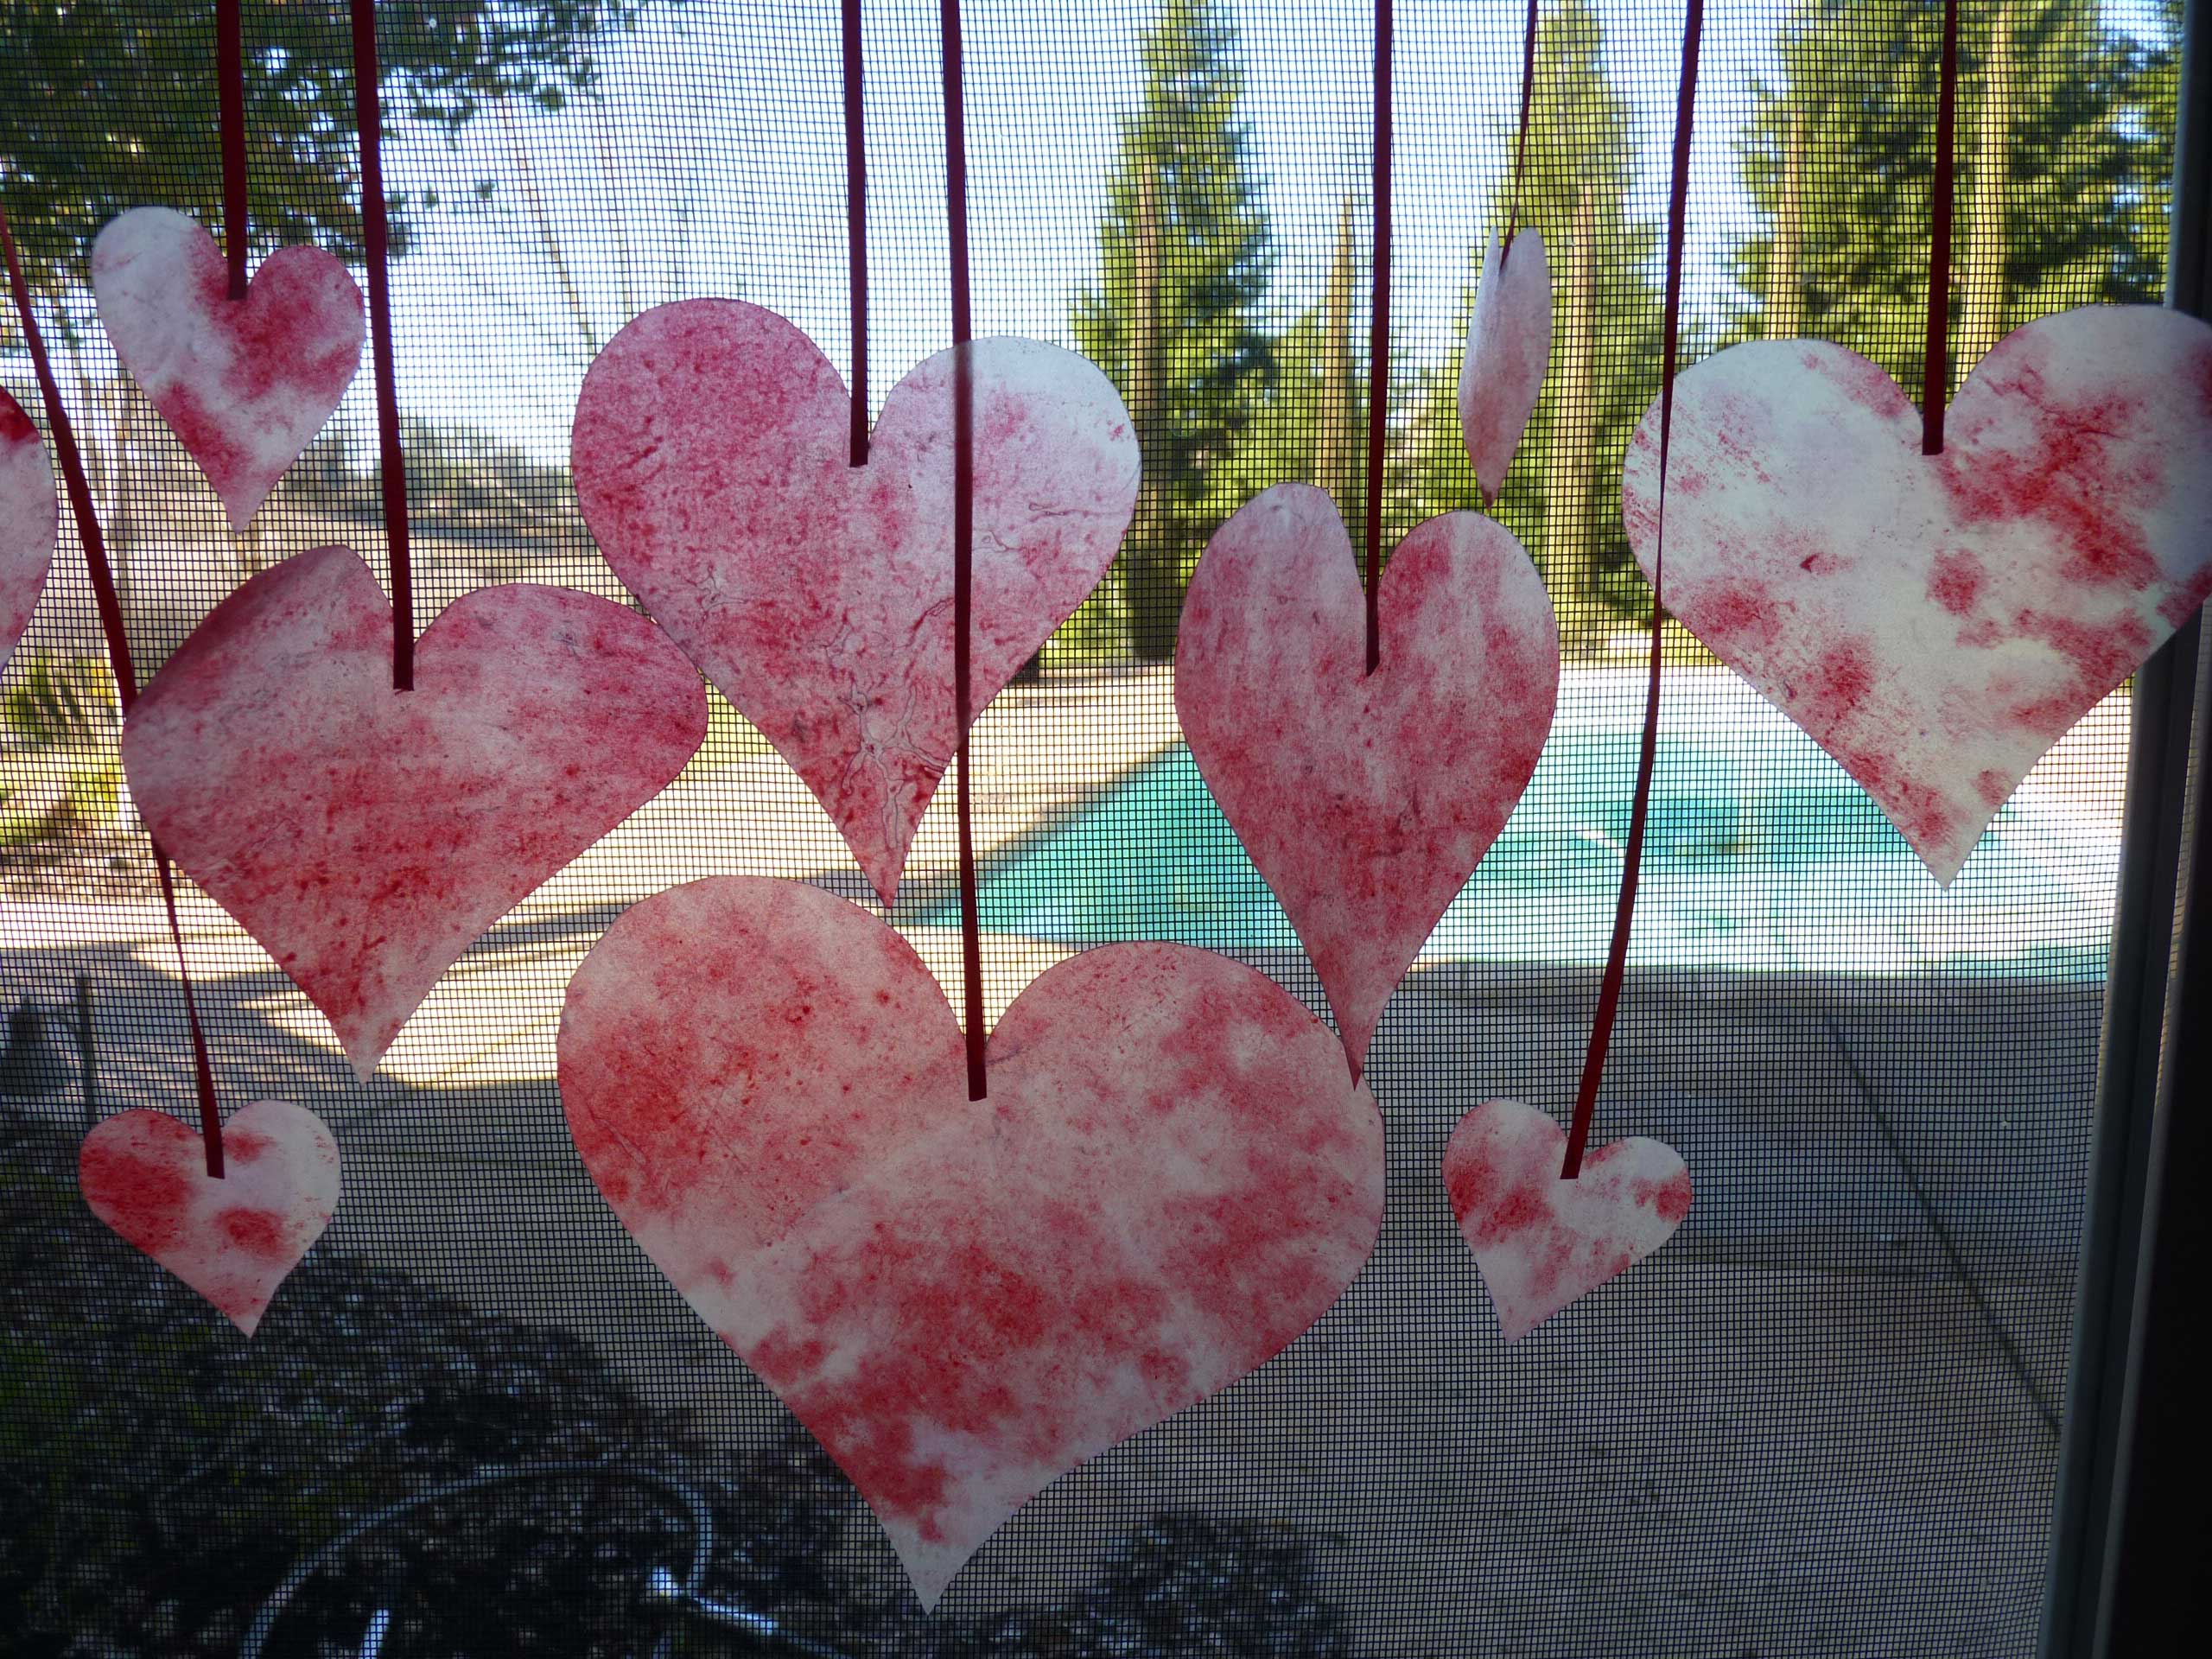
I think that these wax paper hearts are really cute. But they took a lot longer to make than I had expected. I must have bought crayons that had the wrappers melted on. Getting the wrappers off required the use of tweezers! Being in the sun will cause the hearts to fade and they will only last one season.

Leave a Reply