With spring in the air, these Distressed Mason Jars are super easy to make in these darling pastel colors!
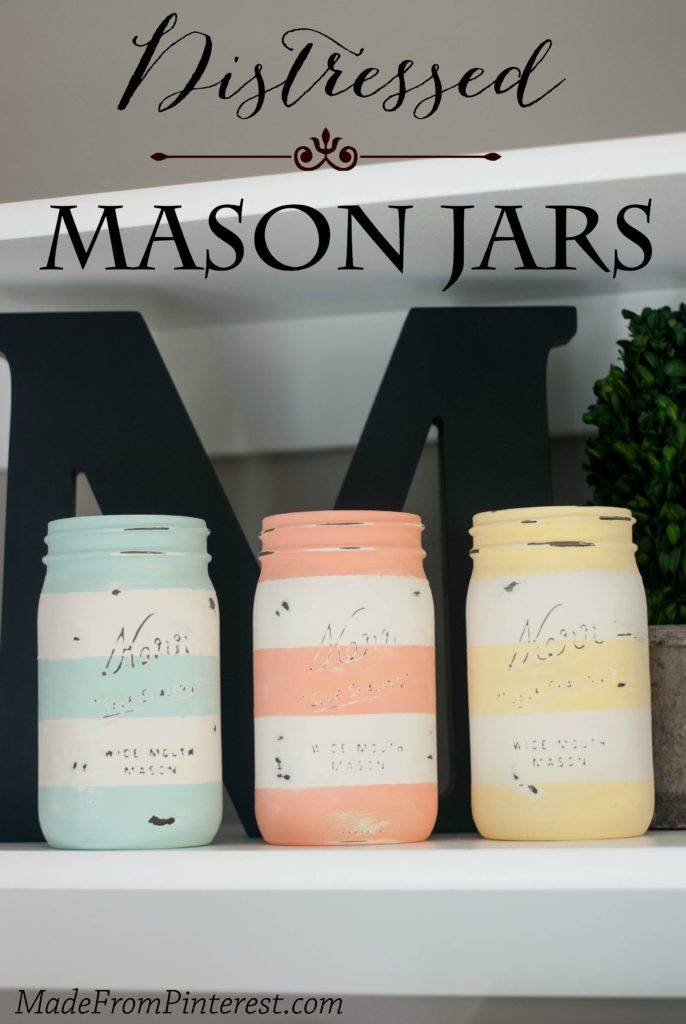
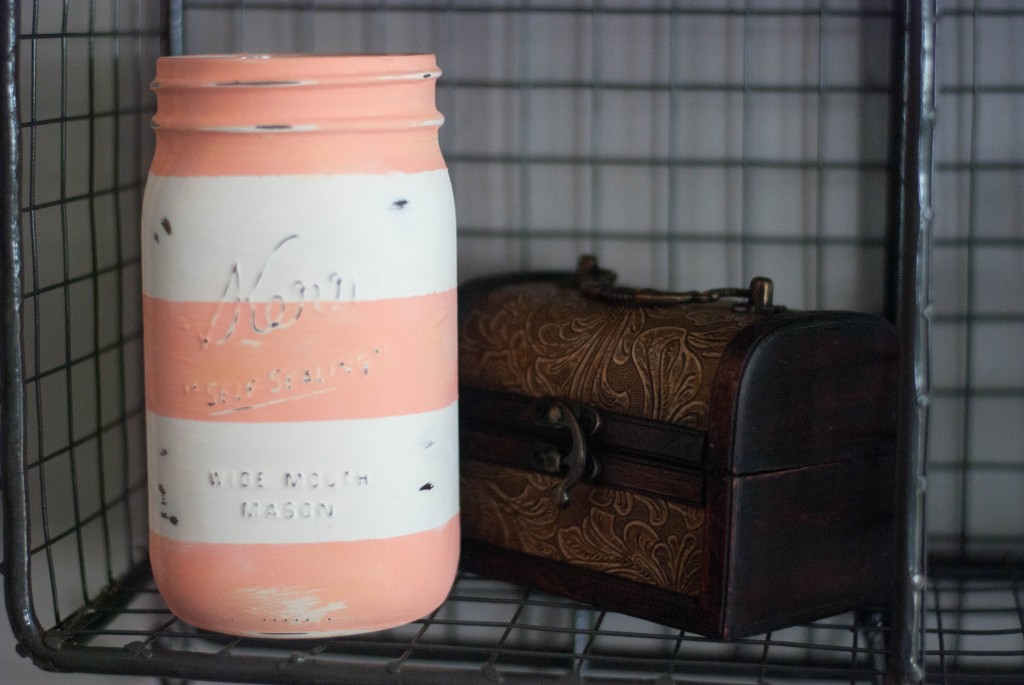
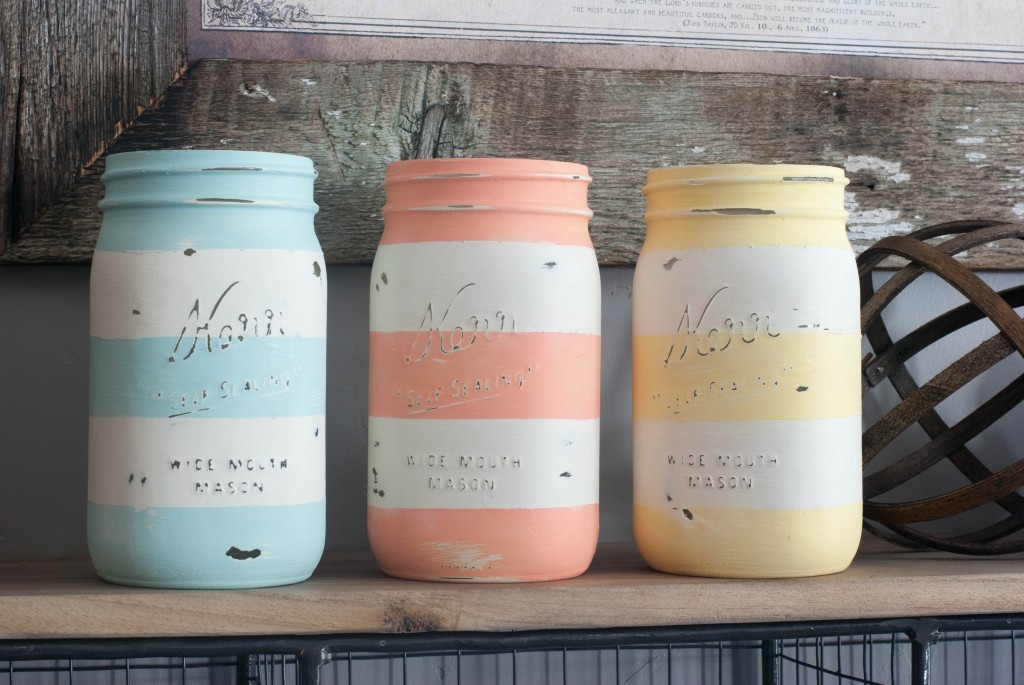
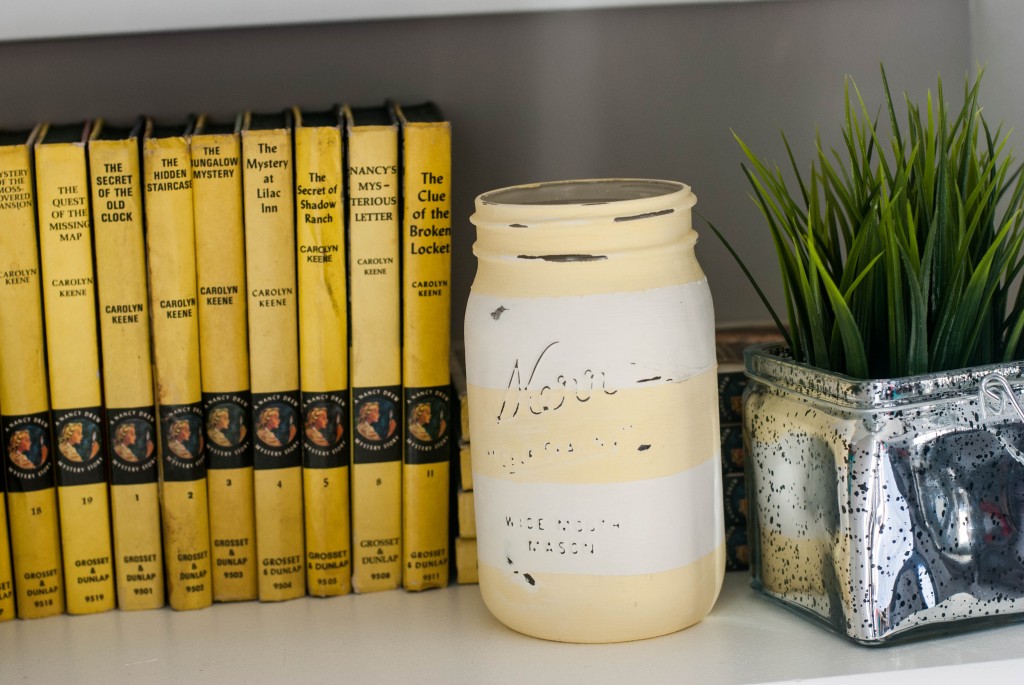
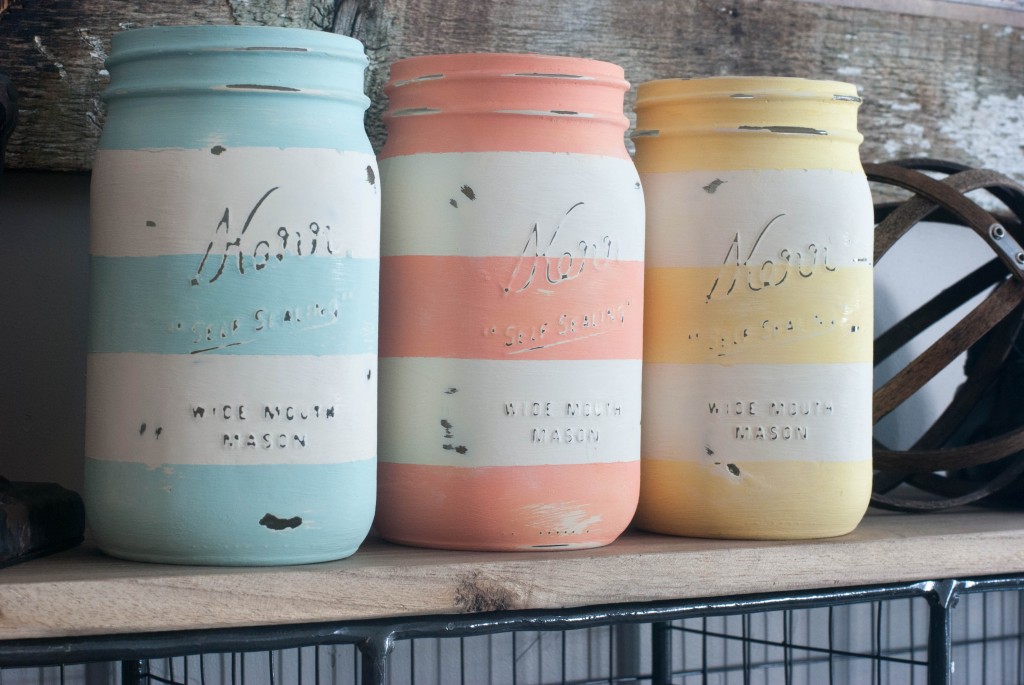
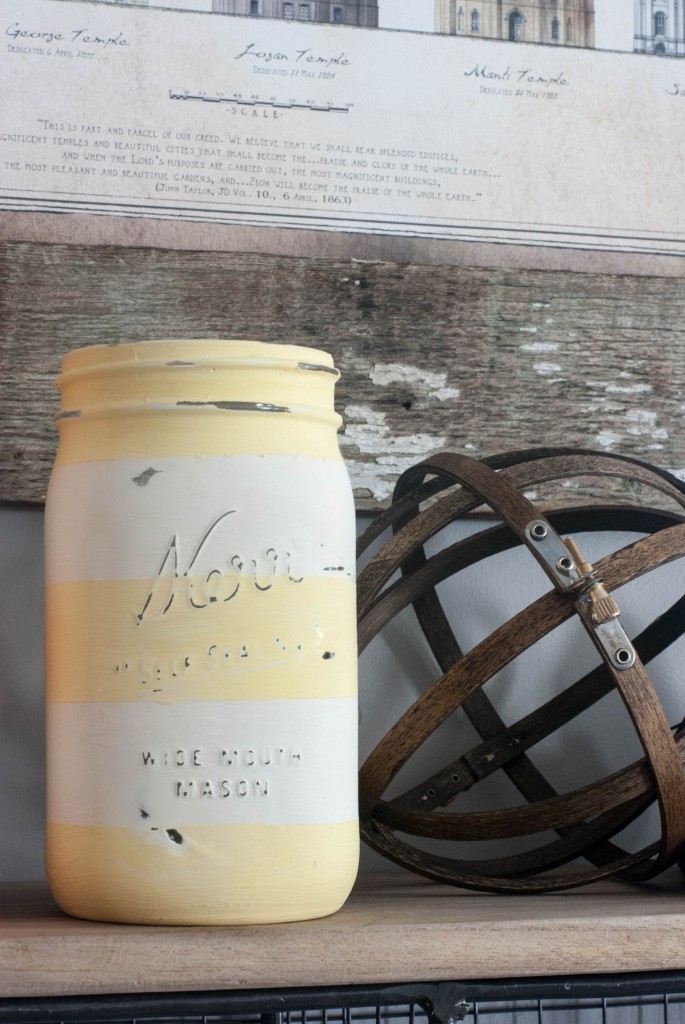
Well enough yakking…let’s get crafting! Here is what you will need:
Mason Jars – I used the wide mouth jars. Don’t have any Mason Jars? Get some HERE.
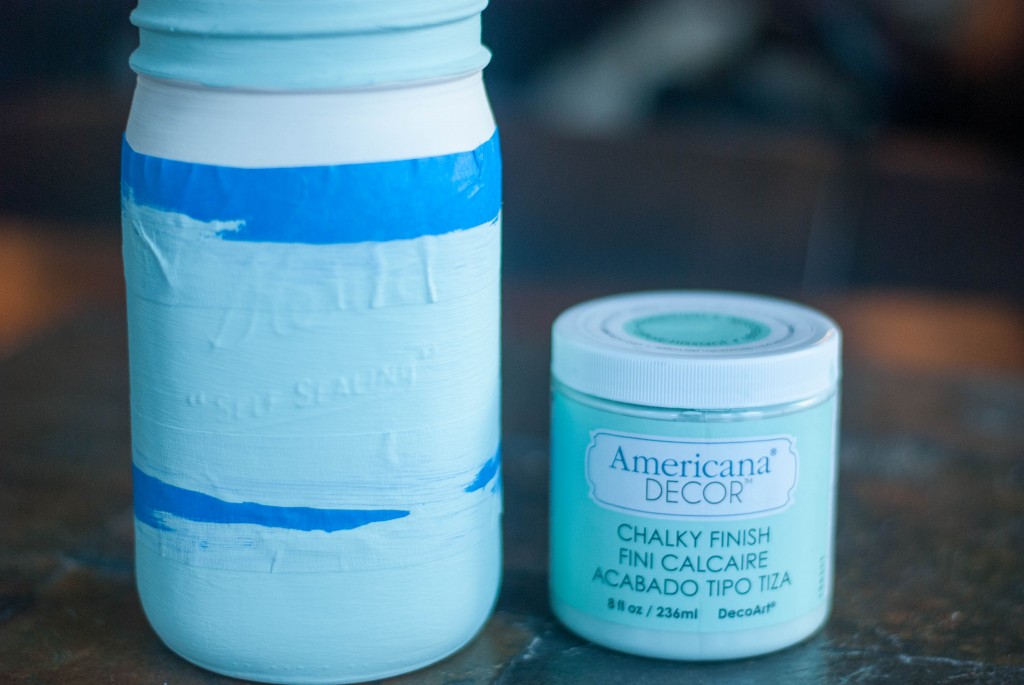
Americana Decor Chalky Finish paints – I used Everlasting, Delicate
, Refreshing
and Smitten
Painters tape
Paint brush – I used a foam one
Sandpaper
Americana Decor Creme Wax – You can use another paint sealer if you don’t have this
Instructions: Make sure your jars are very clean and very dry. With the white chalky paint, paint each jar until well covered. I painted mine with four coats of the white but don’t worry, this paint dries quickly. Make sure each coat has dried very well before starting the next coat though.
Next you want to apply your painters tape to create the stripes. My painters tape was a little too thick so I cut mine down to about 1 1/2 to 2 inches wide. Be sure to press the edges of the tape onto the jar really well so the paint gets nice clean lines.
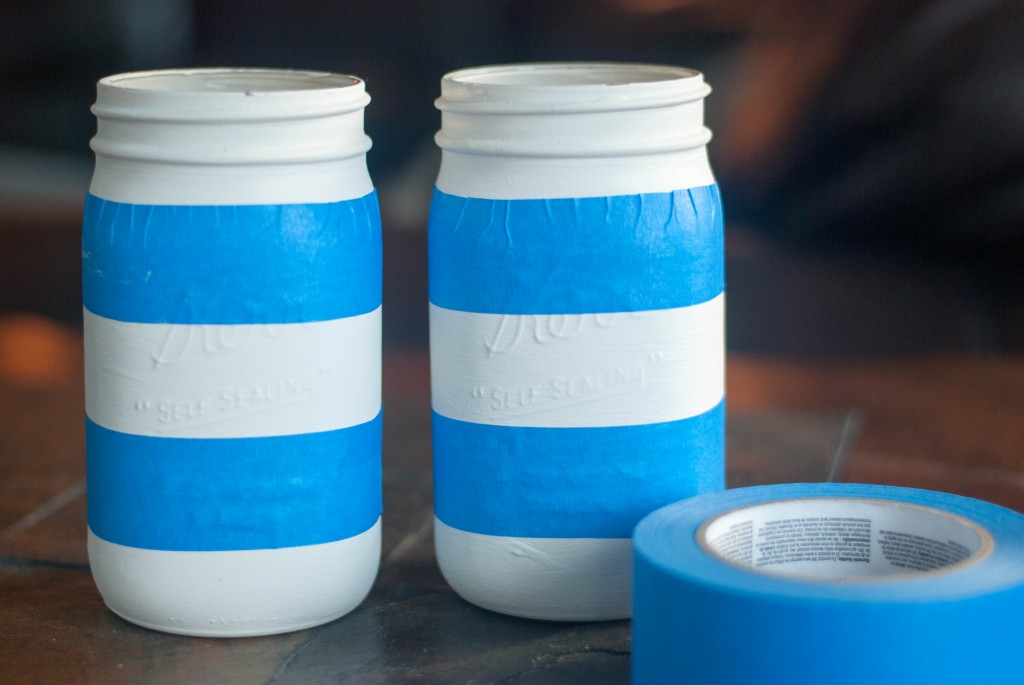
Next, paint two coats of each color that you are using and thoroughly let dry.
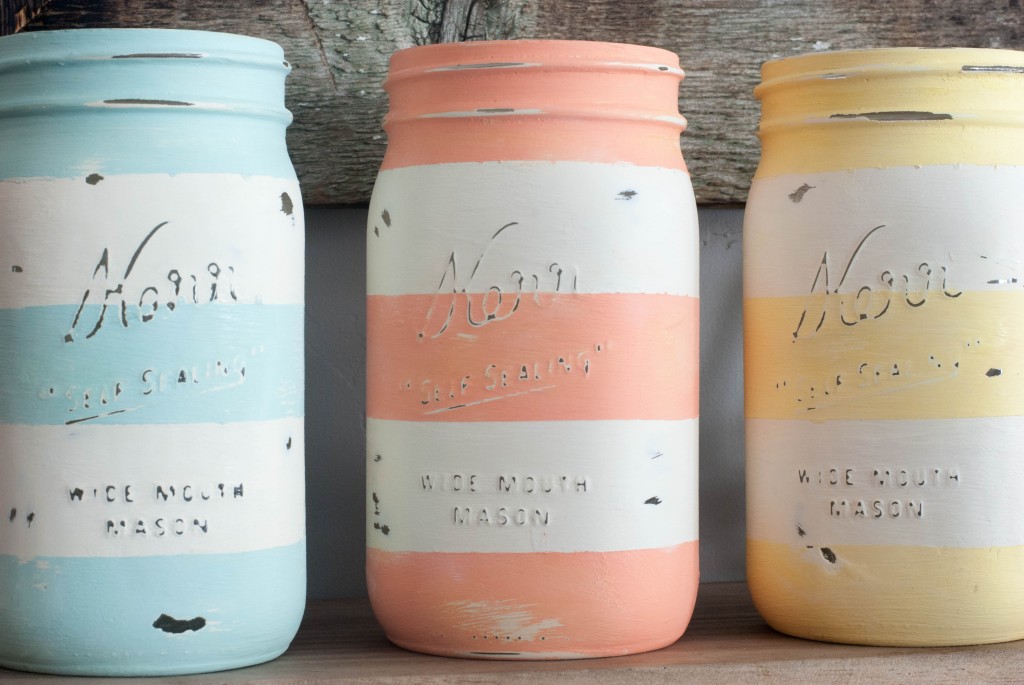
When dry, carefully remove the painters tape and then take your sandpaper and softly distress the raised areas of the jar along with some distressing around the sides. If you have any little areas that seeped back behind the tape, just take your white chalky paint and touch up.
When you are done distressing, take some clear wax and apply with a foam brush. Wipe off excess with a dry, lint free cloth and this will seal the paint and give it a soft lustre. Or you can you use another paint sealer if you do not have any wax.
This Pin Rocks!
You can also find us on Pinterest │ Facebook │ Twitter │ Instagram │ StumbleUpon │ Hometalk
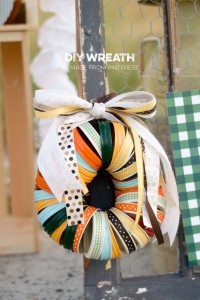
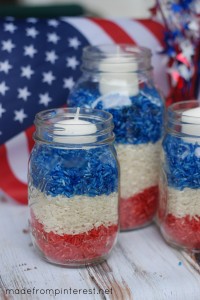
Looking for some more mason jar crafts? Check these out!
Fourth of July Mason Jar Candles
This amazing post has been shared with Living Well Spending Less and Tatertots and Jello.


Very pretty!!!!!!!
Thanks so much Colby! I am really enjoying them!
I love the distressed mason jars! What a cute way to add a touch of spring to any decor.
Thanks so much Lori! Your comment just made my day. They were so fun to make!
These look great. They would fit so well with my home decor 🙂
I am loving mine! Thanks for stopping by Heather!