I intend to be the Coolest Nana (Grandma) Ever! You can see how I plan to accomplish all my “Nana” coolness by checking out our “This Grandma is Fun” board on our Pinterest account. My beautiful granddaughter turns one in May but it feels like she was born just a few months ago! She is still too young to decorate or appreciate Easter and Easter eggs, but that hasn’t stopped me from finding and making the cutest Easter eggs ever! I can’t wait until she is old enough to enjoy them, being a Nana is so much FUN!
I love Disney, so I was thrilled when I found this Disney characters Easter eggs pin from Kelly at Smart School House. I lover her Mickey and the Gang Easter eggs, but since I have a granddaughter it is all about the princesses!
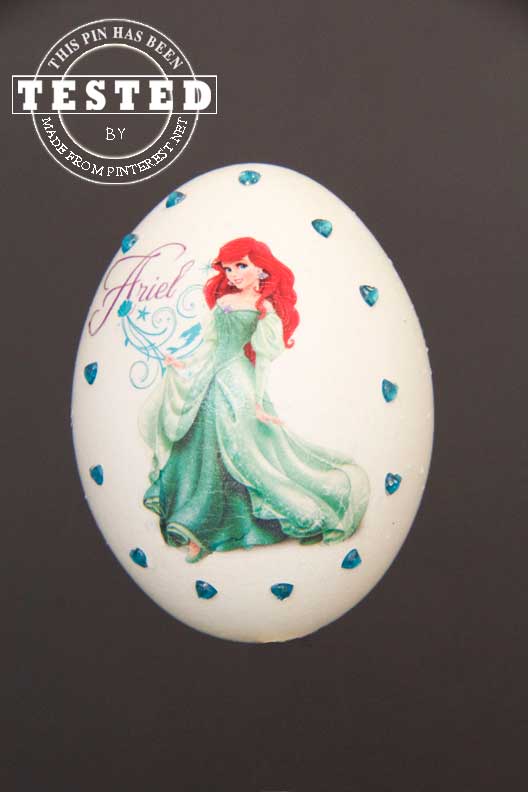
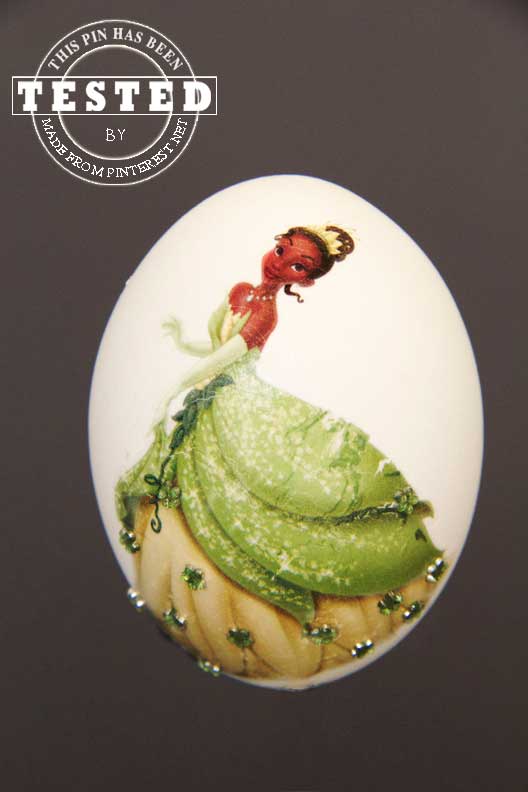
You need to start with cool, dry, hard boiled eggs. If you want perfect hard boiled eggs then follow Sherri’s tutorial – it works every time! Next comes your tattoos. I bought two different packs of Disney princess tattoos. One pack had several loose pages with thinner backing in the package and the other pack was like a writing tablet with thicker backing, sealed at the top and you tear off one page at a time.
The pack with the lose pages inside is the one that worked for me. The other pack that was like a tablet where you tear off one page at a time had a thicker backing and I couldn’t get any of them to work. Make sure you purchase temporary tattoos with a thinner backing! These are a little tricky to do because the princess stickers are tall and wide and not the best shape for fitting onto an oval egg. I found that starting in the middle of the sticker and working my out to the sides, bottom and top worked the best.
Lay your tattoo on the egg and then hold a damp sponge or cloth over it for 30 seconds. Carefully peek underneath to make sure that the entire surface has been moistened enough for the tattoo to stick to your egg. Several times I had to leave the sponge on the tattoo for 10 to 20 extra seconds. Remove the sponge and then carefully peel the backing off your tattoo.
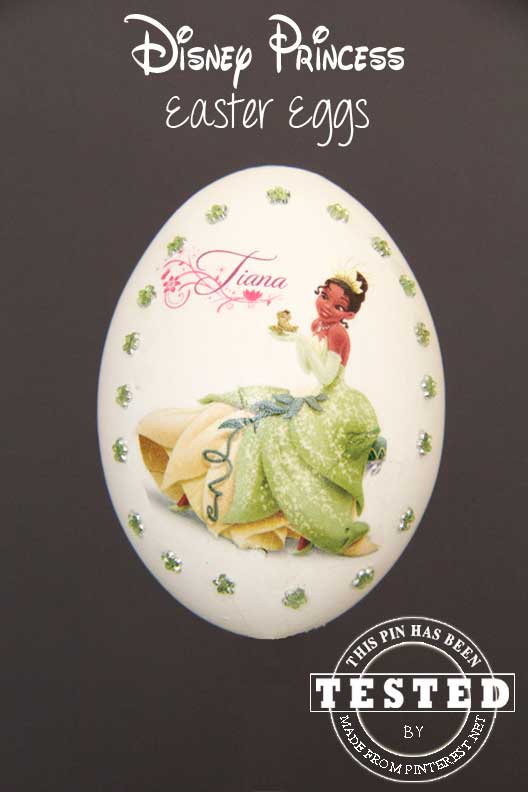
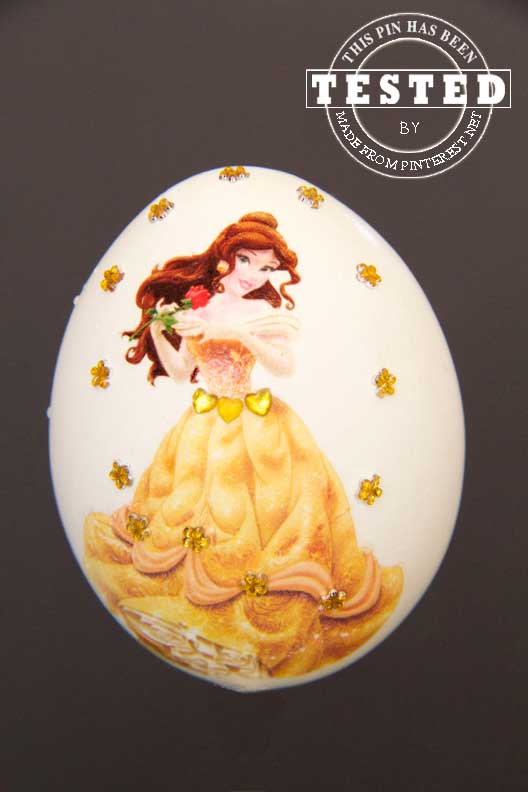
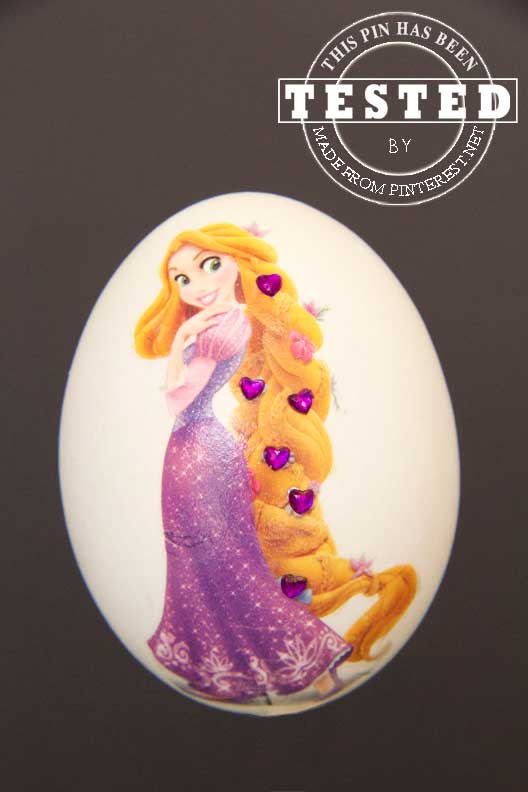
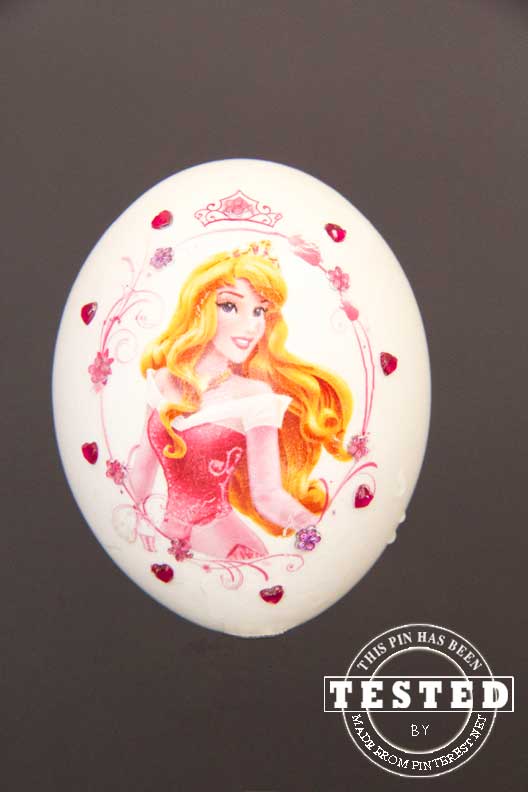
If a small spot of the tattoo is not sticking to the egg apply the sponge over that spot for another 10 to 20 seconds. If you look closely at my pictures you will find imperfections, areas where the princesses skirts overlapped a little bit, or areas where the tattoos cracked and you can see the egg a little bit.
Once I finished with the tattoos I adhered some small gems with clear fingernail polish on some of the princesses dresses and other area of the eggs. We are talking about some serious princess Easter bling!
Does it bother me that there are some imperfections with the girls above? Not one bit. I can’t wait for my granddaughter to be old enough to have her Easter basket filled with these lovely ladies and watch her face light up as she searches and finds her princess Easter eggs! With age comes wisdom, things don’t have to be perfect to be FUN!
Yup, even with the imperfections this pin….
Totally Rocks!



Leave a Reply