These DIY elastic hair ties are easy to make and comfortable to wear.
Hello everyone. Amber from rick•a•bam•boo here again with another crafty installment.
Today I am sharing a super dee duper simple craft. Homemade hair ties. I found them on The Superettes. These are great because you can make them in any color you like and you can customize them to your hair type.
I don’t know about you, but I have a hard time finding good hair ties. My hair is super, crazy thick so there are only a couple that I have found that really work for my hair.
Plus these make fantastic gifts. I am keeping a bunch on hand to add a little something extra into gifts for friends. Especially for a new mom, because if you have long hair you are rocking a top knot for the first few months until you have the energy to actually do something with your hair. Or at least that was me.
I think these would also make an awesome make and take for a party or a girly event. They are so easy that even those who are not crafty can make them. If you can tie a knot you can do this.
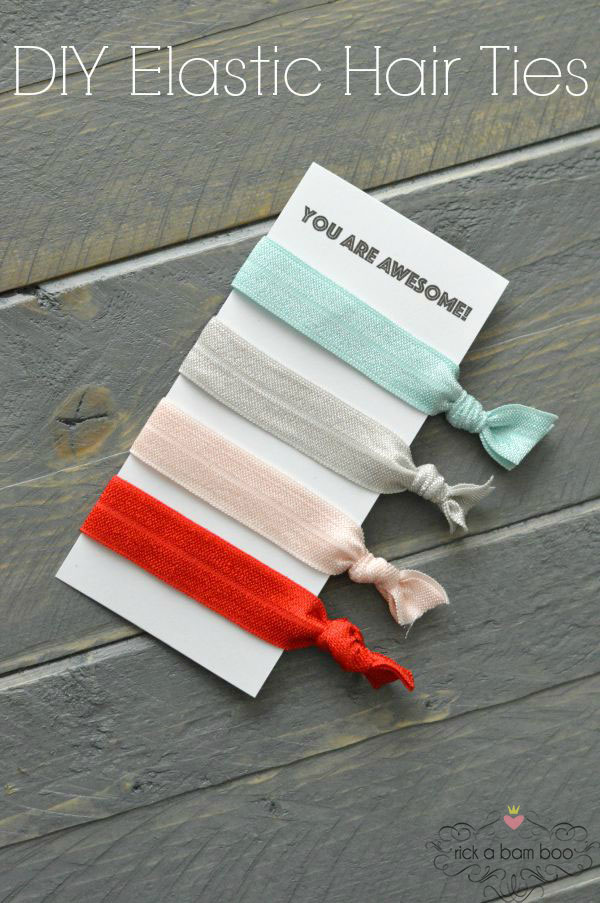
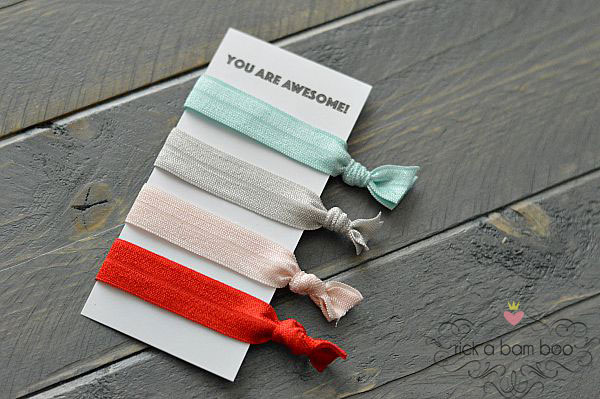
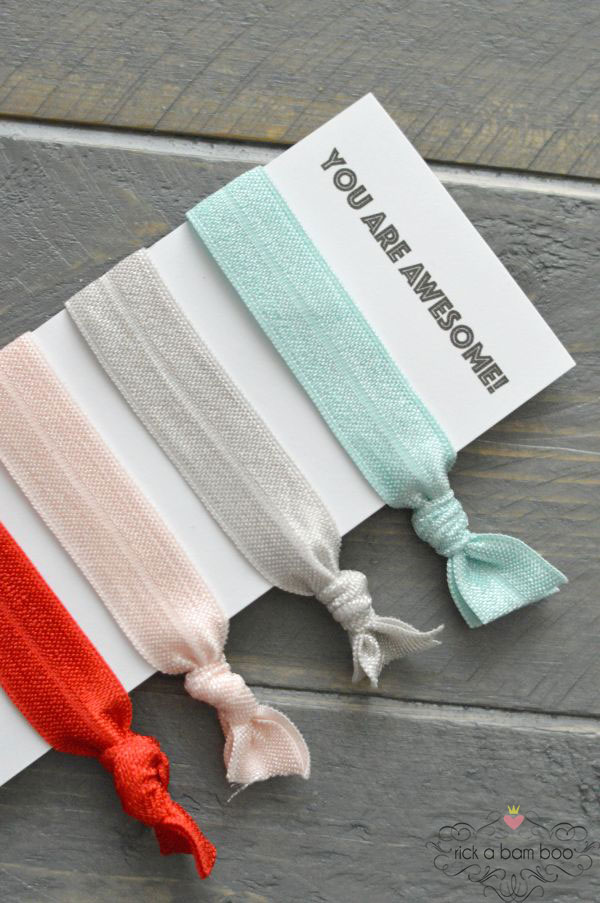
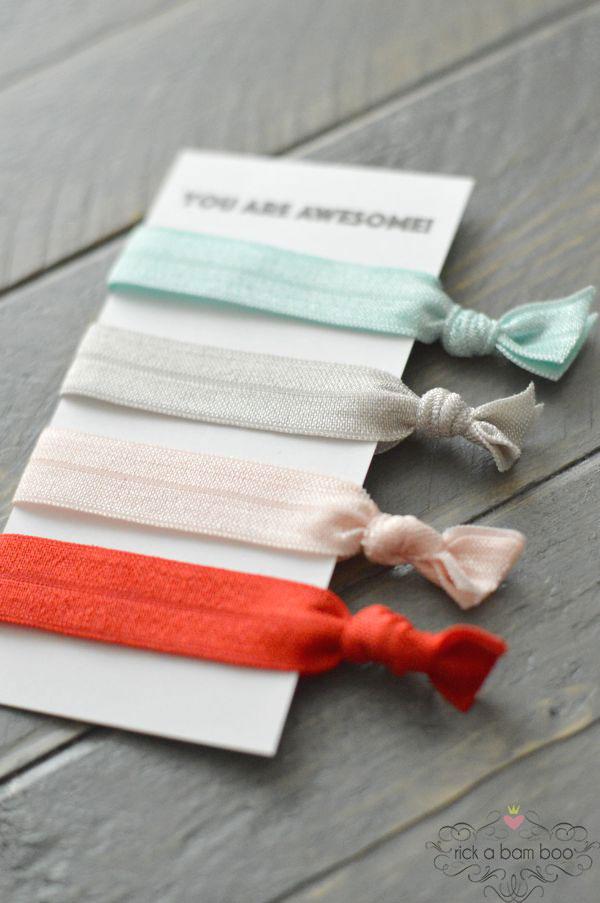
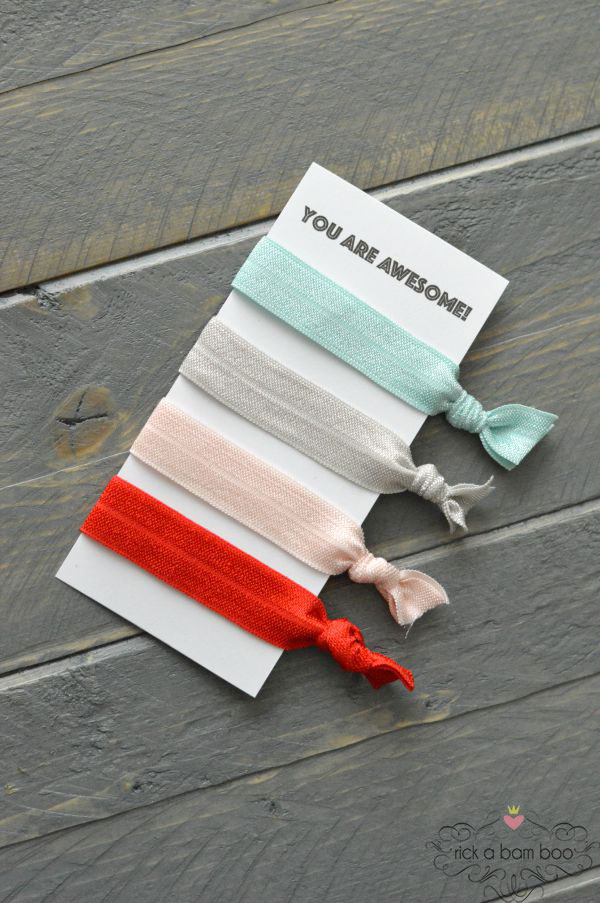
All you need is fold over elastic, a ruler, and scissors. You can get fold over elastic at any craft store. It comes in all sorts of colors and even some printed patterns. If you can’t find what you are wanting at your local store tons of places online sell it. I ordered mine from Elastic By The Yard. They have a ton of colors. Pictured here I have aqua, silver, ballet pink, and bright red.
For a hair tie you simply cut a piece of elastic 9 inches long. Then you fold it in half and tie a knot near the ends. You can trim the ends flat or at an angle to make them look nice and even.
You can even make headbands the same way. You will just cut 18 inches for a child and 20 inches for an adult. These make great baby headbands for little girls. They are soft and comfy.
To give as a gift you just slide them on to a card. The size of the card will depend on the size of your bands. My card is 2 ¼ inches. I just printed a message on a piece of cardstock and cut it down to fit. Be sure to make your card smaller than your hair ties. They will stay in place with a little tape on the back of the card. Tip: If you are printing a card, measure your tie openings and use the ruler at the top of you word processing program to make sure your message will fit once the card is cut down.
Done! See? That wasn’t hard at all. The hard part is stopping at just a handful.
Be sure to follow me so you can see all my current projects.

Leave a Reply