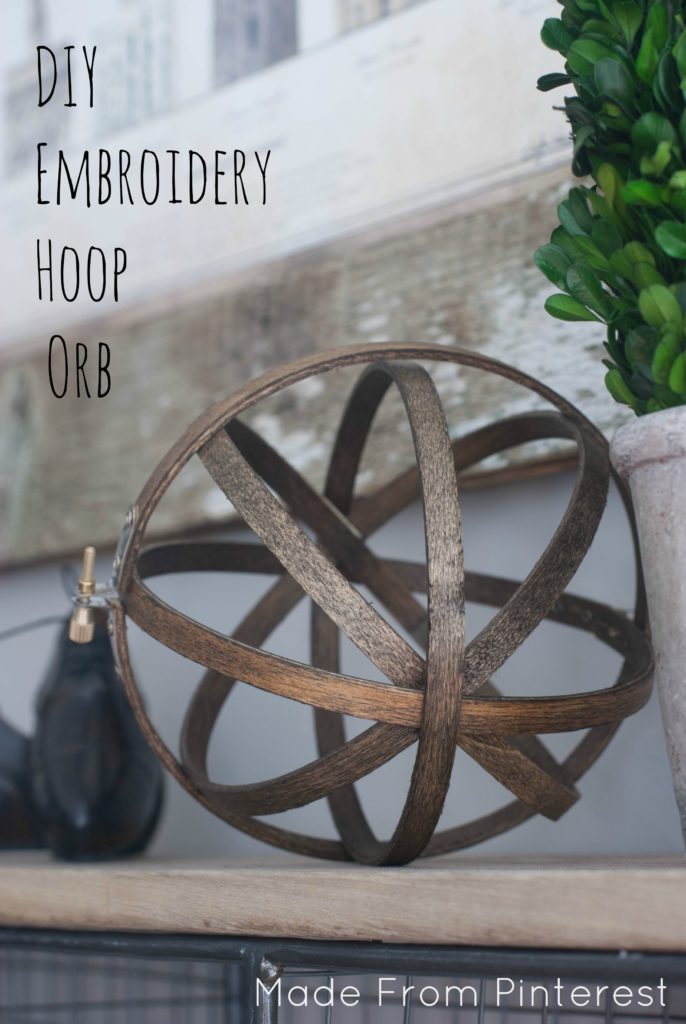
Hello friends! We are so excited to show you these DIY Embroidery Hoop Orbs today!
My hubby and I had a pretty exciting summer last summer. Our home was pretty tight and cramped so after five years of living here, we decided to finally bite the bullet and do some remodeling. We knocked out a wall in our home and added on a family room. It was a much needed addition! But being under construction for almost three months was a MESS! If you have ever remodeled, then you know what we dealt with – all the noise, dust, construction material everywhere, dust, not being able to cook in our kitchen and THE DUST! Geezo Peezo. It sure was messy.
But so worth it.
We had everyone home for Thanksgiving and it was so wonderful to have some room for grand kids to run, people to crash and just have some room to breathe. We are loving it.
Some of the challenges though, (if you can call this a challenge!), is that with the addition of a whole new room, I need to decorate it!
The holidays kind of hit soon after we were finished with construction and so I haven’t really had a chance to focus on decorating and the first order of business needs to be to my new bookshelves.
On to Pinterest I went to find something cute and I found these darling DIY Embroidery Hoop Orbs from AKA Design. They are so popular right now, I see them everywhere and I knew this would be a perfect project for me.
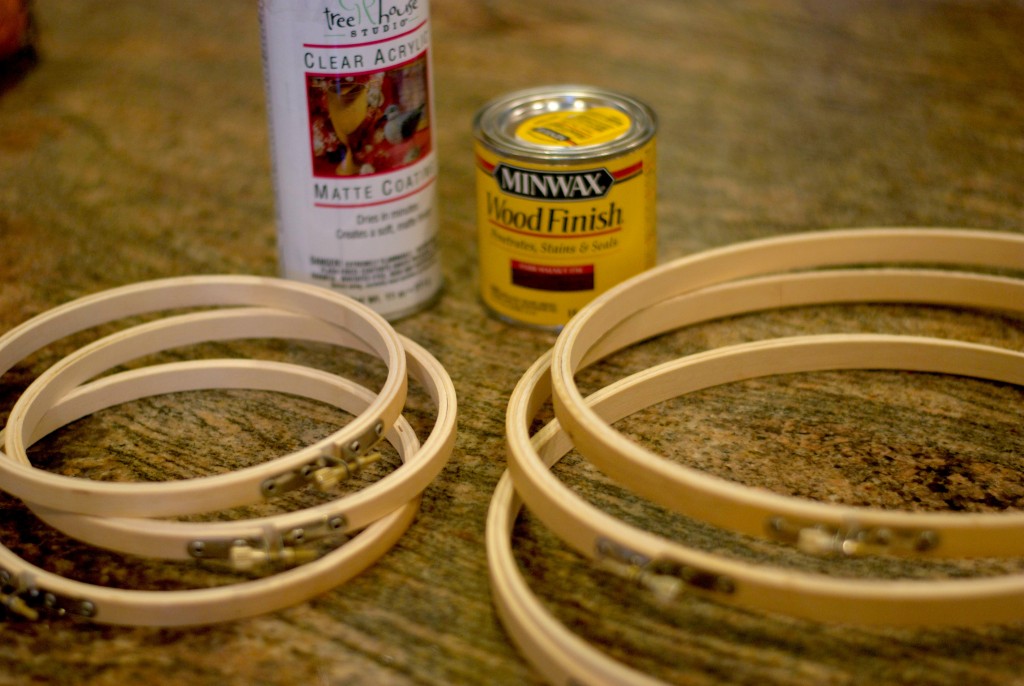
All you will need are three embroidery hoops which are super cheap. I bought three of the 8″ hoops and three of the 6″ hoops. Then you’ll also need some wood stain, some old rags and a clear matte spray.
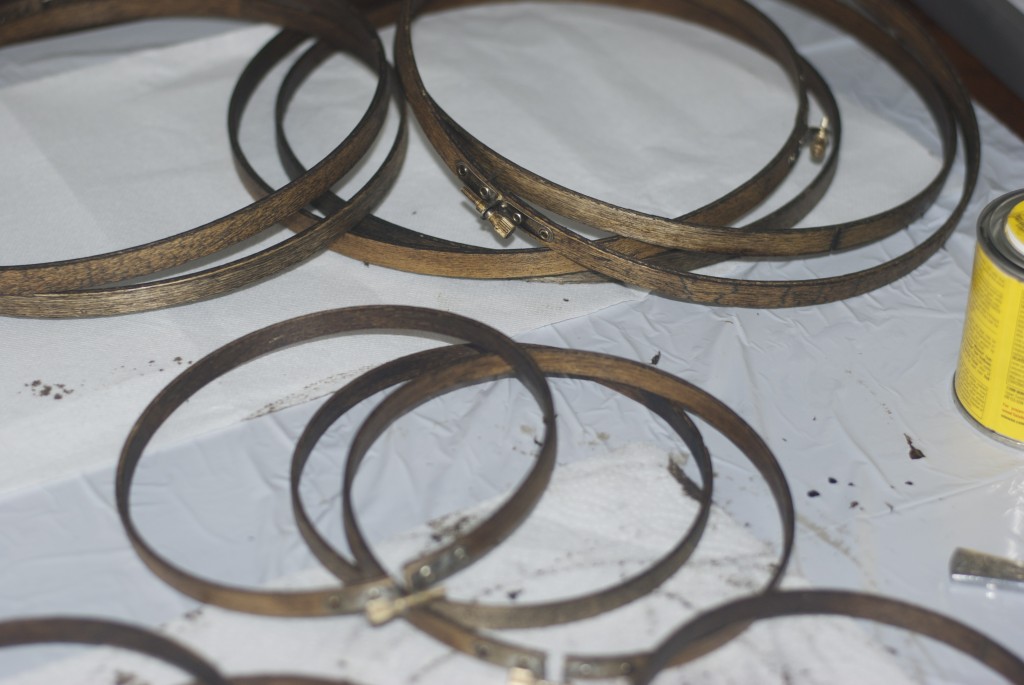
The wood stain I used was a dark walnut color and as I was staining them, I wasn’t too sure that I liked the color. I was thinking that when I made these again, that I would maybe want a lighter stain with more of a gold tone to it.
But after they were done, I LOVED the color of stain and would choose it again. I stained all the sides of the embroidery hoops with my old rag and the stain. After staining, wipe off any excess stain and let dry per the instructions on your can of stain. I then sprayed them with a light coat of clear matte spray to seal the stain and then let it dry.
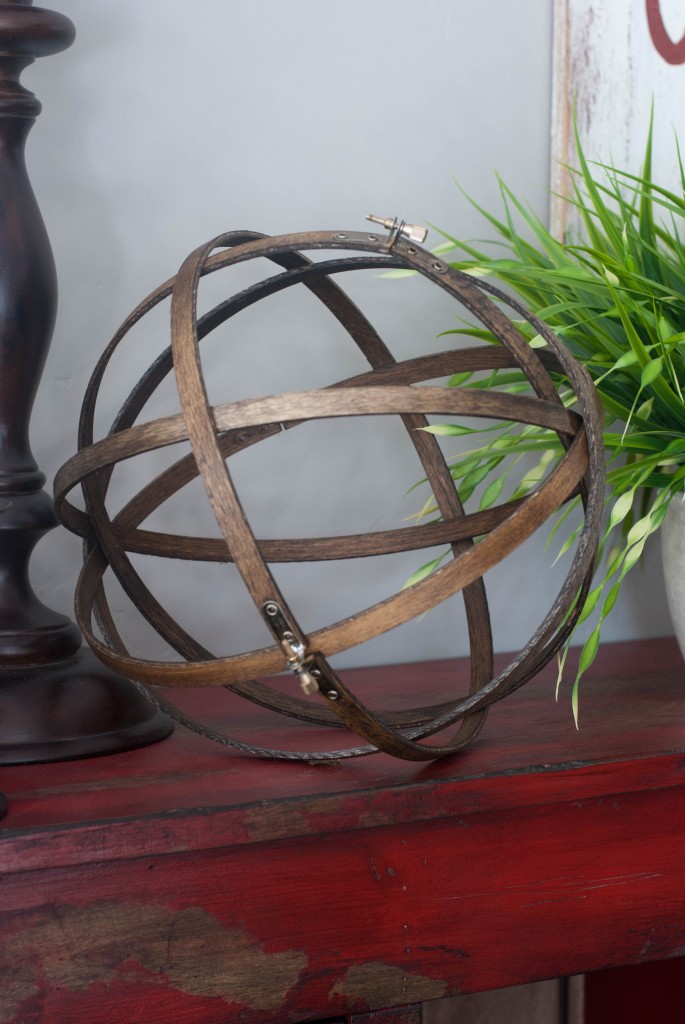
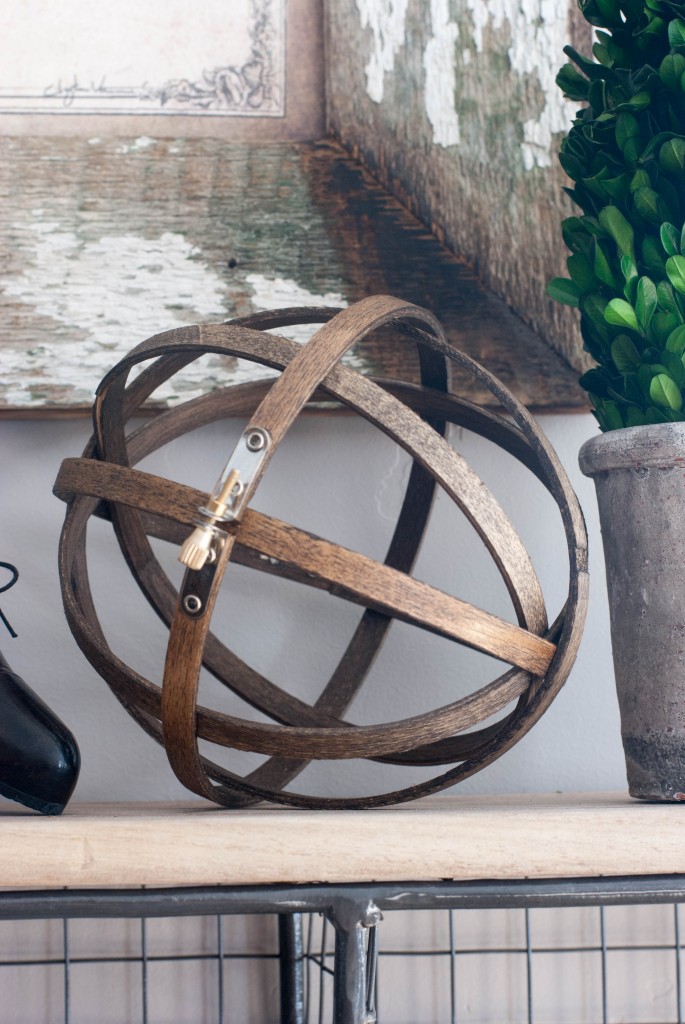
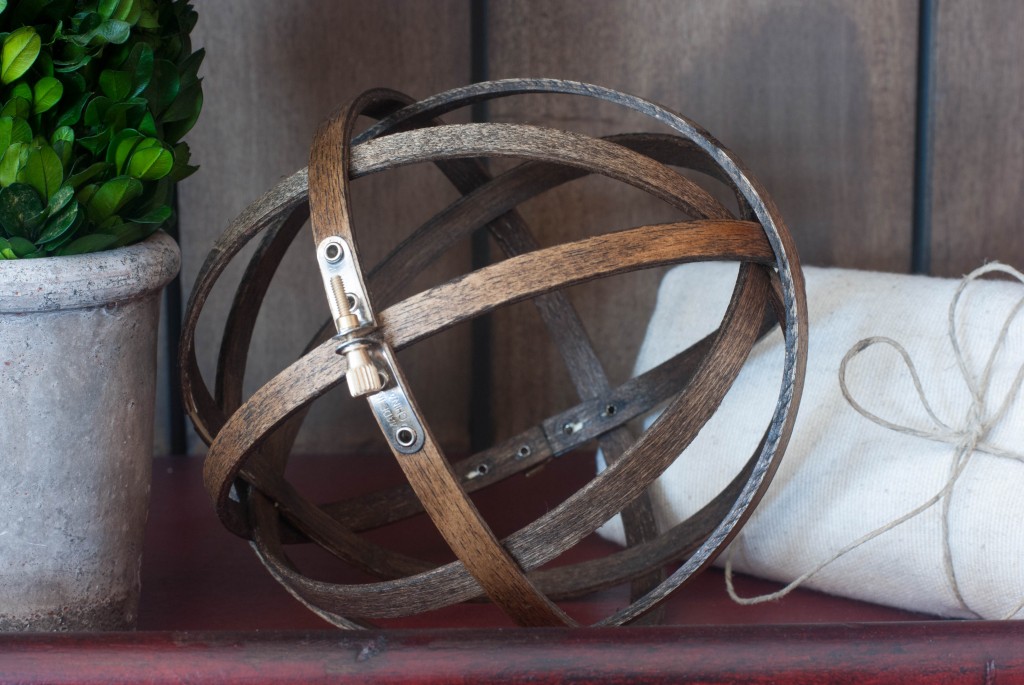
To assemble your orb, take four of your hoops and slide them inside of each other positioning them evenly apart. I really like having the metal clasp show so I used two of those over the plain ones. Then with your fifth hoop, make sure you use a hoop with a metal clasp. Loosen the hoop by unscrewing the clasp and slide this fifth hoop around the diameter or middle of your orb. After it is positioned where you want it, tighten the screw on the clasp. You will have one embroidery hoop left over. Hmmm….I’ll have to think of what I can do with that!
I am so happy with how these turned out! I thought that I was going to like the 8 inch orb better but ended up falling in love with the 6 inch but they both look perfect in our new family room. Now do you know what my problem is? I’ve got the decorating bug and want to do more!
I hope that you make these soon. Aside from the drying times, it took me less than 30 minutes to get these done. You sure can’t beat that for a craft that is big on easy but also big on impressive!
This Pin Totally Rocks!
You can also find us on Pinterest │ Facebook │ Twitter │ Instagram │ StumbleUpon │ Hometalk
This amazing post can also be found on Whipperberry!



Hello,
I love these and am so excited to make them. I went to the big craft store, Michael’s, because that is all that my area has… They only have a thinner bamboo type embroidery hoop. I was wondering if you can share your source where you got these nicer wider ones. Also, I love the gold pin, the ones at Michael’s are silver.
Thank you!
Hi Liz! I’m pretty sure that I got mine at Wal-Mart and next time I’m there I’ll check!