Hey all! I’m Jessica and I’m excited to share this DIY State Art project with you today!
I’m a “30-something” gal, mom of two boys, who may be slightly obsessed with DIY, throwing parties, organization, home decor, fashion, and spreading fabulous finds to anyone that will listen. I hang out over at my blog, Fantabulosity, where {you guessed it} I explore my creative outlet, admit my faults as a mom, and pass on any fantabulous “must-knows” that I come across.
I was flabbergasted when the gals from “Made from Pinterest” contacted me and asked if I would like to hop over here and share a little somethin’ with you all. {I may have actually pinched myself, but don’t tell them I said that.} I knew EXACTLY what I was going to share with you.
My “ahem” older sister moved away from our home in Missouri to the state of Alabama a few years ago. Although she loves now being a “southerner”, her heart will always belong in Missouri.
So when I was browsing Pinterest for ideas of what to get/make her for her birthday, I knew immediately my search was over when I found {and pinned} the Simple State Art from In the Blue Room. “I can do this,” I thought. So I did!
With a few changes, I created the perfect gift for my sister and may even make one for the gallery wall in our home!
You guys… this was sooo super easy. {But don’t tell my sister that.}
How did I Make the DIY State Art?
Silhouette Machine Method: So I made my state art using my Silhouette Cameo machine. However, I DO understand that not everyone has one of these . {I had mine on my wish list for YEARS and my hubby finally got it for me for a birthday gift! Ok… I bought it for myself for my birthday, but told him that it was from him.} 😉
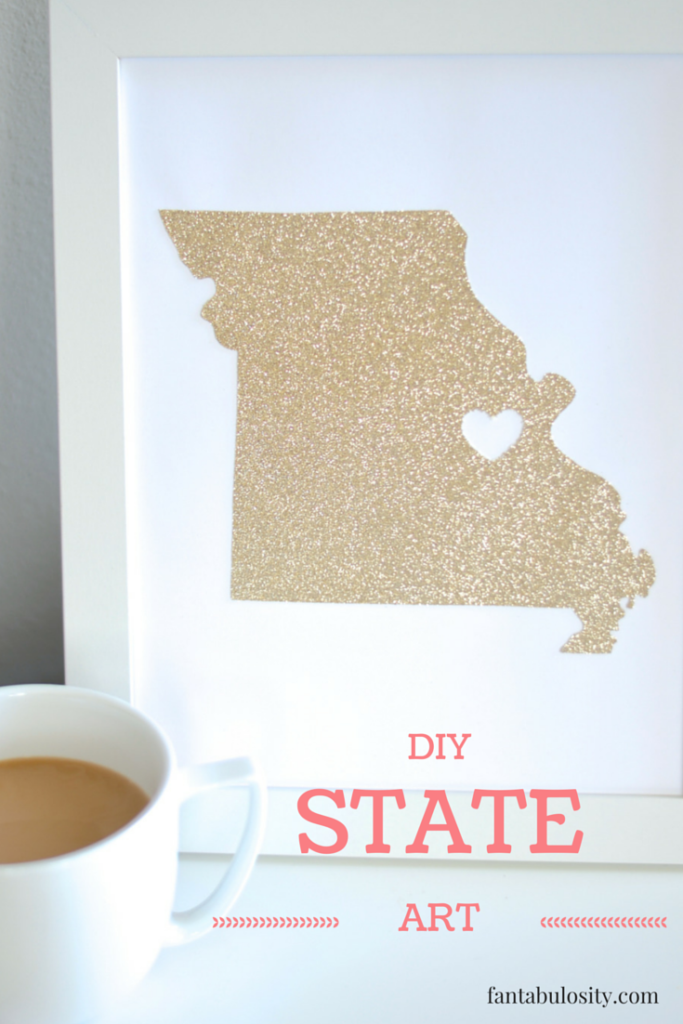
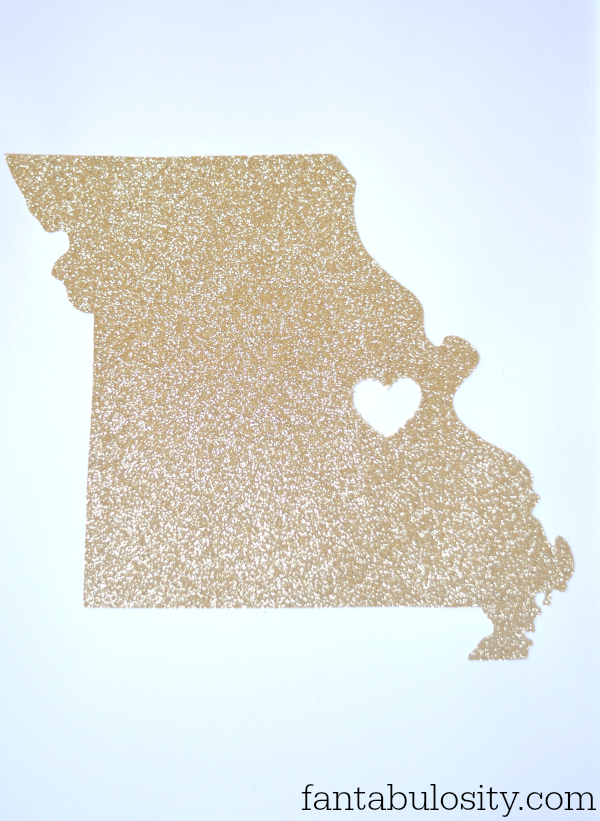
Anyhoo… I found an image of the state of Missouri {so you’ll find an image of whatever state you want to create with} and a “heart” image. In the Silhouette design studio, I simply aligned the two images the way I wanted, adjusted the size for an 8×10 frame, and sent it to my silhouette machine. I used a piece of glittery gold card stock and simply glued the cut-out shape of the state to a piece of white card stock and framed it! Done! Yes… that easy.
Print and Cut Method: Maybe with just a couple of more steps, but not a lot harder at all… this DIY project can be created in no time with scissors/cutting tool instead of a Silhouette machine.
Simply find an image of the state that you are wanting to use and print it. You’ll want to adjust the size correctly for what you plan to frame it in. So if it is going in an 8×10 frame, you may want the size to be a bit smaller than an 8×10 image. {This will all depend on which image software you are using.}
Print out the image of the state. Then simply cut the state out so you can use this as a “stencil.”
Grab the card stock of choice {I used gold glitter card stock} and you can either gently “tape” the stencil to the card stock and cut around the shape, or you can grab a pen/pencil and lightly trace the shape and then remove the stencil and cut the shape out of the card stock.
Ready to cut your heart? Print a small heart, cut it out to use as a stencil, and place it on the state where need be. You can either tape or trace it like you did above with the state. Using an X-Acto knife, or any straight edge crafting tool that you may have… cut out the shape of the heart.
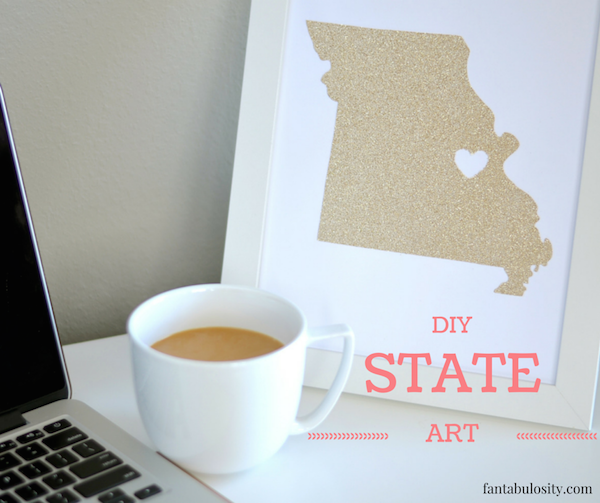
Glue the state to a piece of white card stock and frame in to whatever frame your little heart desires.
There it is! Your DIY State Art, in NO time!
My sister was thrilled to see what I made for her. I think you’ll get the same reaction when you decide to create this too.
I can’t thank Made From Pinterest ENOUGH for having me over here. I had a fabulous time and can’t wait to come back next month to share something else that I have found and created from Pinterest.
I hope you’ll hop on over to Fantabulosity to find more DIY projects, party ideas, fashion updates, and parenting mistakes that I create…. or give me a “follow” on Pinterest, Facebook, or Instagram, where I share a little more “behind the scenes” of Fantabulosity.
SOME OF MY MOST POPULAR RECIPES ARE:


I’m so excited to see this! It has totally made my Wednesday! 🙂 XOXO!
This is absolutely darling!!! Thanks so much Jessica! We love your blog!