Turn Your Eggshells Into Mini Planters This Easter
By Andrea Genevieve Michnik
Rainy springtime weather doesn’t mean your home has to be dull, too. With warmer days just around the corner, it’s the perfect time to hunker down and create something bright and beautiful for your home.
I love to have something green in almost every room of the house, but my office was looking neglected. I decided that small and low-maintenance succulents would be perfect for the workspace. I looked to Pinterest for ideas, where I found plenty of photos of succulents planted in unexpected objects like tea cups, mason jars and old books.
Wanting to put my own spin on the project, I found inspiration in an unlikely place: my refrigerator! With Easter just weeks away, creating tiny Easter Eggshell Planters seemed like a perfectly seasonal way to bring some eggs-tra special touches to my home’s decor. Here’s how to make your own!
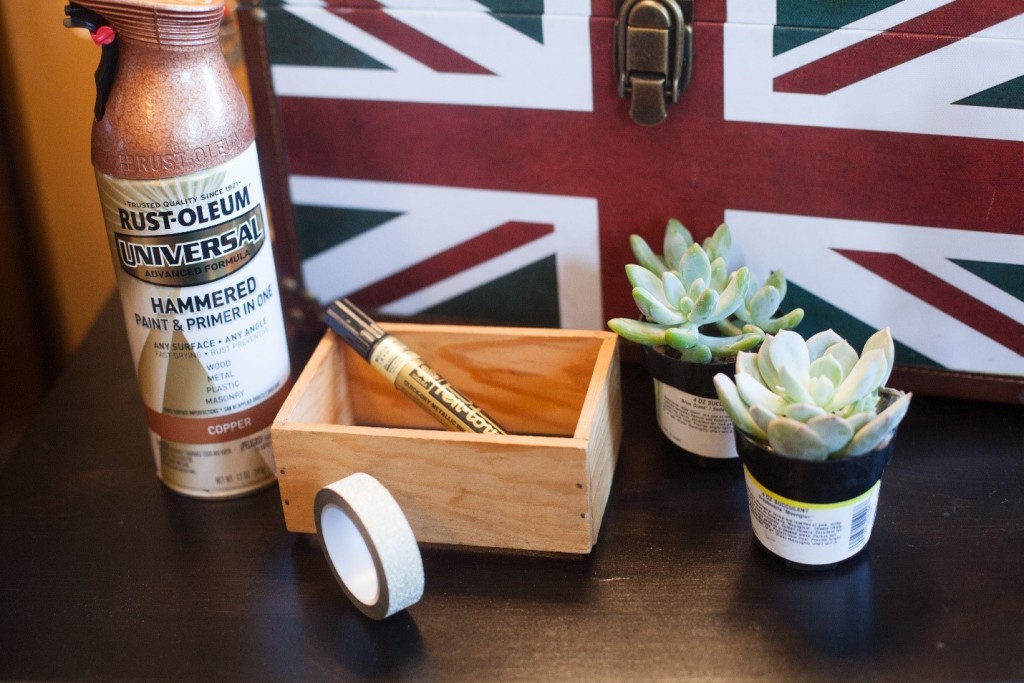
What you’ll need:
- Straight pins
- Eggs
- Small succulent plants
- Soil
You may also want to collect the following for decorating the egg planters:
- Food coloring or traditional egg dye kit
- Washi tape
- Spray paint
- Watercolor paint
- Paint markers
Instructions
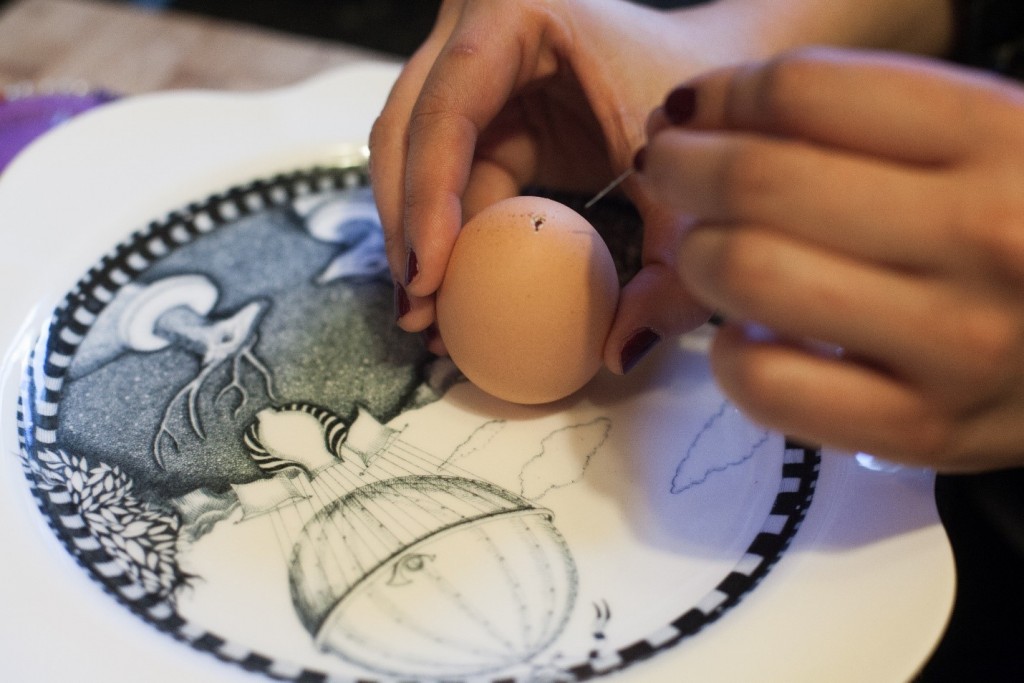
1. Begin by using a straight pin to poke a tiny hole on opposite ends of the egg. The holes need to be small, but large enough for you to blow the yolk out of the egg entirely. Be patient — it may take a few jabs to get the right sized hole.
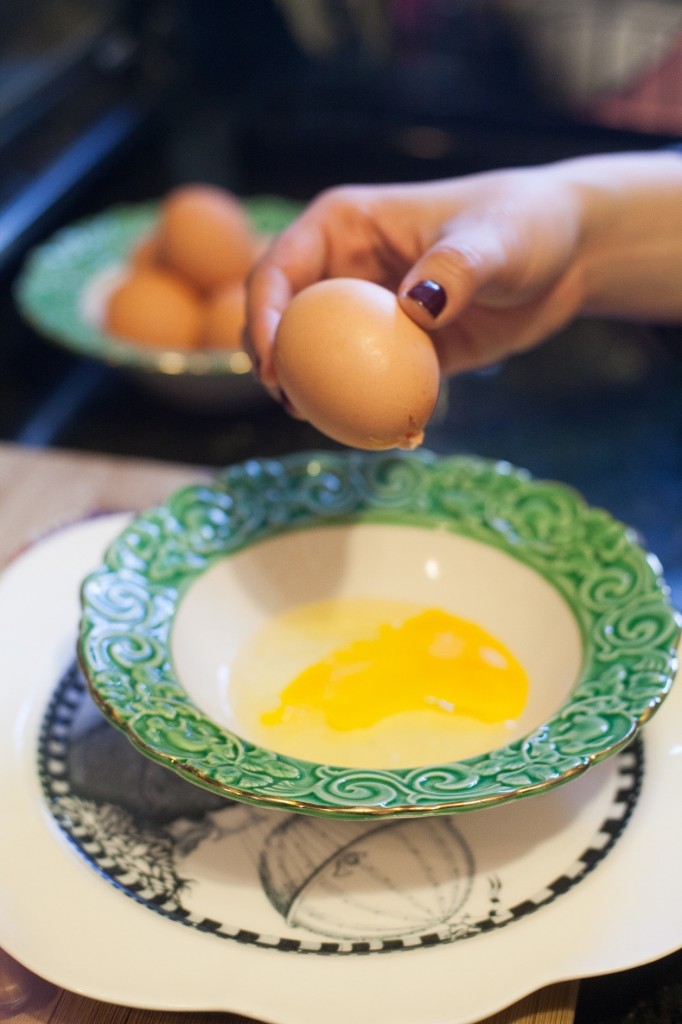
2. Next, blow the egg white and yolk out of the egg until it’s completely empty. Gently rinse off the egg under cold water. Place it in a strainer or on a cushion of paper towels to dry.
3. Think about where the planters will live to help you decide on colors or styles for decorating. If you plan to use them for Easter decor, consider pastel colors. Or you may want to use the planters as accent decor in your home, like me. I have some gold accents in my office, so I went with gold paint for my eggs.
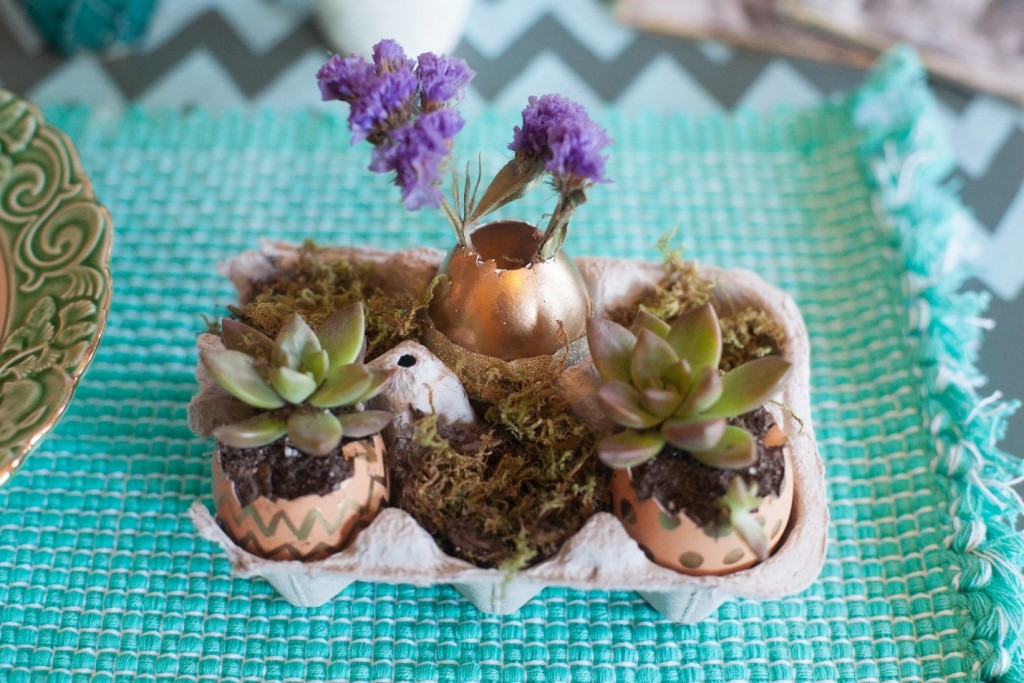
4. Once the eggs are dry, start creating your masterpiece! Be playful and create something fun and fresh. I went with chevron and polka dots because they are my favorite patterns, and accented the eggs using a gold paint marker.
Here’s how to dye your eggs:
- Measure 2 cups of boiling water into a small or medium sized bowl
- Add 10 drops of food coloring (add more for a richer color)
- Add 1 tsp. of vinegar
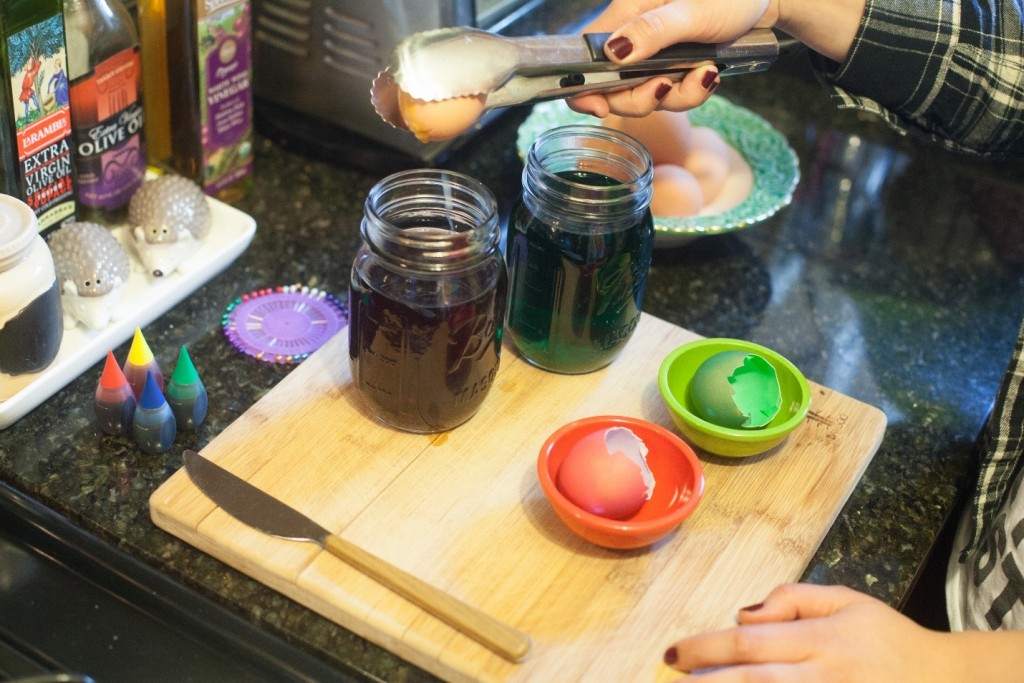
- Submerge the eggs in the mixture for 5-7 minutes. You may need to hold down the egg to help it absorb the color better. You can do this by using a spatula or gently with a spoon.
5. Once the decorations have set and dried, take a fork and carefully peck at the top hole. Slowly crack back the egg until one-third of the top comes off. Peel away any excess around the edges.
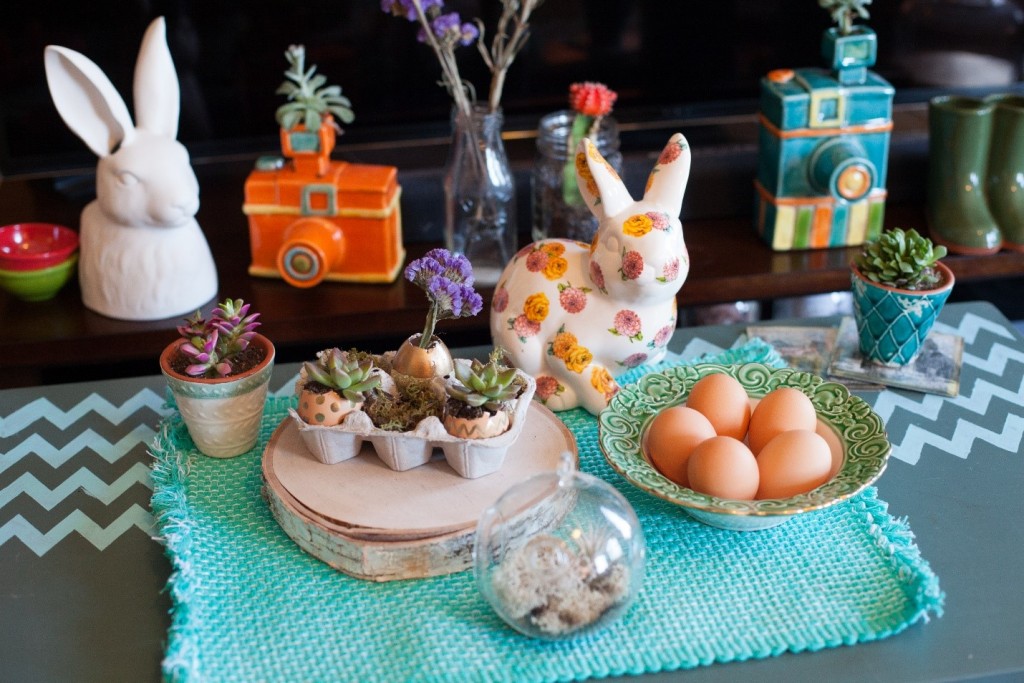
6. Now it’s time to get planting! Be sure to find a stand for your planters so they don’t roll. This can be a traditional egg carton, or perhaps try a cake stand, cheese platter board or wood rounds. I love the look of brown egg cartons.
7. Sprinkle a few pinches of soil into each egg. Gently remove the succulents out of their pots and shake off the dirt, clearing as much of it around the roots as possible. You may need to separate even the smallest of succulents — these eggs are tiny!
Place the plant inside the egg, making sure to cover its roots in soil.
8. Finally, brush any excess dirt off of the eggs, and voila! If you want to add more details, make a collection of plants and add small colorful flowers or herbs to other egg planters. You could also grab some plant moss from your local home and garden store for a more earthy feel.
Andrea Genevieve Michnik is a mompreneur, serial crafter and TinyPrints blogger living in Austin, Texas. When Andrea isn’t knitting for her shop or making homemade pajamas for her kids, she is helping to empower the local community of other female entrepreneurs. Follow Andrea on Twitter to discover more DIY projects and parenting advice.
This amazing post has been shared with Living Well Spending Less and Tatertots and Jello.


Leave a Reply