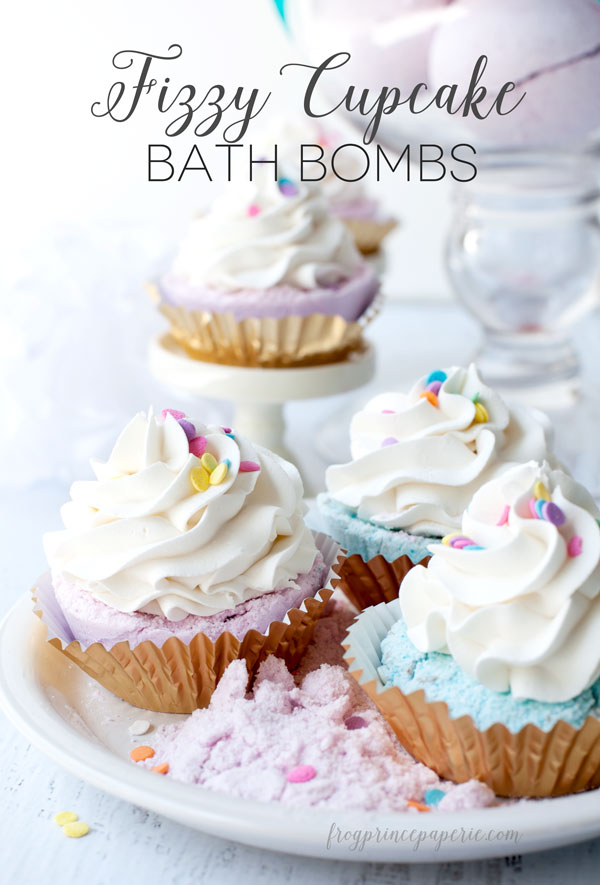
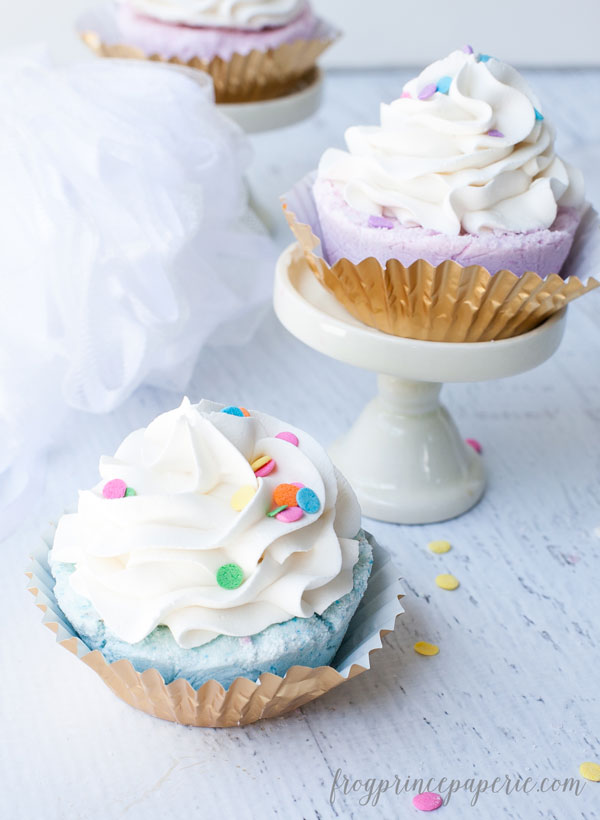
Paula Biggs here writing from the party over at Frog Prince Paperie. I always love a good celebration, with cupcakes making parties all that more fun! There are so many things to celebrate in May—Mother’s Day and Teacher appreciation days to name a few. If you’ve got kids, having a few kids-can-make-them-too gifts up your sleeve is pretty handy! Like these Fizzy Cupcake Bath Bombs!
It goes without saying that little hands should be able to get involved in their gifts for mom and teachers. Making something to gift that could be a source of relaxation – like a fizzy cupcake bath bomb — is the perfect thing for kids to craft.
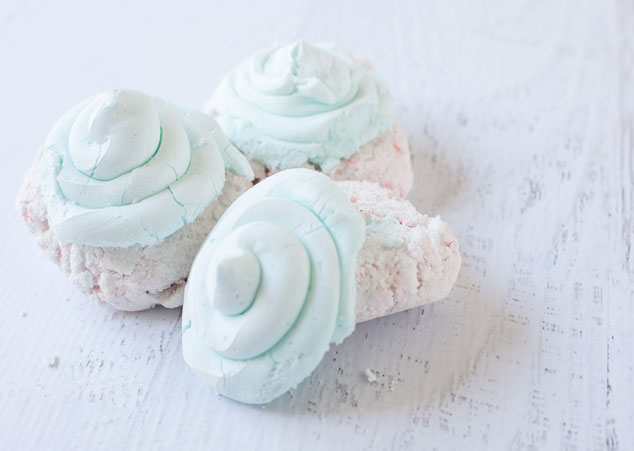
In making this post, I’m going to admit to you I actually had a few Pinterest fails trying to find a recipe that worked. (Gasp!) And I consider myself pretty accomplished at crafting and in the kitchen. I was inspired by this pin for Fizzy Bath Bomb Cupcakes on MakeandTakes.com.
Lovely little cupcake bath bombs there, no? Sweet and perfect for gift-giving I thought.
For me, the execution didn’t go so well. I think my point of failure was with the water spray. Was also a tad humid that day, so my bath fizzies completely took on a life of their own. Thought for a minute I was going to have to whack them with the spatula to keep them from crawling across the kitchen.
So I looked on for another recipe. The second one didn’t require a spray bottle, but they came out so crumbly, they were hard to handle let along package to give away.
Luckily, third time was the charm. This recipe from Soapy Hallow was just perfect, and it was something the kids could easily do with a little supervision.
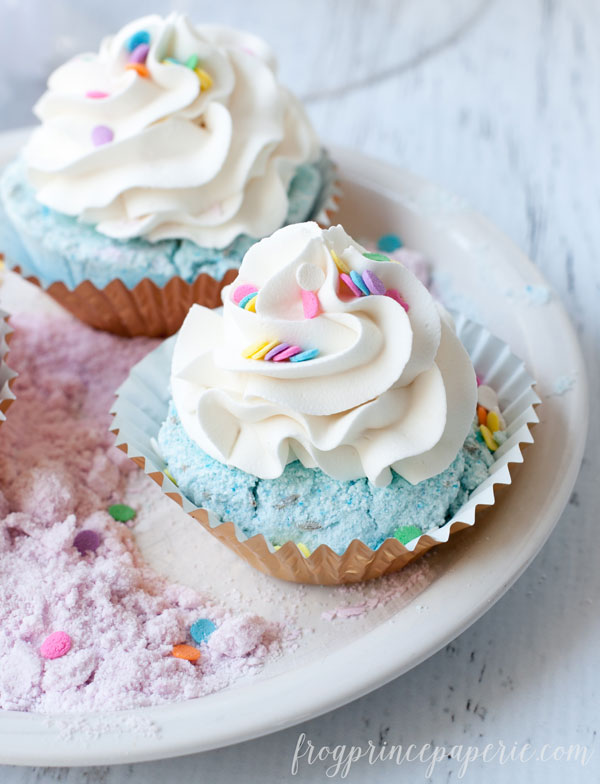
I didn’t give up completely on that first pretty cupcake pin, though. Once the bath fizzies came out of their molds, I tried out the royal icing “frosting” and it all set up just great and picture perfect.
After tweaking a few Pinterest recipes and blending them together, here’s how to make some sure-to-be appreciated Fizzy Cupcake Bath Bombs!
Vanilla Fizzy Cupcake Bath Bomb Recipe
Makes 3 large round bombs or 7 cupcake bombs
Cake ingredients:
- 8 oz baking soda
- 4 oz citric acid
- 4 oz corn starch
- 4 oz Epsom Salts
- 2 ½ tablespoons coconut oil
- ¾ teaspoon water
- 2 teaspoons vanilla extract
- 4 drops food coloring
Frosting ingredients:
- 3 tablespoons meringue powder
- 6 tablespoons warm water
- 1 lb powdered sugar
- 1 teaspoon vanilla extract
Step 1. Measure your ingredients.
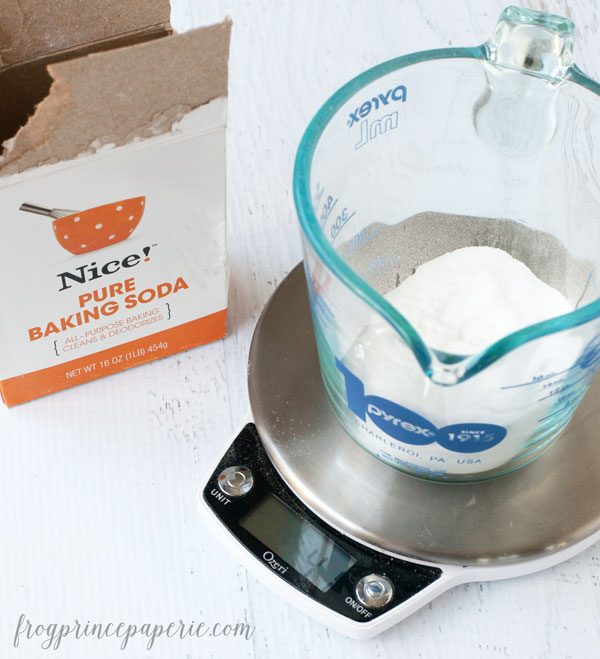
Yes, you’ll want to use a little kitchen scale to measure your dry ingredients out. The good news about this is that kids are fascinated by this part and will be more than happy to measure the ingredients.
Get them off to a good start making the bombs by mixing together the baking soda, citric acid, corn starch and salts into a large GLASS (it’s non-reactive!) bowl to create the bath bomb base.
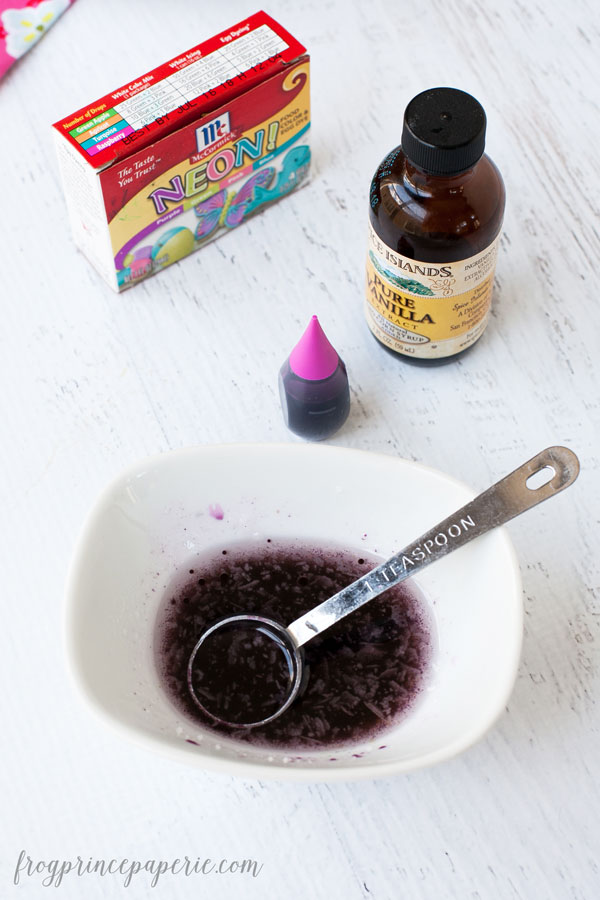
In a separate very small bowl, combine the coconut oil, water, vanilla extract and food coloring. Oil and water don’t mix very well, so don’t worry if they aren’t 100% combined.
Step 2: Combine wet and dry ingredients.
Here’s where this recipe really was different and what make it work: mixing the wet and the dry ingredients. The citric acid in the base fizzes up when it makes contact with water. You can see where there might be a problem combining the wet and the dry. Tell the kids they’re going to have to work really fast to get this project done!
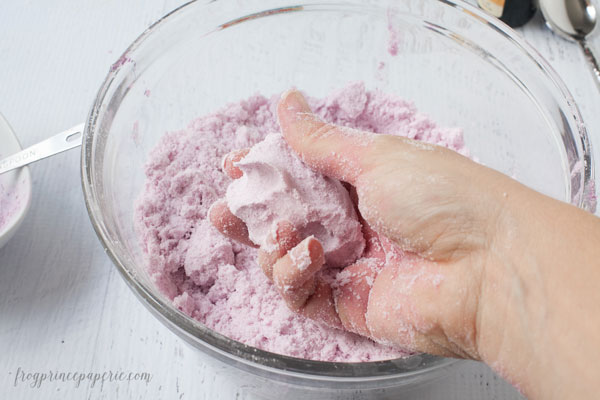
Add one teaspoon of the wet ingredients to the dry at a time. You’ll have to work really quickly, and mix it around with your hands. Pinch at the little bits of stuck together pieces to get them to come apart.
If your mixture is bubbling up, you’re adding the wet to the dry too fast. When this happens, just be sure to mix the wet pieces to the non-reactive dry really fast and it should stop.
At the end, your mixture should feel a lot like slightly wet sand. It will stick together, but it’s going to be crumbly. Mold the fizzy bath bombs immediately after you’re done mixing—this doesn’t keep!
Step 3: Molding your fizzy cupcake bath bombs.
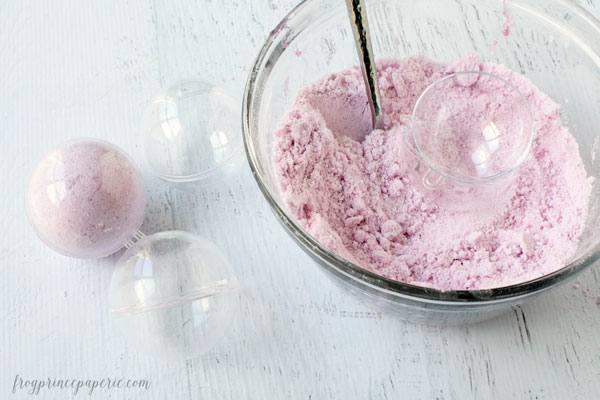
Bath bombs can take pretty much any shape you want. If you want to make cupcakes out of these, line each cup in a muffin pan with plastic wrap. Hard pack the bath bomb mix into each of the cups. I mean, really REALLY pack that stuff in there, pushing it down as hard as you can.
With this recipe, you only have to let them sit for about 10 minutes before you unmold them and let them dry for a few hours.
If you’re going to skip the frosting aspect of this recipe, use the clear plastic ornaments that split into two you can find at the craft store (for less than $1) for molds.
Step 4: Making frosting.
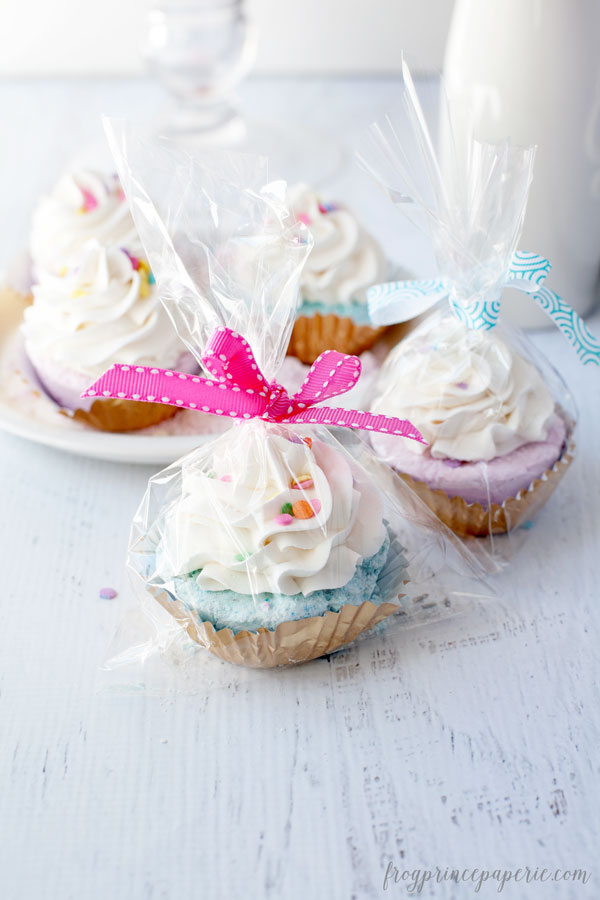
Basically, what we’re going to do is make a royal icing frosting. The kind that you put on sugar cookies that gets really hard. Personally, I can take or leave the frosting when it comes to putting it in the bathtub, but it does make the presentation pretty.
In your mixing bowl, blend together the meringue powder and warm water until it’s frothy. Add the powdered sugar and vanilla. Beat on high until stiff peaks form. If the frosting is too stiff, add a teaspoon of water at a time until it’s a consistency you can pipe while still standing on its own.
I liked adding a few sprinkles on top to make them pretty. Let the frosting dry for a few hours before you attempt to wrap them up.
Step 5: Packaging!
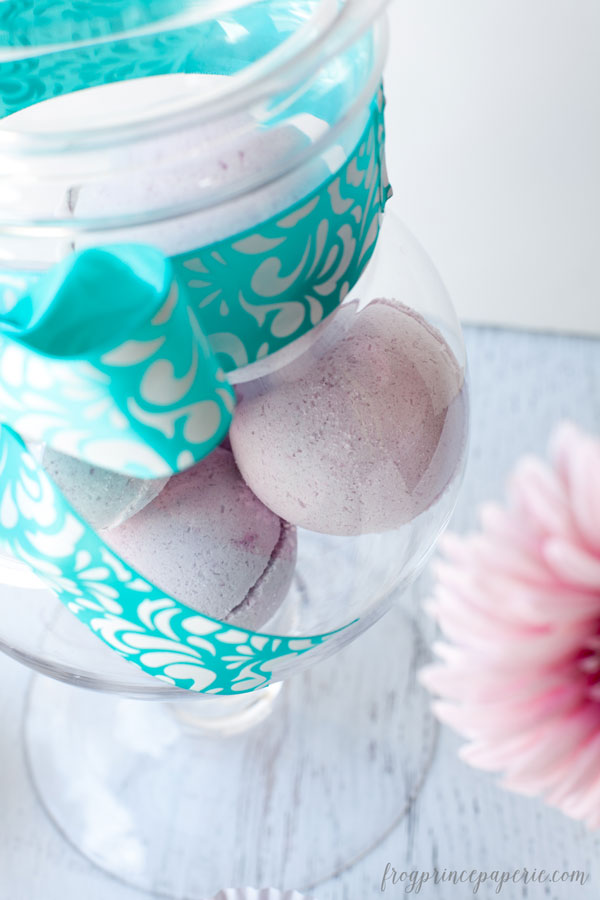
A cellophane bag and a piece of ribbon is really all you need to wrap up these beauties.
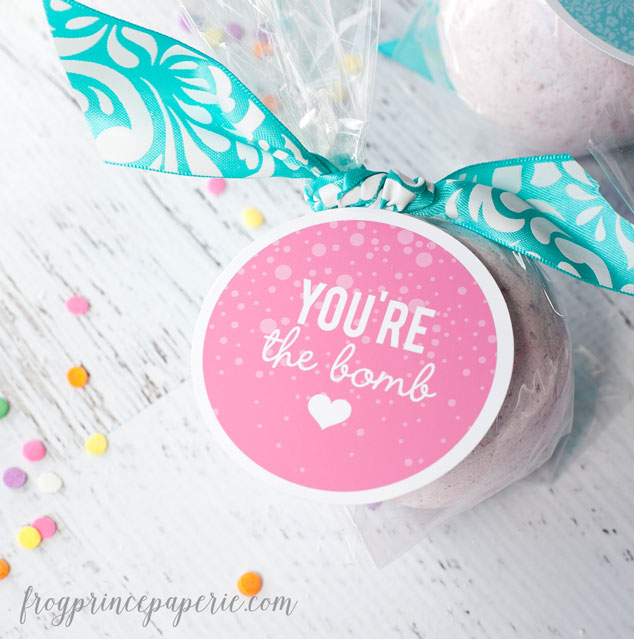
If you want to get really fancy with your packaging, hop over to my blog and download these free “You’re the Bomb” printable tags!
Thanks again to MFP for asking me to be a regular contributor! I’d love it if you’d stop on by Frog Prince Paperie for party inspiration, and maybe find some tutorials and recipes for a few other holidays, too! You can also find me on Facebook, Pinterest, Instagram, Twitter and Google+.
A FEW OF MY MOST POPULAR POSTS:



I’ve always used oil in my bath bomb recipes and never water. You can get them to pack pretty tight without spritzing them which I find just makes them fizz. I find the best way to get the two sides of your molds to stick together is the following: Take a large scoop of the mixture and place into one side of the mold. Add more until the bath bomb mixture is piled above the shape. DO NOT press any of the mixture into the mold at this point. Repeat with the other half of the mold. Now press the two sides of the mold firmly together and brush away any excess. You can also sub the coconut oil with something like shea butter or even cocoa butter and use a carrier oil with the shea or cocoa butter in lieu of water. Hope this helps with some other ideas.
Currently trying these right now! It’s taken a little trial and error. The first batch we followed the directions directly (with the exception of using peppermint extract instead of vanilla) and they were a little dry. We packed them into silicone molds and packed them super tight and let them sit. They didn’t come out well at all so I tossed everything back into the bowl and added a little bit more of the wet ingredients and repacked them. I think the silicone is making it hard to get these little guys to hold shape. I did try one of the clumps that was holding together and they fiz well and smell amazing! After repacking the molds I put them in a very low heat oven to help dry them out a little faster to see if we can get them to keep shape better. It’s been a very messy process but I think once we nail it down these will be super fun to make, share, and use at home! I’ll let you know how the final product turns out!
We’d love to hear about your experience Jeana! Keeping our fingers crossed!
First batch was a success! These are super cute, smell great (Red with Peppermint!), and they fizz beautifully!
Second batch… this one gave some giggles. The second batch we did with the vanilla extract and blue dye (all natural food dyes). We started packing it into the molds and I was concerned it might be a little dry again so we added a little bit more water and continued packing the molds. Well, when I put these in the low heat oven, just like I did the last batch to help dry them out, the ones I had added a little water to started to grow! hahaha My daughter walked by and said “Um… mommy! They are expanding!”. Luckily the ones we didn’t add the extra water to turned out well. SCIENCE!
Over all, I really like this recipe and I am so excited to keep experimenting with different colors and scents! We are trying to keep these all natural. We have one more batch to make and my daughter is so excited to give these as gifts to her friends!
So glad that you had fun with these! Aren’t they darling?!
Interesting! I live in Florida, so there is a great deal of humidity in the air–perhaps that made a difference. I tried quite a few recipes before I found one that didn’t grow out of the pans like your last batch. I like Rebeca’s suggestions above to use something else in lieu of the water so it sticks together but doesn’t fizz up!
Does anyone have any experience in using essential oils (Lavender, Orange, Chamomile)? And if so, do you use it in a direct 1:1 substitution of the vanilla extract?
How about using olive oil in place of water? Any advice welcome!
Thank you!
I couldn’t tell with absolute certainty about the essential oils other than I know essential oils are more concentrated. There was another commenter here that said she never used water,only oil in her bath bombs, so I imagine that you could make the substitution if you needed to! I have not tried it myself, though.
Just like Rebecca said, we use oils, butters and essential oils in our bath bombs. If any extra moisture is needed, we use aloe juice which adds even more benefits! If you are making rose scented bombs, you could use rose water as well. So many options!!! Love the look of these cupcake bombs. So much fun for the littles!
Thanks so much for the tips! Aloe juice would be a great addition!
This is awesome idea to make like cupcakes. But I wonder how it results… I mean bathing with real icing.
Did you have trouble getting the icing to stay attached to the base bath bomb?
I was thinking the same thing…sugar + bath might = an itchy situation! I initially thought the “frosting” was a whipped coconut or Shea body butter…which I might try. Maybe a little bees wax, shea butter, coconut oil all whipped up into a body butter consistency that would melt away into a super moisturizing bath!! Oh! Oh!! Maybe mini muffins/cupcakes!! Lots of recipes are calling for witch hazel instead of water…I wonder if that doesn’t make them expand, grow & flop? The batch I made tonight totally blew up & out of the silicon mold…so I pressed all the expanded parts back in & pressed them down after about an hour or so & they came out great with all the detail of the mold! They almost looked a little glossy.
Now I’m super excited for my next batch…as opposed to this last batch of toilet “cookies” I made. Guess it was too much water. I wonder if bleach is water based & would result in them blowing out too? That would be even better for the toilet!
I use witch hazel instead of water, although I am running low, so water is my alternative. I was wondering about the ladies saying they use oil? I would like to as well but how does that work ?
And which oils are recommended?
Hello,
I use oil instead of water in my bath bombs and they hold together better. Its a trial and error sort of thing. Everyone has different opinions. Hope this helps! 😉