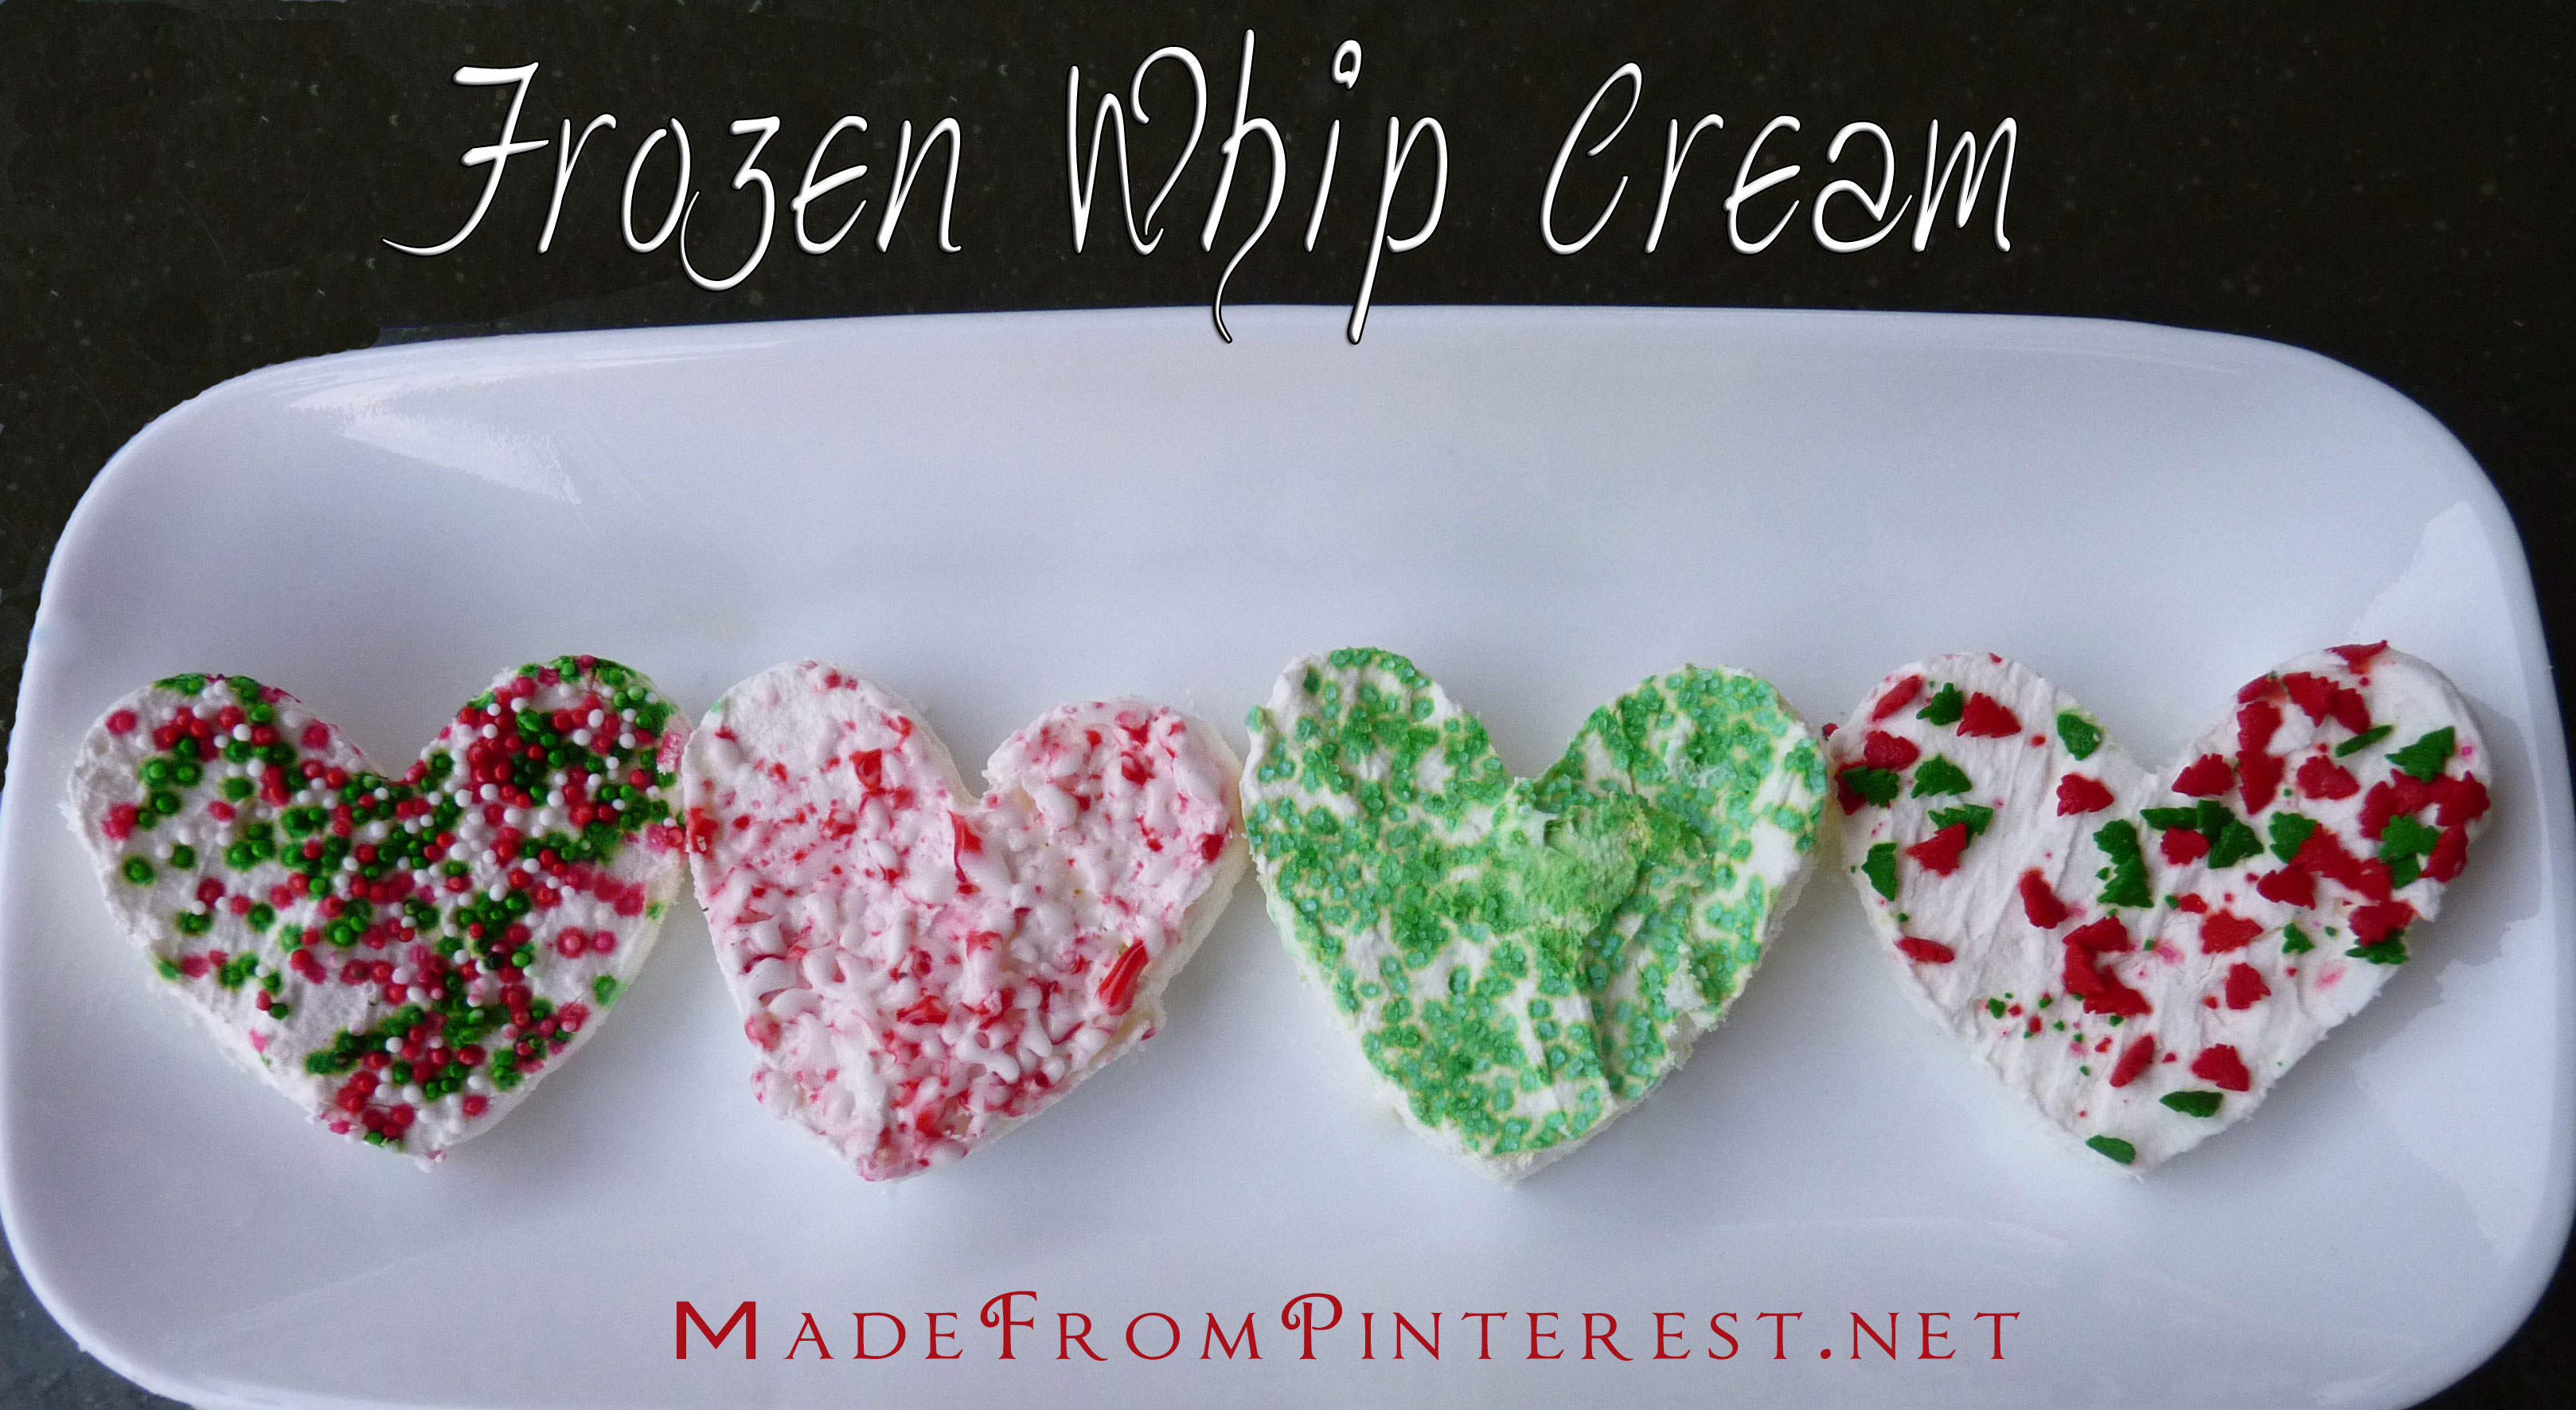
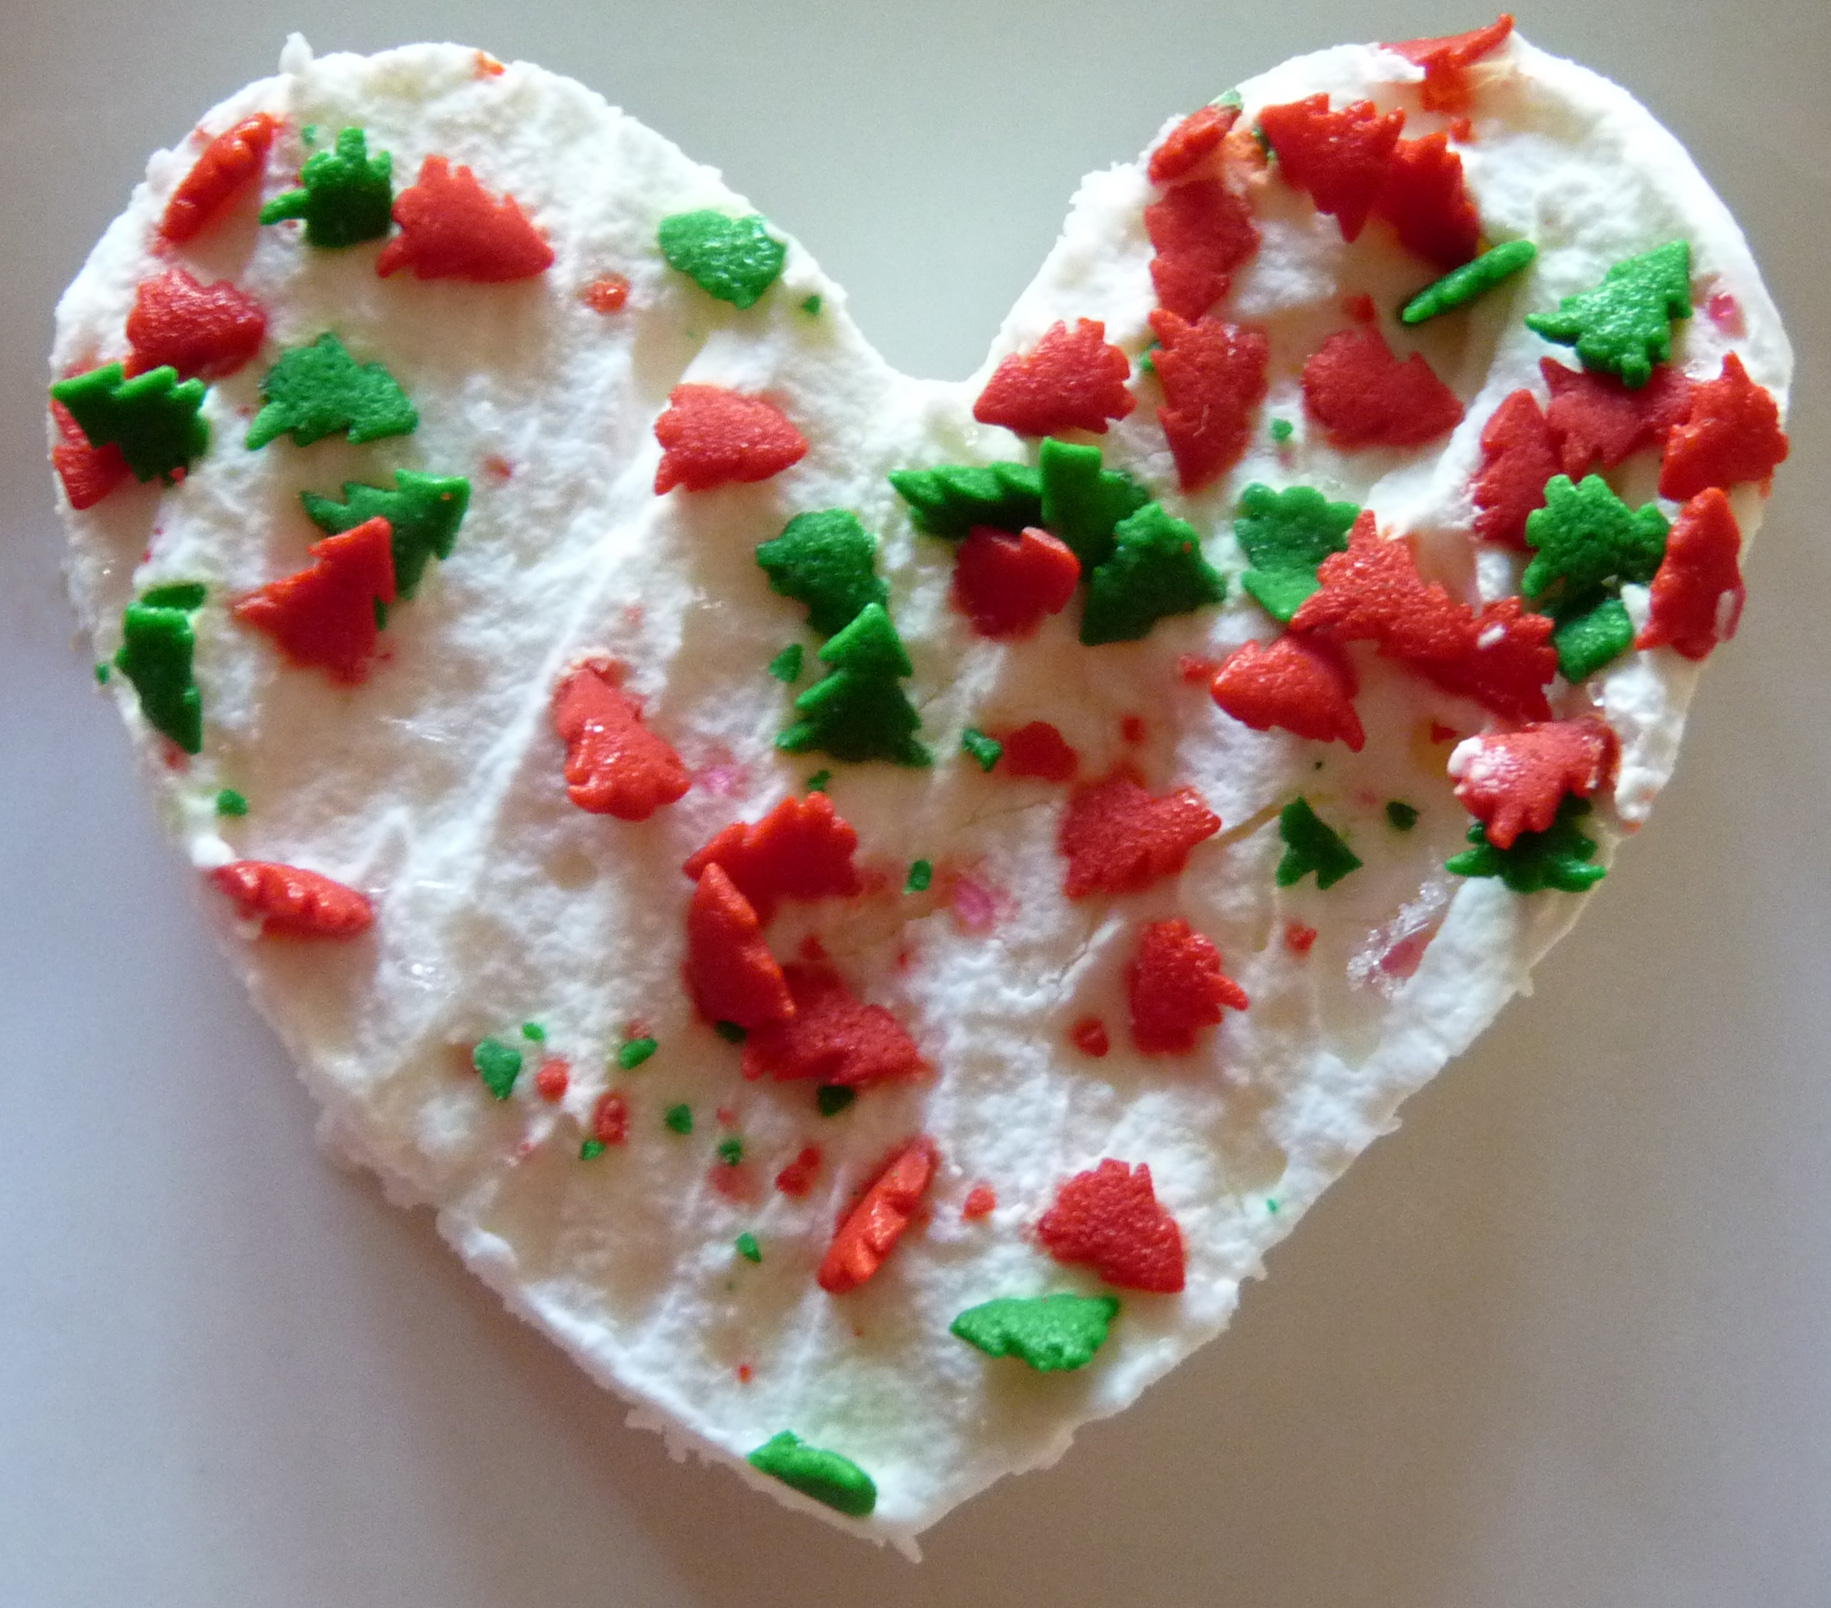
Who doesn’t love whip cream? My darling 15-year-old daughter Madison. She doesn’t like cake either, sometimes I question if we are really related. The fact the she loves chocolate is just one of her many saving graces. But back to the whip cream, frozen whip cream is an interesting concept. Seems like a lot of extra work to me, but I couldn’t resist giving it a try. I figure if it turns out really cute or pretty it might be worth the effort. Several tutorials suggested using the canned whip cream. Big mistake as you will see in the first set of pictures. The four darling hearts in the picture below came from my second attempt. The second time around I used heavy cream and the results are great! Live and learn.
Items Needed Cookie Sheet – Wax Paper – 1 Can Whip Cream – Cookie Cutters – Spatula
Line your pan with waxed paper. And then spread your whip cream evenly in the pan.
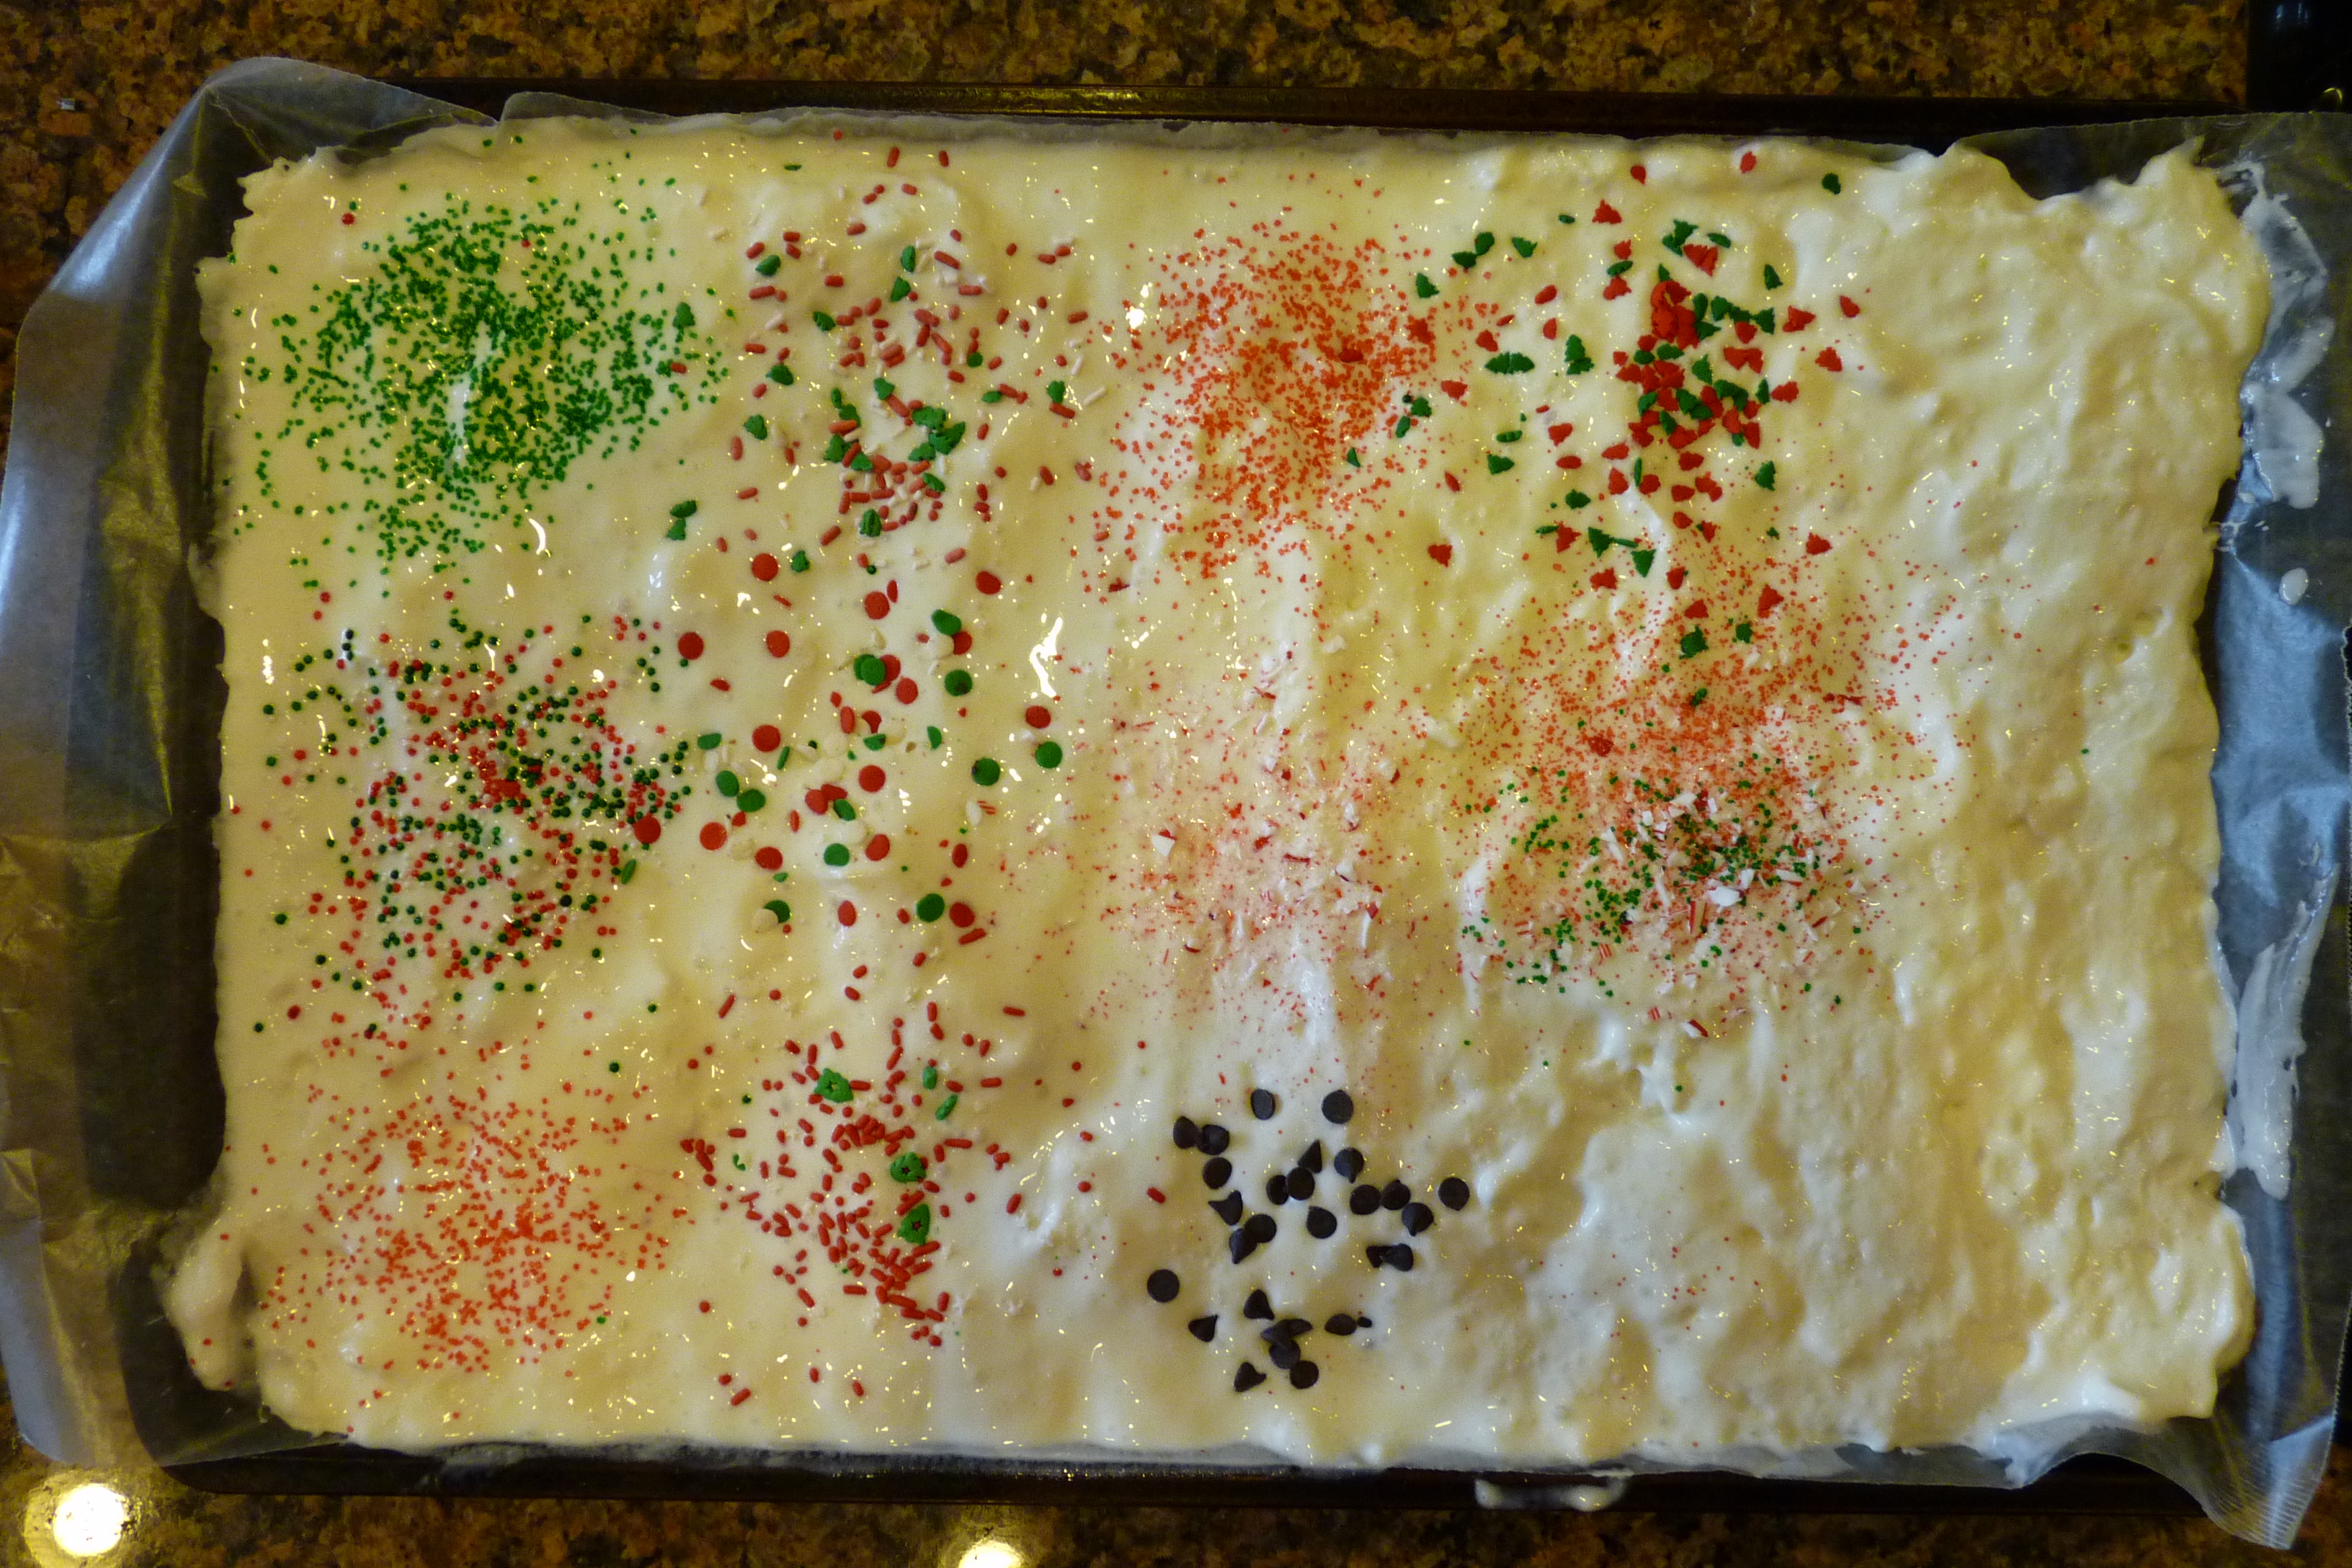
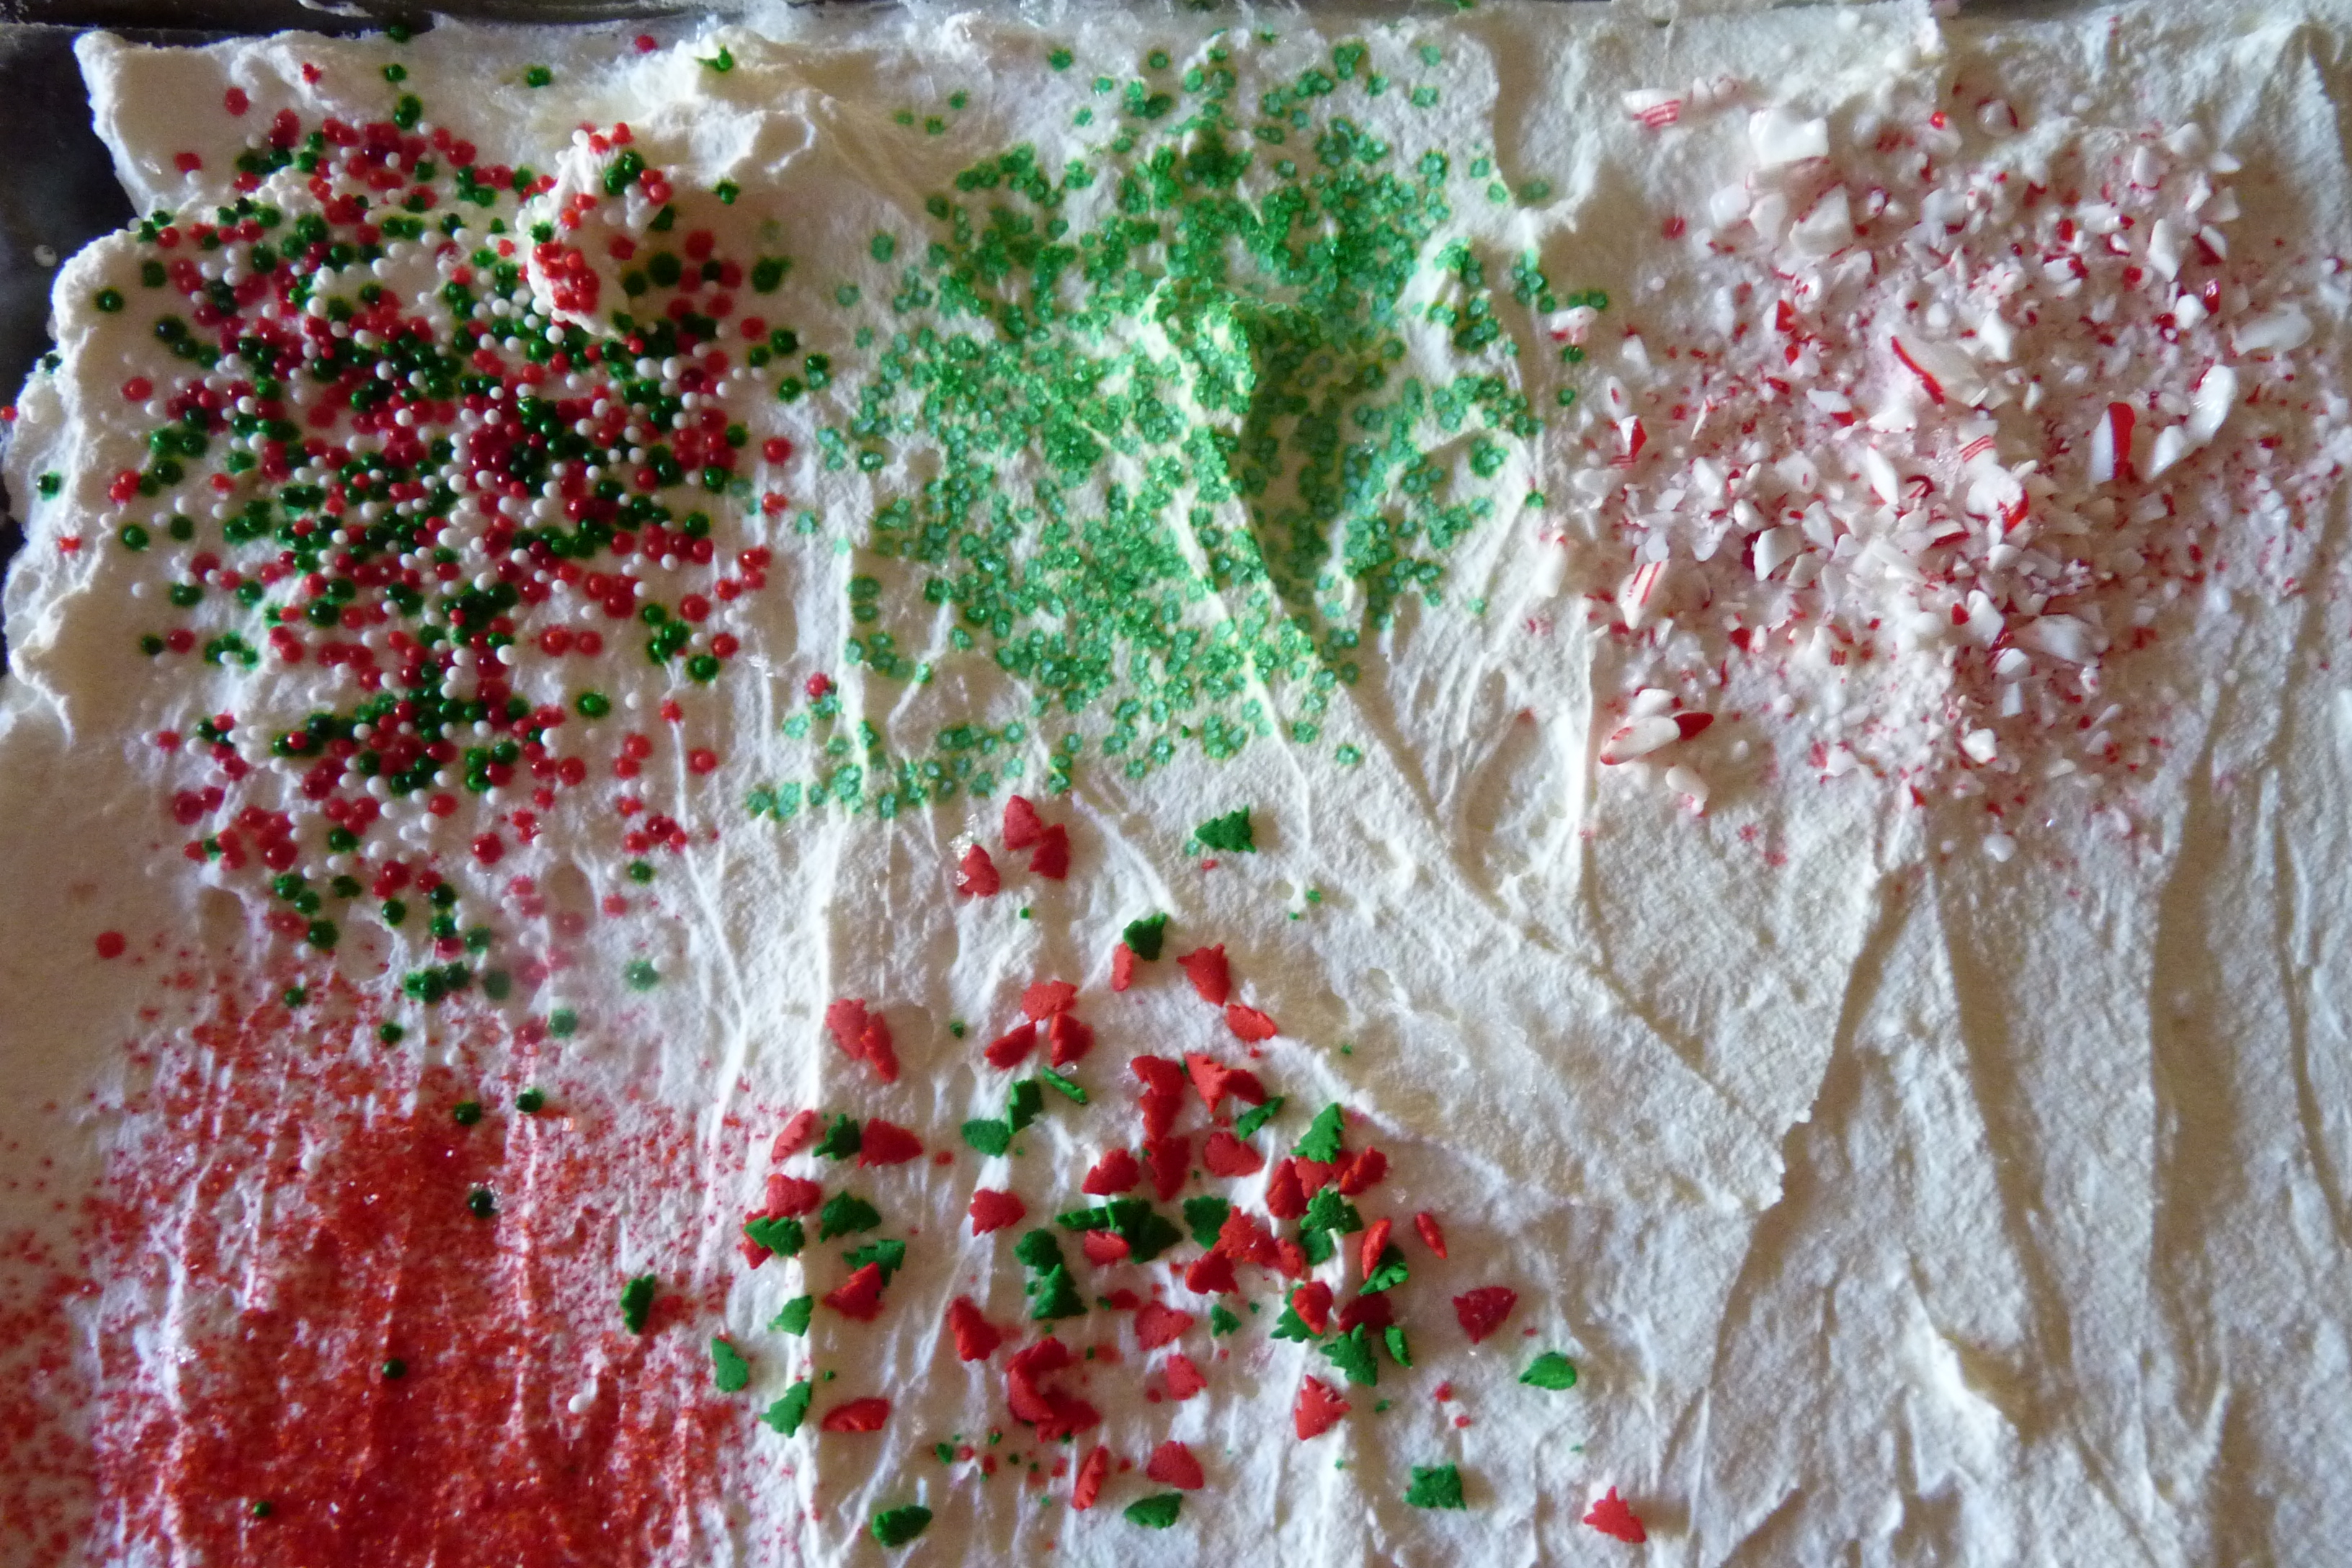
I wanted my whip cream to have a little extra pizzazz so I used several different kinds of sprinkles where I would be cutting the shape out. Then I froze my whip cream for 3 hours.
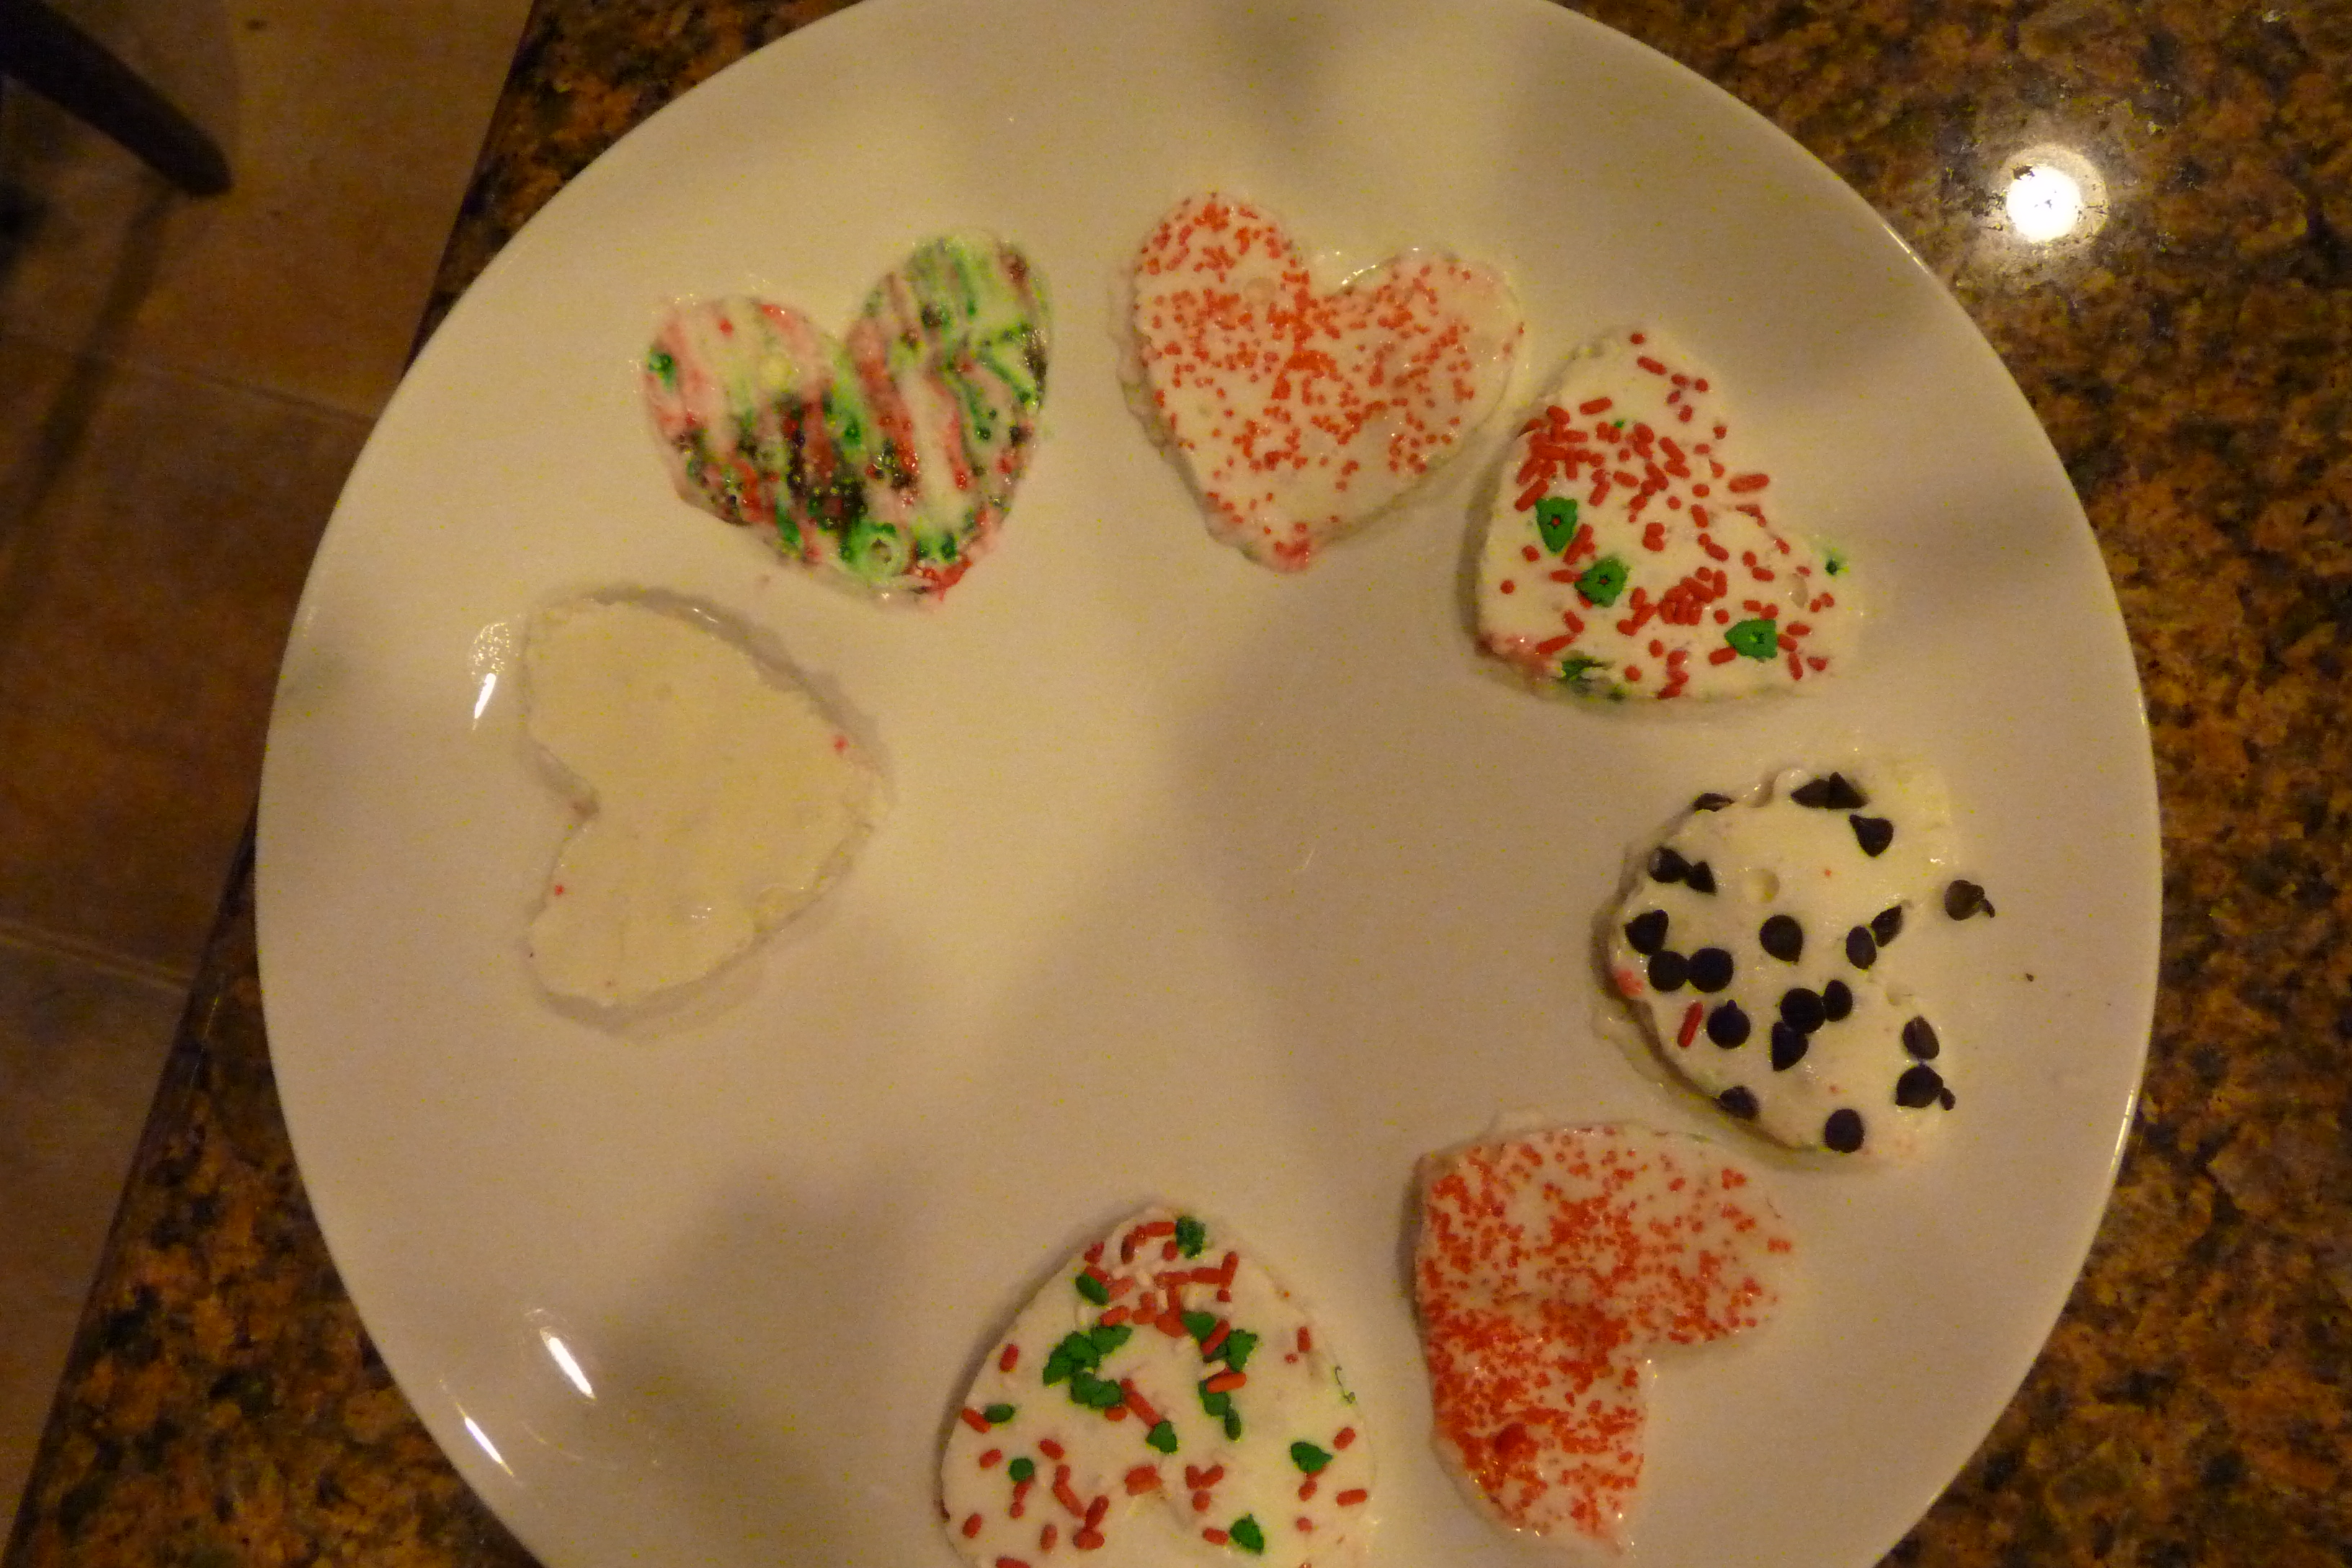
I removed my pan of whip cream from the freezer and cut 3 heart shapes out. I slid the first two off the cookie sheet and onto a plate. By the time I got the 3rd heart onto the plate the first two hearts has started melting and losing their shape. They were also very fragile, several broke as I was trying to get them off the cookie sheet.
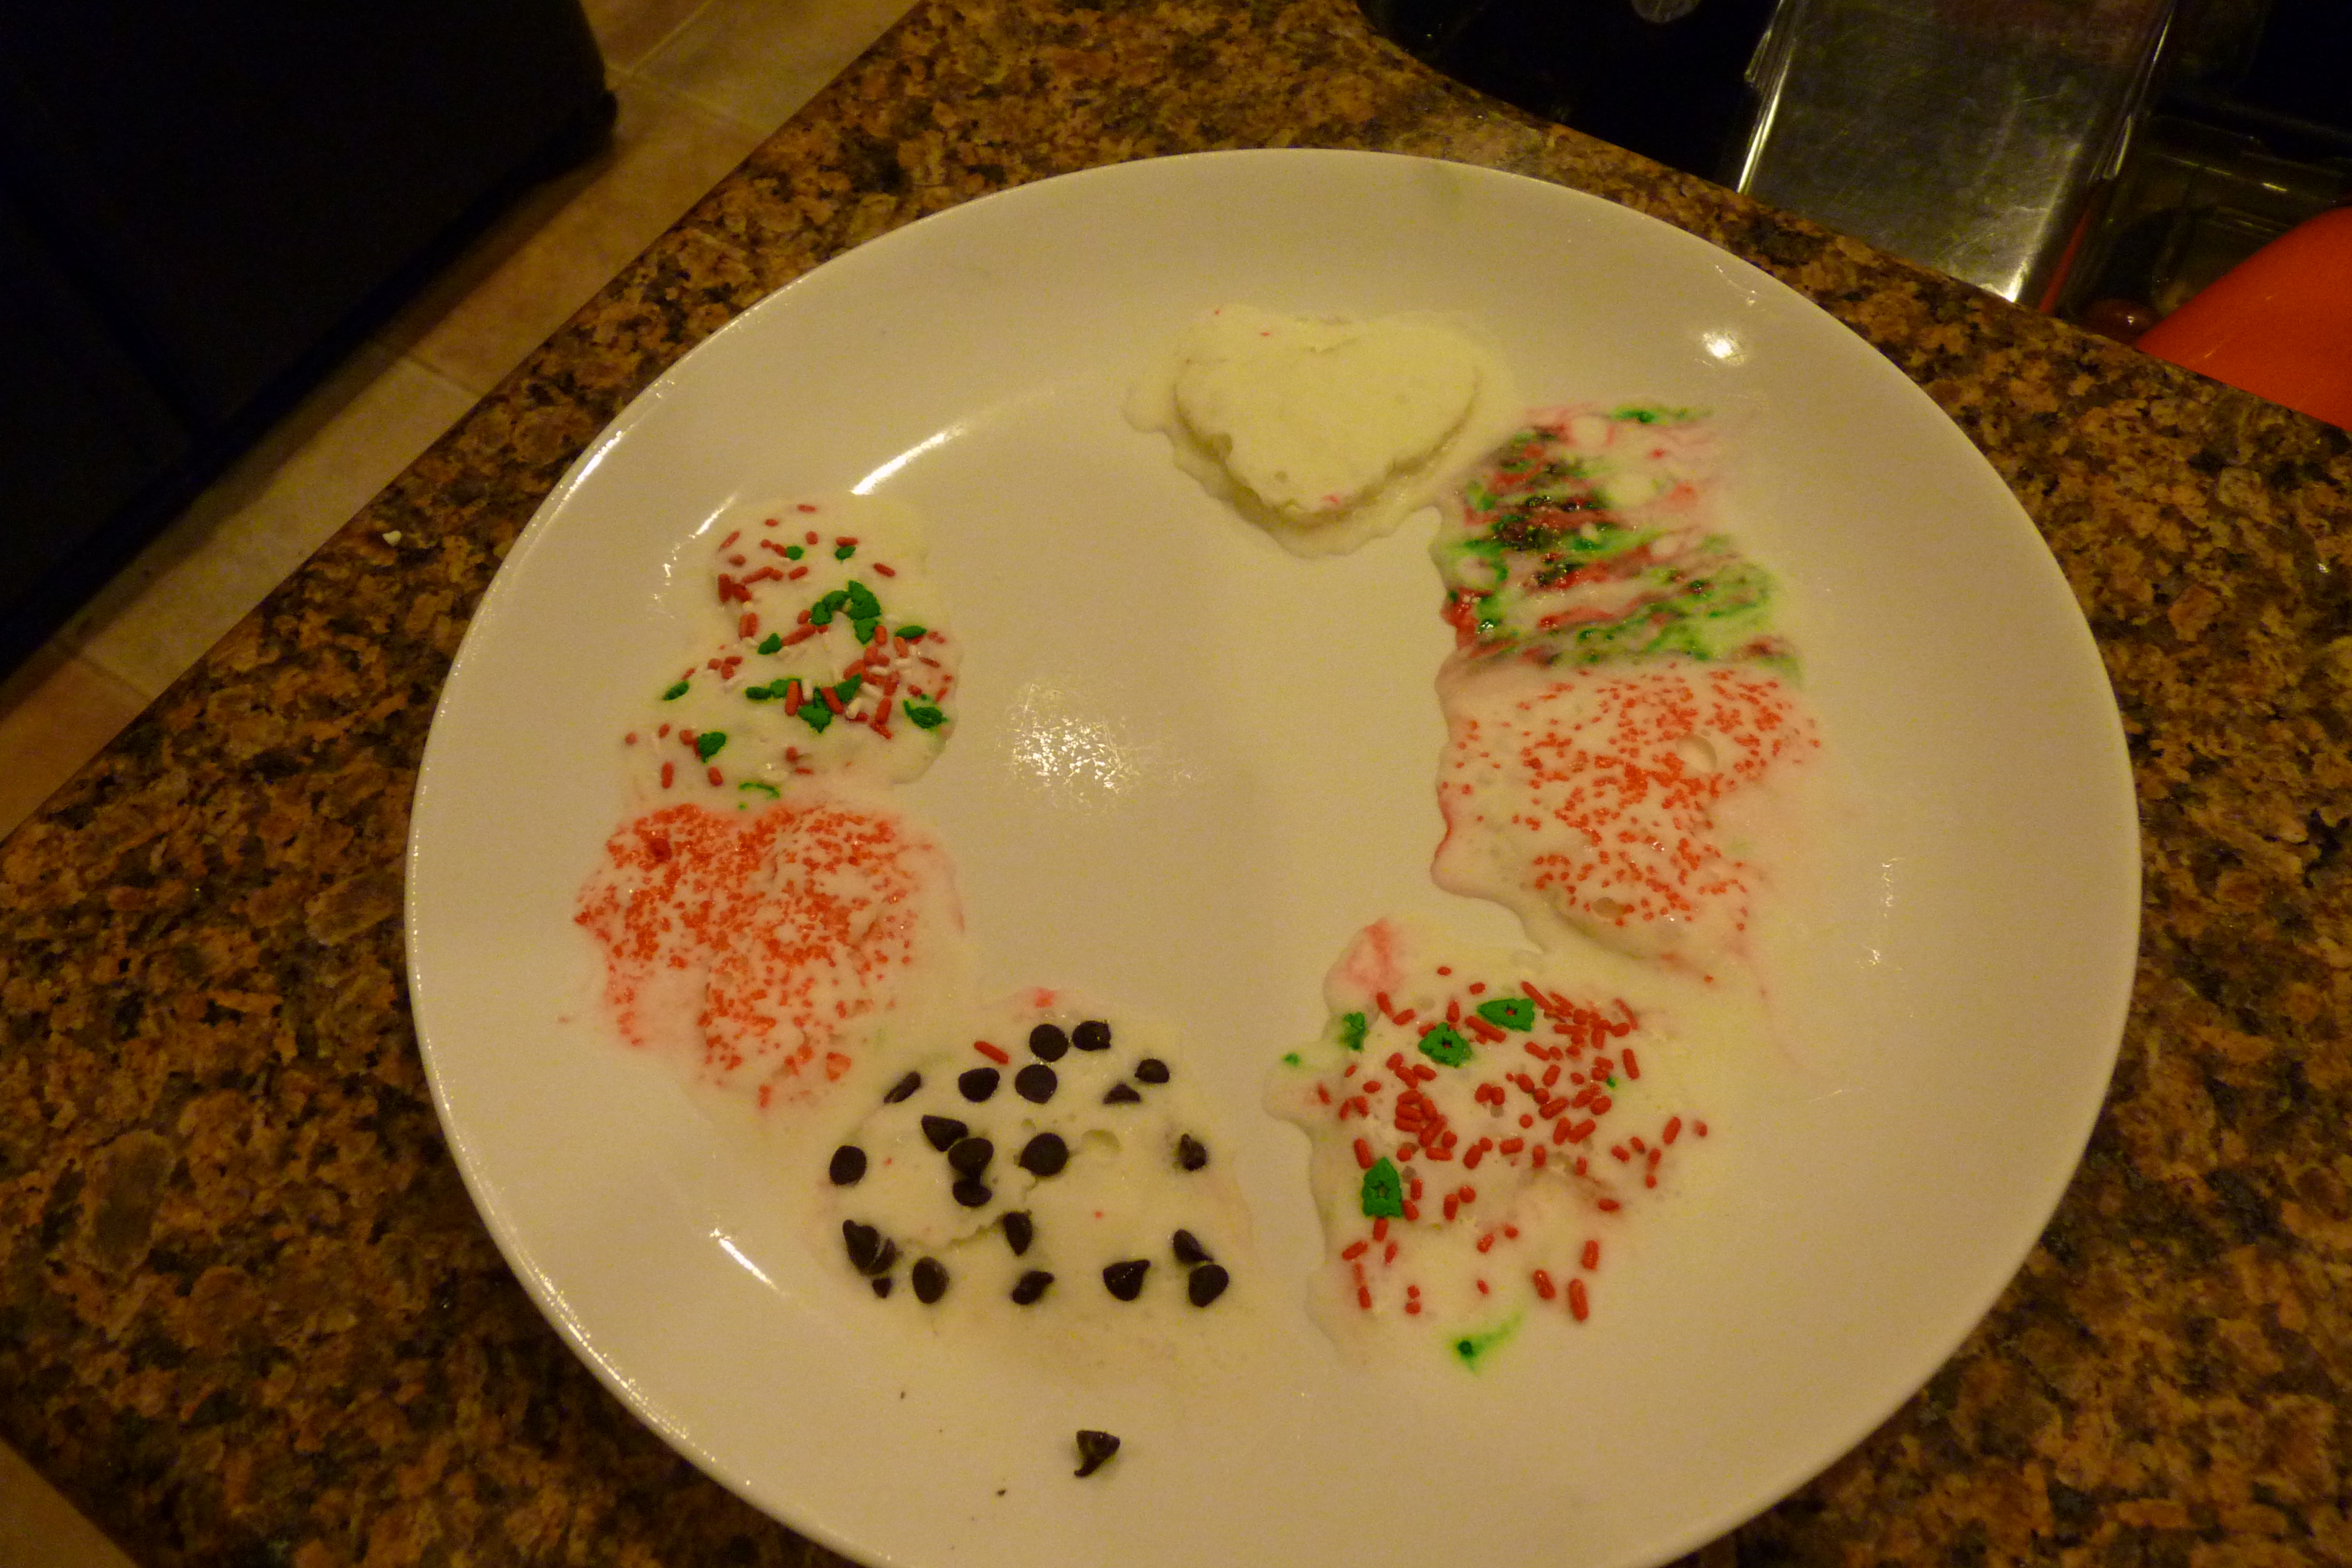
Here is what they looked like on the plate just before I put them back into the freezer to see if I could firm them up.
This is what my heart-shaped whip cream looked like after an extra 45 minutes freezer. Major FAIL!
The cost: $1.99 for 1 can of whip cream, I had left over sprinkles from my Hot Chocolate Dippers so no cost there.
Attempt #2
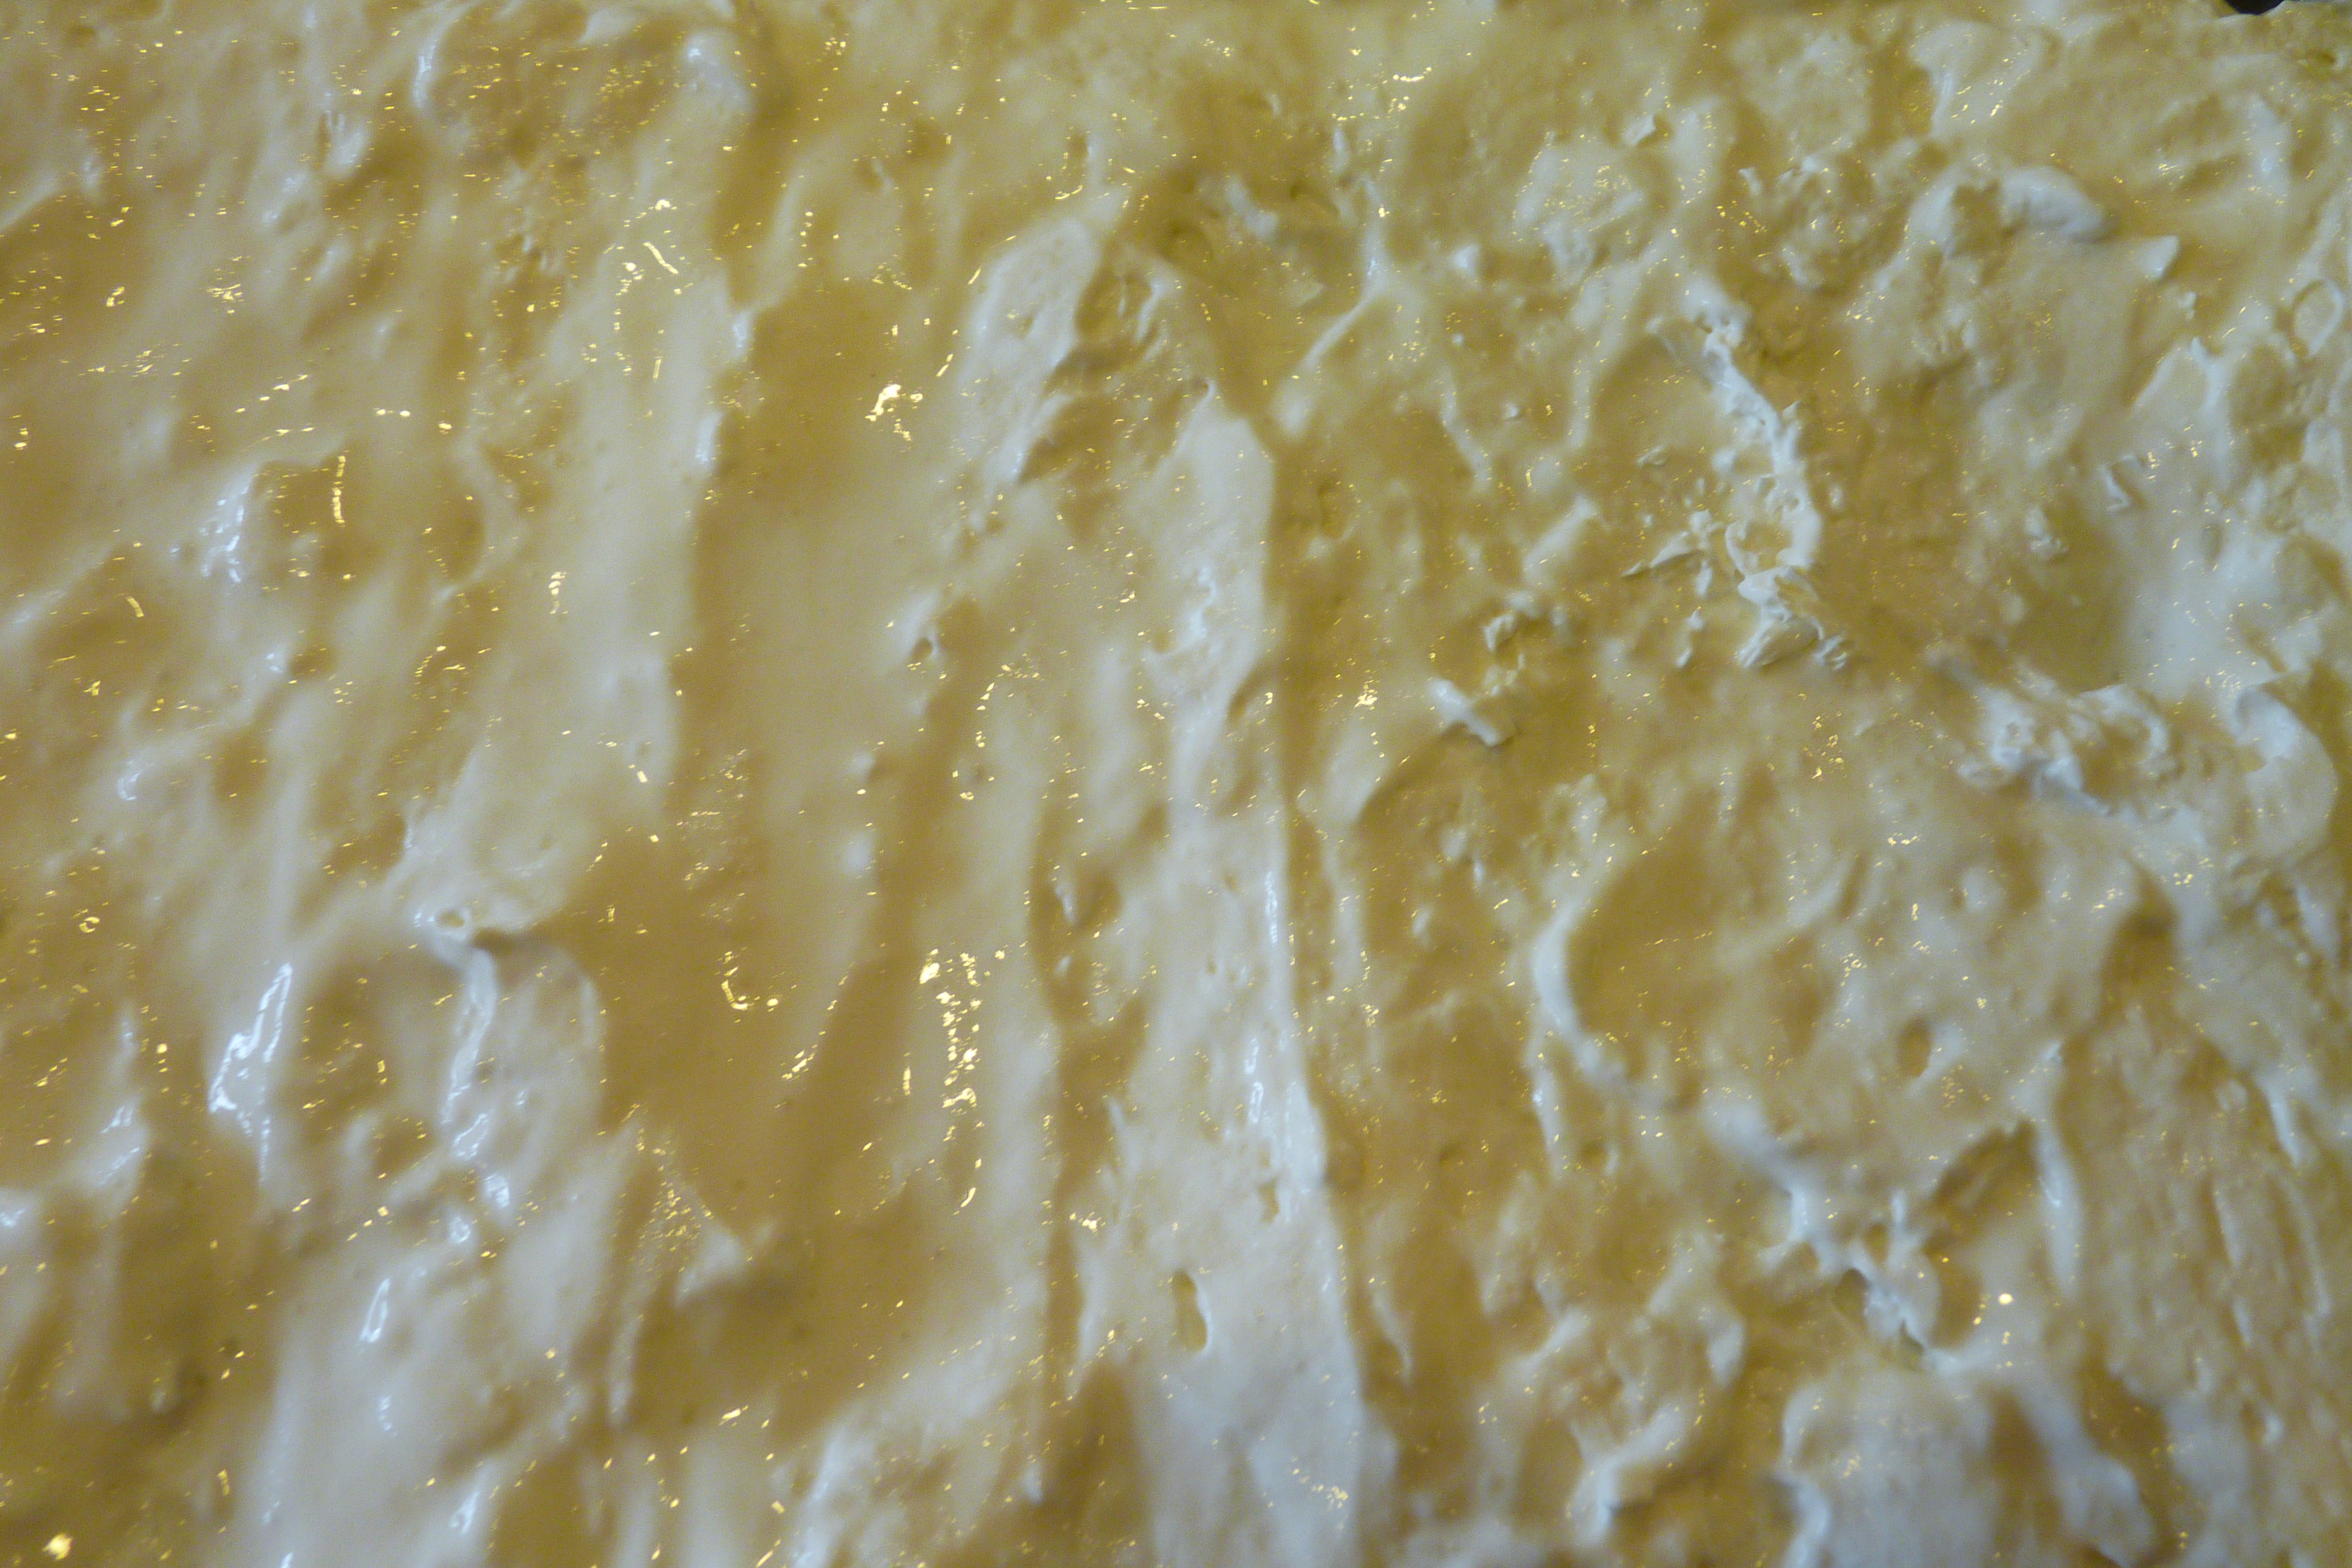
Now for the success story! Heavy cream is your friend for frozen whip cream success! So get your mixer and whip a bowl of heavy cream until it forms stiff peaks. Sweeten to taste, cover a jelly roll pan with wax paper and spread out your Whip cream evenly. Again I added sprinkles to dress things up.
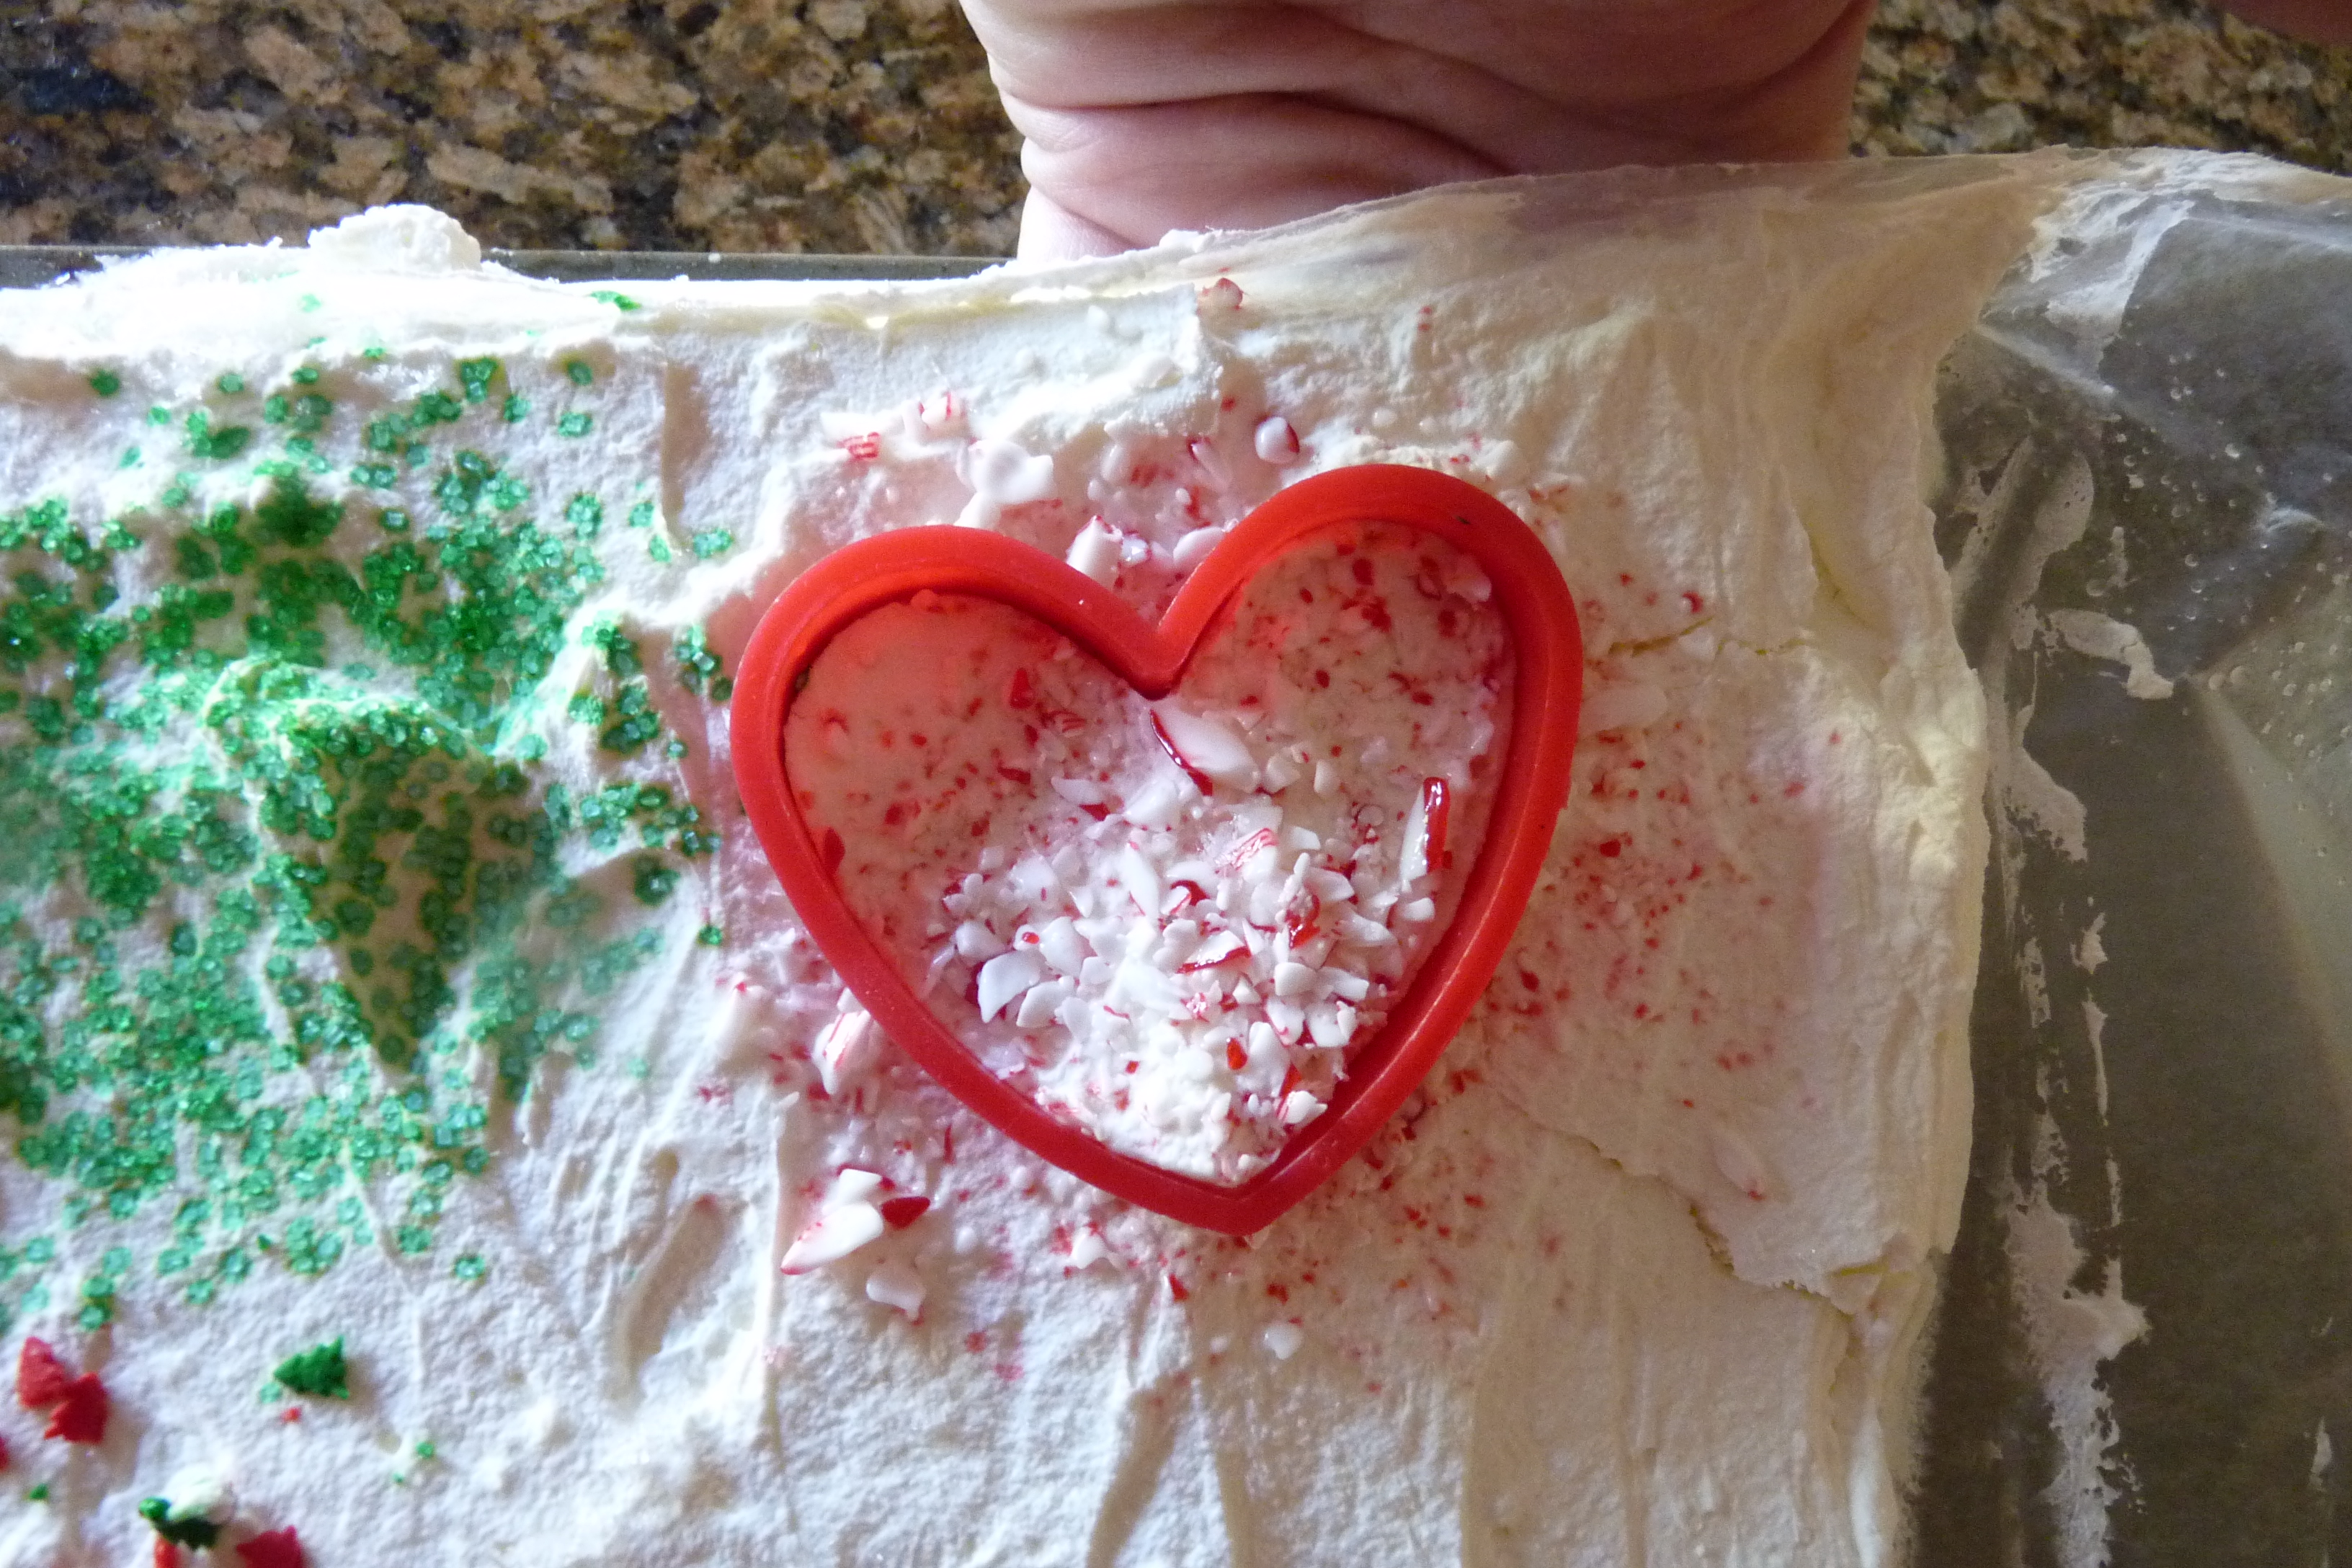
Place your pan in the freezer for about 3 hours. Remove the pan, press your cookie cutter of choice all the way through your frozen whip cream. To remove the shape slip your hand under the wax paper and gently push the cut shape up and out of the cookie cutter.
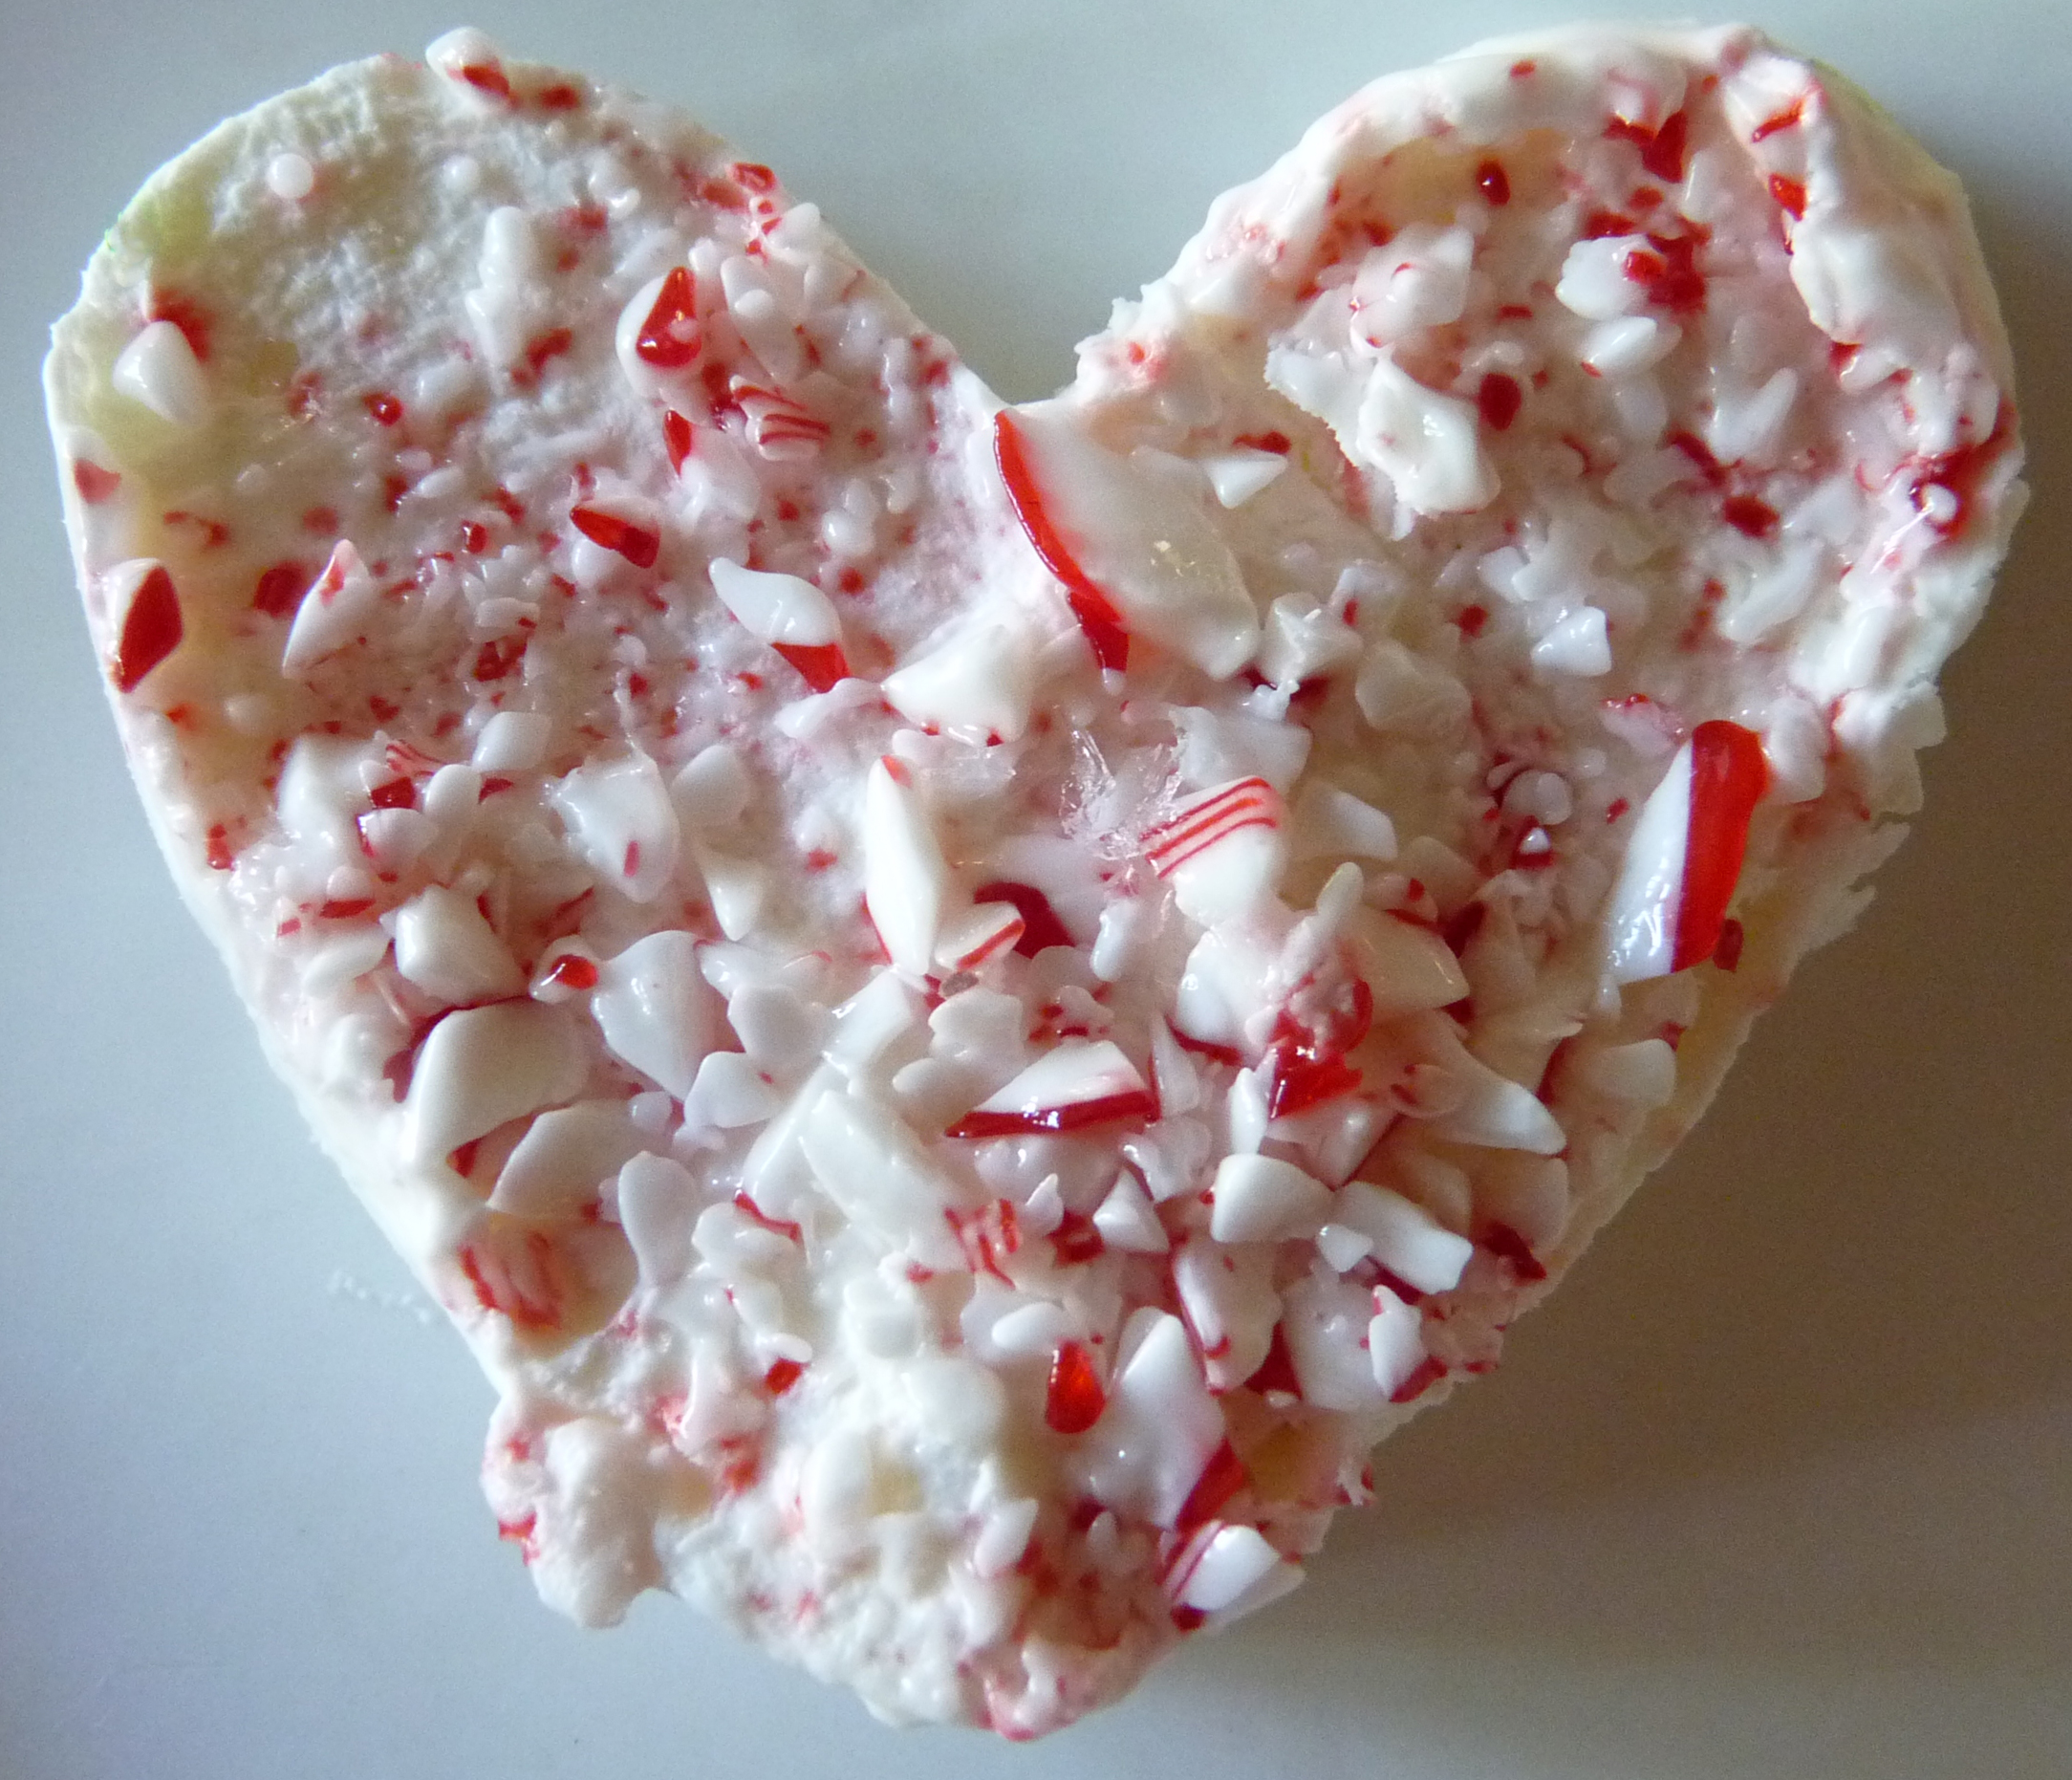
Here is a close up of my peppermint heart.
Christmas tree sprinkles close up.
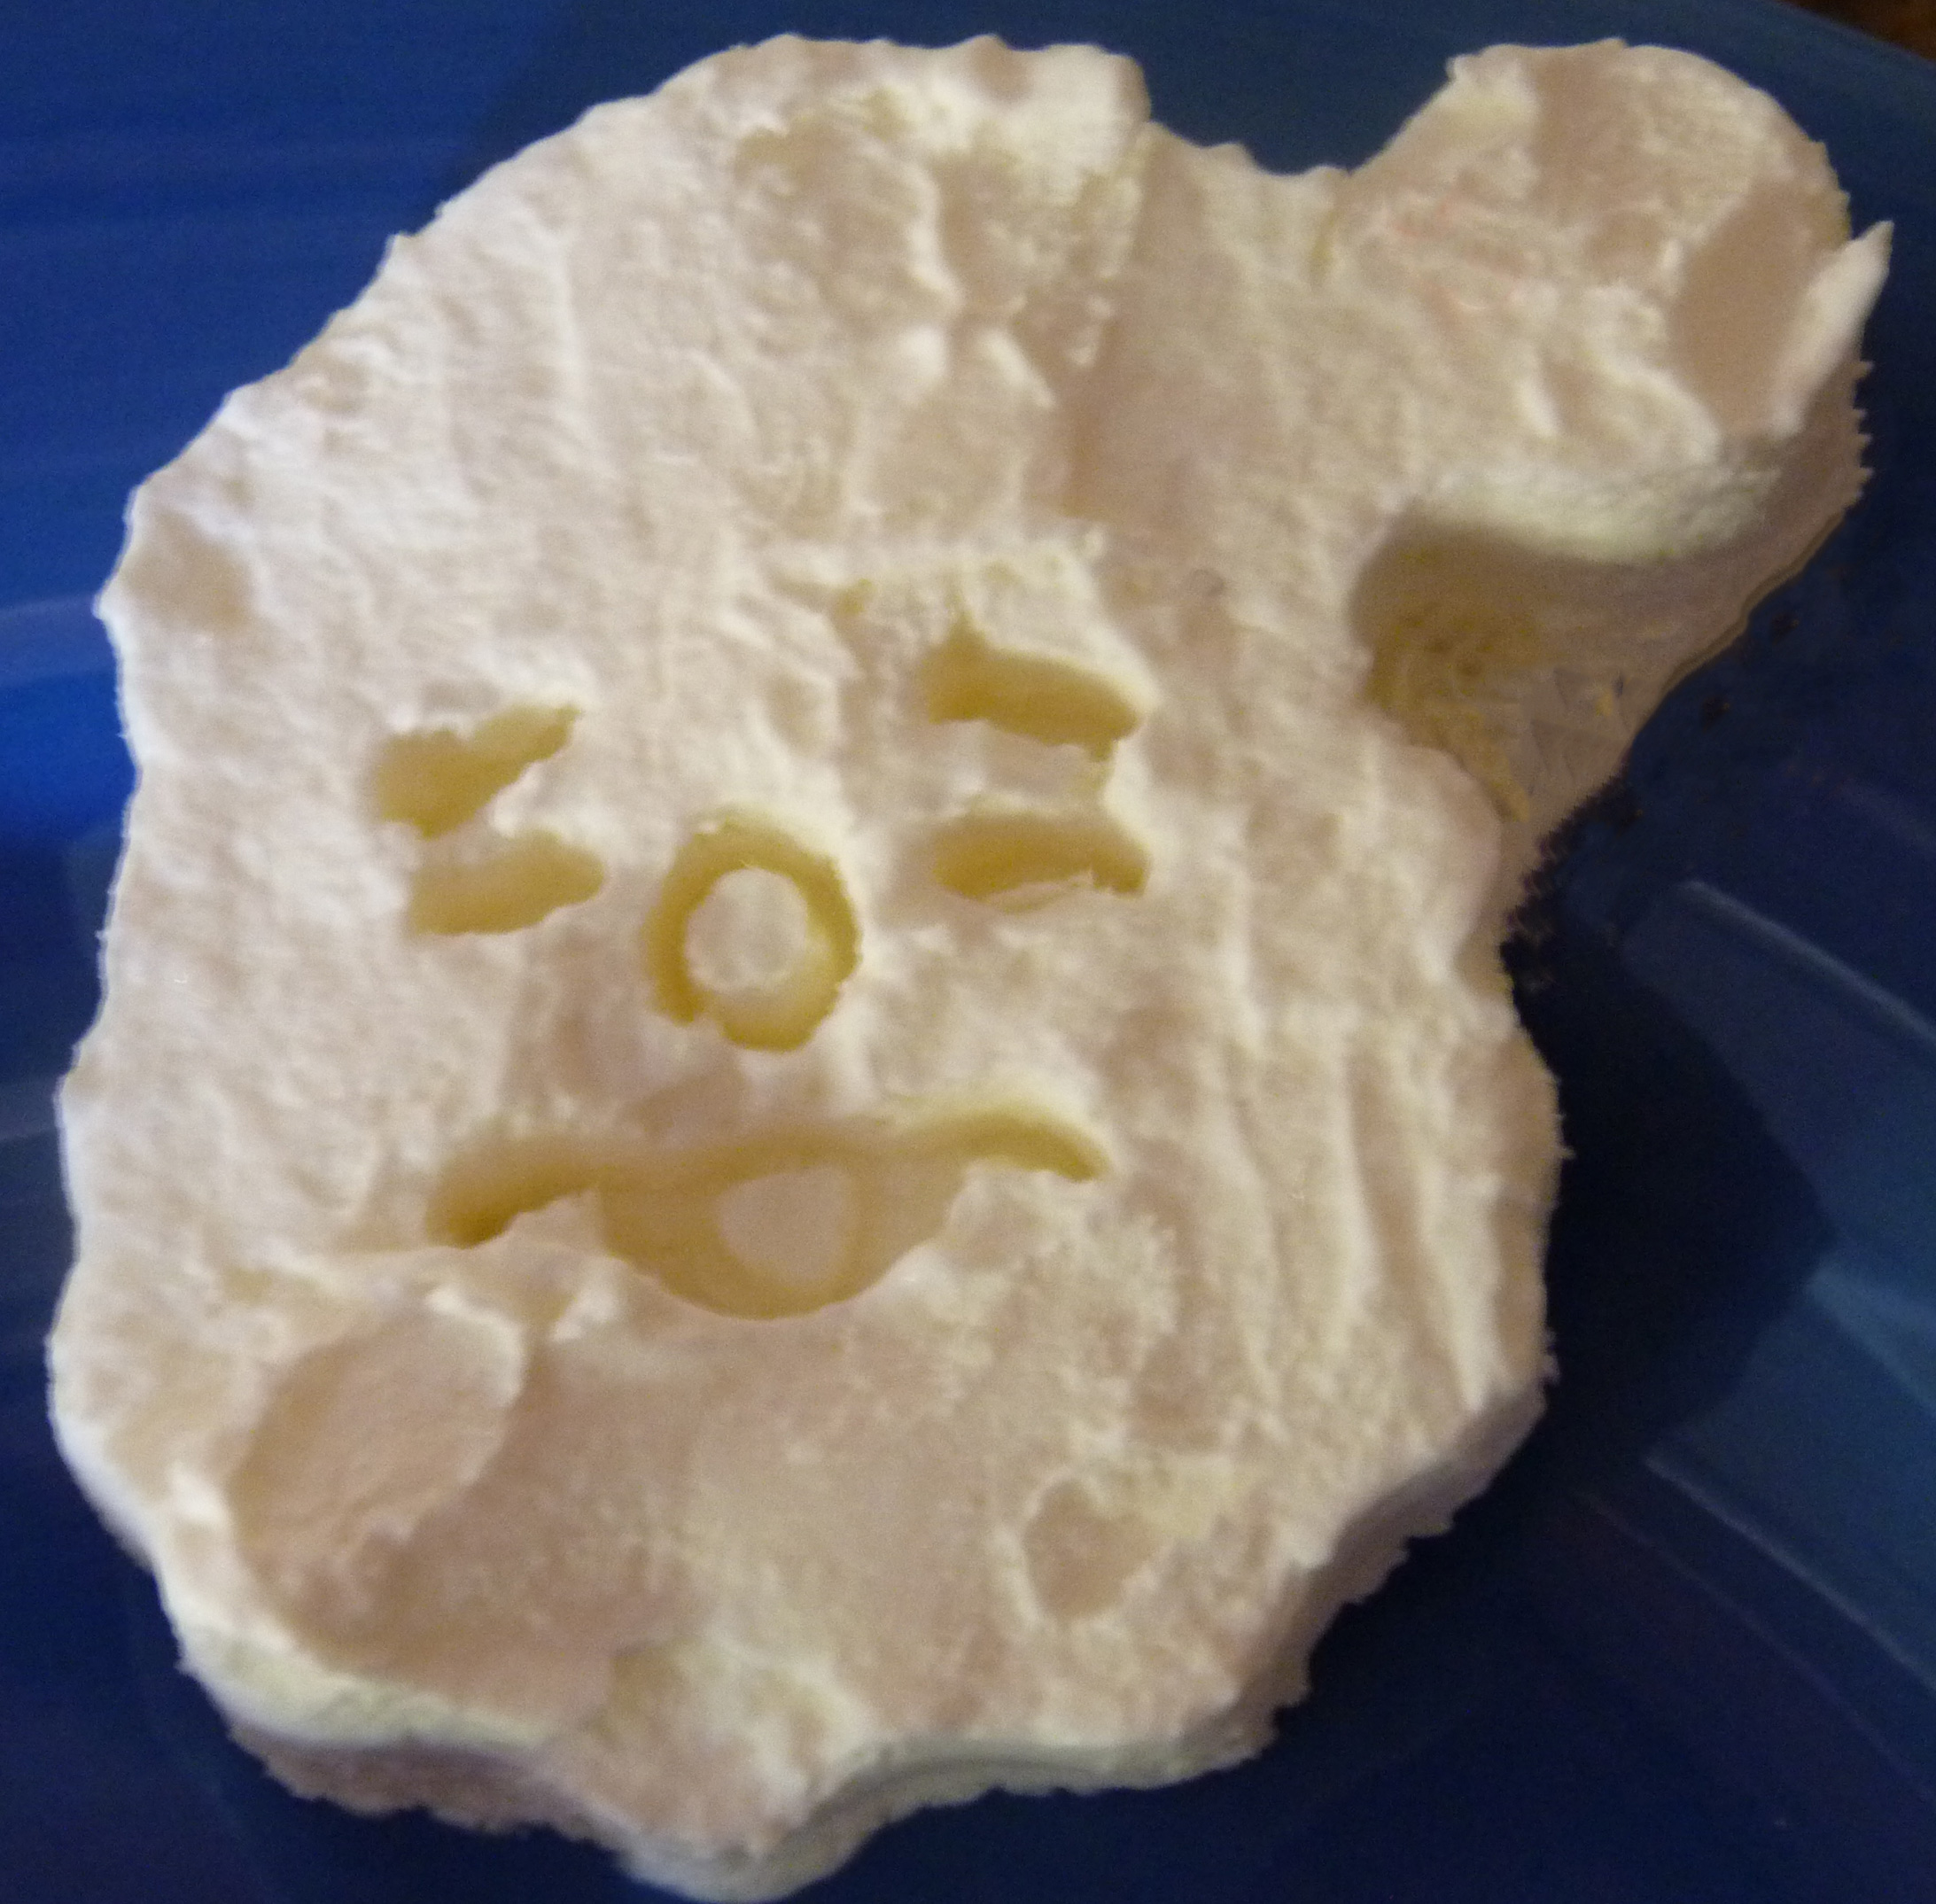
When storing your whip cream cut outs be sure to place a piece of wax paper between each cutout. Now you have fun whip cream shapes at a moments notice. These are not hard to make but they do take some extra time. I think they are worth making for special occasions. Oh yea…. I also used a Santa Face cookie cutter. I was pleasantly surprised that the face turned out so good! How fun to have Santa smiling up at you from a cup of hot cocoa.
This Pin ROCKS! (even though the first attempt flopped!)
We are happy to be linking with: DIY Showcase – Artsy Fartsy Momma – Sumos Sweet Stuff – Mad-n-Crafts – Ninth Street Notions – Lines Across – Sarahndipities – Delicate Construction – Gingerly Made – It’s So Very Cheri – Just Us Four – Craft-O-Maniac – Three Mango Seeds – Cupcakes and Crinoline

So adorable Tracy. Great idea. I posted a recipe on how to thicken and make whip cream last for days with a suggestion of freezing leftovers. But I LOVE this idea of the cutouts and decorations. So dang cute. Love the Santa face. So cute.
Jen,
I had no idea the Santa face would turn out so darling! Just went to your site (Bakerette.com) and found your “secret”, on how to thicken and make whipping cream last days. BRILLIANT! Never heard that before and can’t wait to try it out!