Hi, friends! Margaret Anne here, back with another easy, healthy recipe for ya!
Learn how to make Gluten Free Pie Crust from scratch with this easy step-by-step tutorial!
I don’t know about you, but the holiday season is my absolute favorite time of the year. Everyone is so jolly, people start decorating their houses with breathtaking light displays, and, of course, everyone makes a load of pies!
I bounce back and forth on which pie is my favorite, but I’ve narrowed it down to two—pumpkin pie and chocolate pie.
But I think we all know that the backbone of any good pie recipe is the crust. So today I’ll be showing you with a visual step-by-step tutorial how to make the most amazing Gluten Free Pie Crust you’ll ever eat!
Shall we get started?
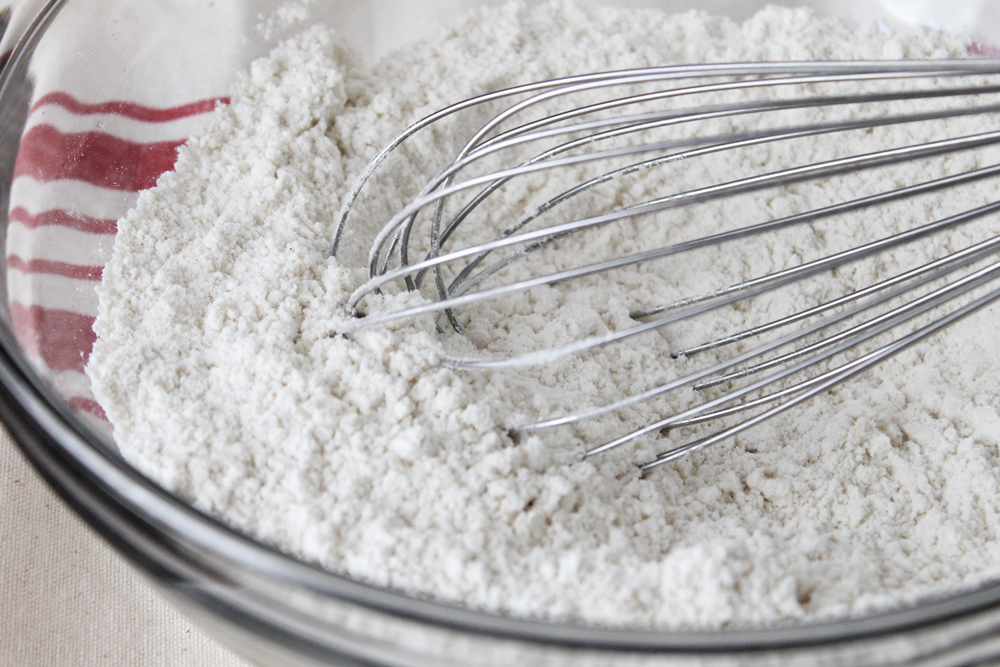
So to start off, combine the flour, salt, and sugar in a bowl and give it a good whisk to combine.
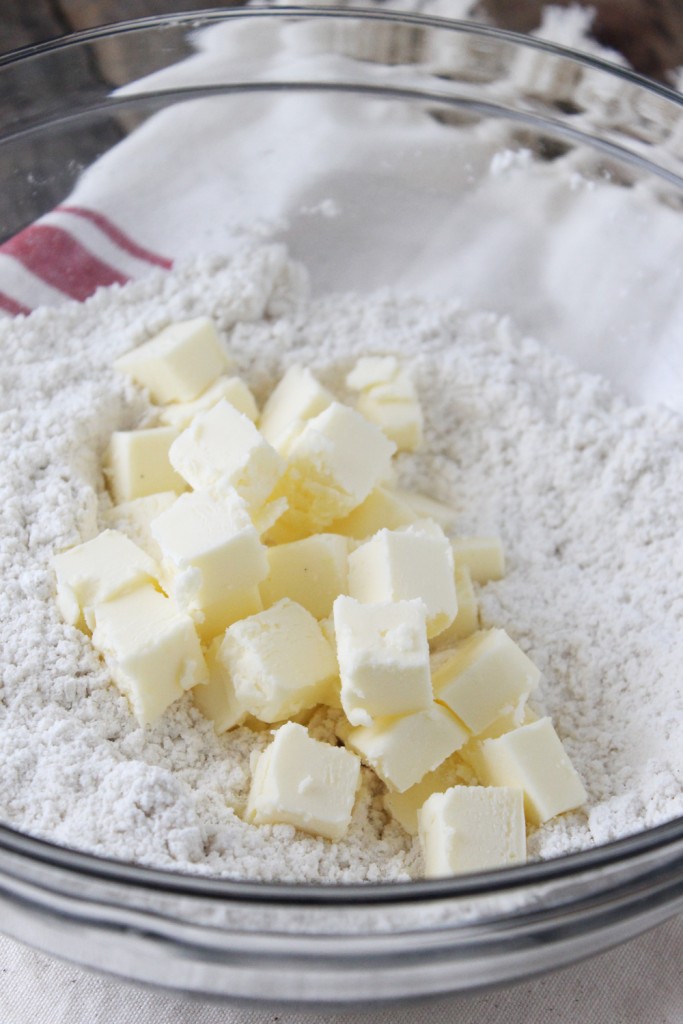
Next cut the butter into cubes and toss into the dry mixture. You can alternatively use solid coconut oil for this recipe, but keep in mind it won’t have the same flavor as a butter-dough would.
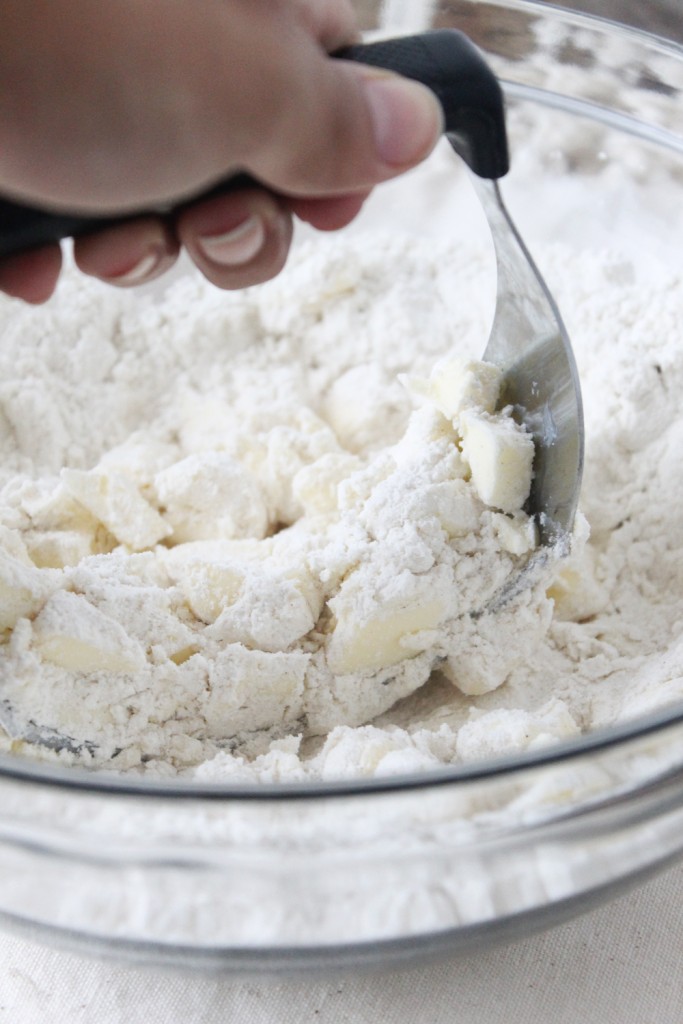
Using a pastry cutter or two butter knives, cut the butter into the flour mixture until the overall mixture resembles coarse crumbs.
I really recommend purchasing a pastry cutter, as this makes the whole pie crust-making process much smoother and easier. It’s also a great arm workout!
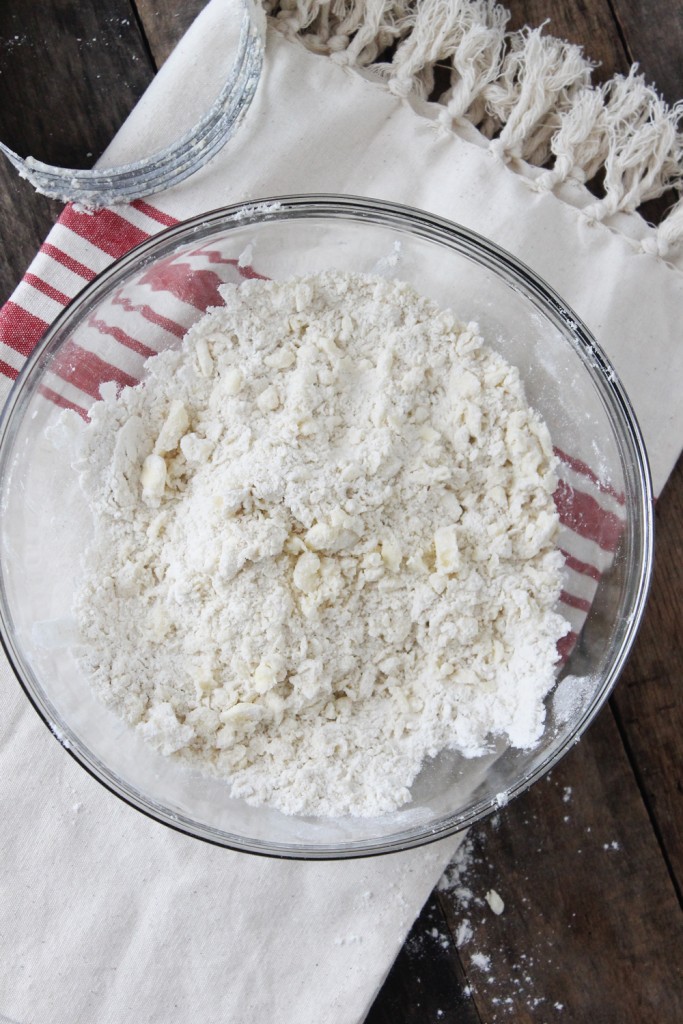
So this is what it should look like after you cut in the butter, more or less. I probably could have cut in my butter more than I did, but knowing me I was probably just too excited to eat the pie that I got a little careless and cocky.
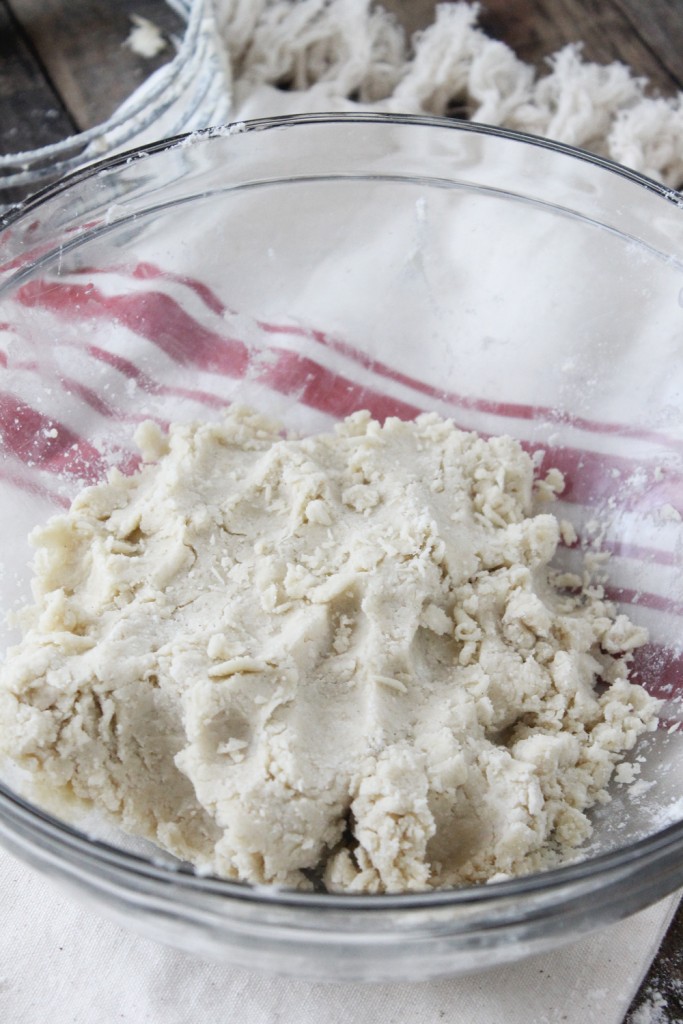
Then just pour in your ice water and pop in an egg yolk, give it a good stir. Once it gets too hard to stir with a spoon, start kneading it with your fingers, until a cohesive dough forms.

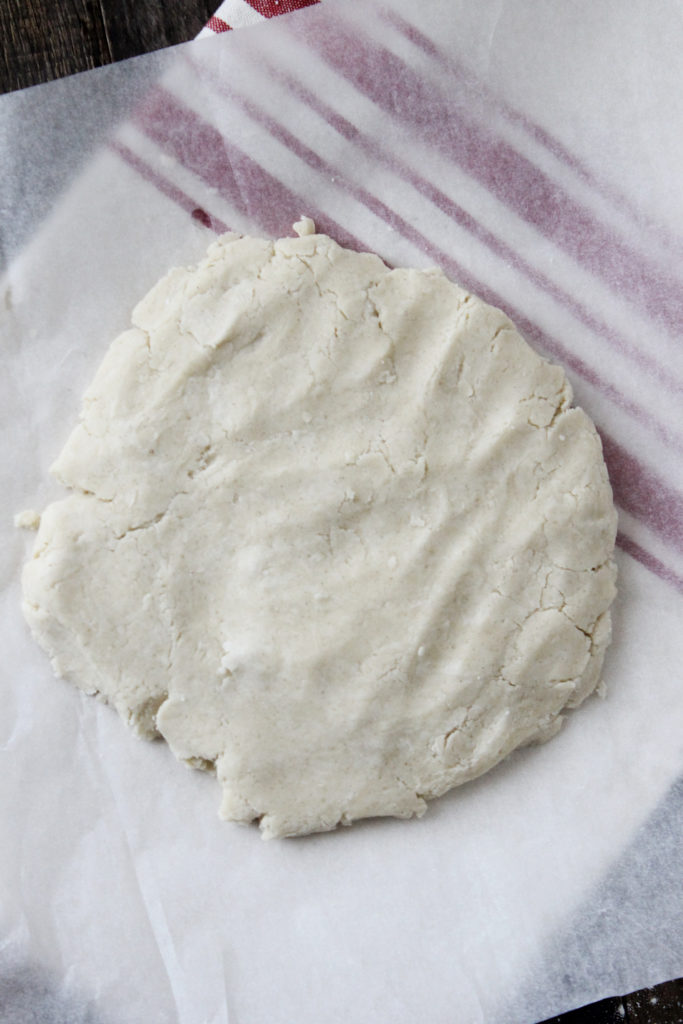
Then all that’s left to do is press the dough into a disk, wrap it in parchment paper or plastic wrap, and pop it in the fridge for at least an hour to chill, or up to 3 days.
If you wanna freeze the crusts for later use, you can just pop them in the freezer and they’ll keep for up to three months.
When you’re ready to use the pie crust, roll it out on a floured surface (gluten-free flour, of course) until it’s 10 or more inches in diameter.
Here’s the recipe:
Gluten Free Pie Crust
Ingredients
- 2 1/2 cups gluten-free 1-to-1 baking flour I used Bob's Red Mill
- 2 teaspoons granulated sugar
- 1/2 teaspoon kosher salt
- 1 cup 2 sticks salted butter, chilled
- 1/2 cup ice water
- 1 egg yolk
Instructions
- In a medium-sized bowl, combine the gluten-free flour, sugar, and salt. Whisk to combine.
- Cube the butter and add it to the dry ingredients. Using a pastry cutter or two butter knives, cut the butter into the flour until the mixture resembles coarse crumbs.
- Pour in the ice water and add the egg yolk and stir with a wooden spoon to combine. When it gets too hard to stir, start using your fingers to knead the dough. Since this is gluten free pie crust, you don't have to worry about over-kneading the dough.
- Use your hands to shape the dough into a ball, packing it together firmly. Flatten the dough ball into a disk and wrap with plastic wrap or parchment paper.
- Refrigerate the dough for at least one hour, or up to 3 days. You can also freeze the dough at this point.
- After the dough has chilled, roll it out until it reaches 10 inches in diameter.
- Carefully drape the rolled pie crust over your pie pan and press into the pan. Crimp the edges with your fingers or a fork.
- Place in the freezer for 10 minutes to chill. Fill with whatever pie filling you'd like. Continue as instructed on pie recipe.
What is your favorite kind of pie? Share in the comments below! Happy Holidays!
Here are a few treats from my blog Natural Chow you will also enjoy!
Roasted Bacon Parmesan Brussel Sprouts



Leave a Reply