Disclosure: We receive an affiliate commission if you purchase your hosting through BlueHost. There is no extra cost to you and we appreciate your support of our blog!
Have you thought about starting a blog, but don’t know where to begin? After three years of blogging we’ve gained a lot of experience. We started our first blog, Made From Pinterest, to stay close as sisters, but we’ve amassed over 800,000 site visitors each month from over 200 countries! We want to help you do the same thing with how to start your blog!
We’ve broken down how to start a blog into three easy steps:
- Domain Name and Server
- Downloading WordPress
- Choosing a Theme
1) DOMAIN NAME AND SERVER
The first step to starting a blog is choosing a domain name. Your domain name is the URL of your blog site. For example, our blog is “Made From Pinterest,” and our domain name is “madefrompinterest.com.”
Tip: There are a lot of blogs on the web, which means a lot of domain names are already taken. Your first choice for a name may not be available. We suggest making a list of names you like that are unique, and reflect what your blog is all about.
Once you are ready to select a domain name, go to Bluehost by clicking here.
Why Bluehost? We signed up with Bluehost when we started our blog and we love them! Their customer service has never let us down, and they have very affordable starter plans. Plus: they give you your domain name for free if you host with them!
Tip: In a nutshell there are three benefits to paying for your server host:
- Paying for your blog host, rather than using a free version, allows you to have a unique domain name that is easily searchable.
- You own your blog. When you use a free server, you do NOT own your blog. Your free server provider can delete all of your content. This has happened to others, and you don’t want it to happen to you.
- If you own your blog then you can fully monetize it. Your options for monetizing your blog are limited with a free server.
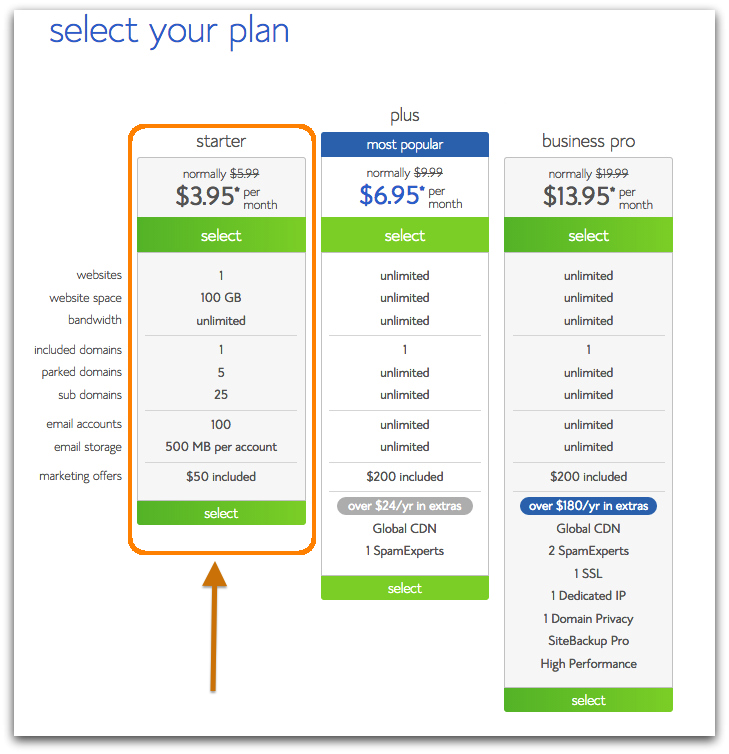
Ok, let’s keep going! On the current screen, select the starter plan (perfect for a beginner blogger); it will then take you to the screen shown below.
Type in your preferred domain name and click the blue “next” button.
Bluehost will then ask you for some basic registration and payment information. Finish the registration process with Bluehost and voila! You are now the owner of your very own blog!
2.) DOWNLOADING WORDPRESS
Now that you are registered with Bluehost and have your domain name, it is time to install your blogging software. The blogging software is what you will use to create and publish your blog posts.
We will show you how to do this using WordPress, which is very popular software among bloggers. In fact, it is the software we use for our blog!
WordPress makes it easy enough that anyone can quickly install their software. A few clicks and you will have WordPress up and running on your website!
To make it extra easy, we’ve included lots of pictures to help you through the process!
Tip: WordPress has a bit of a learning curve, so when you first start it can be overwhelming. Trust us though, once you play with it a little bit, it will become very clear. You will be glad you went with WordPress!
First you need to login to your Bluehost account. Once you are logged in, it will take you to your Bluehost control panel. Ignore the overwhelming number of icons and scroll down the page until you see the “Mojo Marketplace” category. Select the “One-Click Installs” icon.
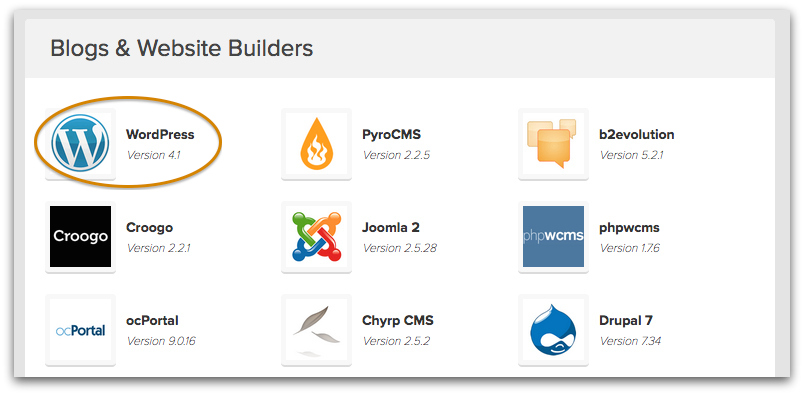
Once you click on the “One-Click Installs” icon, it will take you the Install Websites and Applications page. Scroll down this page until you see WordPress and select it.
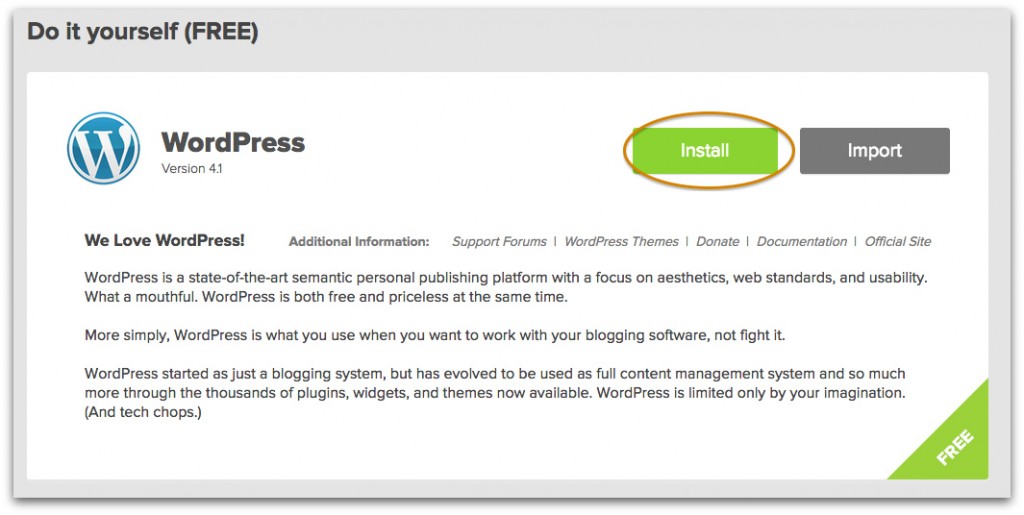
This will take you to the WordPress installation screen shown below. On this screen, click on the green “install” button.
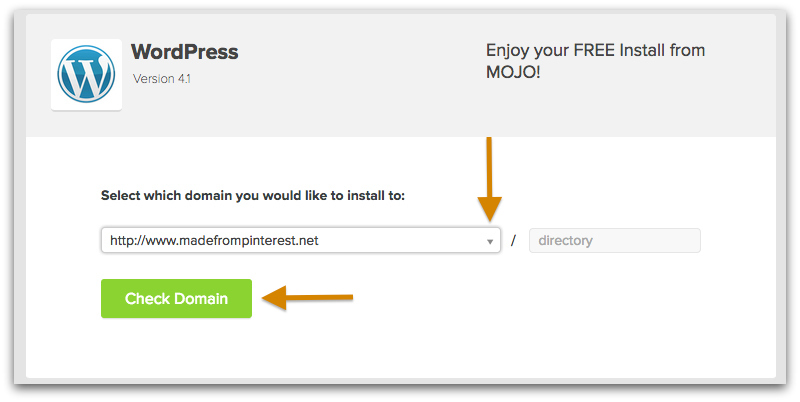
Before it will actually install WordPress, you need to select your domain name (because you are installing this on your website, not your computer). Select your domain name from the drop-down menu and click the green “Check Domain” button.
Indicate that you have read the terms and conditions by checking the box and click the green “complete” button. WordPress will then install on your website within a matter of seconds!
Once WordPress is installed, it will display a black button in the upper right hand corner of the screen that says “View Credentials.” Click on this button to view the site URL, login URL, WordPress username and WordPress password. Please save this information somewhere so you don’t forget it! We will also be using this information in the next step!
3.) CHOOSING A THEME
This is the fun part! It’s time to choose a design for your blog!
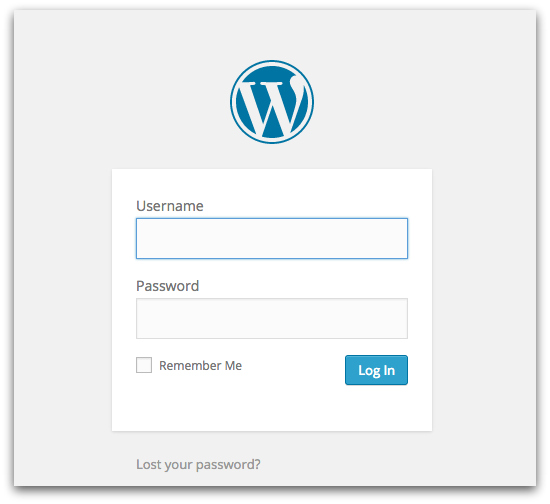
Log in to your blog by copying and pasting the login URL into your browser. Then use the WordPress username and password to login!
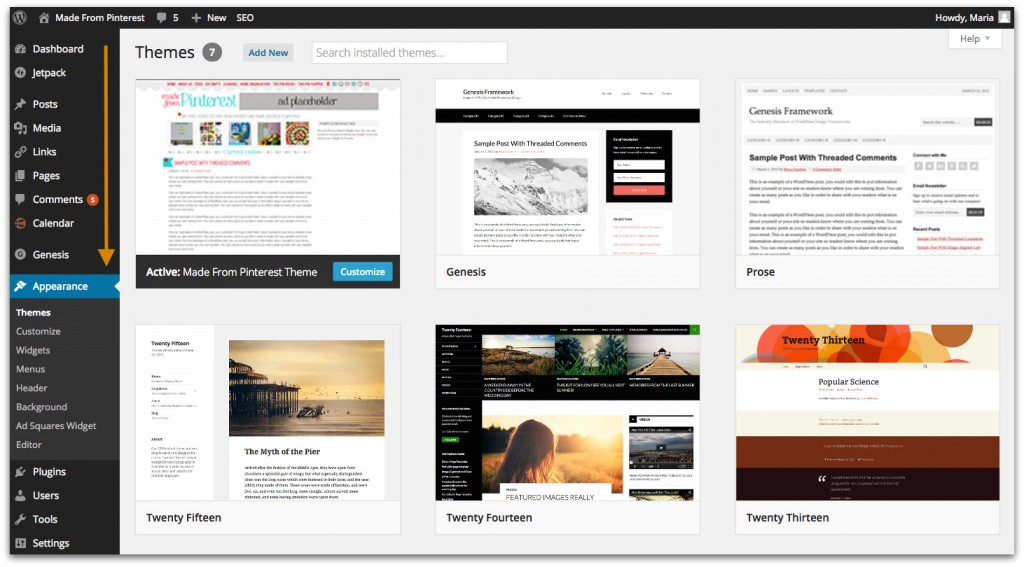
Once you are logged in, it will show you the WordPress dashboard. Scroll down the left side of the screen until you reach the paintbrush icon or the “appearance” tab.
Select “themes” under the “appearance” tab. WordPress offers lots of free themes to choose from for your blog! All you need to do is search for a theme you love and activate it!
To activate a theme, hover your cursor over the theme you like and select the blue box that says, “activate.”
Tip: You really want to make sure you love your theme, because it just adds to your workload if you decide to switch your theme later and do a content back-up! The free WordPress themes are just fine, but if you can’t find something you love then check out creativemarket.com. We use this site all the time for custom fonts and they have some amazing themes as well! You can find some beautiful themes for just $10 that come ready to work with phones and tablets!
Here are a few we like:
Ta-dah! Your blog is ready for your first post! If you are still a bit intimidated by WordPress or blogging, don’t worry! You will learn as you go, so just get started!
Tip: Starting a blog usually means you will also be starting a new Pinterest account for that blog (separate from your personal account). We have found it extremely helpful to manage our pins using Tailwind. Tailwind is a Pinterest management tool that will monitor your account, help you engage with your community and measure results. You can try a free trial with Tailwind by clicking here.
Please feel free to message us any questions you may still have! We would love to help! Pin this page and refer to it later as needed!
Please note that the links we include in this tutorial are affiliate links and we earn a small commission when you use them. We never suggest a product or company that we don’t use and love ourselves.


