Question #1 How can you make an Oreo cookie even better? Add a stick, dip it in chocolate and add crushed candy cane on top! How cute would it be to give these away as treats during the holidays? This pin comes from Lulu the Baker. Her whole site is full of amazing ideas. I was wise and hid my bag of Double Stuffed Oreo’s where the family couldn’t see them. They tend to disappear pretty quick at our house.
Question #2 How do you eat an Oreo? Me? I twist it apart, “scrape off” and eat the cream filling first, then dip the two outside pieces in milk and consume. For all subsequent cookies you must dip them in milk, let it soak for at least 10 seconds and then try and get it in your mouth before it falls apart.
In case you need further instructions on proper Oreo cookie eating techniques watch this DARLING commercial from the UK. The cutest little girl is “teaching” her daddy how to eat Oreo’s. Now that you have been properly trained in the art of eating “Oreo’s” let’s get down to business.
Ingredients Needed
1 package double-stuffed Oreos (the regular ones aren’t thick enough)
2 bags white candy melt
Paper lollipop sticks (6-inch work best)
4 candy canes, crushed
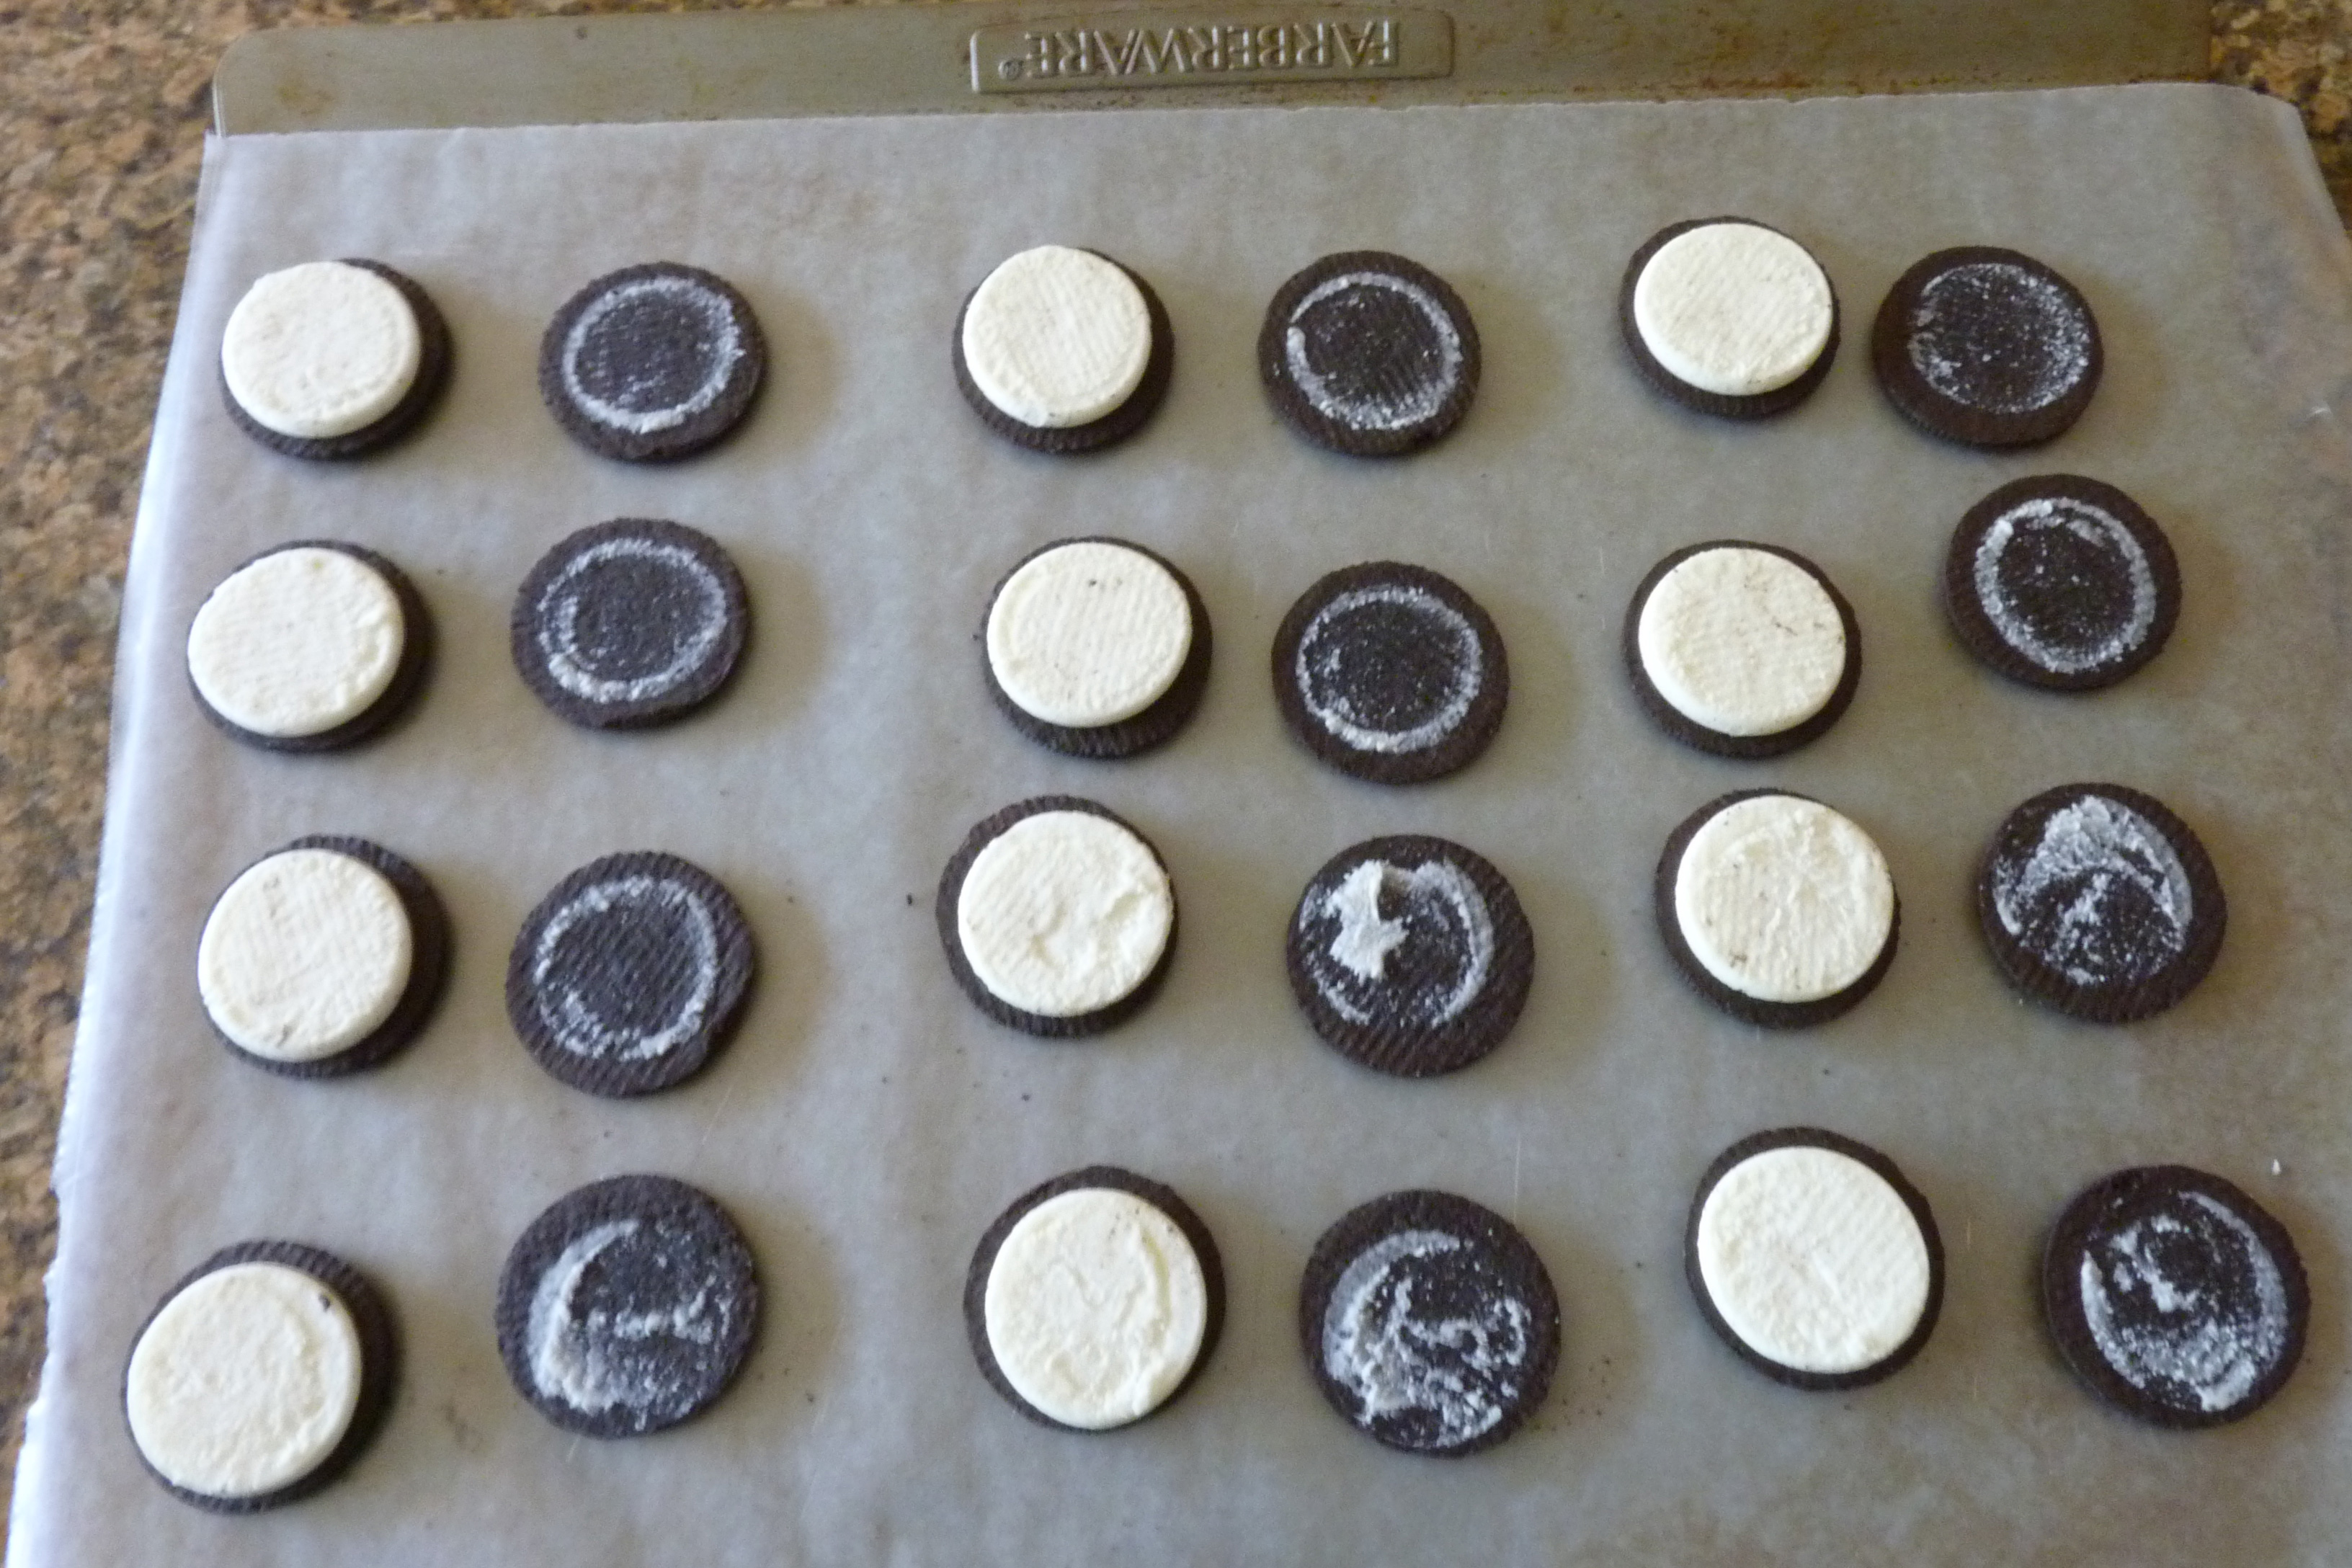
1. Get out 2 or 3 cookie sheets and line them with parchment paper or waxed paper. Very carefully twist the tops off of all the Oreos and set all of your little Oreo bits and pieces on the prepared cookie sheets. Don’t crowd them. 12 per sheet worked great.
2. Using the end of a chopstick or a skewer you dig a little channel in the cream filling on each Oreo. If you start at the edge and gently work toward the middle (instead of starting in the center and moving outward), you won’t randomly lose big chunks of filling.
3. Put your candy melts in a microwave-safe bowl. In this case, tall and narrow is better than short and wide. Think measuring cup, not pie plate. Melt them according to package directions.
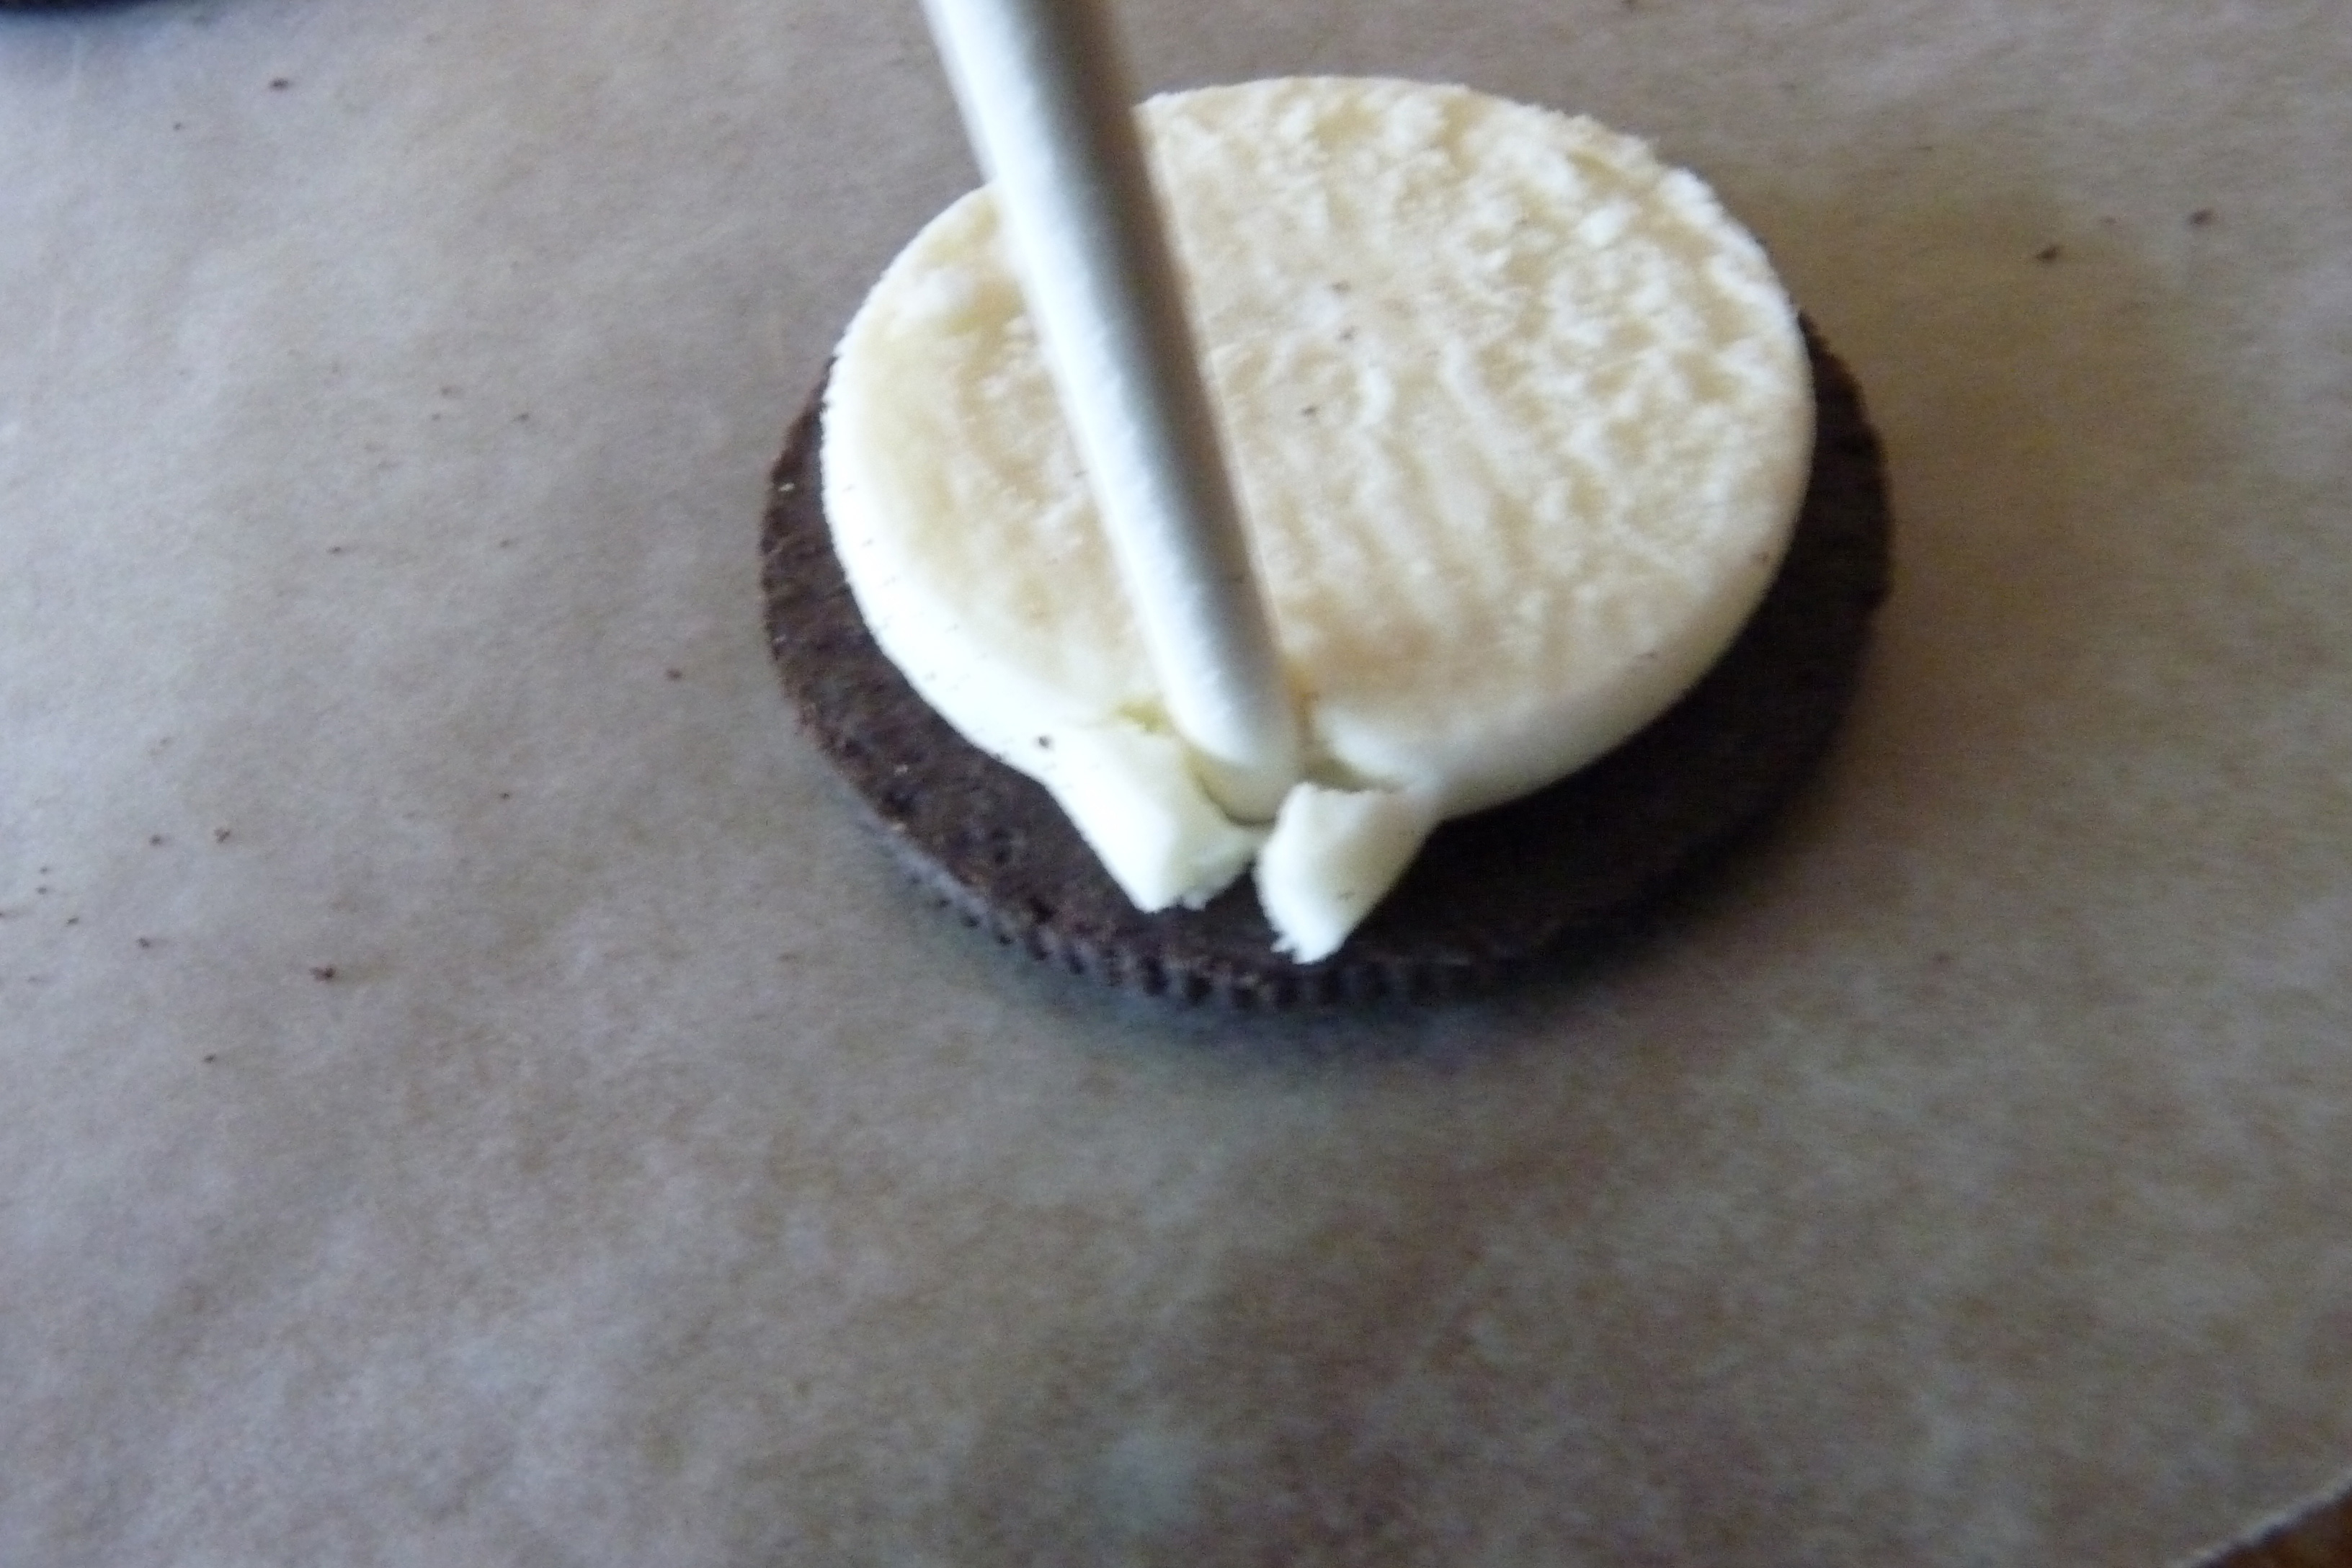
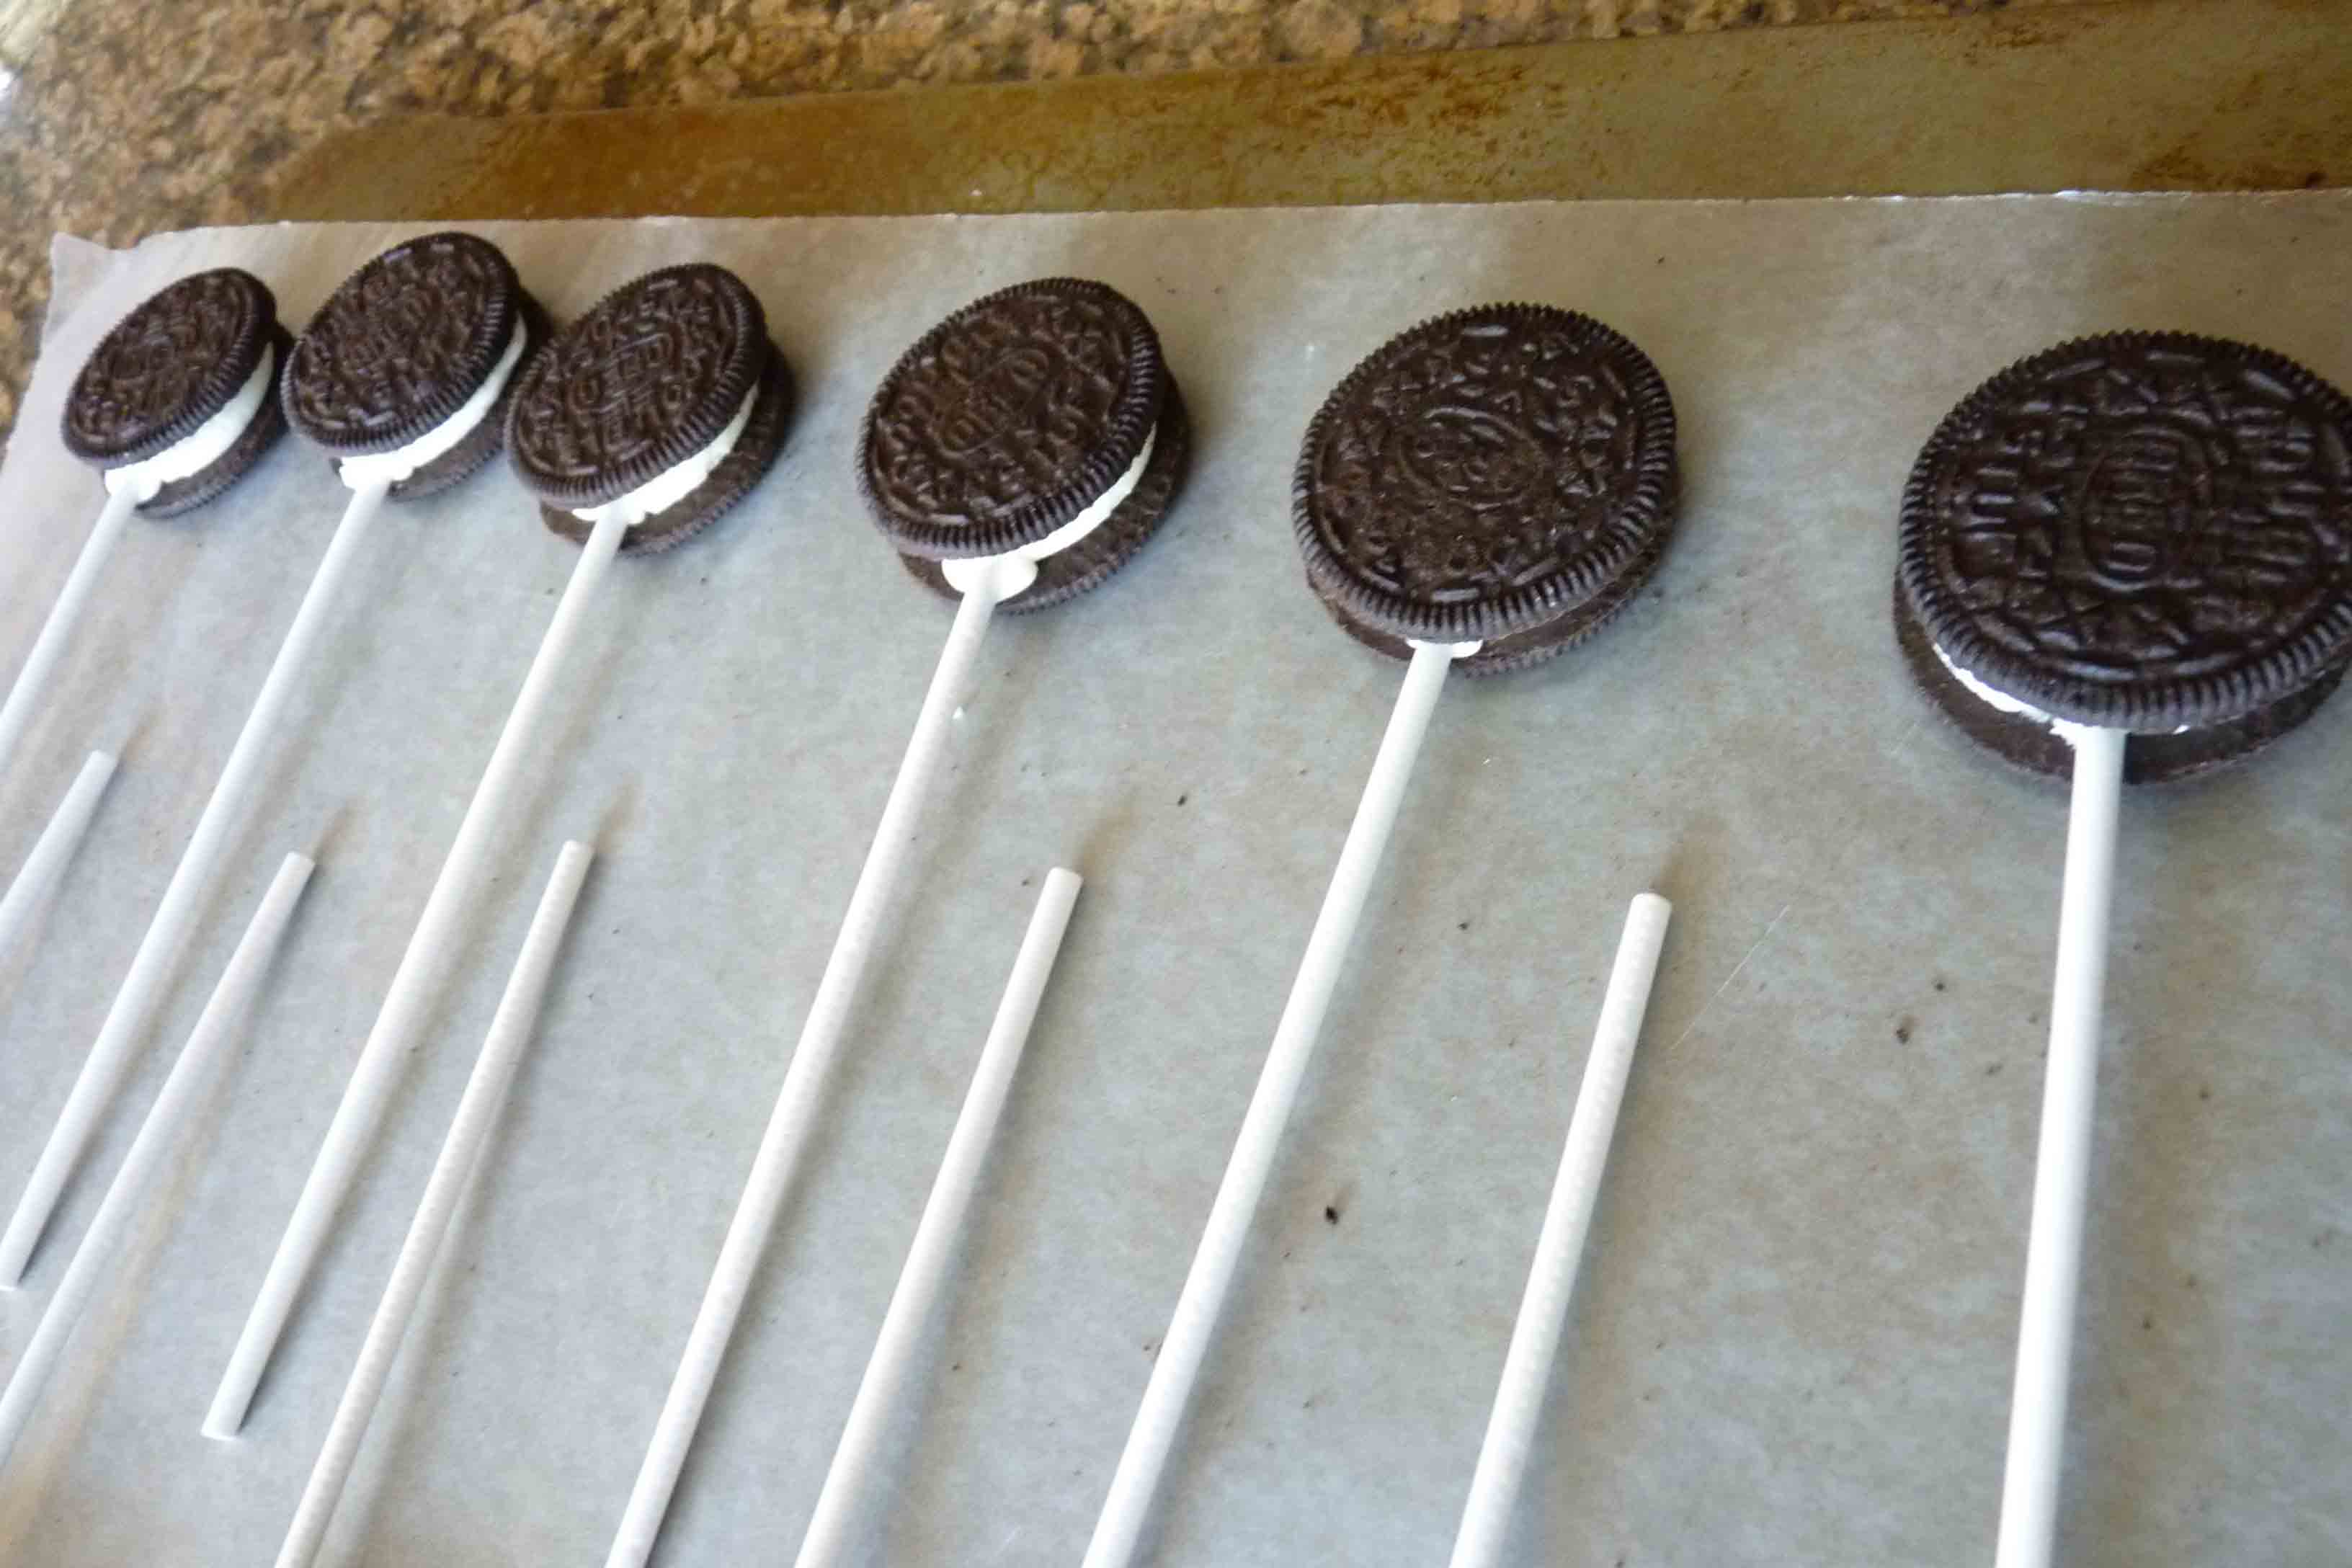
4. Dip the end of a lollipop stick in melted candy and set it in one of the Oreo cream filling channels you dug in step 2. Gently push it all the way in and all the way down. Gently! If you push too hard, the Oreo will break.
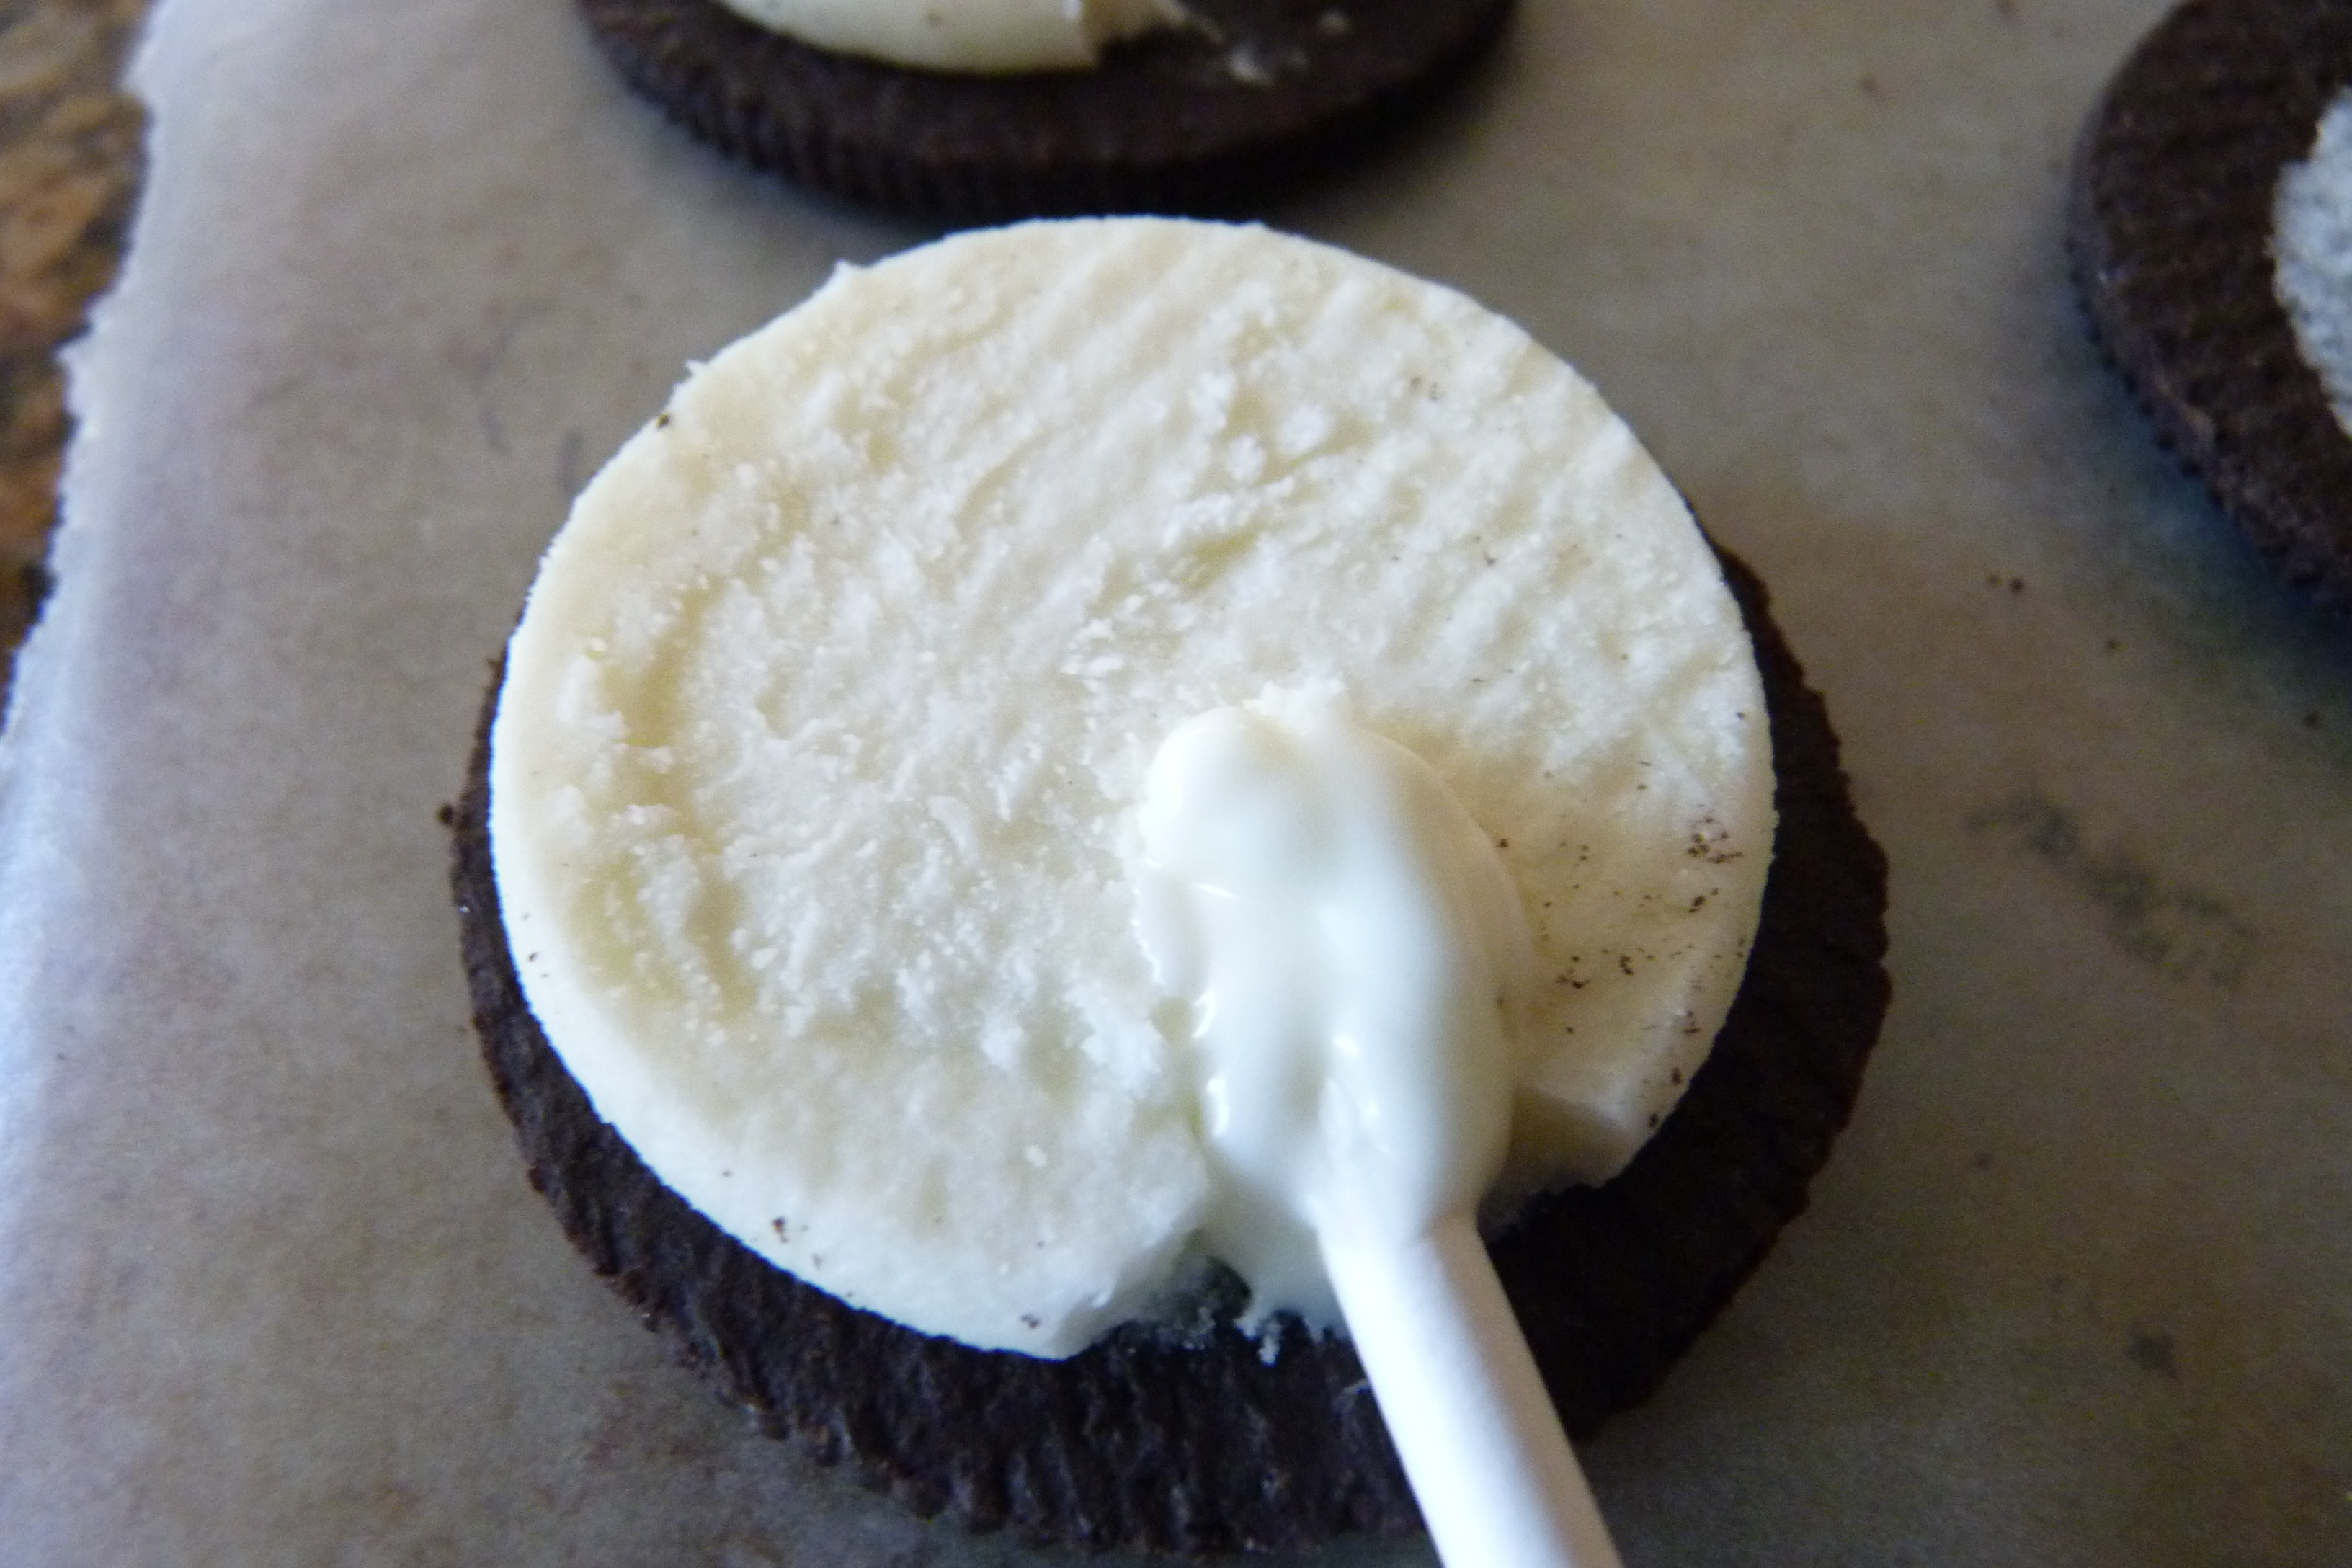
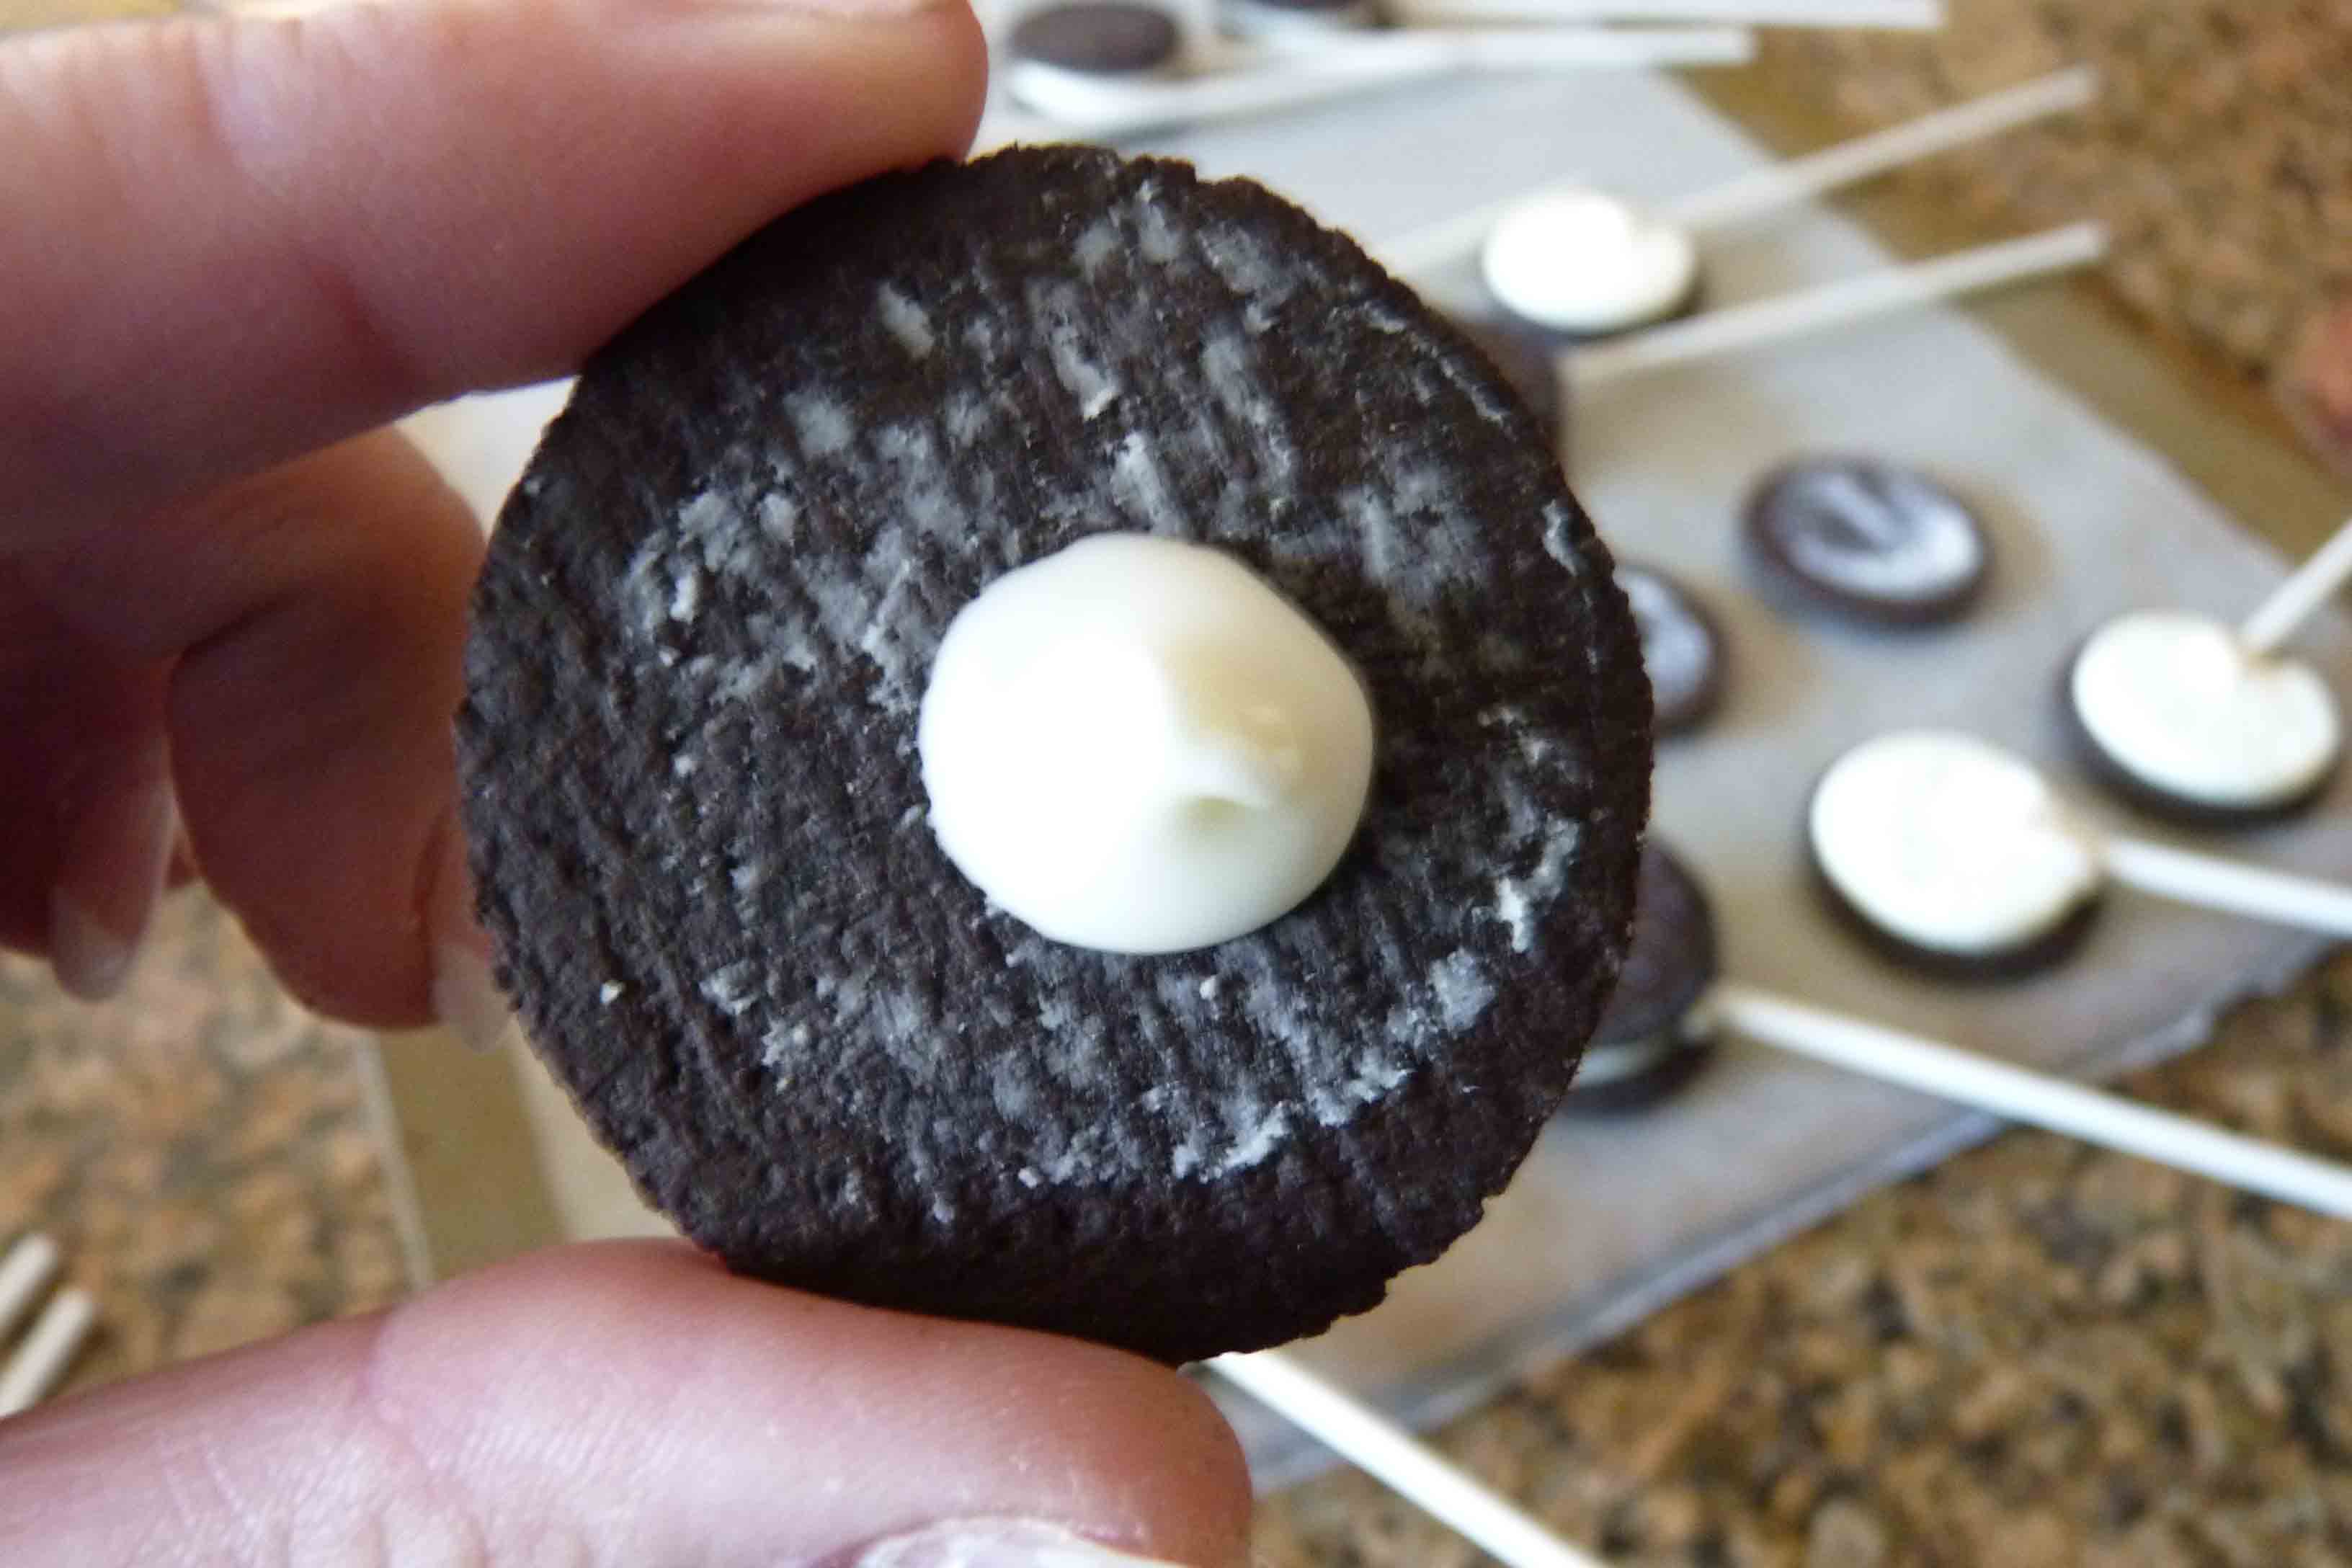
5. Take an Oreo top, spoon a tiny bit of candy onto the blank side (dime-sized at the most), flip it over, and put it back onto its mate. “They are married now”
6. Repeat steps 4 and 5 with the rest of the Oreos and sticks, and let them sit until completely set.
7. If the candy melts need a quick reheat before moving on, feel free to microwave them again briefly.
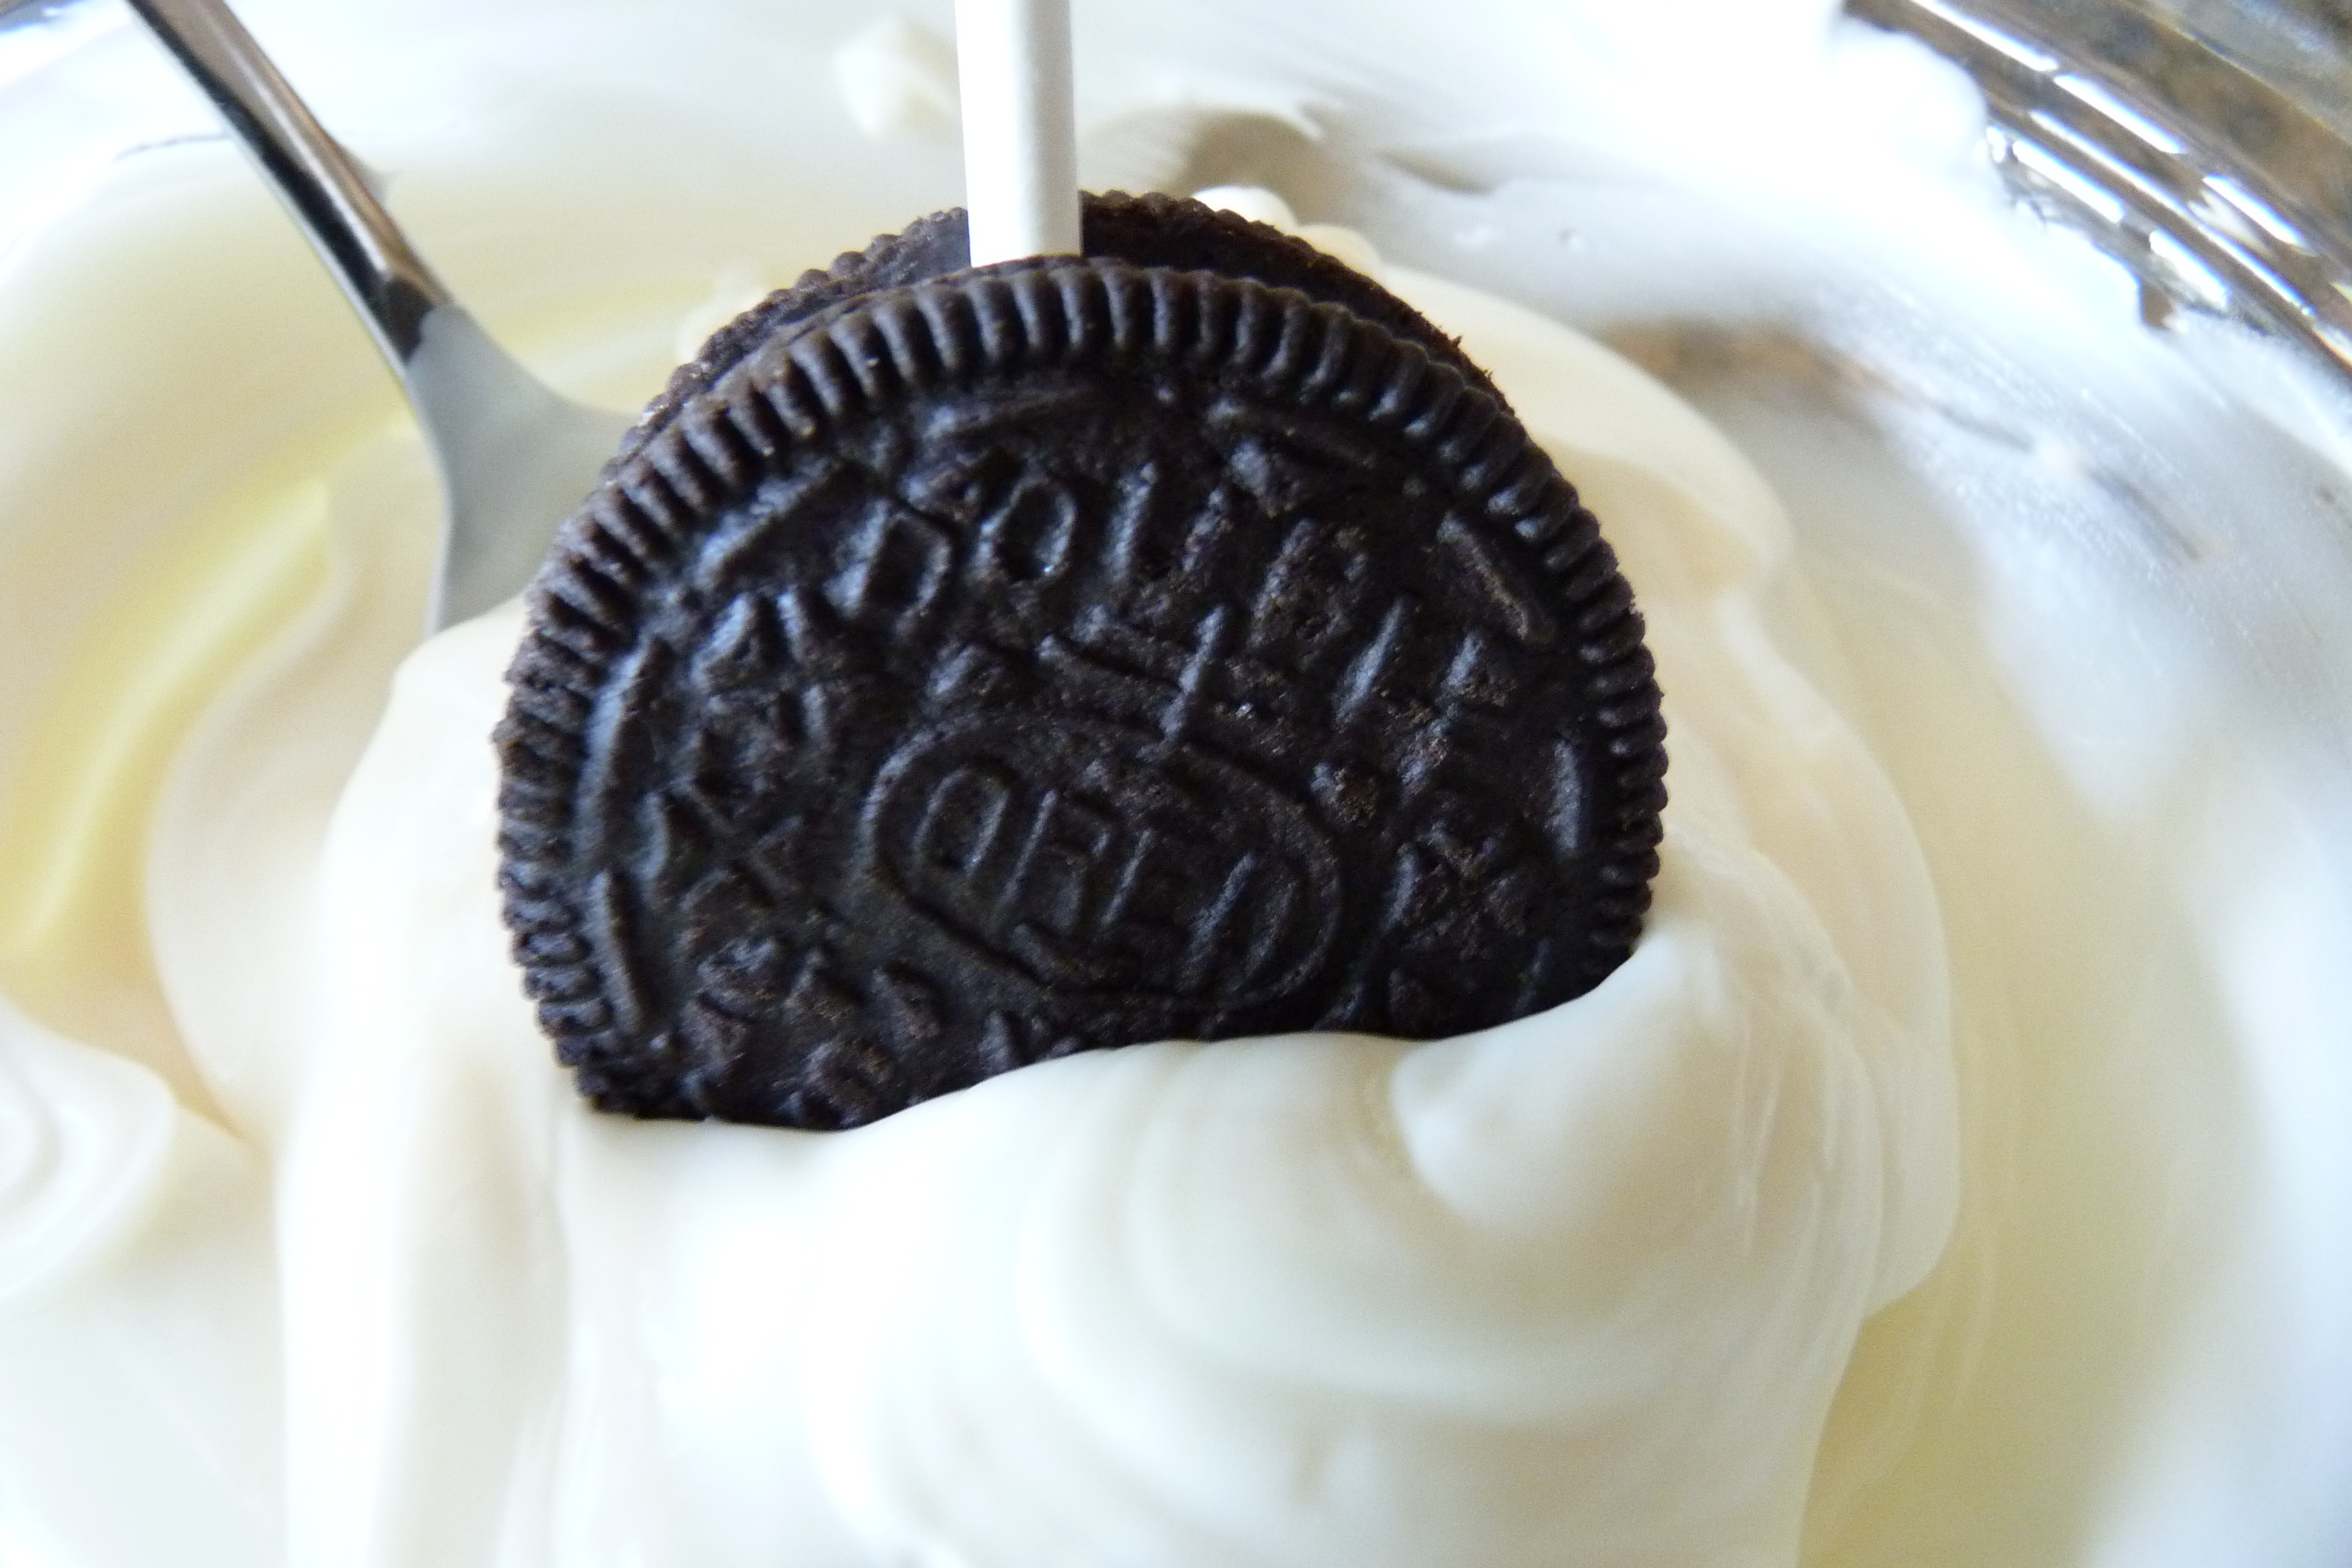
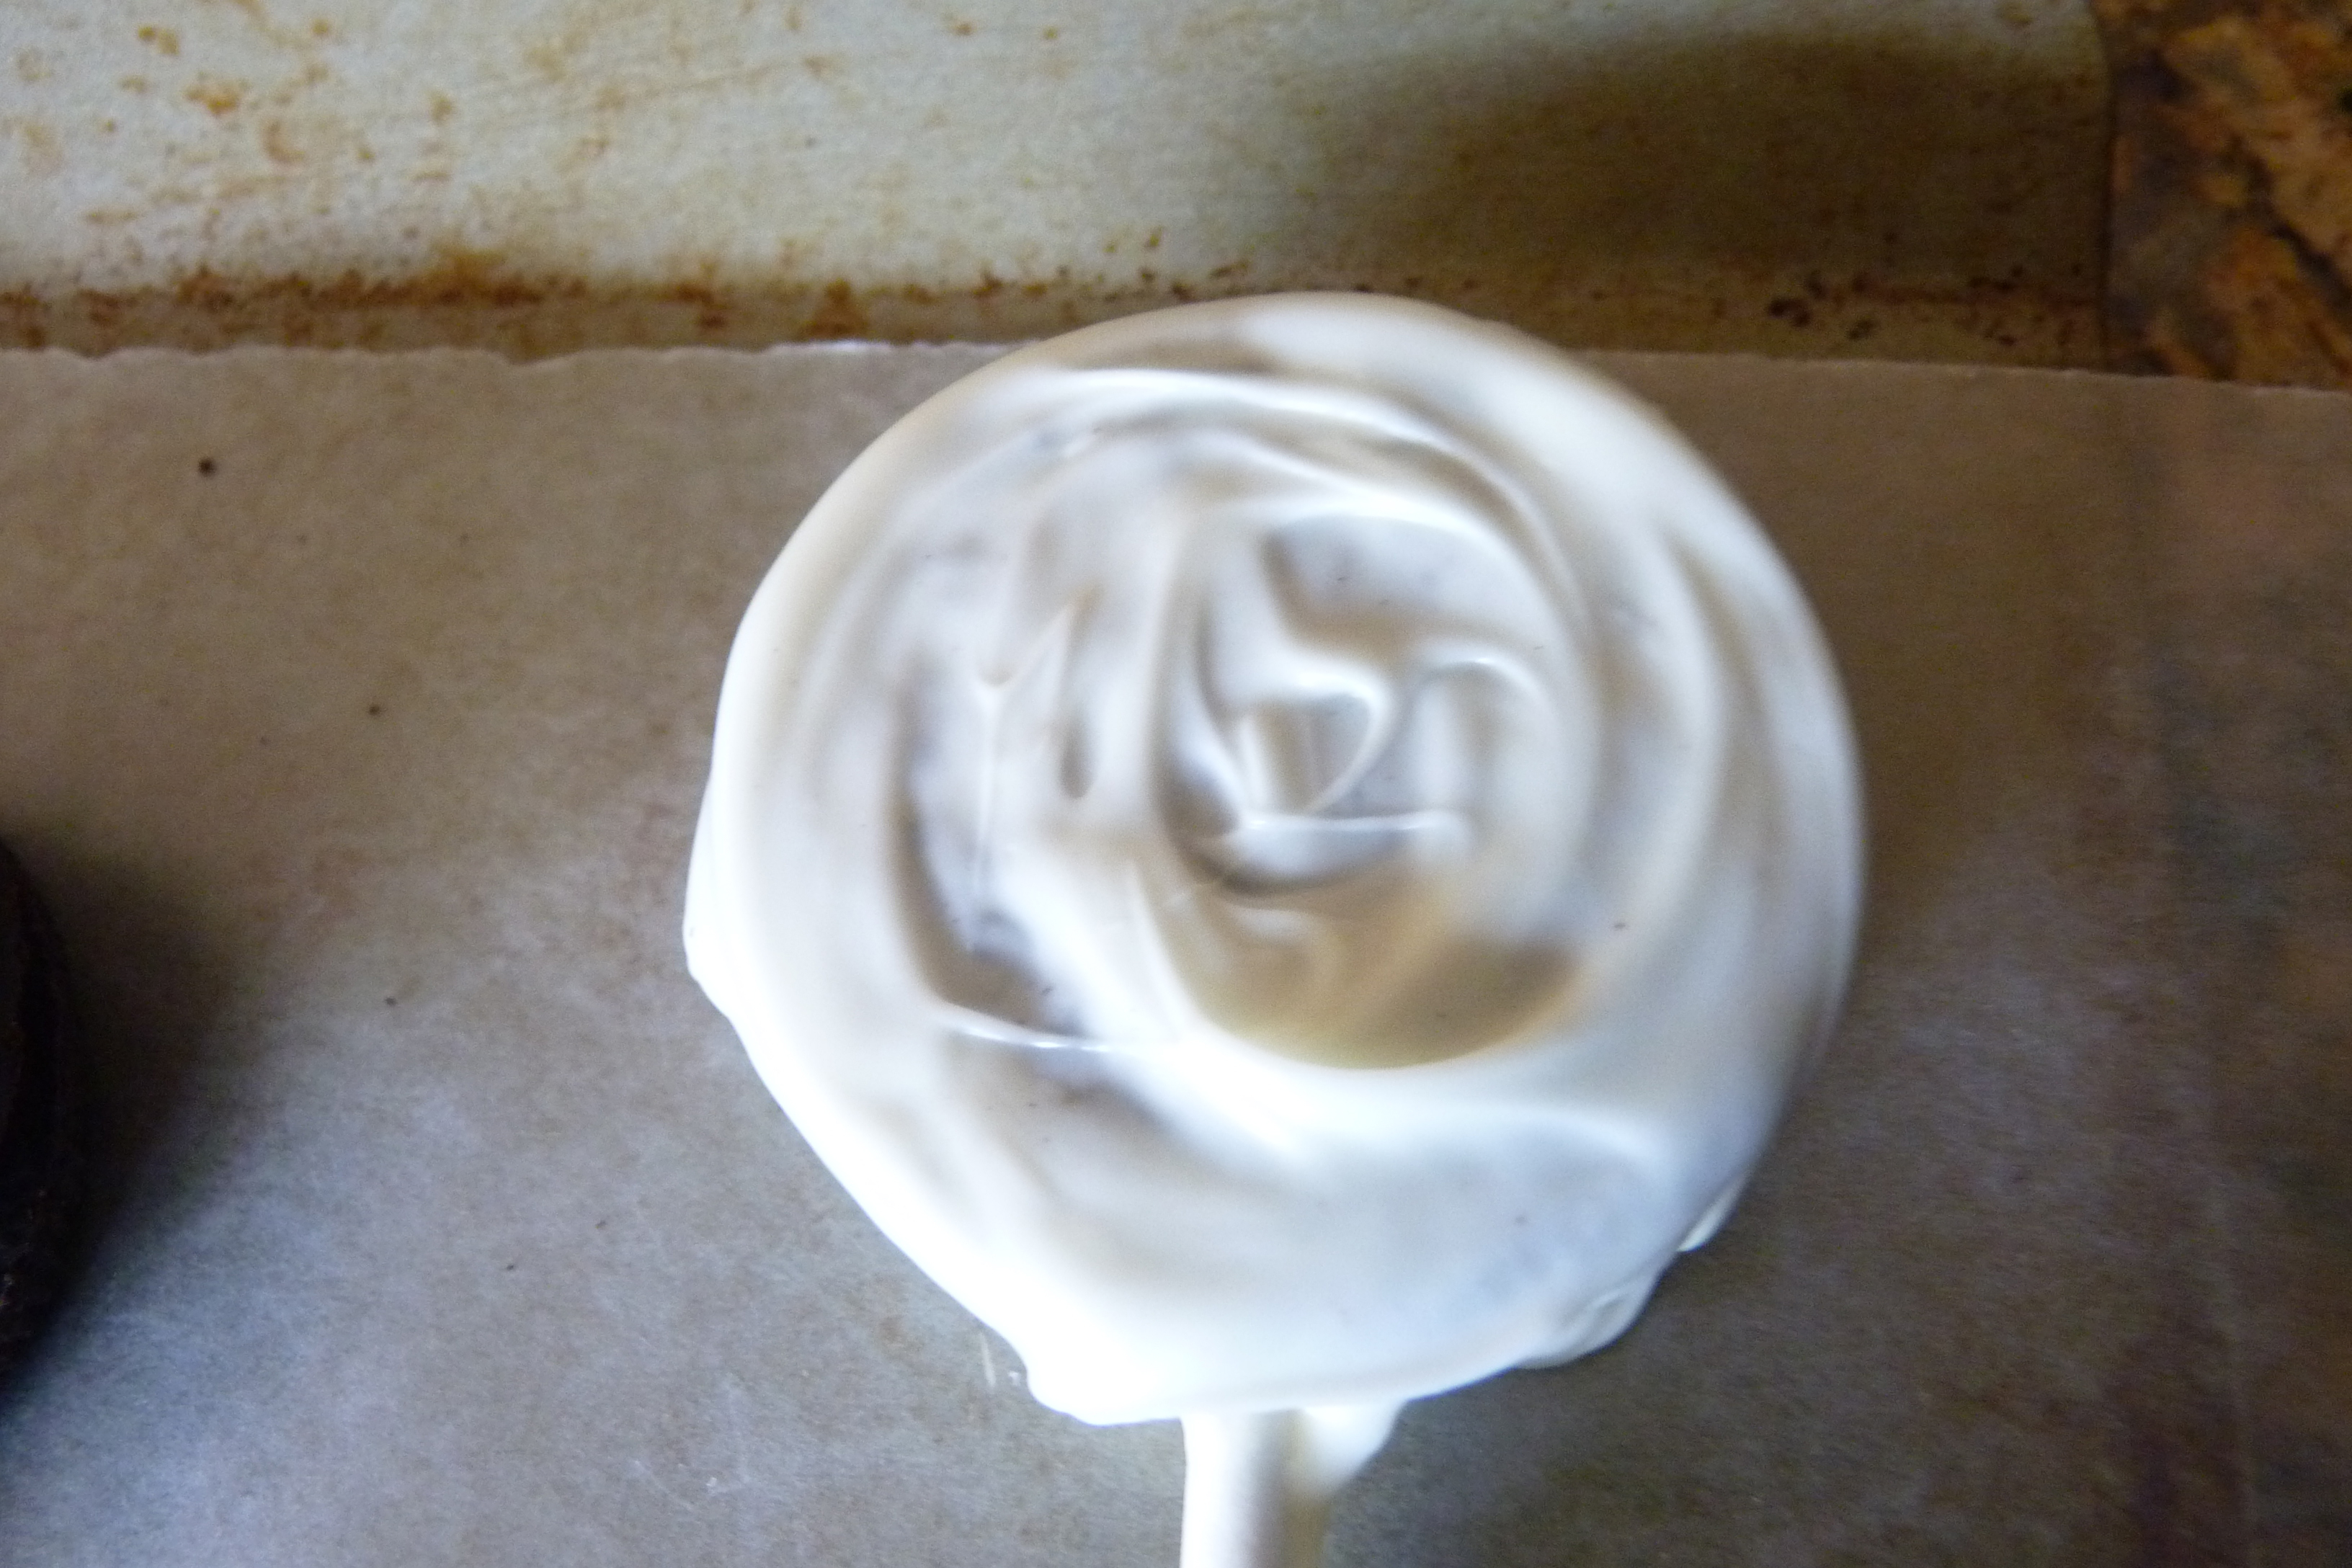
8. Take an Oreo Pop and dip it in the melted candy until it is completely covered. You might need to tilt your bowl and kind of roll or swish the Oreo Pop around to get it covered. Once it is completely covered, hold it parallel to the table and gently tap the stick against the side of the bowl so that the excess candy coating drips back into the bowl. If you make sure to hold the Oreo Pop flat while doing this, any unevenness on the front will smooth itself out. And the back might look like a mess, but no one will see it.
9. Set the dipped Oreo Pop on it’s back on one of the prepared cookie sheets and sprinkle with crushed candy canes. Allow to set.
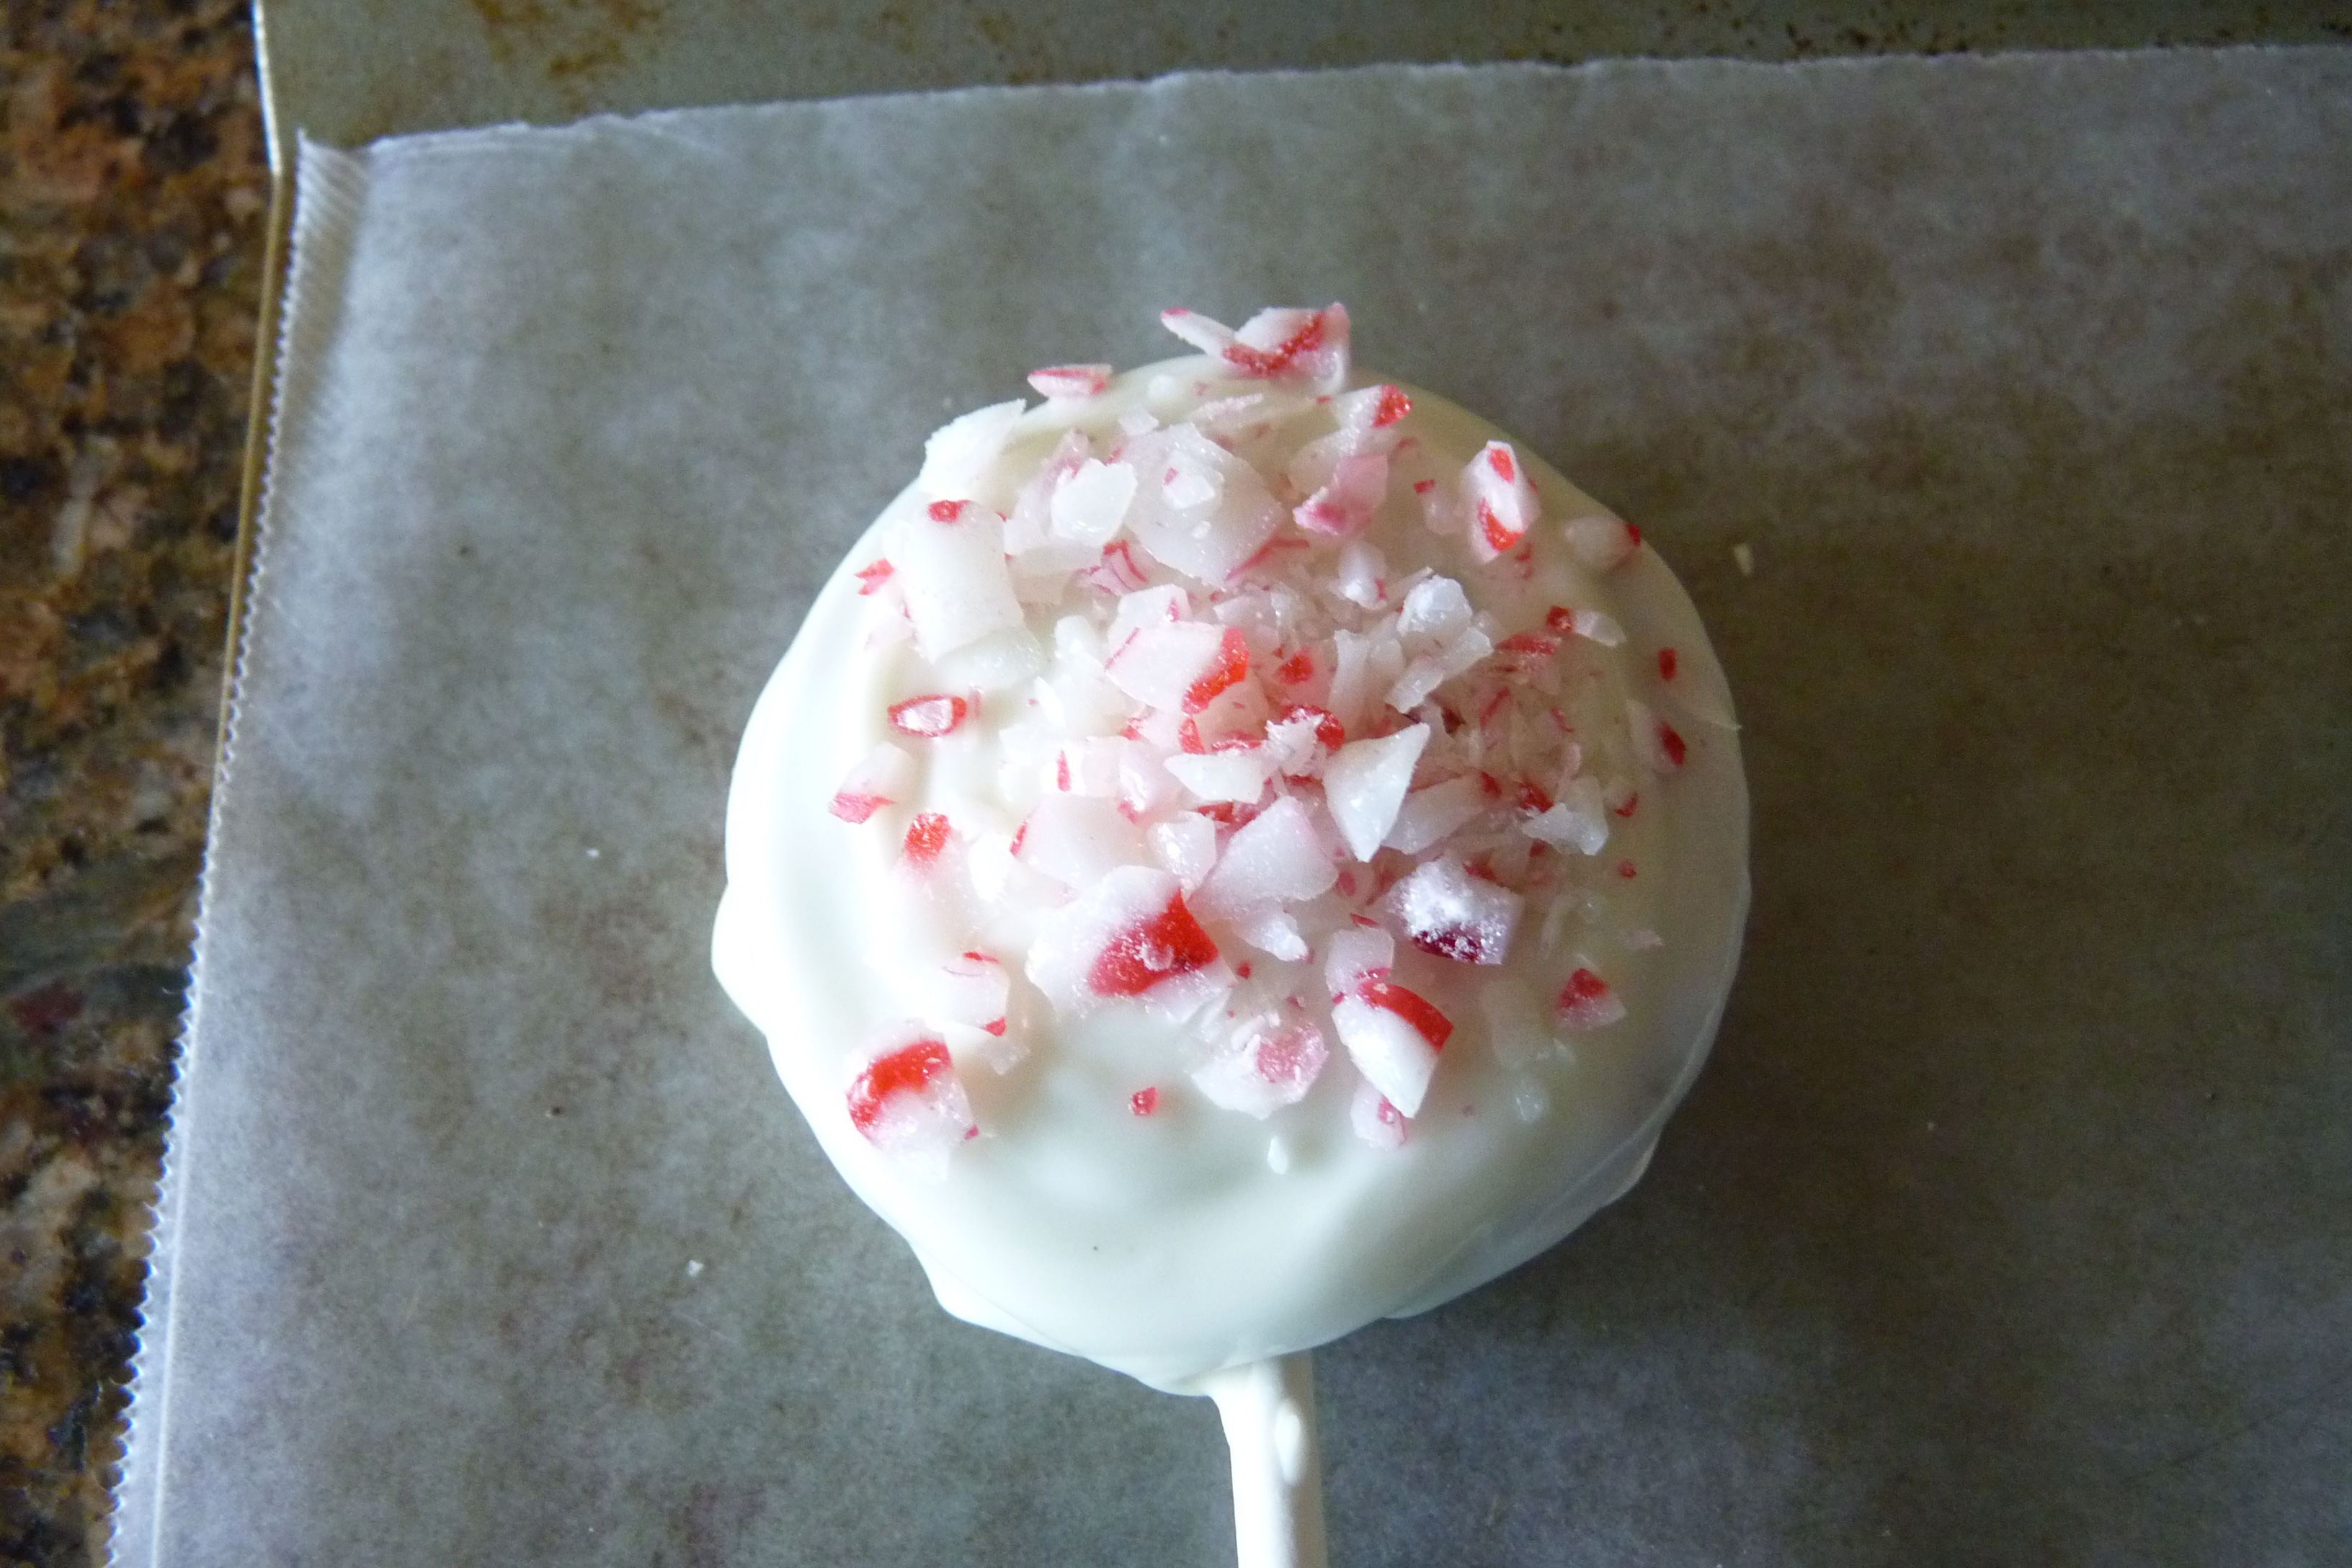
11. For added affect, drizzle a design with any remaining white candy melt
12. When they’re all dry and set, wrap them any way you want.
These took me about 45 minutes to make, you want to be careful as the Oreo’s will break when “pressing” them back together after the stick is in them. They are a great project to do with the kids. And boy do they taste great! Yup……
This Pin ROCKS!


Nice tutorial. Looks yummy.
Thanks, this was a really fun tutorial to make.
Seems like it would be easier, but maybe not as “fun” to just leave off the popsicle stick.