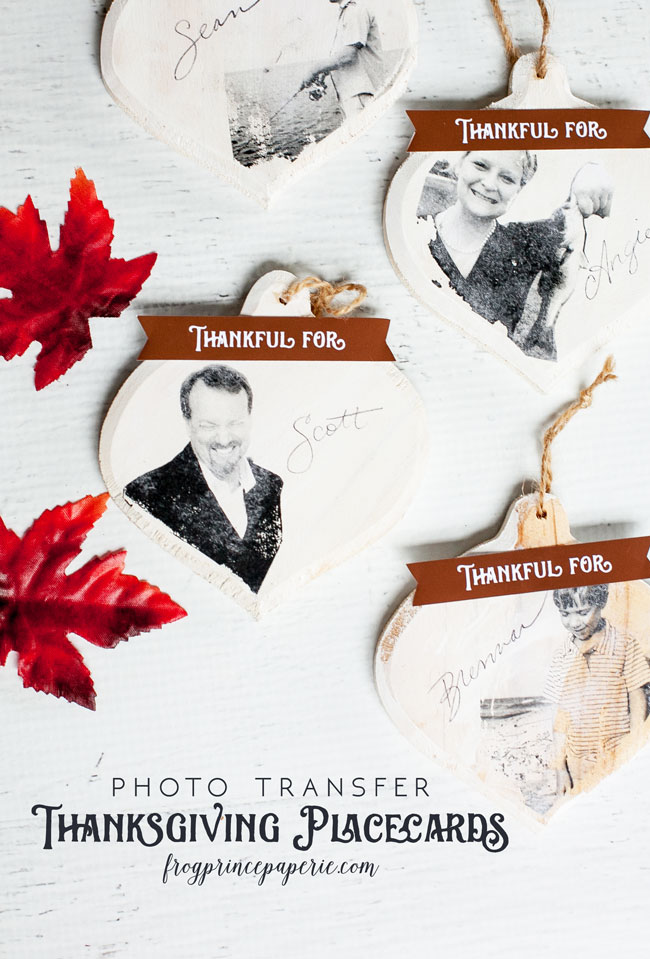
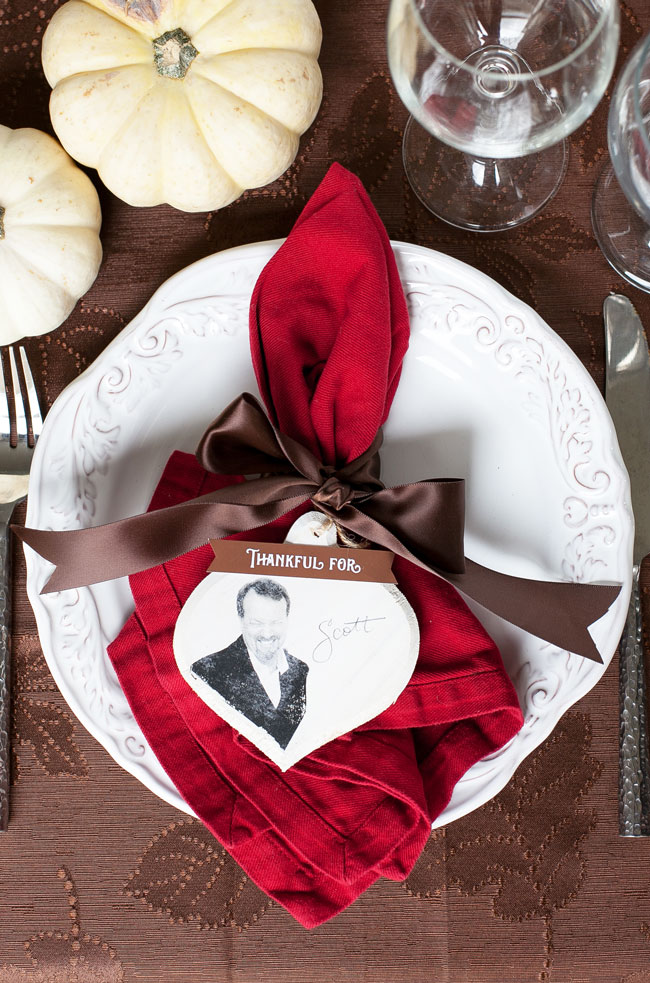
Paula here from Frog Prince Paperie again, bringing some entertaining inspiration for your holiday meals! When I set up a formal (or informal) table for my guests, I always like to do something small for them to make them feel special. If that something is easy to make and super personalized like these photo transfer ornament name cards, all the better!
These photo transfer ornaments were inspired by this pin from Landeelu.com. I totally love her iconic looking sledding down the hill and bundled up pictures on her ornaments, but decided these would work wonderfully as place cards with the added bonus of being little souvenirs from the day.
Materials:
- Wooden ornaments
- White craft paint
- Matte gel Medium
- Laser printed images
- Printable tags
- Ribbon
Word to the wise before you start on this project–the photo transfer absolutely won’t happen unless you use an image from a laser printer. I shot mine over to the office supply store to run them off, but a photocopy machine that uses toner will work just as well.
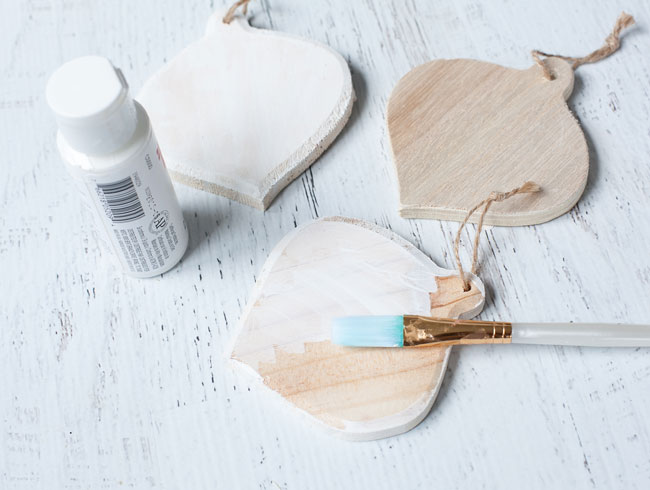
Step 1: Paint the ornaments. Put a coat (or two) of white paint over the entire ornament. Be sure to do the back so the ornaments have nice polish. To make them a little shabby, you can take sandpaper to the edges.
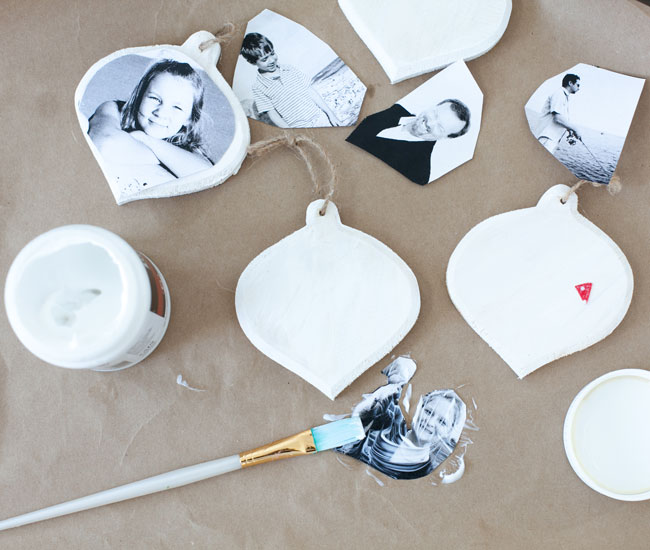
Step 2: Cut the pictures to the size of your ornament. I placed the picture over my ornaments and then ran my finger around the edge to mark the size of the ornament. When the paper is flipped over, you can easily see the cutting lines!
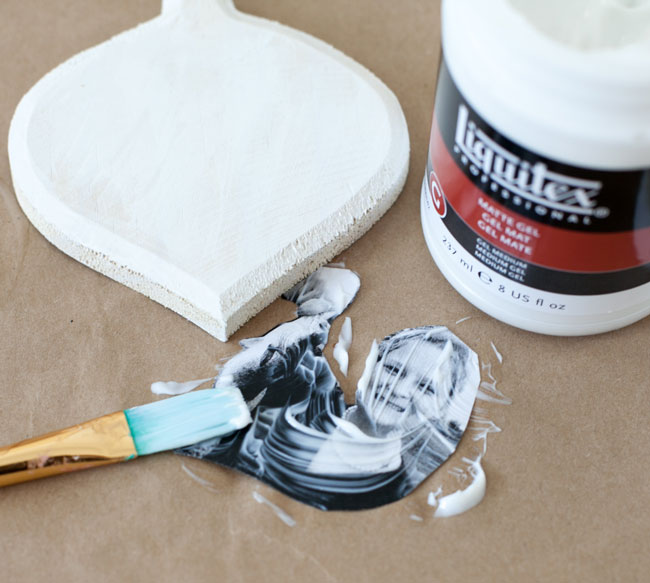
Step 3: Apply matte gel to the front of the image.
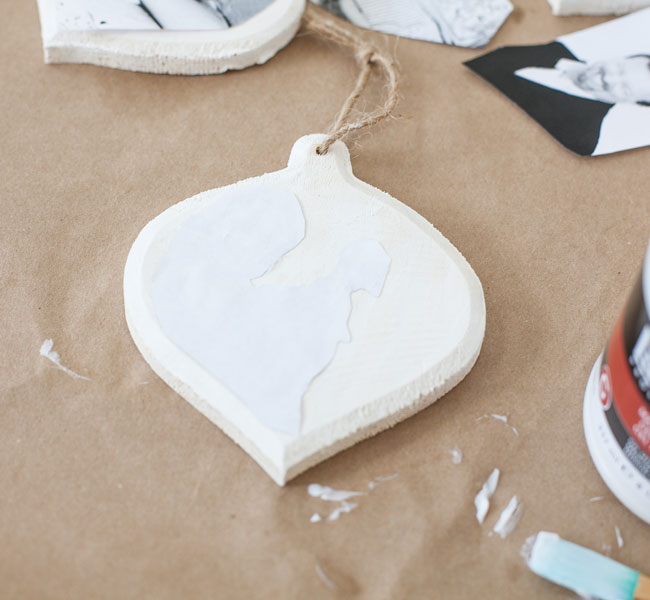
Step 4: Apply the image to the wood. Flip the image over and place on the wooden ornament. Use a credit card or something similar to flatten the paper to the surface, remove any bubbles or wrinkles, and get rid of any excess gel medium. Now’s the hard part. You’re going to have to wait at least 8 hours for the medium to completely do its magic.
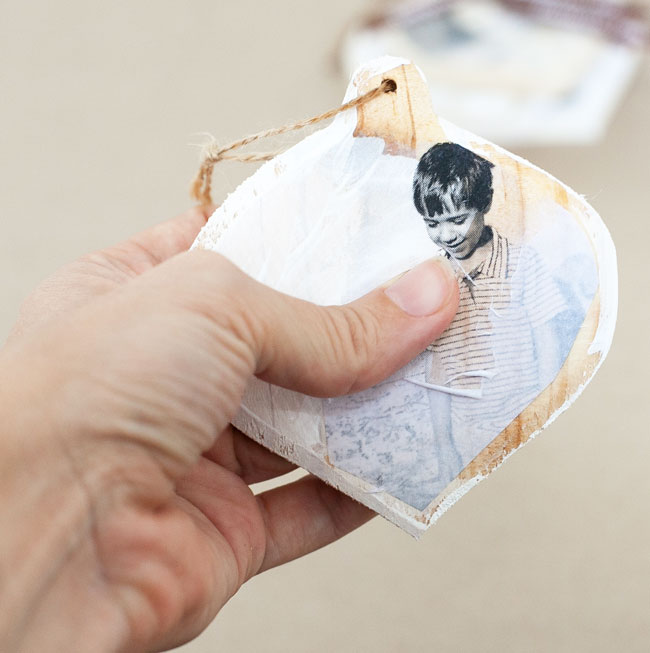
Step 5: If your patience hasn’t gotten the best of you, you can start removing the paper from the ornament. Landeelou suggested lightly misting the image to rub it off, but frankly, that took too long. I saw another blogger who just ran the paper under the faucet while gently rubbing circles and it came off really easy that way. You will have to repeat this process several times, as all the paper won’t come off in a single shot.
I like the look of this half- painted ornament…it was a happy accident. While I’d love to tell you that it was completely intentional, really, I painted half for a picture, the ADD kicked in and I forgot the rest. What I did find out from this little experiment is that the photo transfer onto the unpainted wood will rub off at a much higher rate than on the painted portion. I love the chippy worn look, but you do want a bit of the photo to stay in place!
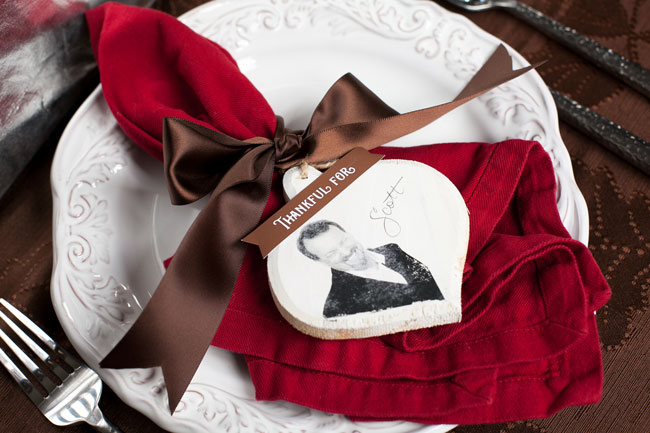
If you just love your ornaments just they way they are, you can stop right there! I made them into place cards with two extra additions. I wrote the name of the person next to the photo, and I added one of the free printable ribbon tags to the top before I tied the ornament to the napkin ring.
Thanks again to MFP for asking me to be a regular contributor! I’d love it if you’d stop on by Frog Prince Paperie for party inspiration, and maybe find some tutorials and recipes for a few other holidays, too! You can also find me on Facebook, Pinterest, Instagram, Twitter and Google+.
A FEW OF MY MOST POPULAR THANKSGIVING POSTS:
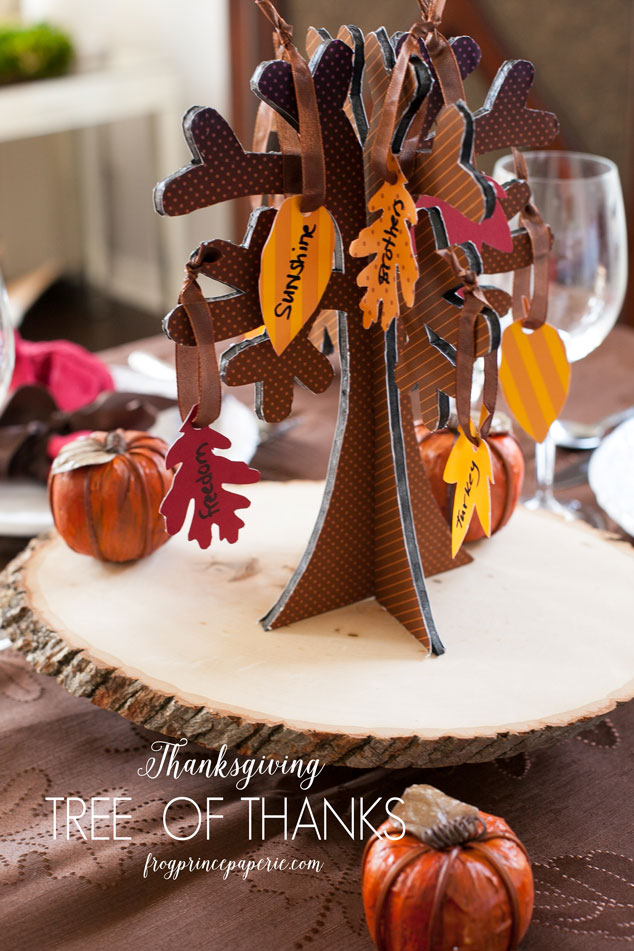
Thanksgiving Tree of Thanks free printable


Leave a Reply