A great kids crafts for Easter that has a big WOW factor. Take a look at these Salt Dough Easter Egg Ornaments. Your grandkids are going to love them!
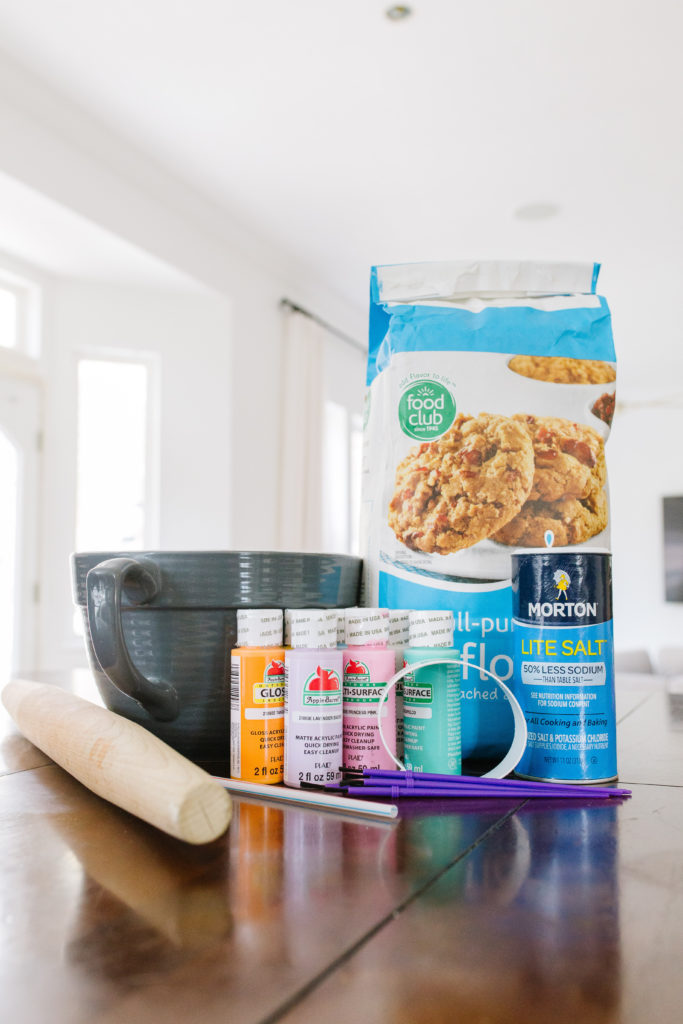
Here’s what you’ll need to get started. Rolling pin, egg shape cookie cutter, straw, parchment paper, acrylic paint, clear coat sealer (not pictured), paint brushes or foam brushes, paint pens (optional) and some twine.
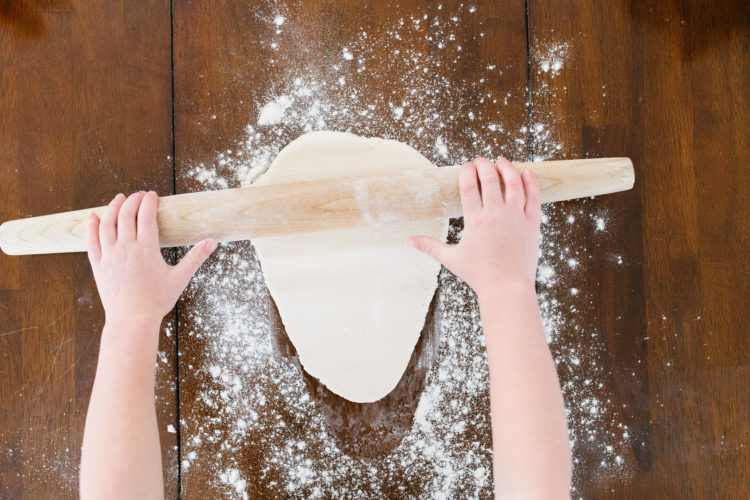
Mix together the items (see below for the salt dough recipe). Then roll with the rolling pin to 1/4 inch thickness. Little hands love to do this part!
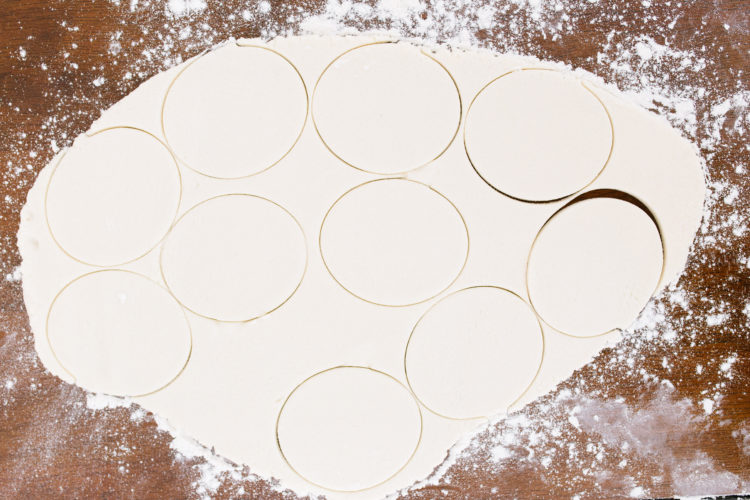
With your egg shape cookie cutter, cut out your shapes from the dough
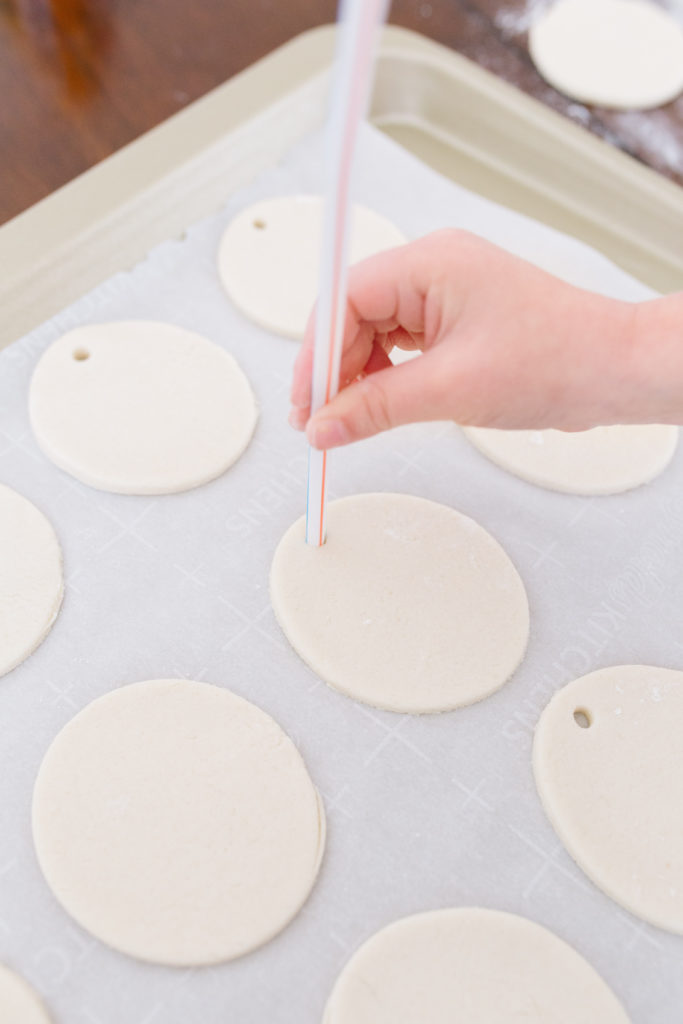
Take the straw and poke holes at the top of the oval.
Bake the ornaments per the recipe below. Now comes the creative part! After these have baked and are completely cooled, let the creative juices flow and paint your ornaments!
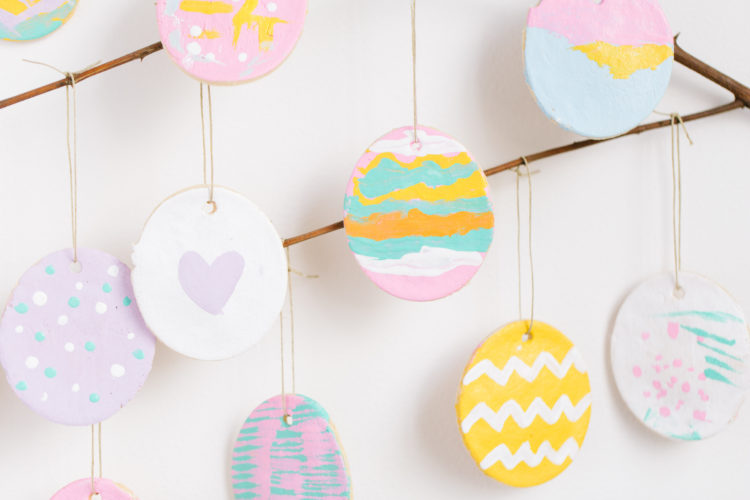
The foam brush is better to paint the whole egg with while the smaller brushes are better for details. I love to watch the creativity of my grandkids.
Let paint completely dry then spray with a clear top coat and let dry. Attach some twine and you are ready to hang! They are darling on a tree outside, on a branch inside your house or hanging from a shelf.
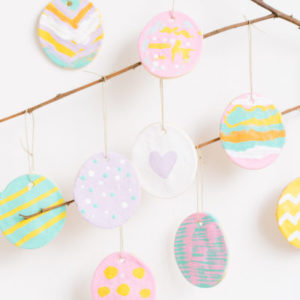
Salt Dough Easter Egg Ornaments
Ingredients
- 1 cup flour
- 1/2 cup salt
- 1/2 cup water
- Rolling pin
- Egg shape cookie cutter
- Straw
- Parchment paper
Instructions
- Preheat oven to 250 degrees.
- Mix first three ingredients together and knead until a dough forms.
- With rolling pin, roll dough out to 1/4 inch thick. Some flour sprinkled on the counter might be needed to avoid sticking.
- Take your egg shape cookie cutter and cut out your shapes from the dough.
- Next, use the straw to make holes at the top of the oval.
- Place eggs on a cookie sheet covered with parchment paper.
- Bake at 250 for 2 hours. Watch to make sure they don't overcook and crack.
- Items needed for painting:
- Acrylic paint
- Paint brushes
- Foam brushes
- Clear coat sealer (not pictured)
- Twine
- Paint pens (optional)
- After the eggs are completely cooled, now is the creative part! Take your acrylic paint and paint away! The foam brushes are better to paint the whole egg with and the smaller brushes will be better for the details.
- When the paint has completely dried, spray with a coat of clear sealer. After drying completely, attach some twine and you are ready to go!
Our grandkids had a great time making these Easter Egg Ornaments and a big thank you to Design Mom for the great idea!
Happy Easter!





Leave a Reply