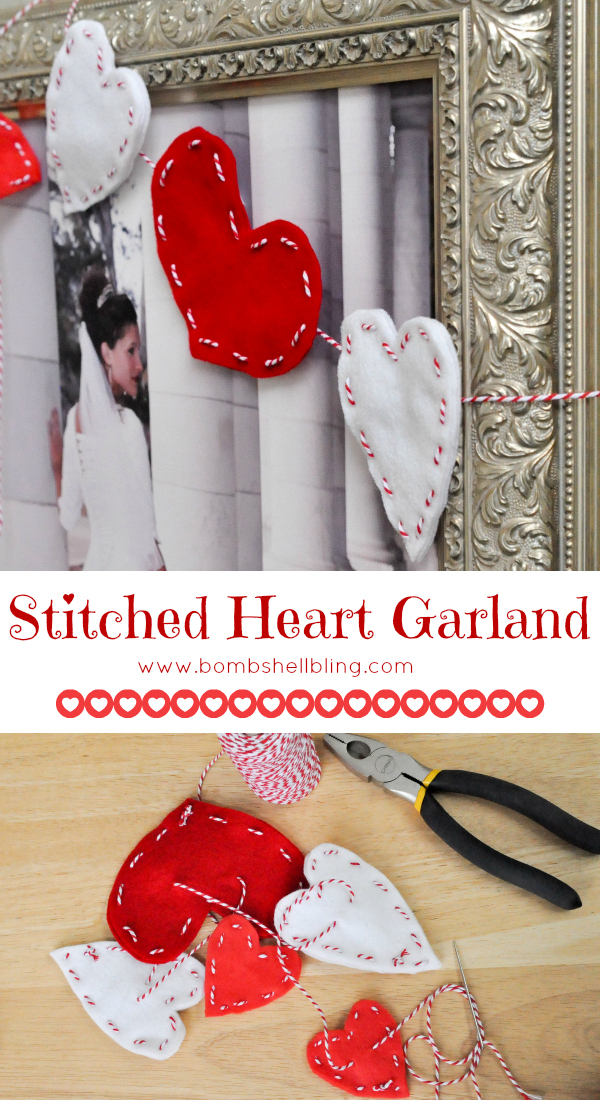
Post #2 in our Love Potion #9 series is this darling Stitched Heart Garland from Sarah at Bombshellbling. I love how she used baker’s twine instead of embroidery thread to give it a different look and feel!
Good morning! My name is Sarah Westover McKenna, I am delighted to be guest posting here today! On my site, Bombshell Bling, I blog about all things colorful, holiday-related, sinfully delicious, kid-friendly, and, of course, BLINGY.
For today’s post I was inspired by the Easy Felt Hearts & Garland project from Sweet C’s Designs that I pinned to my Valentine’s Day Pin board last week. I knew it would come together quickly and be a perfect little decoration for my home. The biggest difference between my garland and the original is that I decided to use baker’s twine instead of embroidery thread. It did make it a bit harder to complete, but I LOVE how it turned out!
Well, are you ready to take on a simple project? Then let’s do this thing!
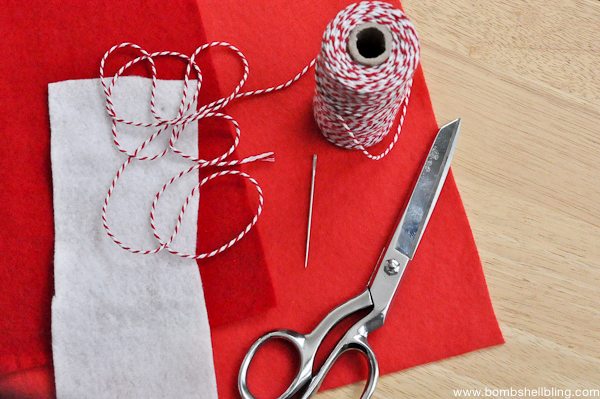
To complete this project you will need the following supplies:
* baker’s twine
* felt
* a yarn needle
* pliers
* scissors
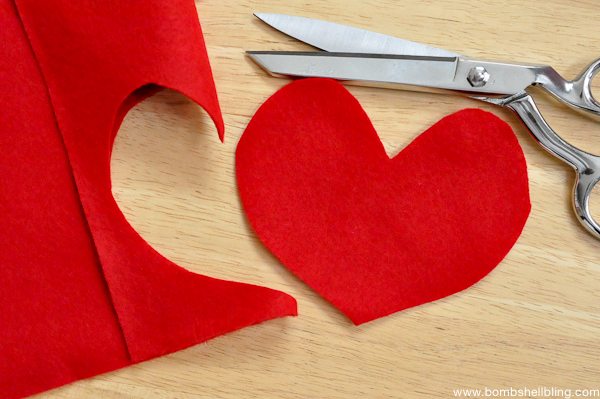
Start by cutting out your hearts. YOU WILL NEED TWO CUT OUT HEARTS FOR EVERY ONE HEART ON THE GARLAND. Did that make sense? I hope so. Basically, each heart is double layered.
If you want perfect heart shapes then you may want to print out a heart from the computer or use a die-cutting machine to make a stencil. I just went elementary school style and folded my felt in half and cut out a heart. Then I used that heart as the stencil for my second layer.
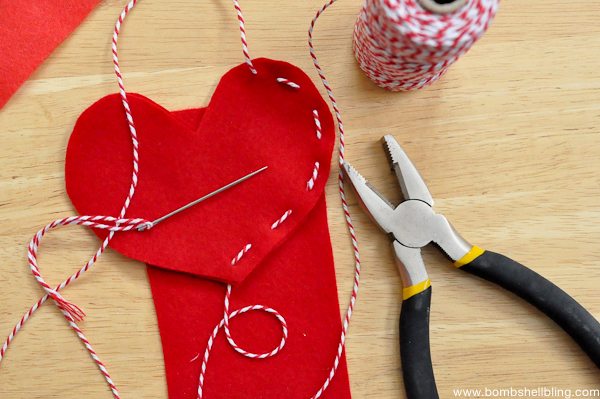
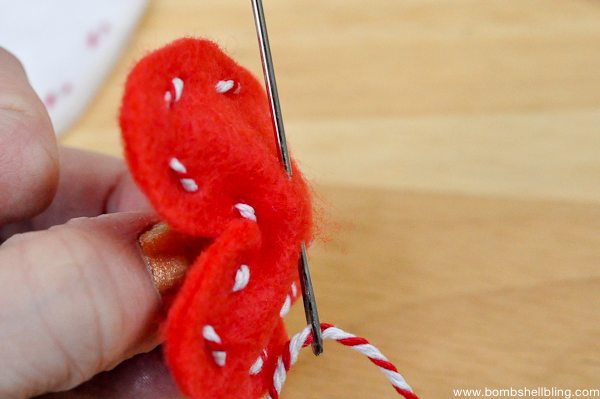
Place the two layers on top of one another, thread the baker’s twine through the yarn needle, and start stitching. Here is where the pliers came into play. I couldn’t yank the baker’s twine through on my own because it was so thick, but the pliers did the trick. I used them for each stitch. Increased the time, but I love the look of the baker’s twine instead of the thin, solid colored embroidery thread.
Be sure to tie off the baker’s twine on the back of the heart. Repeat this process with each heart that you plan to use on your garland. Next, pull the two pieces apart gently and stitch THROUGH THE BACK LAYER ONLY. Repeat this to thread all of the hearts onto one long piece of baker’s twine.
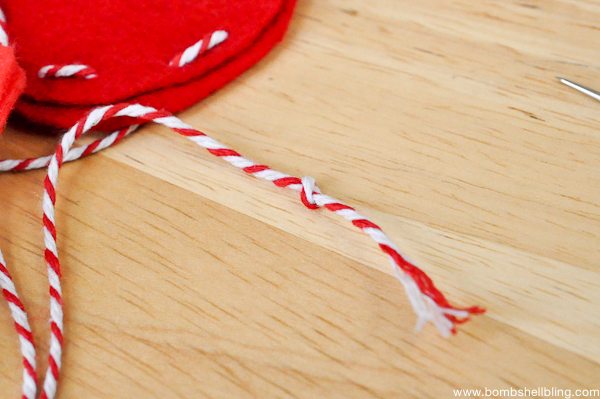
Cut the baker’s twine and tie a small knot close to the end of the twine.
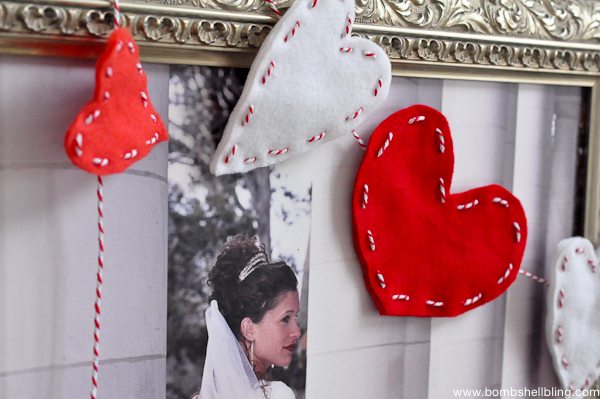
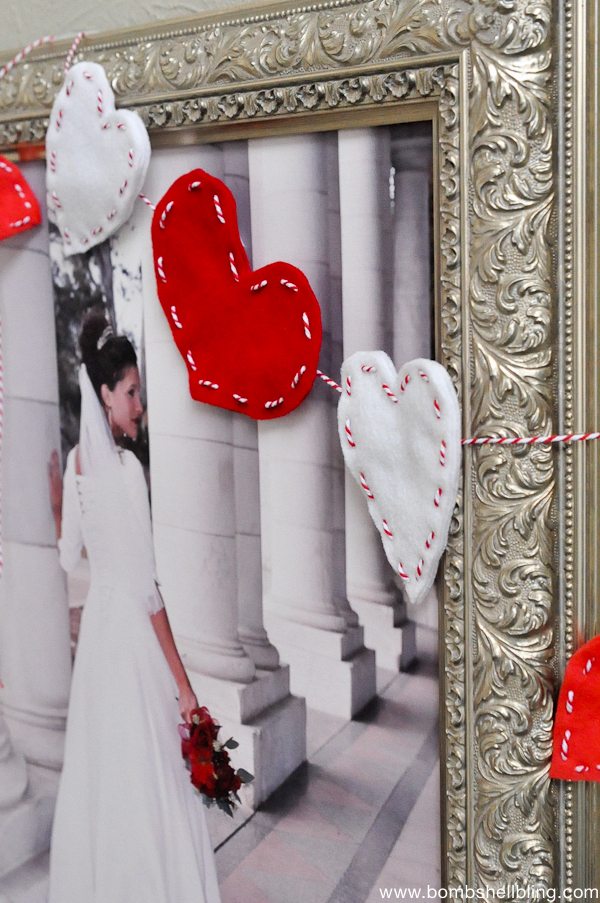
All you have left to do now is to find a fun place to hang your garland! I decided to drape it on my bridal portrait. After all, what is more lovey-dovey than a bride?! 🙂
I hope that you are feeling inspired to go CREATE! I would love it if you visited my blog for more fun ideas and inspiration! You can also find me on Pinterest, Instagram, and Facebook! Below are a few of my favorite Valentine’s Day posts from my own site. Have a lovely day!
Secret Cupids: A Valentine’s Day Tradition
(This is a tradition that my mom made up more than 20 years ago, long before the era of Pinterest.
My sisters and I have all carried on this tradition with our own little families.
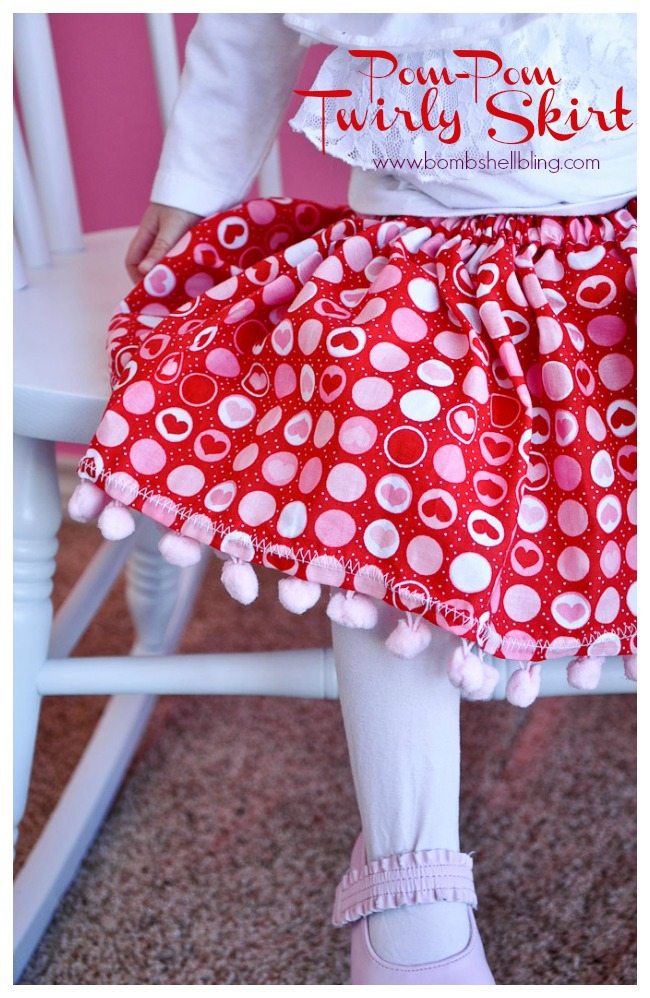
I’m in love with Sarah’s Pom Pom Twirly Skirt, I NEED to make one for my darling grandaughter!
This amazing post can also be found on Whipperberry!







Leave a Reply