Happy Easter! Today I thought I would share with you a unique way to shape your rolls. It is big on presentation. This post it more about the technique than it is the recipe, but I have a great, simple buttermilk roll recipe for you too!
The minute I saw this twisty, circular, triangle-ish, flaky, layered loaf of beauty I knew I had to have it. But I did not try to make this swirly curly bread. Cause I was scared. Scared of this pretty bread would be too hard to make. 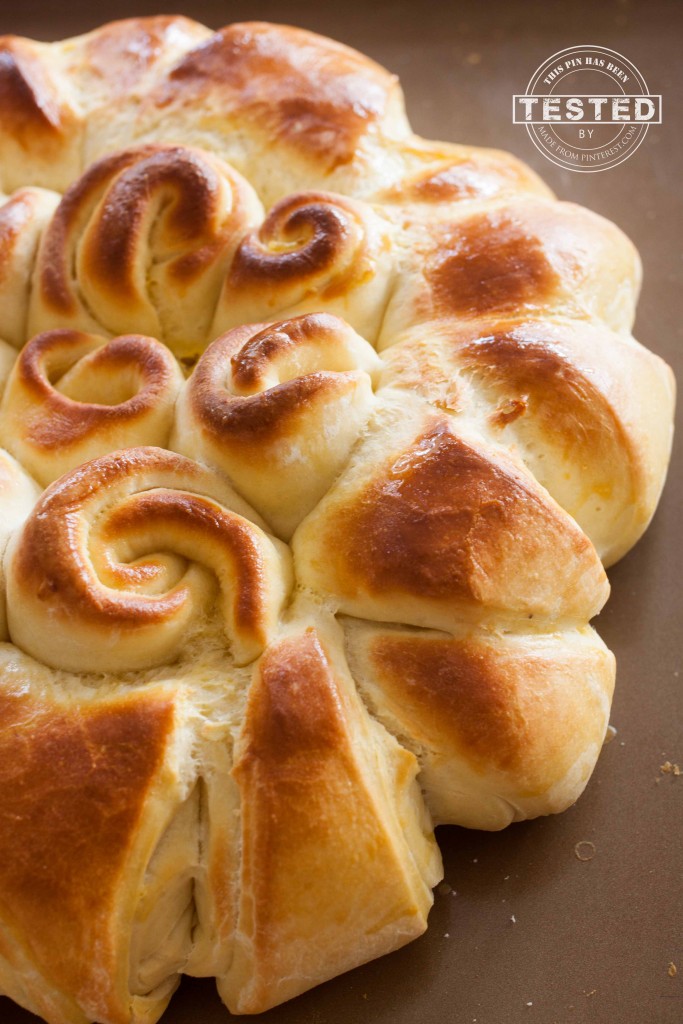
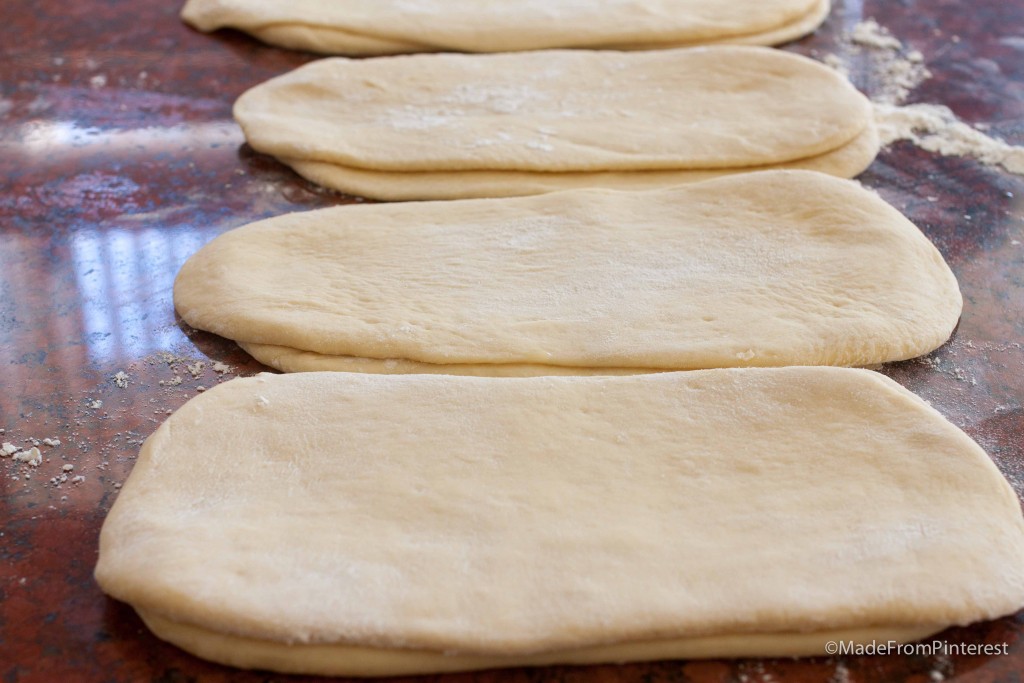
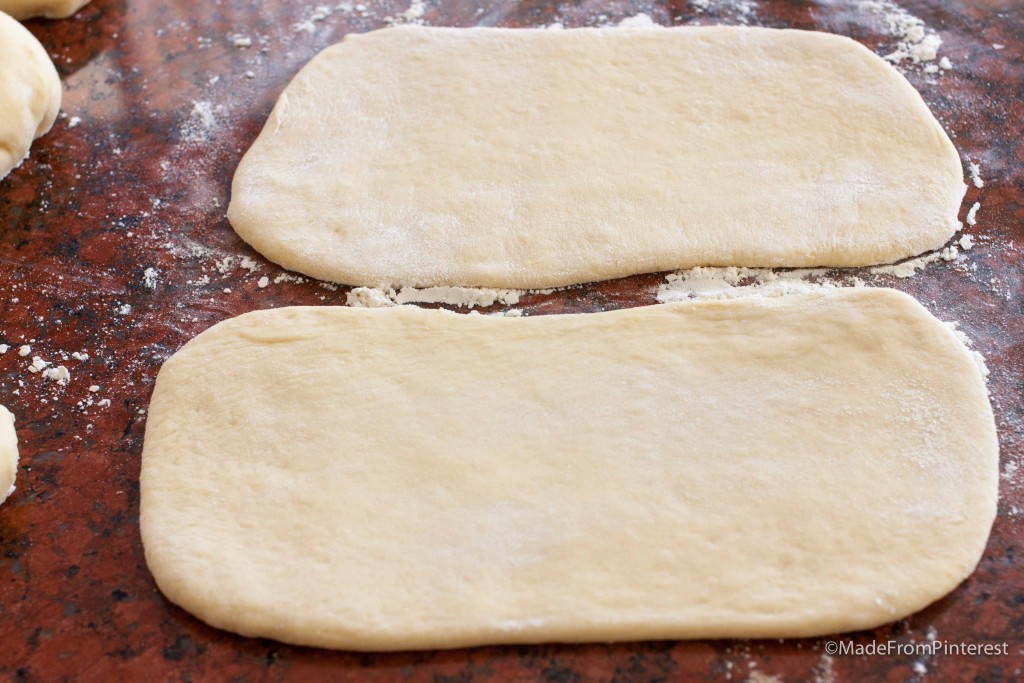
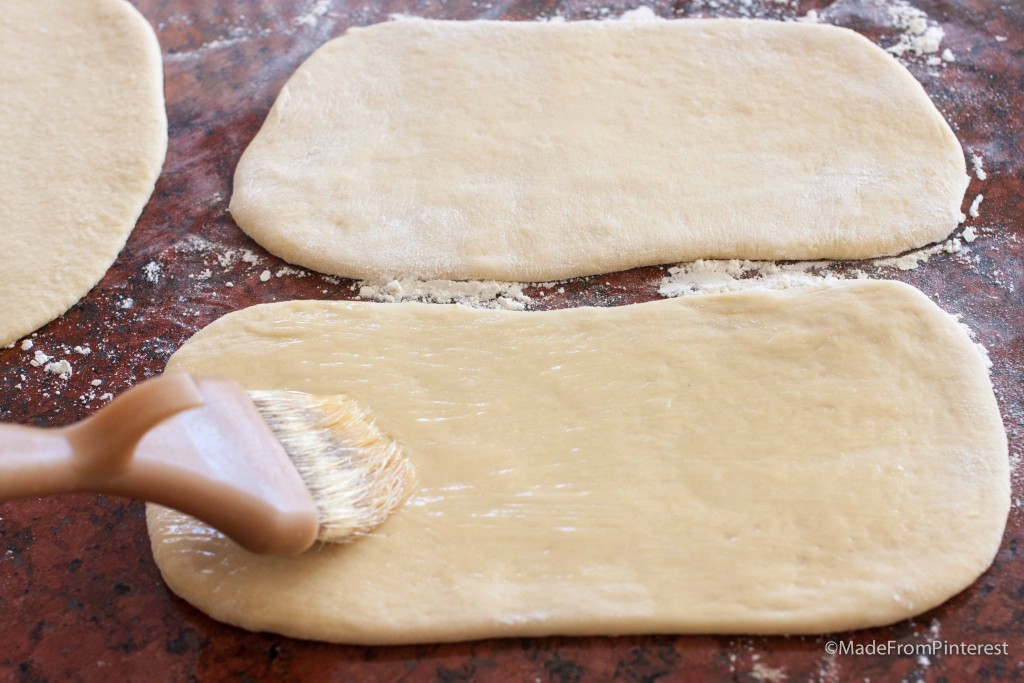
Brush one side with melted butter.
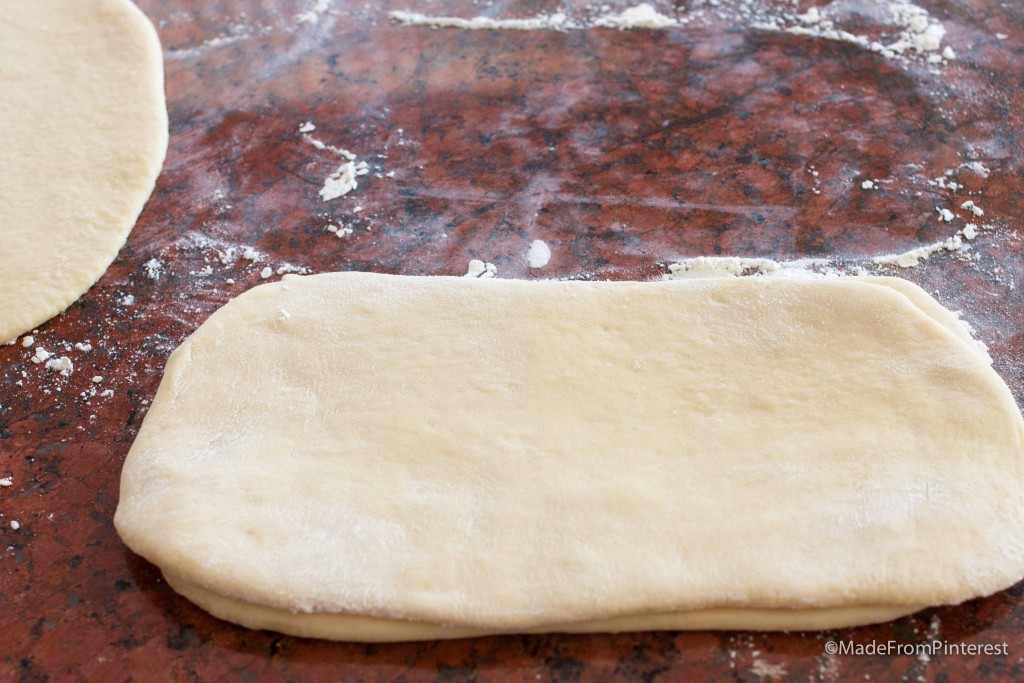
Lay one rectangle on top of the other.
Repeat with the remaining dough. You will end up with 4 layered dough rectangles.
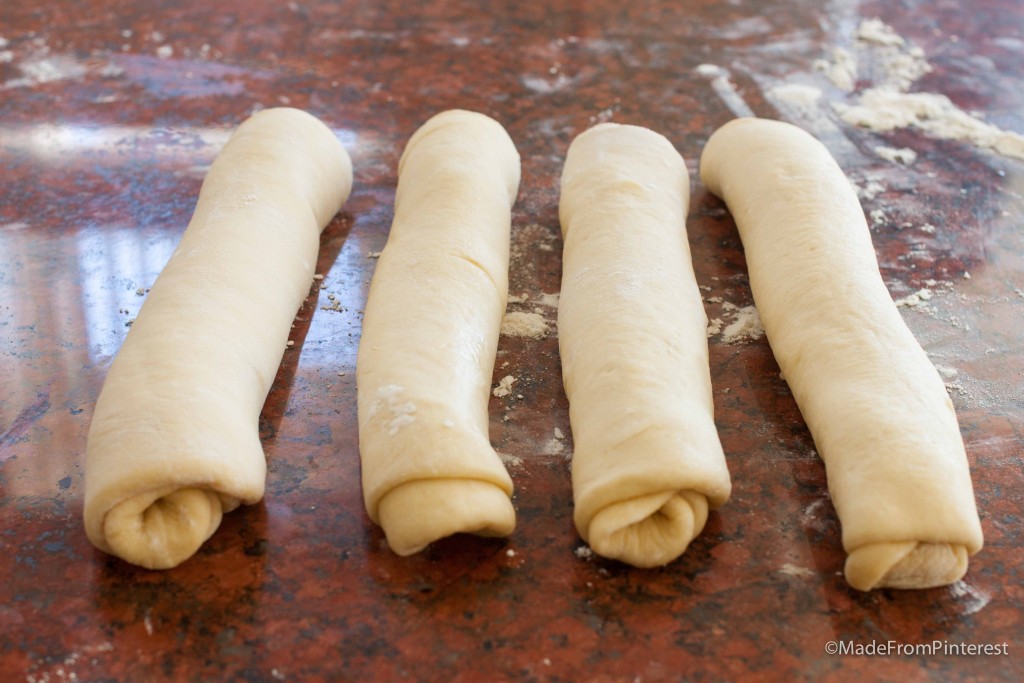
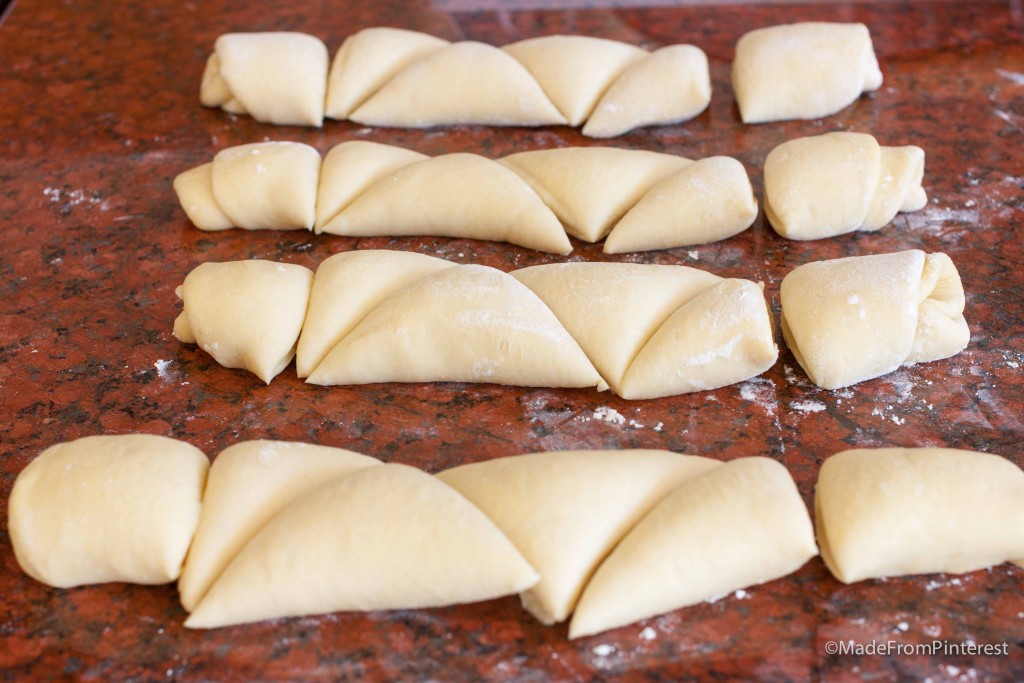
Cut the rectangular dough in the center into triangles. I made a diagonal cut through the center and then made a diagonal cut in the other direction to make the triangles.
Place one of the ends in the center of a greased cookie sheet with the uncut side up. Circle the remaing ends around the center.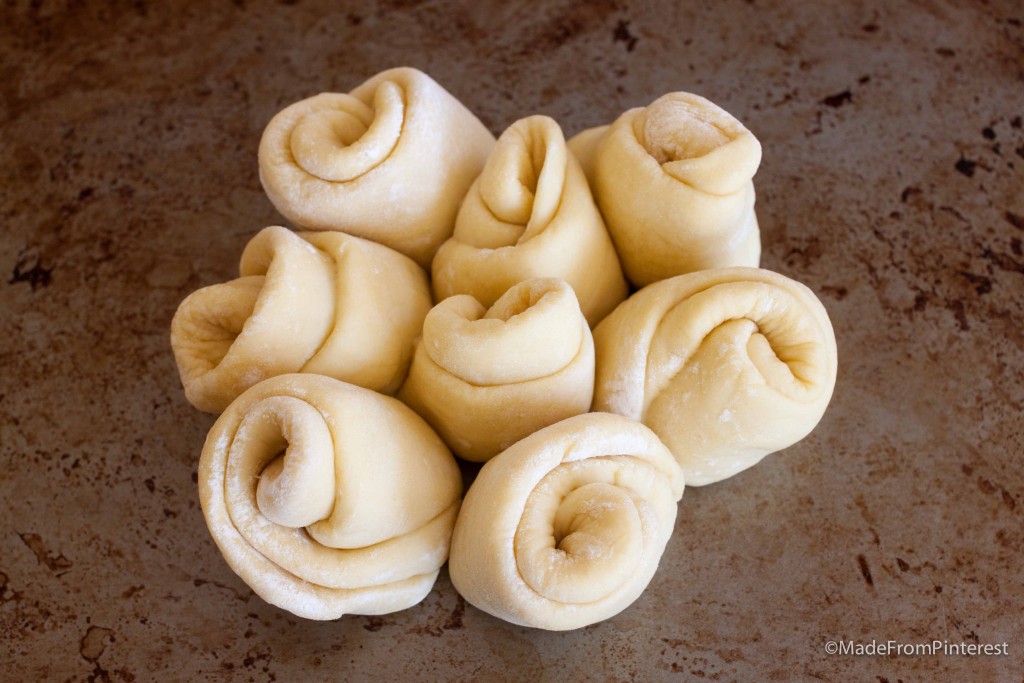
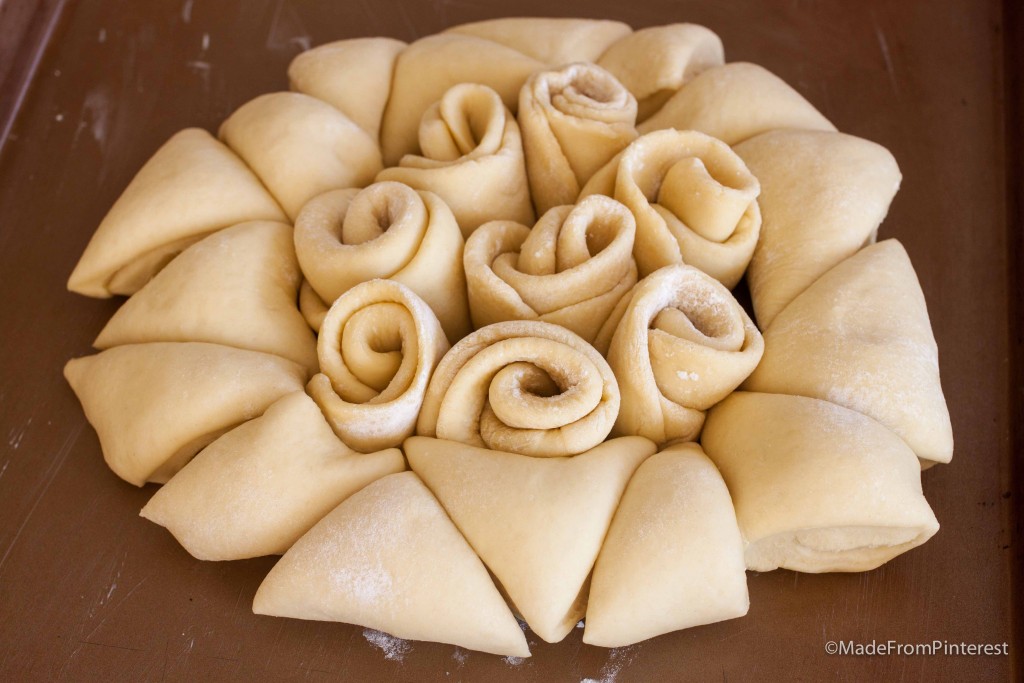
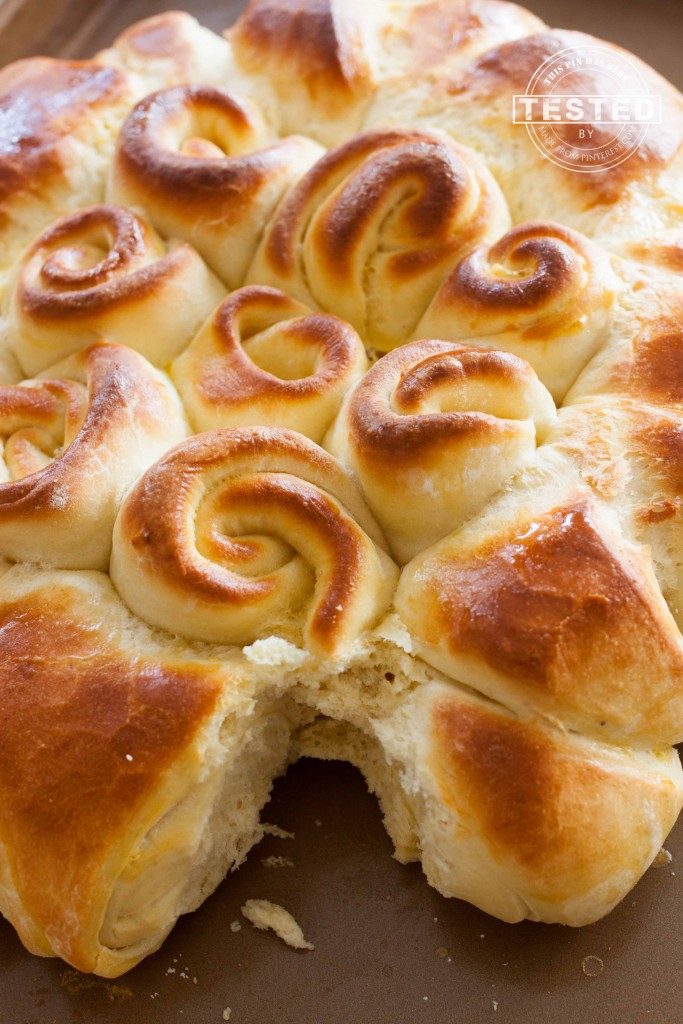
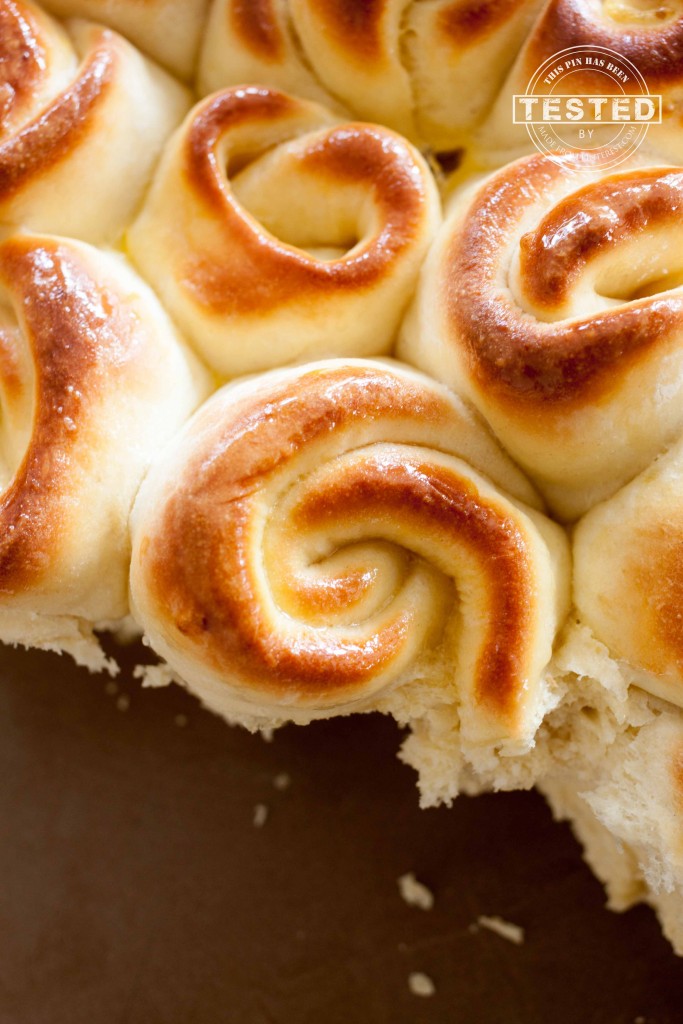
Swirly Curly Bread
Ingredients
- 2 teaspoons dry instant yeast
- 1 Tablespoon sugar or honey
- 1/2 cup warm water
- 4 cups all-purpouse flour
- 1 teaspoon salt
- 2 eggs lightly beaten
- 2/3 cup buttermilk
- 2 Tablespoons melted butter
Glaze
- 1 egg yolk
- 2 Tablespoons milk
Instructions
- Dissolve yeast and sugar in 1/2 cup warm water.
- In another bowl, whisk together flour and salt.
- Add yeast mixture, eggs, buttermilk and butter to bowl of stand mixer fitted with bread hook.
- Mix at low speed.
- Slowly add the flour and salt a little at a time. Knead until dough begins to pull away from the sides for the bowl.
- Once dough begins to pull away from the sides of the bowl, knead for an additional 5 minutes.
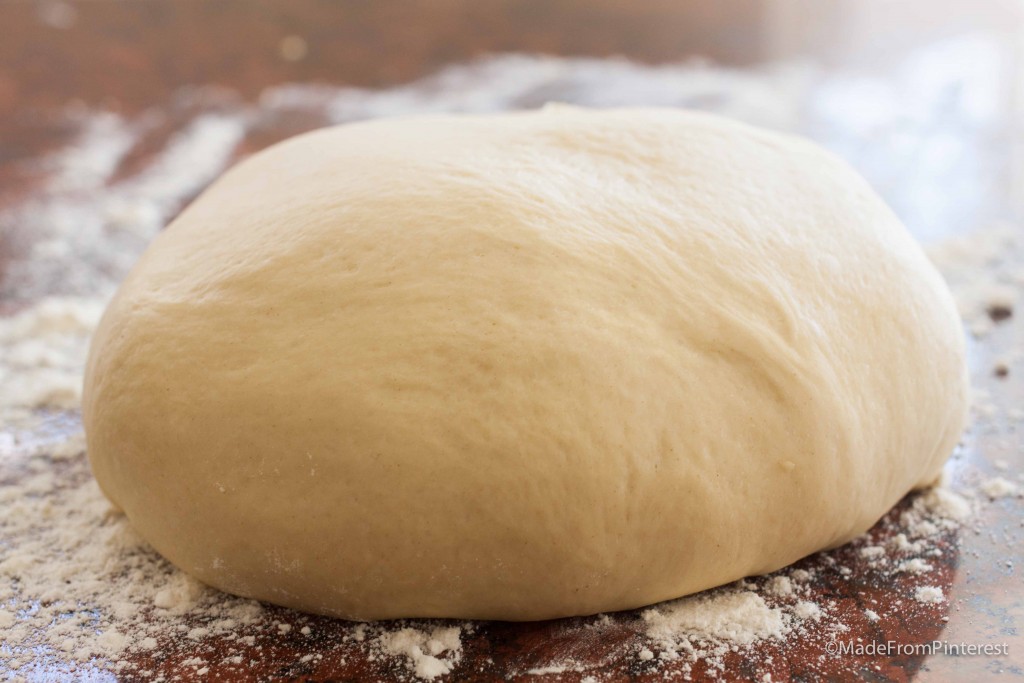
- Place dough in a greased bowl, cover and let rise in a warm place until doubled, about 1 hour.
- Punch down risen dough.
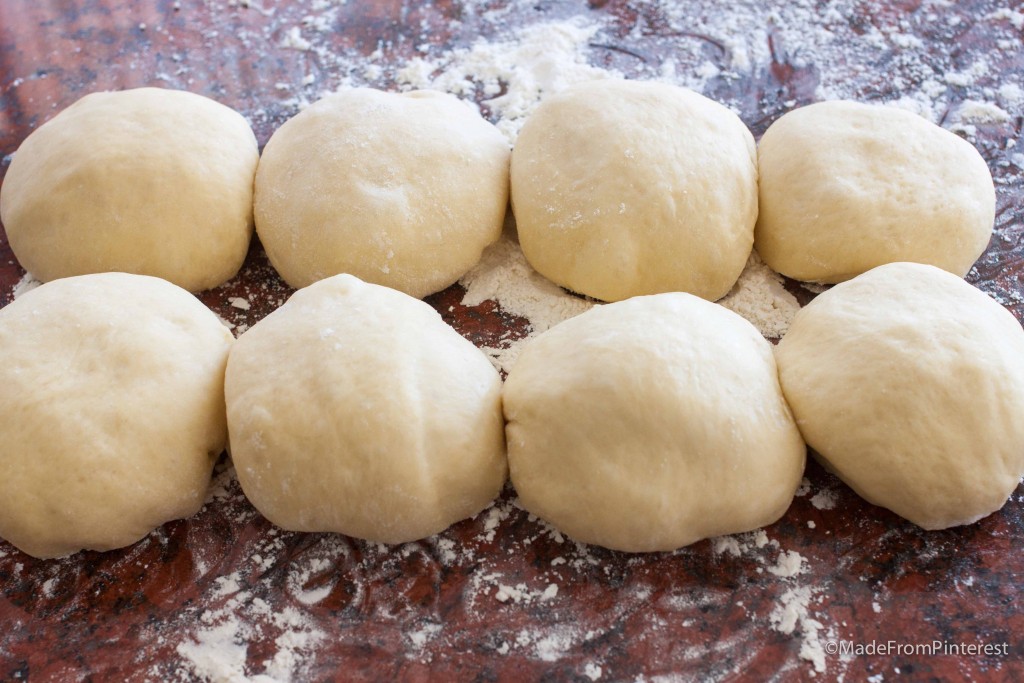
- Place on floured board and divide into 8 equal portions.
- Roll each portion into a rectangle.
- Brush melted butter over one rectangle and lay another rectangle on top. Roll the two rectangle into a cylinder.
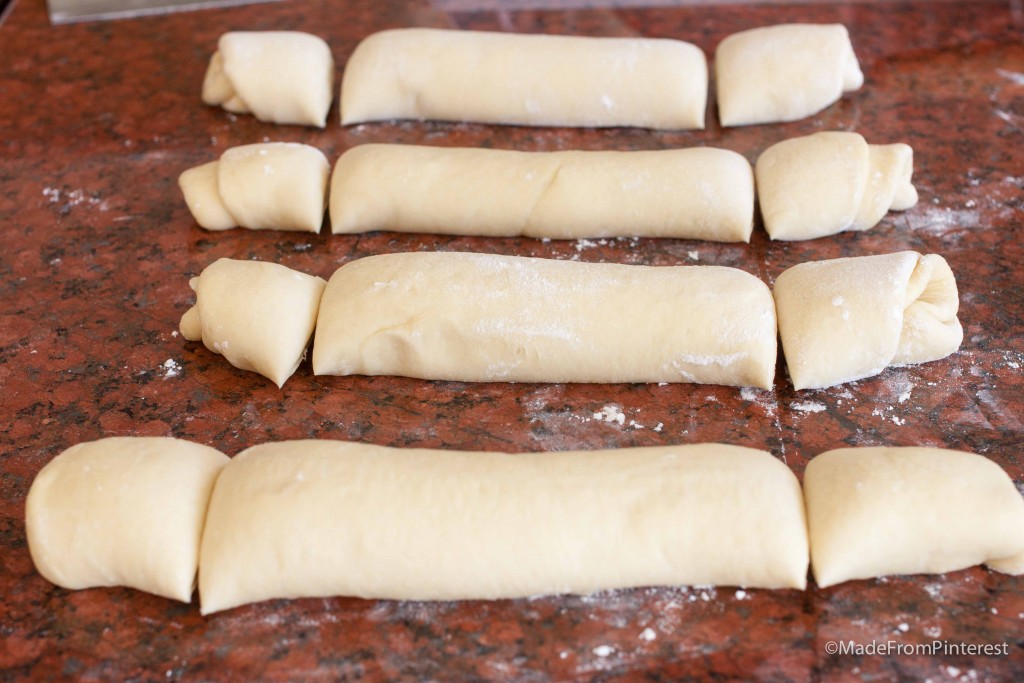
- Repeat with remaining balls of dough. You should have four cylinders when done.
- Cut off the ends of the cylinder. Cut middle of the dough into four triangles. Make a diagonal cut in the center, and then make a diagonal cut in the other direction to create triangles.
- Put one end of a cylinder, cut side down in the center of a greased cookie sheet. Arrange the remaining ends around the center.
- Pick up the cylinders of dough as if they are still in one pieces and arrange around the center bouquet.
- Cover and let rise until doubled rise in warm place for about 30 to 40 minutes.
- Beat egg yolk and milk. Brush over dough.
- You may sprinkle poppy seeds or sesame seeds on top at this point if you wish.
- Bake bread in a preheated 350° oven for 30 -40 minutes.
- If bread is not browned as you would like, set the oven to broil with bread on middle rack for 3-5 minutes. Watch closely! It can get too brown quickly.
- Brush bread with melted butter as soon as it is done, and let cool for 10 minutes before eating.
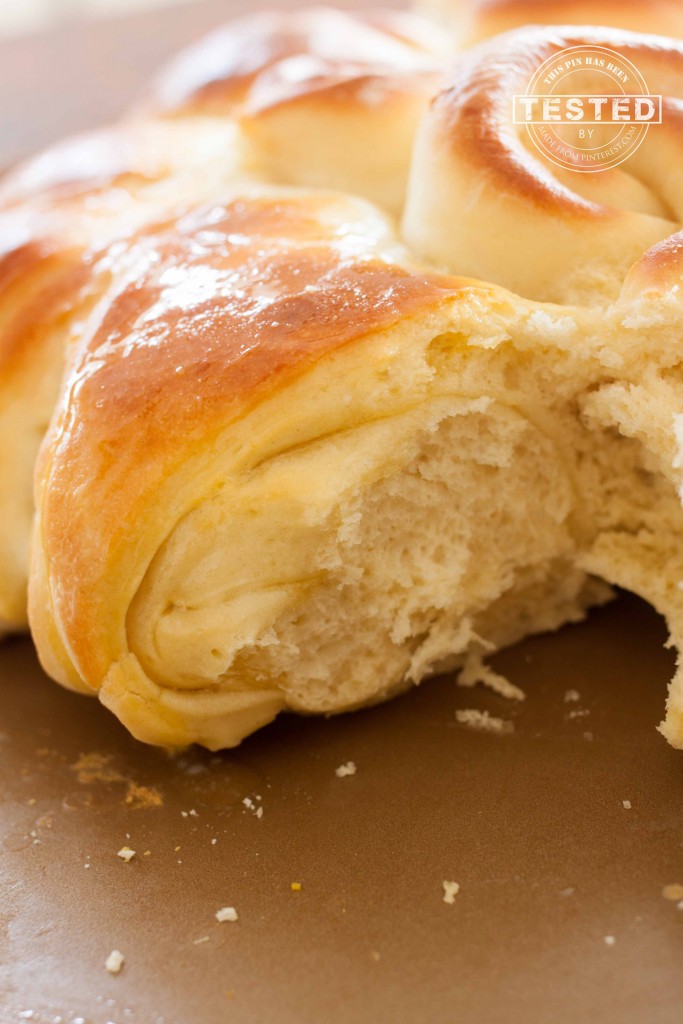
- So fun to break off a uniquely shaped roll!

That bread is absolutely gorgeous!!
Thanks, ZazaCook! I was shocked how easy it was to shape. It makes for a stunning presentation.
Looks great can’t wait to try it for a holiday meal. I’m assuming that the 2 Tbls of melted butter goes into the mixer with bread ingredients and we’re supposed to to use additional melted butter to spread on the dough rectangles, correct?
Correct, big mike! This dough is a nice basic tender dough. I hope you like it.
This looks amazing. I’m a beginner bread maker with some successes and some real “learning experiences” otherwise known as colossal failures. I have a question: Is 2 tablespoons of yeast correct? Seems like a lot for 4 cups of flour from my limited experience. Or is there such a thing as too much yeast? Thanks for your recipe and delicious pictures. I want to try it for sure.
Thanks Linda, and that is a good catch! Are you sure you are a beginner? You are entirely correct, it should read 2 tsp yeast. I am making the change now!